


I spent the better part of last winter chasing a milky nail finish that looked like frosted sea glass and kept ending up with something that looked more like cloudy dishwater. Not the vibe. After a lot of reading into cosmetic chemistry — and honestly, a lot of ruined manicures — I finally understood what was going wrong at a molecular level. It wasn’t my polish brand or my top coat. It was the sequence, and the science behind each step. This guide is everything I wish I’d known from the start.
Your Roadmap to Glass-Like Milky Nails
- How the Nail Plate Actually Works
- Why pH Balance Is Your First Step
- What You’ll Need
- Step 1: File and Shape on a Clean Slate
- Step 2: Dehydrate and Prime the Plate
- Step 3: Apply Your Base Coat (and Why Thickness Matters)
- Step 4: The Milky Color — Building Opacity the Right Way
- Step 5: The Flooding Technique for That Glass Effect
- Step 6: Seal It with a High-Gloss Top Coat
- Step 7: The 24-Hour Cure Window
- Questions I Get About This
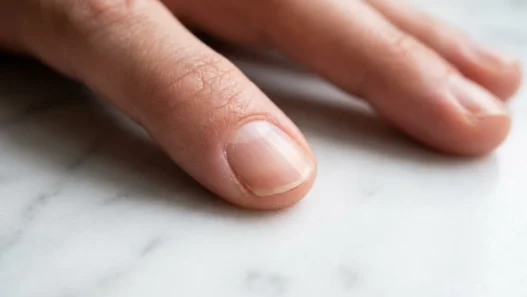
How the Nail Plate Actually Works
Most nail tutorials skip straight to the polish, which is a bit like painting a wall without knowing whether it’s plaster or drywall. The nail plate is made of flattened, dead keratin cells stacked in overlapping layers — researchers in nail biology describe it as having somewhere between 80 and 100 of these micro-layers. They’re held together by lipids (fats) and water content that varies depending on your hydration levels, the season, and even how often you wash your hands.
Here’s the part that matters for milky nails specifically: the nail plate is semi-porous. It absorbs and releases moisture constantly. When the surface is too oily or too saturated with water, polish adhesion drops dramatically. And for a sheer, translucent finish like the milky look, any lifting or uneven adherence shows immediately — there’s no pigment density to hide it. That’s exactly why understanding the plate before you touch a brush is non-negotiable. For a deeper look at how surface conditions affect your finish, the nail care health fundamentals are worth bookmarking.
Why pH Balance Is Your First Step
This one genuinely surprised me. The nail plate has a natural surface pH of around 4.5 to 5.5 — mildly acidic, similar to skin. Most nail dehydrators and primers are formulated to work within that range, lowering surface pH slightly to increase polish bonding. When the surface pH is off — say, after soaking in soapy water (which is alkaline) or using a heavily moisturizing hand cream right before painting — the adhesion chemistry simply doesn’t fire correctly.
Cosmetic chemistry research consistently points to surface pH as one of the most overlooked variables in at-home manicures. A slightly alkaline nail surface causes the nitrocellulose in your base coat — the film-forming polymer that grips the plate — to cure unevenly. That uneven curing is what causes the patchy, streaky quality that drives milky nail lovers absolutely wild. Nail prep before polish is one of those topics that sounds boring until you realize it’s the entire reason your manicure lasts or doesn’t.
What You’ll Need
No need to invest in a professional kit. Here’s what I actually use, kept as simple as possible:
- A fine-grit nail file (180–220 grit — nothing coarser for natural nails)
- A soft nail buffer block (4-way buffer)
- Nail dehydrator (isopropyl-based, not just rubbing alcohol — formulated versions bond better)
- Acid-free nail primer or bonding base
- A sheer milky white or translucent nude base coat
- Your chosen milky nail polish — I love a cool-toned sheer white or a barely-there pink-milk tone
- High-gloss quick-dry top coat (a thick, self-leveling formula is key)
- A quality flat nail brush with a wide paddle head
- Cuticle oil (for after, not during)
- A lint-free nail wipe
One thing I’d add: if you’re going for a longer, more dramatic silhouette, almond nails are genuinely the best canvas for the milky look. The tapered tip catches the light differently and makes the translucent effect look intentional rather than accidental.
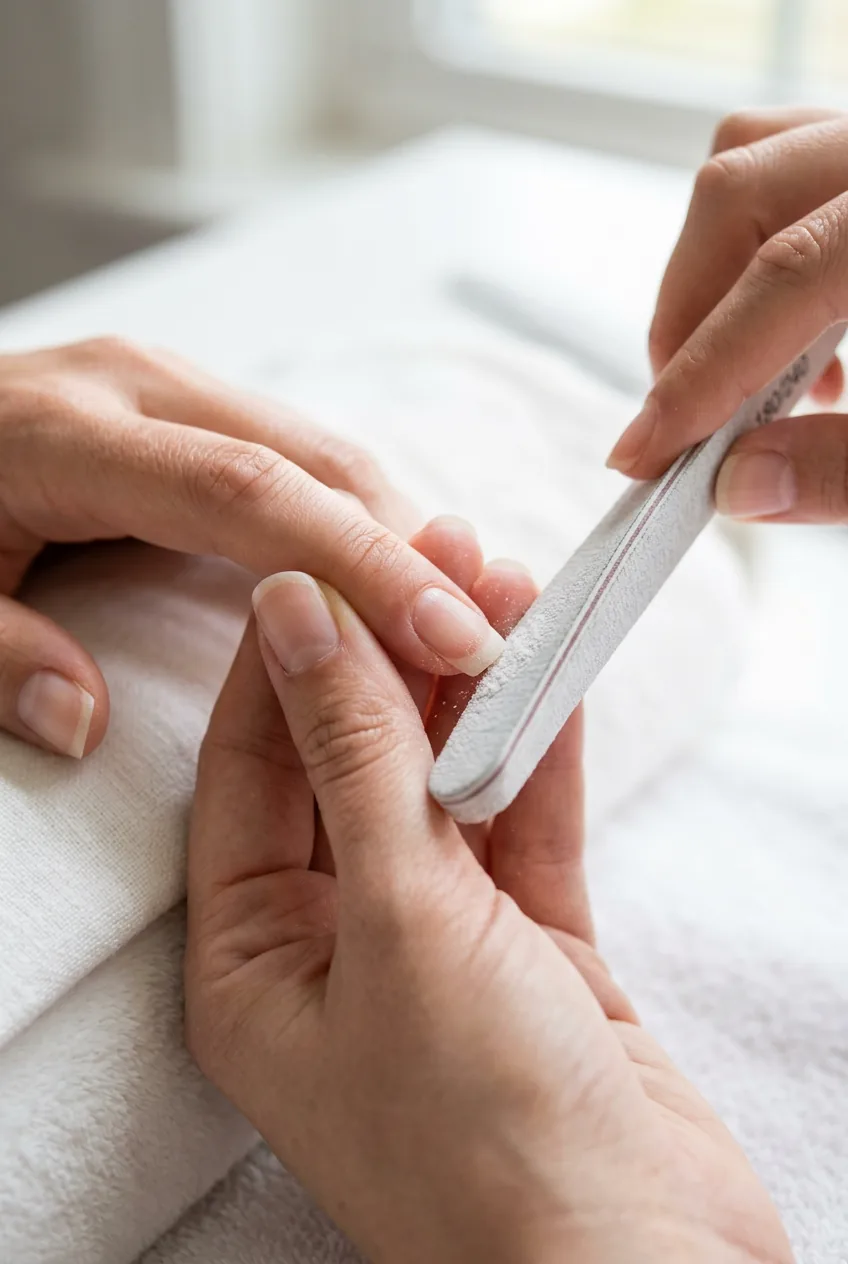
Step 1: File and Shape on a Clean Slate
Before anything touches your nail surface — no water, no lotion, no product — file your nails into your desired shape. Always file in one direction. I know everyone says this, but it genuinely matters: bidirectional filing creates micro-tears in the keratin layers at the nail edge, and those tears wick moisture and oils back into the plate right when you’re trying to get it clean and dry.
After shaping, lightly buff the surface of the nail plate with the fine side of your buffer. You’re not trying to thin the nail — you’re removing the top layer of natural oils and smoothing out any ridges that would show through a sheer finish. For milky nails, surface texture shows. A ridge under a deep red? Invisible. A ridge under a translucent white? You’ll see every single one. The buffer pass takes thirty seconds per nail and it changes everything.
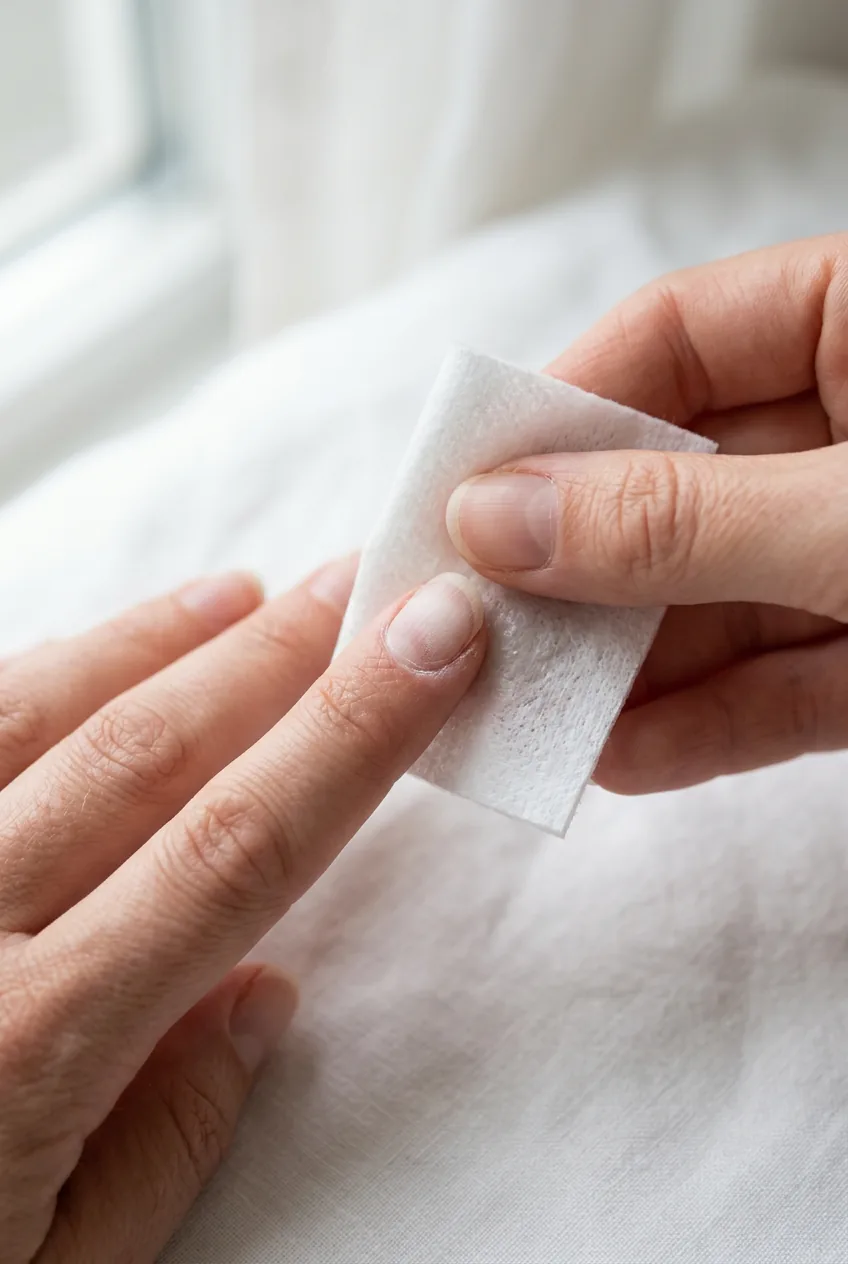
Step 2: Dehydrate and Prime the Plate
This is the step most people skip, and it’s the step that explains why their manicure peels on day three. Apply your nail dehydrator to every nail using a lint-free wipe. You’ll notice the nail surface looks almost chalky white for a few seconds as the isopropyl compounds evaporate — that’s surface moisture and oils leaving the plate. Let it fully evaporate before moving on. About 60 seconds is usually enough.
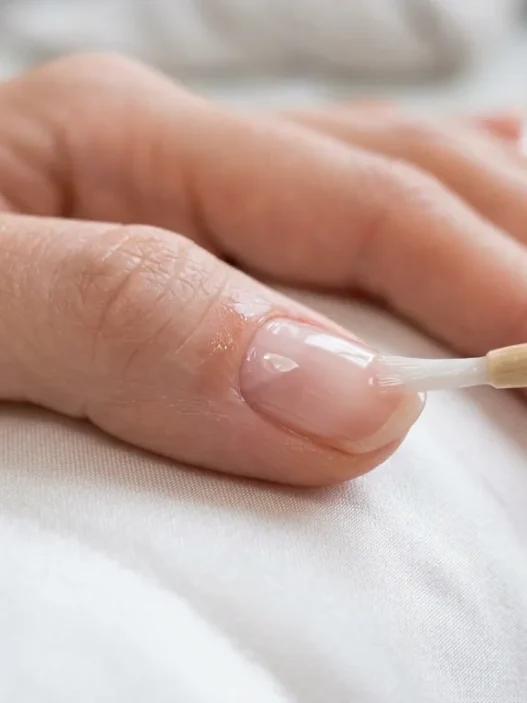
Then apply a thin layer of acid-free primer. The primer creates a molecular bridge between the keratin of the nail plate and the nitrocellulose in your base coat. Think of it like a bonding agent — it temporarily increases the surface energy of the nail so the base coat spreads more uniformly. For the sheer milky finish to look truly glassy, that uniformity is everything. Uneven primer application leads to uneven base, which leads to uneven color, which leads to a finish that looks milky in the wrong way.
The mistake I made for months: I was applying primer with the same brush I used for everything else. Cross-contamination between products — even trace amounts — shifts the pH of whatever you apply next. Use a dedicated, clean brush for primer every single time. My manicures got noticeably more even the week I started doing this.
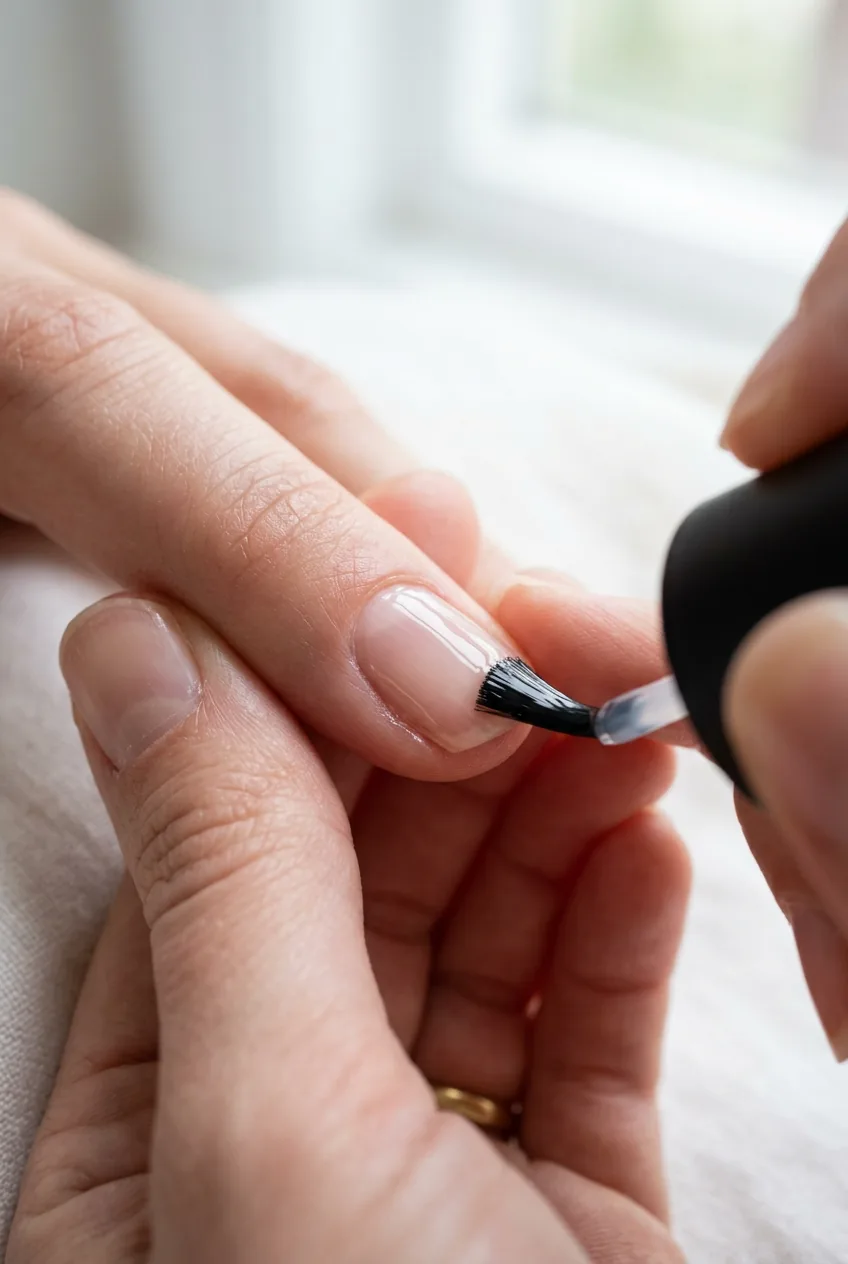
Step 3: Apply Your Base Coat (and Why Thickness Matters)
Base coat is a polymer system. The nitrocellulose film it forms when it evaporates is the structural foundation for every layer above it. Too thin and the foundation is fragile — it’ll flex and crack with nail movement, pulling the color layers with it. Too thick and the solvents (primarily butyl acetate and ethyl acetate) can’t escape fully during drying, leaving a slightly tacky, soft layer that stays vulnerable longer than it should.
The sweet spot is one coat, applied with confident strokes. Three strokes per nail: one down the center, one on each side. Don’t go back over wet base coat — that drags the film and breaks the even polymer spread. Let it dry for a full two minutes before moving on to color. I timed this obsessively for a while and two minutes makes a measurable difference in how the next layer adheres. Cosmetic science literature on film-forming polymers consistently points to proper inter-coat drying as one of the most critical adhesion variables.
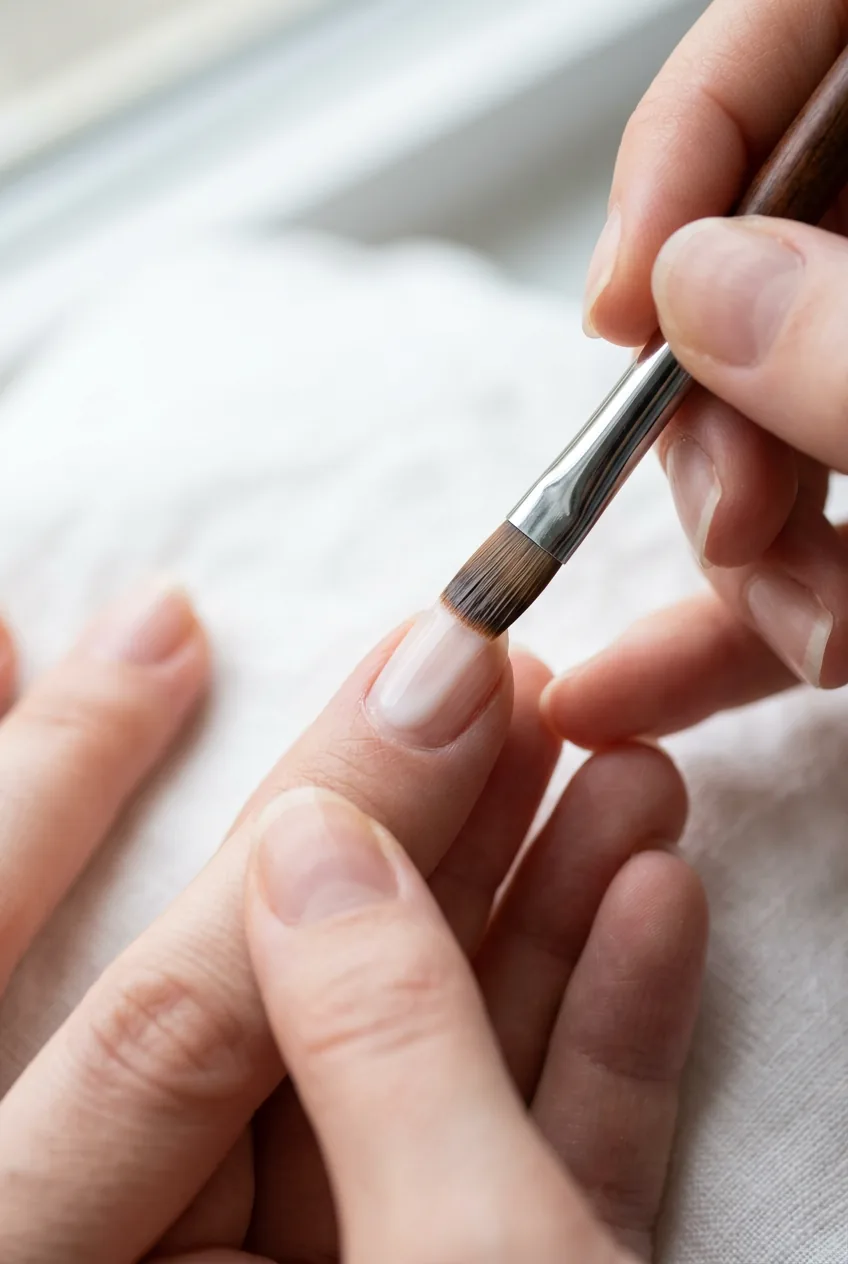
Step 4: The Milky Color — Building Opacity the Right Way
Here’s where the chemistry gets really interesting. Milky nail polish gets its signature look from a combination of low-opacity pigment (usually titanium dioxide in very small concentrations) and a high proportion of film-forming resin. The translucency is built-in — you can’t rush it to full coverage with one thick coat without trapping solvents and causing that dreaded streaky, uneven finish.
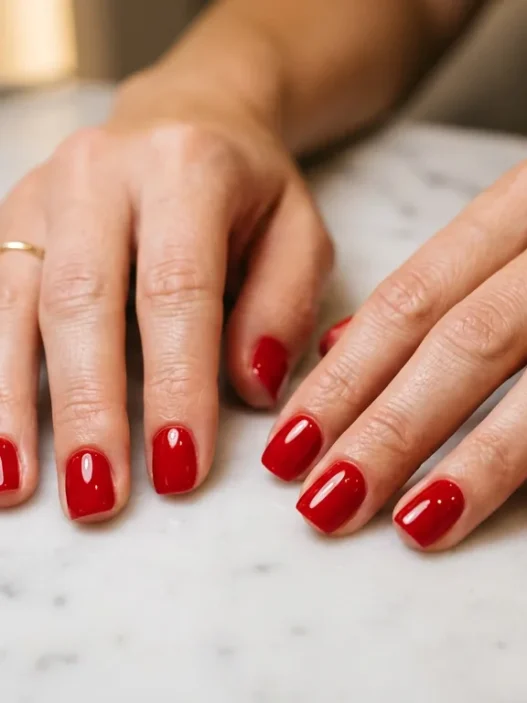
Two thin coats, always. The first coat will look patchy and possibly disappointing — that’s normal and it’s not a product failure. You’re laying the base of the pigment network. The second coat fills the gaps in that network and creates the even, diffused, glassy effect. Apply each coat with the same three-stroke method from Step 3, wiping excess from the brush before each stroke so you’re never overloading the nail. Look at how evenly she’s building up the opacity here — that controlled stroke is exactly what I mean.
One more thing: if you’re doing this look for winter nails, go for a slightly cooler, icier milk tone — it reads more sophisticated against dark winter fabrics. For spring nails, a warm pinkish milk is stunning.
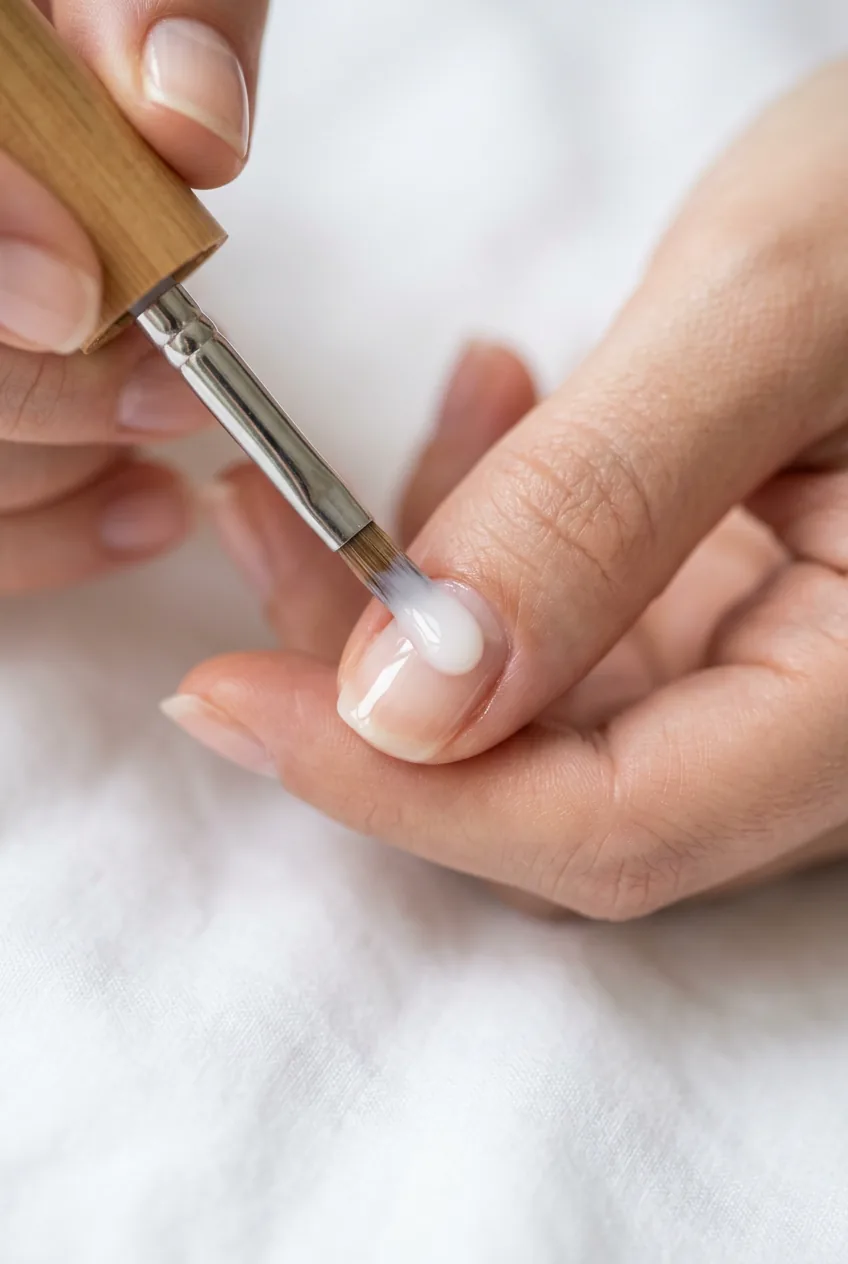
Step 5: The Flooding Technique for That Glass Effect
This is the technique that separates a pretty milky manicure from an actually glass-like one. Once your second color coat is fully dry (not just touch-dry — fully dry, about three to four minutes), you’re going to apply one more ultra-thin pass of your milky polish using what I call the flooding technique.
Load your brush with slightly more product than usual, and instead of stroking across the nail, let the polish flow off the brush in a single, slow ribbon down the center of the nail. Gravity and surface tension do most of the work — the product self-levels across the nail plate, filling any micro-texture and creating a perfectly flat surface. This works because nail polish has viscoelastic properties: it flows under its own weight when the viscosity is right, then holds that flat position as the solvents evaporate. You do not drag the brush back. One slow pass, then leave it alone. It looks like too much product for exactly ten seconds, then it levels out. Trust the chemistry.
The Flooding Technique Explained in Real Time
Step 6: Seal It with a High-Gloss Top Coat
Top coat is doing a lot more work than people give it credit for. A good high-gloss formula contains a higher concentration of plasticizers — dibutyl phthalate or its modern replacements — which keep the film flexible and prevent the whole layered system from becoming brittle. It also contains UV absorbers that slow the yellowing of the layers below. And the gloss itself comes from the surface smoothness of the dried film: a truly flat, even surface reflects light uniformly, which is what produces that wet, glassy shine.
Apply top coat in the same flooding technique from Step 5. One generous, self-leveling pass. Cap the free edge of the nail — meaning bring the brush along the very tip of the nail to seal the edge — because that’s where chips always start. streak-free top coat tips is something I looked into for a long time, and the edge-capping step genuinely extends wear by two to three days in my experience.
If your finish ever looks slightly streaky or uneven at any stage, don’t panic — you may want to check out why nails keep looking streaky for a really thorough breakdown of what causes those issues at each layer.
Step 7: The 24-Hour Cure Window
Your nails will feel dry to the touch within 20–30 minutes. But the polymer film is not fully cured. Solvent evaporation continues for up to 24 hours in the deeper layers of your manicure, and during this window the film is significantly more vulnerable to denting, smudging, and water damage than it will be once the cure is complete.
Cosmetic chemistry research on nail film formation consistently identifies the first 24 hours as the highest-risk period for damage. Practically speaking: avoid hot water, dishwashing, and anything that requires gripping hard surfaces (opening cans, peeling stickers) for the first night. I usually do my nails before bed, apply cuticle oil around the edges — which actually helps the film stay flexible during the final cure stage — and sleep with light cotton gloves on. Sounds fussy. But the difference in longevity is real. A milky finish with a perfect, chip-free edge on day seven is absolutely worth one night of cotton gloves.
Questions I Get About This
Why do milky nails look streaky even after two coats?
Almost always a prep issue — either too much moisture or oil on the nail plate before the base coat went on, or the first coat wasn’t fully dry before the second was applied. Milky polishes are unforgiving because their low pigment load means every imperfection in the layers below shows straight through. Redo your dehydration step and give each coat a full two-to-three minute dry window.
How many coats of milky polish do I actually need?
Two color coats plus the flooding pass in Step 5 gives you the glass-like effect without the nail looking opaque. Some sheer formulas might need a third thin coat if the pigment concentration is especially low, but I’d always do three thin coats over two thick ones — thick coats trap solvents and cause bubbling, which ruins the smooth surface.
Can I get this look with gel polish instead of regular lacquer?
Yes, and honestly the result is even more glass-like with gel because photoinitiator-triggered crosslinking creates a denser, harder film than air-evaporation curing. The flooding technique works beautifully with gel too — just make sure you don’t cure it immediately after flooding. Wait about 30 seconds for the gel to self-level before putting your hand under the LED lamp. sheer gel polish technique covers the gel-specific details really well.
Does cuticle condition affect how milky polish looks?
More than people realize. Dry, ragged cuticles visually interrupt the clean line where the polish meets skin, which makes even a perfect application look messy. I push and hydrate my cuticles the night before I do my nails, and I never cut them on the same day as polish application — disturbing the cuticle area can introduce micro-inflammation that affects how the proximal nail plate grows and how polish adheres near the base. Good nail care health habits make every finish look better.
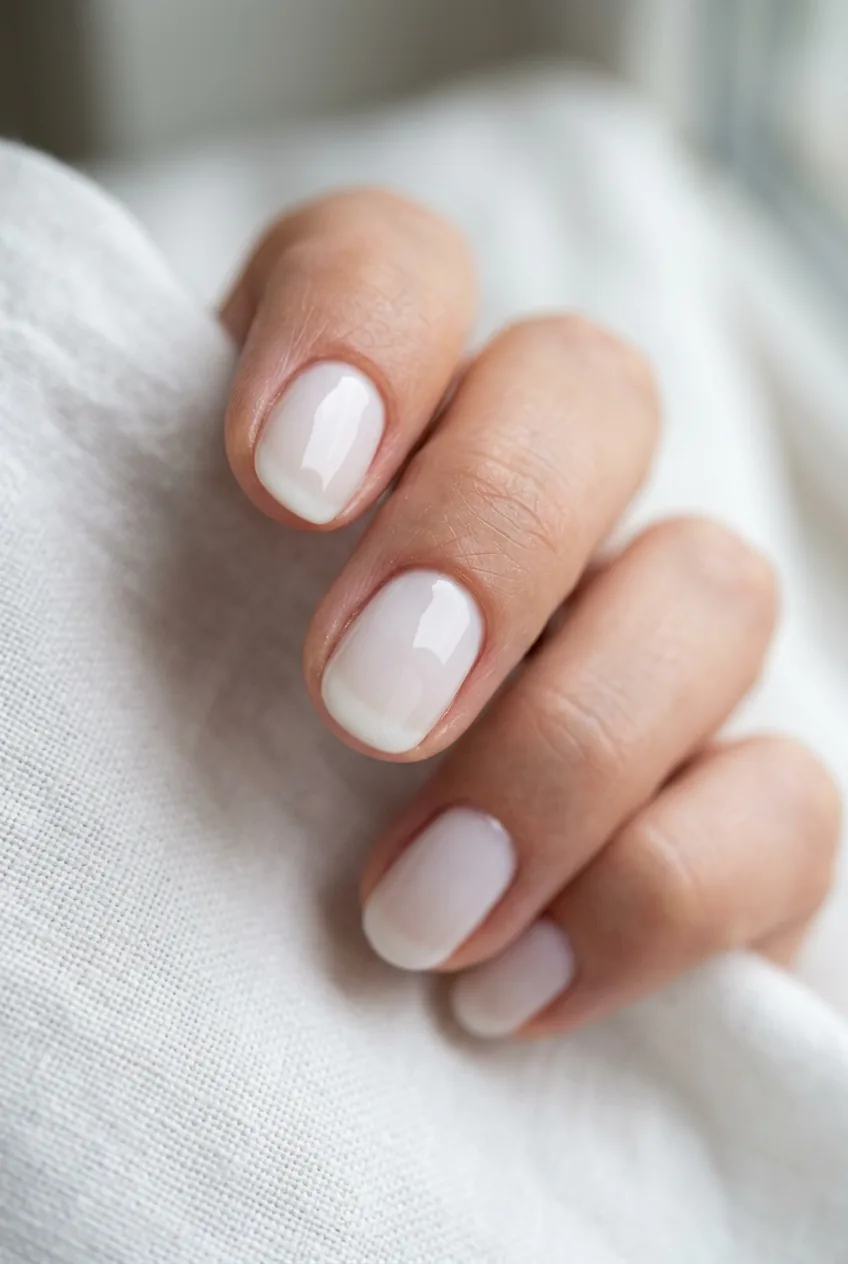
My nails right now are sitting at day nine and the milky finish still looks like I did them yesterday. No chips, no lifting, and that glass-like sheen is holding strong. Honestly, the single biggest shift was understanding that this look is less about the product and more about what happens before the first coat ever touches the nail. Once the science clicked, everything else followed.