


I used to think short nails were foolproof. How hard could it be to paint a smaller surface area? Turns out, I was making every mistake in the book and wondering why my manicures looked amateur even with expensive polish. After years of trial and error — and way too many botched Saturday afternoon sessions — I finally figured out where I was going wrong.
What You’ll Need
Before we dive into the mistakes, let me share what I keep in my short nail toolkit now:
- Quality nail file (glass or crystal, never metal)
- Cuticle pusher and nippers
- Base coat (this is non-negotiable)
- Your favorite polish in thin consistency
- Quick-dry top coat
- Small cleanup brush
- Acetone or nail dehydrator
- Cotton pads and wooden sticks
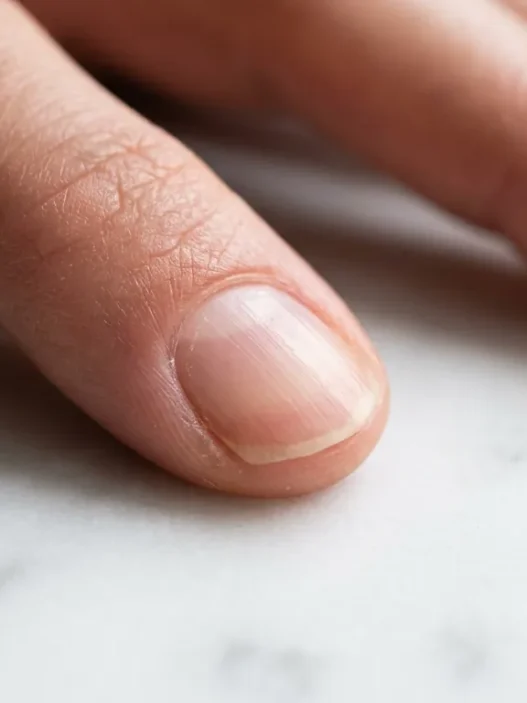
Mistake 1: Cutting Nails Too Short
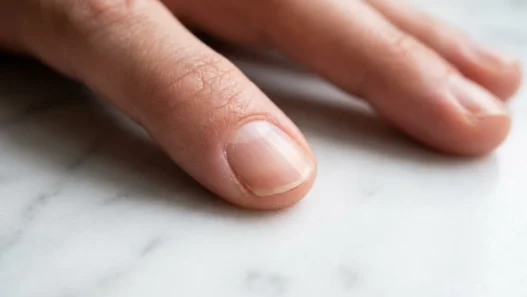
This was my biggest mistake for years. I’d trim my nails down to practically nothing, thinking shorter meant easier to maintain. Wrong. When you cut nails too short, you lose the natural nail bed that gives polish something to adhere to properly.
The problem happens because there’s barely any surface area for the polish to grip. Your manicure starts chipping within days because there’s literally nowhere for it to hold on. Plus, super-short nails make your fingers look stubby — not the elegant look most of us are going for.
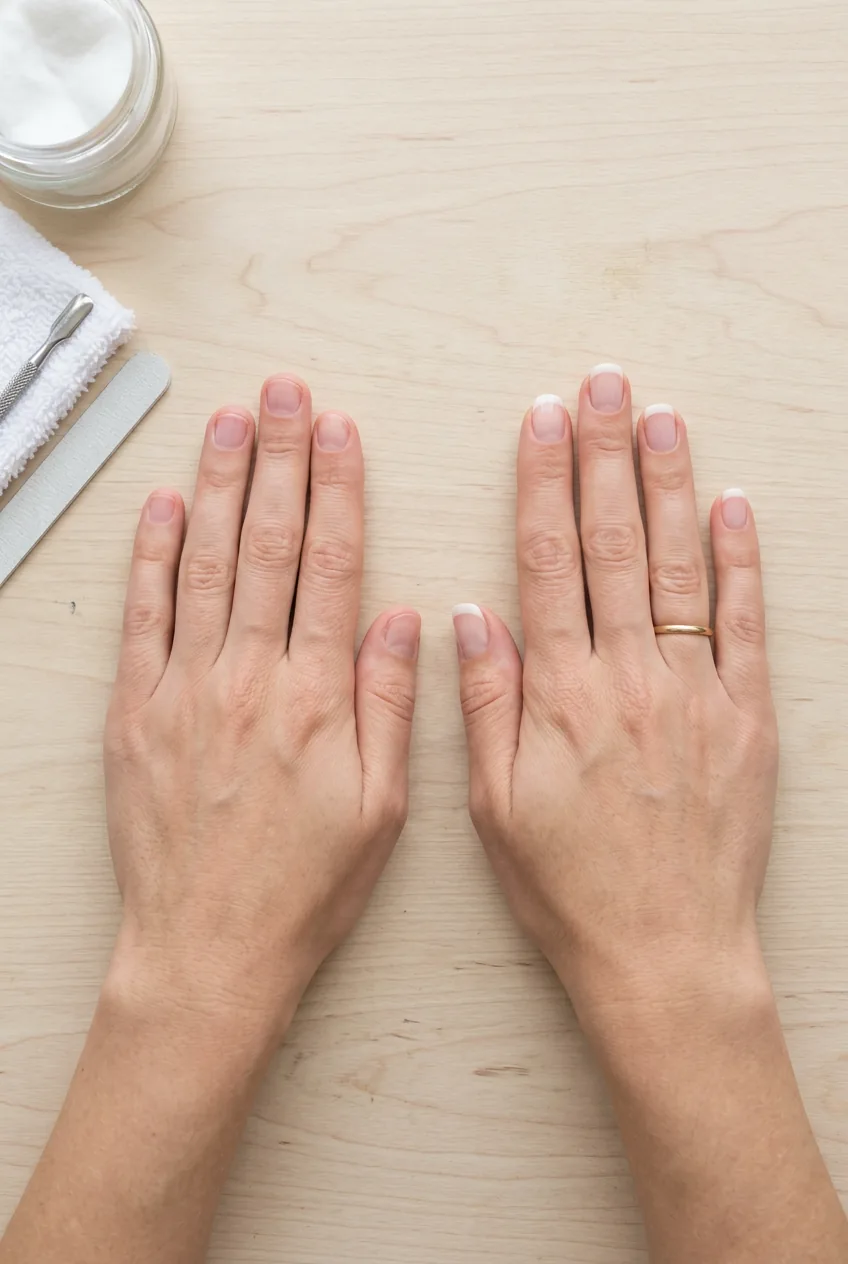
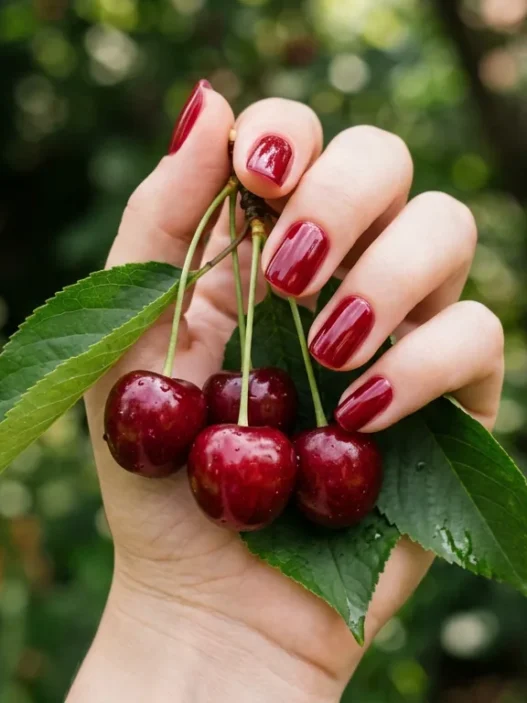
The Fix: Leave about 2-3mm of white nail tip when you trim. I know it feels long at first, but this gives you the perfect canvas. The extra length makes your fingers look longer and gives polish enough surface to create a lasting bond. For those following short natural nail trends, this length hits the sweet spot.
Mistake 2: Skipping the Base Coat
Most people skip base coat thinking it’s an unnecessary extra step. I get it — when you’re doing a quick manicure, every step feels like it adds forever to the process. But base coat isn’t optional, especially on short nails where every day of wear matters.
Without base coat, your polish sits directly on the nail surface. This means it peels off in sheets, stains your nails (especially with darker colors), and never achieves that smooth, professional finish. The nail’s natural oils also prevent proper adhesion.
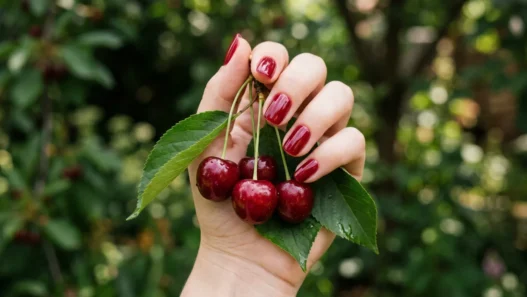
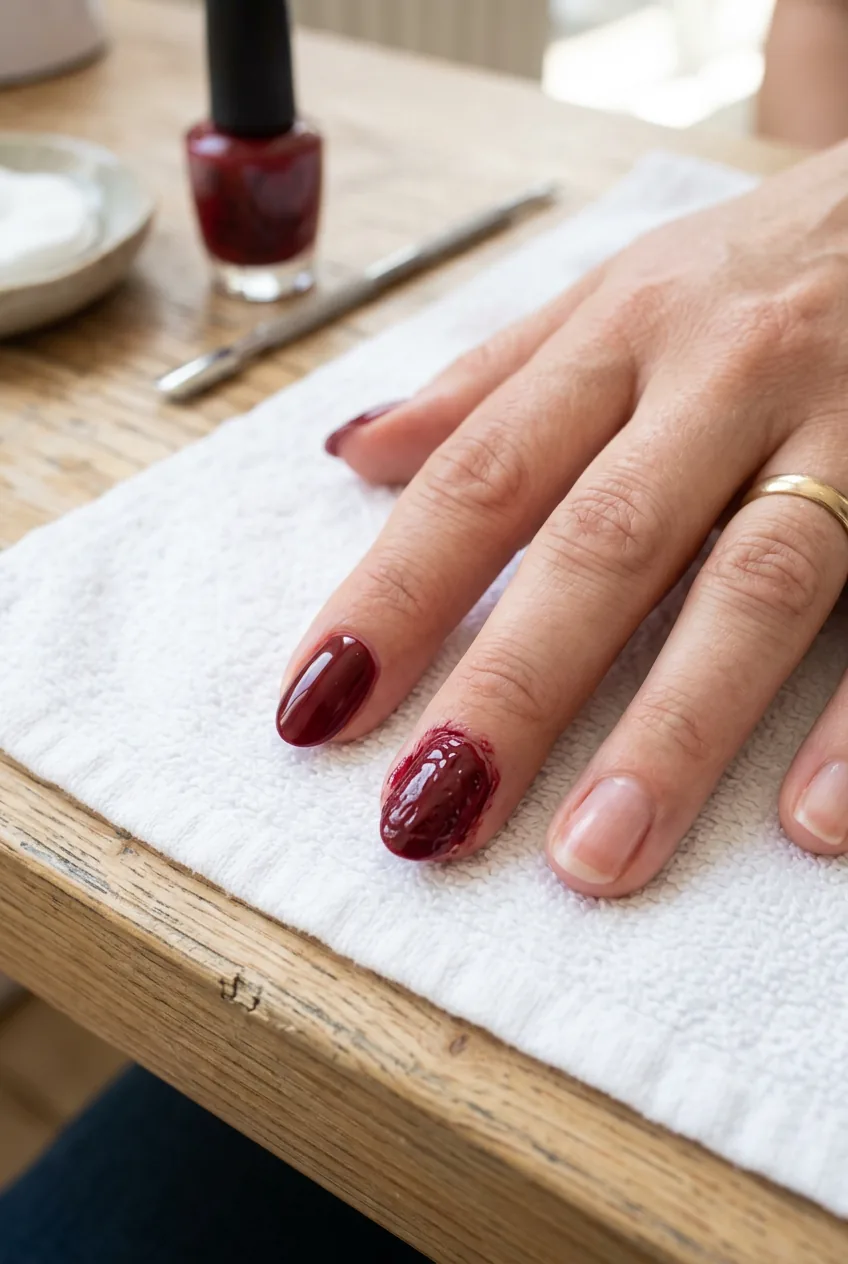
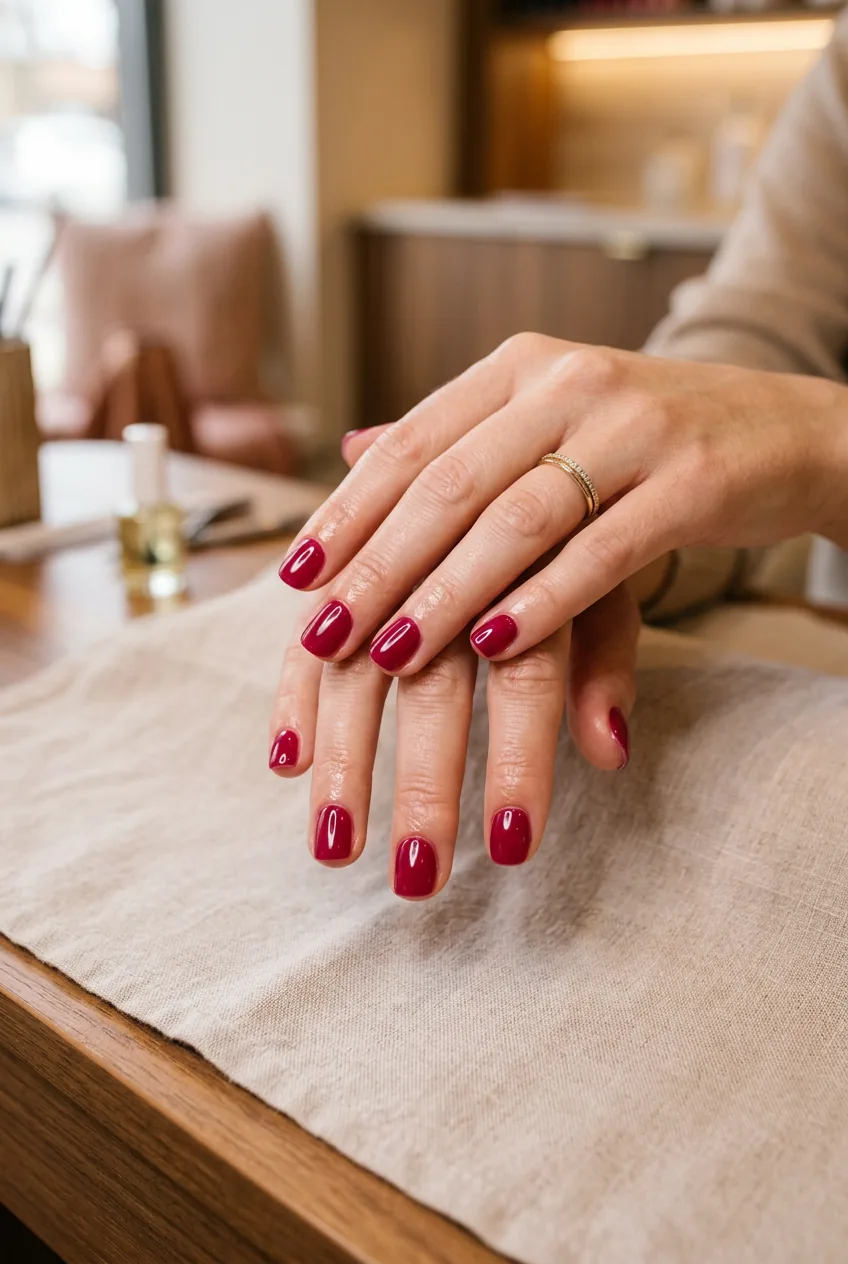
I learned this the hard way with a gorgeous burgundy polish that left my nails looking like I’d been picking blackberries for hours. The staining took weeks to fade completely.
The Fix: Apply a thin layer of base coat and let it dry completely — about 60 seconds. I use one with ridge-filling properties because it creates the smoothest surface. Ridge-filling base coats make such a difference in the final result. This step alone will double your manicure’s lifespan.
Mistake 3: Applying Thick Polish Layers
When you’re working with a small surface area, there’s this temptation to get full coverage in one thick coat. It seems logical — less coats, less time, right? But thick layers are the enemy of a good short nail manicure.
Thick polish takes forever to dry properly, creates that gummy texture, and inevitably gets dented or smudged. On short nails, you notice every imperfection because there’s nowhere to hide. The polish also shrinks as it dries, pulling away from the cuticle and sidewalls.
The Fix: Two thin coats always beat one thick one. For the first coat, barely load your brush — you should be able to see through the polish on the brush. Apply from cuticle to tip in one smooth stroke, then clean up the sides. Let it dry completely (I wait 90 seconds minimum) before applying the second coat.
The second coat should be slightly more opaque but still thin. This method gives you even coverage without the bulk, and the polish actually dries properly all the way through.
Mistake 4: Painting Over Wet Cuticles
After pushing back cuticles or using cuticle remover, I used to jump straight into polishing. Big mistake. Any moisture left on the nail plate creates a barrier that prevents polish from bonding properly.
Wet cuticles also mean the polish bleeds into the surrounding skin, creating that messy, unprofessional look. On short nails, where precision is everything, this mistake is especially obvious. You end up with color all over your skin and gaps in coverage where the moisture was.
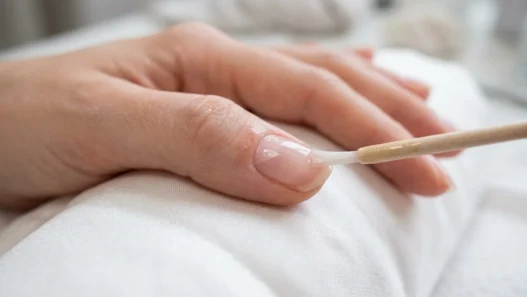
The Fix: After cuticle care, wipe each nail with acetone or nail dehydrator on a small brush or cotton pad. This removes any oils, moisture, or residue. I follow the nail prep techniques that professionals use — completely clean and dry nails before any polish touches them.
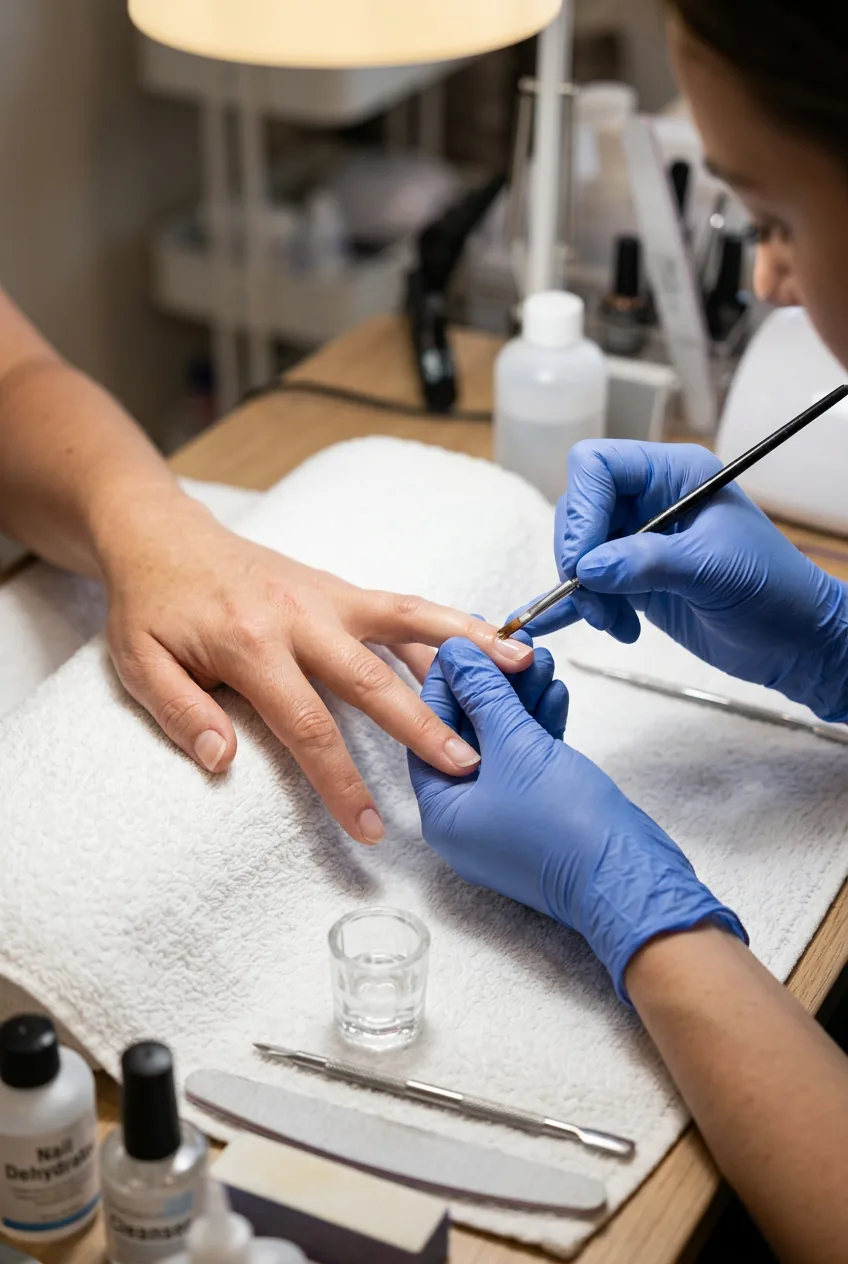
Wait about 30 seconds after cleaning before you start painting. Your nails should feel completely dry to the touch, almost slightly rough from the acetone.
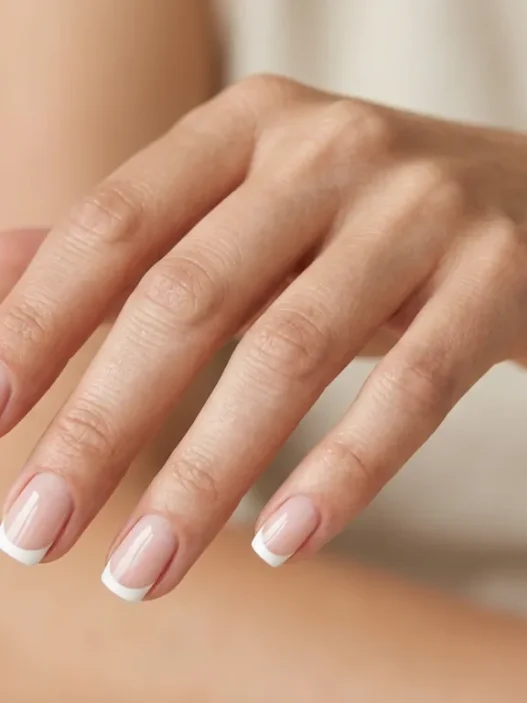
Mistake 5: Ignoring Your Nail Shape
Not all short nails should be the same shape. I used to file everything into a basic round because it seemed safest, but the wrong shape can make short nails look even shorter and wider than they are.
Round shapes work great on naturally narrow nail beds, but if you have wide nails, round filing makes them look like little half-circles. Square shapes can look stubby if your nails are too short, while oval shapes might not work if your natural nail bed is already very wide.
The Fix: Match your nail shape to your natural nail bed and finger shape. For wide nail beds, try a soft square or squoval shape — it creates the illusion of length. For narrow beds, stick with round or oval. I found my perfect shape by experimenting with square and squoval variations until I found what worked.

File in one direction only, never back and forth. This prevents splitting and gives you more control over the final shape.
Mistake 6: Using the Wrong Brush Technique
On short nails, brush technique matters more than you’d think. I used to drag the brush across the nail surface, pressing down hard to get coverage. This created streaks, bubbles, and uneven application — all more noticeable on a smaller canvas.
The wrong pressure also pushes polish into the cuticle area where it doesn’t belong, and creates those annoying ridge marks from the brush bristles. Short nails need a lighter touch because there’s less room for error.
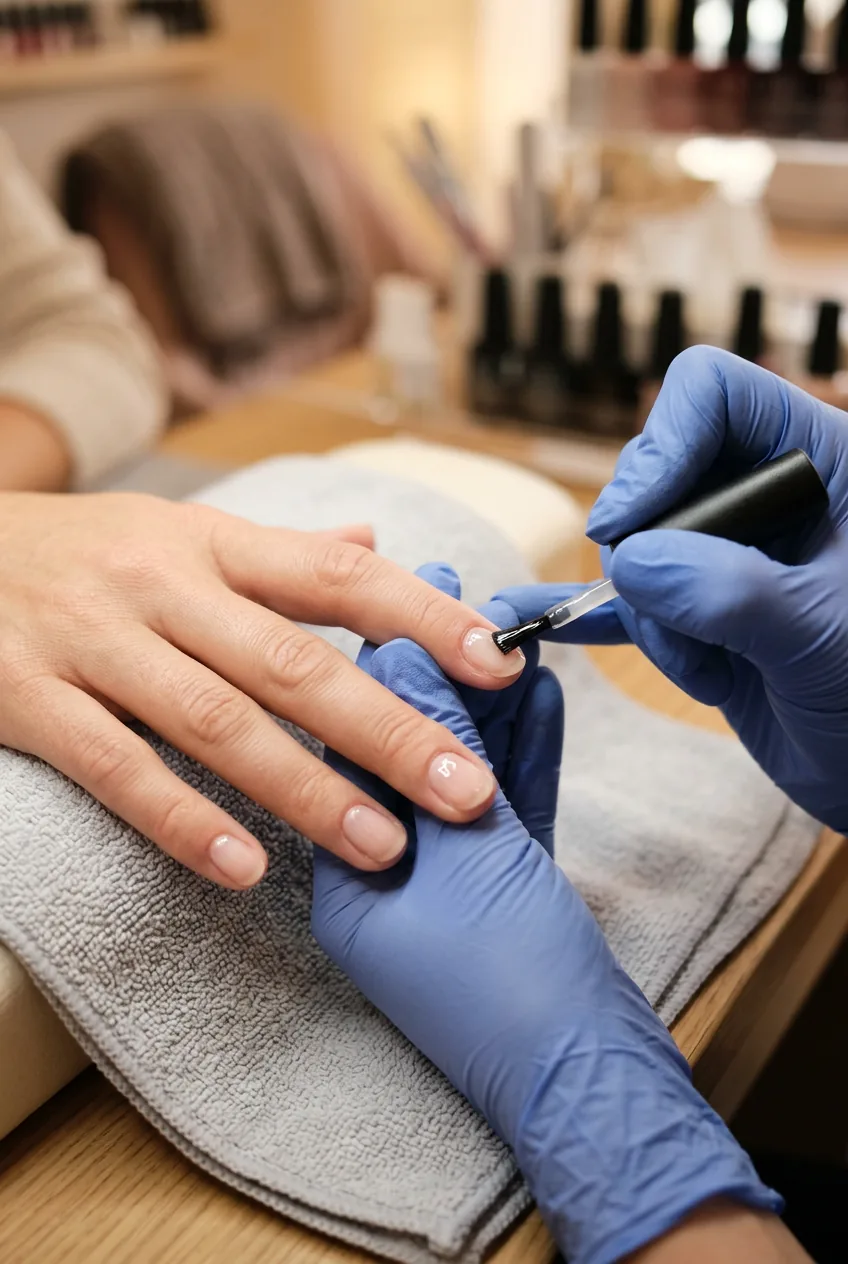
The Fix: Use a floating technique instead of pressing down. Load your brush with polish, wipe one side clean on the bottle rim, then place the brush about 1mm from your cuticle. Let the polish flow naturally toward the cuticle line, then draw the brush toward the tip in one smooth motion.
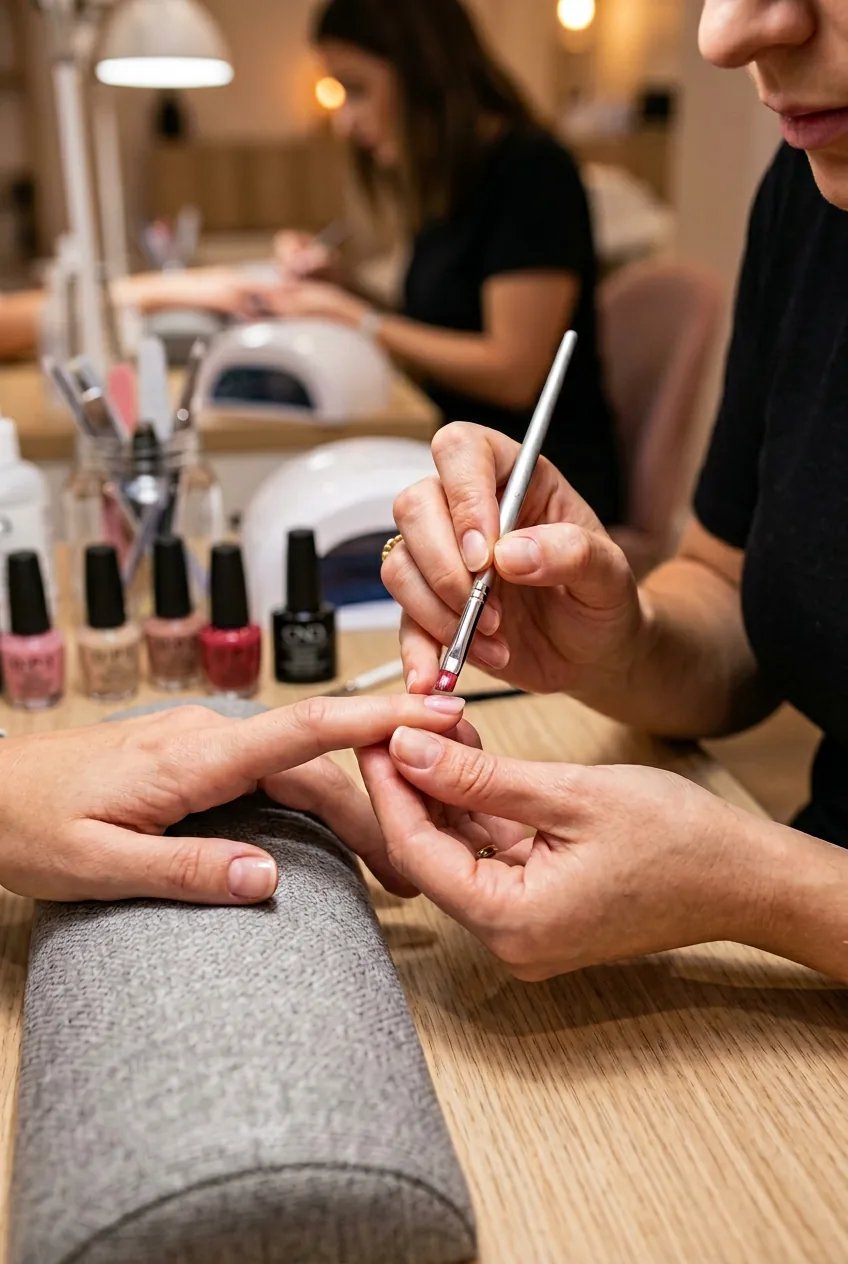
The key is letting the polish do the work rather than forcing it with pressure. Professional application methods make such a difference in the final result.
Watch the Technique in Action
Mistake 7: Rushing the Drying Process
This is probably the mistake that ruins more manicures than any other. I used to think my nails were dry after five minutes and would go about my business — only to discover dents, smudges, and sheet marks hours later.
Polish dries in layers from the outside in. Even when the surface feels dry, the underneath layers might still be wet. Any pressure or movement creates those frustrating dents that seem to appear from nowhere. On short nails, every imperfection shows.
The Fix: Plan for at least 30 minutes of careful activity after your final top coat. I use a quick-dry top coat, but I still give it proper time. The test I use: gently tap two nails together after 15 minutes. If they make a clicking sound, they’re dry. If there’s any stickiness or give, wait longer.
Cold water helps set the polish faster — I run my hands under cold tap water for about 10 seconds after the 15-minute mark. Quick-dry techniques can speed up the process, but patience is still key.
If you only change one thing about your short nail routine, fix your drying habits. Everything else can be perfect, but rushing this step will ruin it all. Trust me — I’ve learned this lesson more times than I’d like to admit.
Questions I Get About Short Nail Manicures
How often should I redo my short nail manicure?
With proper technique, a good short nail manicure should last 5-7 days without major chips. I typically redo mine weekly, though I might touch up the tips around day 4 if needed.
Can I use gel polish on short nails?
Absolutely! Gel actually works wonderfully on short nails because it’s more durable and less likely to chip. The same rules apply — thin layers, proper prep, and don’t skip the base coat.
What nail shapes work best for really short nails?
Round and soft square shapes are most forgiving on very short nails. Avoid sharp squares or stiletto shapes, which need more length to look proportional. The key is working with your natural nail bed shape rather than against it.
Why does my polish always look streaky on short nails?
Usually it’s because you’re applying too thick coats or using too much pressure with the brush. Try thinning out your coats and using that floating technique I mentioned — it makes a huge difference.
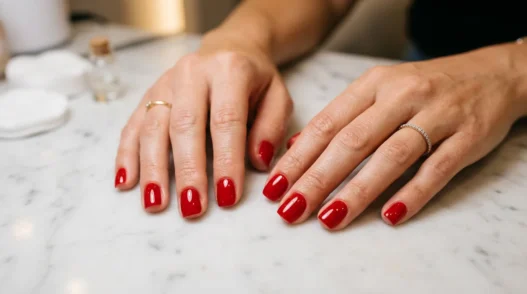
These fixes transformed my short nail game completely. Now my weekend manicures actually last the week, and I’m not embarrassed to show my hands in meetings. The difference is honestly dramatic when you stop making these common mistakes.