


I used to think free-hand nail art was reserved for people with actual artistic talent. You know, the ones who could draw a perfect rose without thinking twice. But after ruining countless manicures with shaky lines and wonky flowers, I finally cracked the code. It’s not about having steady hands or art school training — it’s about the right tools and building confidence gradually.
What You’ll Need
Before we dive into techniques, let’s gather your supplies. I learned the hard way that having the wrong brush makes this ten times harder than it needs to be.
- One thin liner brush (size 0 or 00 — this is non-negotiable)
- A dotting tool or the tip of a bobby pin
- White paper or practice sheets
- Your favorite nail polish (start with one color)
- A base coat and top coat
- Nail polish remover and cotton swabs for cleanup
- Good lighting (seriously, this matters more than you think)
Step 1: The Brush That Changes Everything
Most people try free-hand nail art with whatever brush came with their polish. Don’t do this to yourself. I spent months frustrated with wobbly lines before investing in a proper thin liner brush.
The difference is night and day. A thin liner brush holds just enough polish to create smooth, controlled lines. It’s designed for precision work, not broad strokes. Look for synthetic bristles — they’re easier to clean and maintain their shape better than natural ones.
When you load the brush, roll it gently in the polish bottle rather than wiping it on the rim. This keeps the tip pointed and prevents those annoying globs that ruin your line halfway through.
Step 2: How to Stabilise Your Painting Hand
Here’s what nobody tells you about free-hand nail art: it’s not about having naturally steady hands. It’s about creating stability where none exists naturally.
Rest your painting elbow on a table or armrest. Always. I used to try painting with my arm floating in midair like some kind of nail art acrobat. No wonder my lines looked like earthquake readings.
For extra stability, rest the side of your painting hand against your other hand or fingers. This creates a tripod effect that dramatically reduces shake. Your gel manicure work will benefit from this same stabilization technique.
I used to grip the brush like I was trying to strangle it. Turns out, a light grip actually gives you more control. Hold it like you’re picking up a feather — firm enough not to drop it, gentle enough not to crush it.
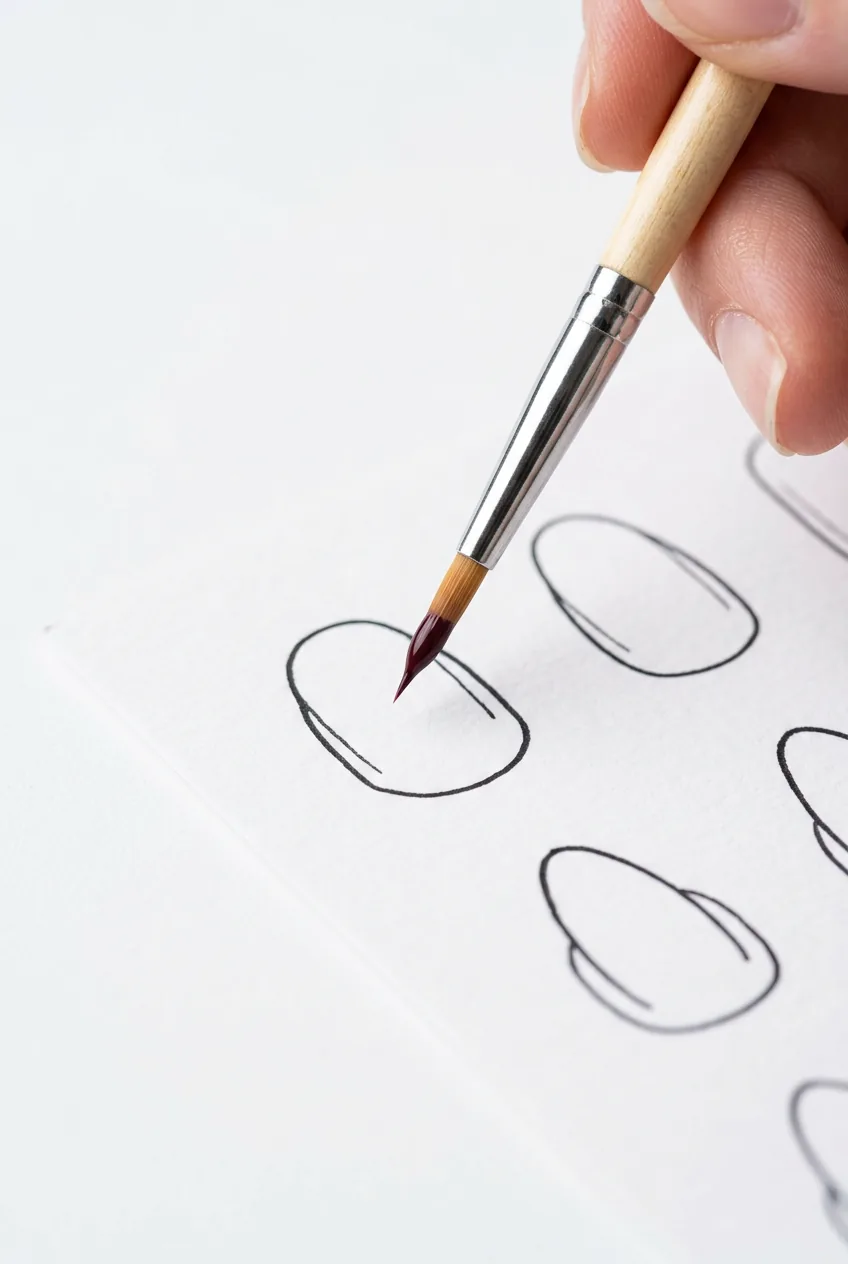
Step 3: Practising on Paper First
This step feels silly until you see how much it helps. Practicing on paper before touching your nails builds muscle memory without the pressure of ruining a perfectly good base color.
Draw nail-sized ovals on white paper — about the size of your actual nail beds. Then practice your designs within those boundaries. It’s amazing how different the same design looks when you’re confined to that small space.
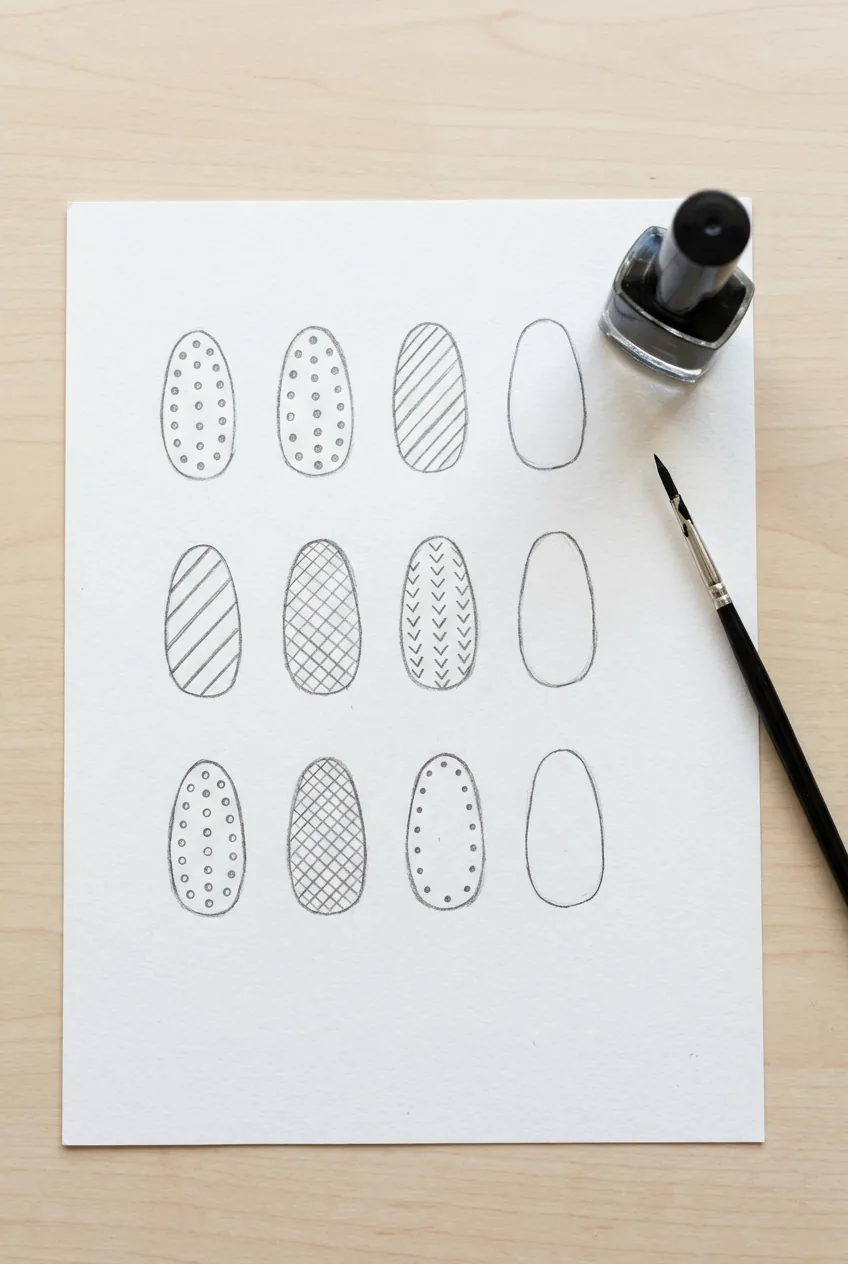
Start with simple shapes: straight lines, curved lines, dots, and basic leaves. Don’t worry about making them perfect. You’re training your hand to move in controlled motions.
I practice for about 10 minutes before starting any new design. It’s like warming up before a workout — your hand remembers the motions and performs better on the actual nails.
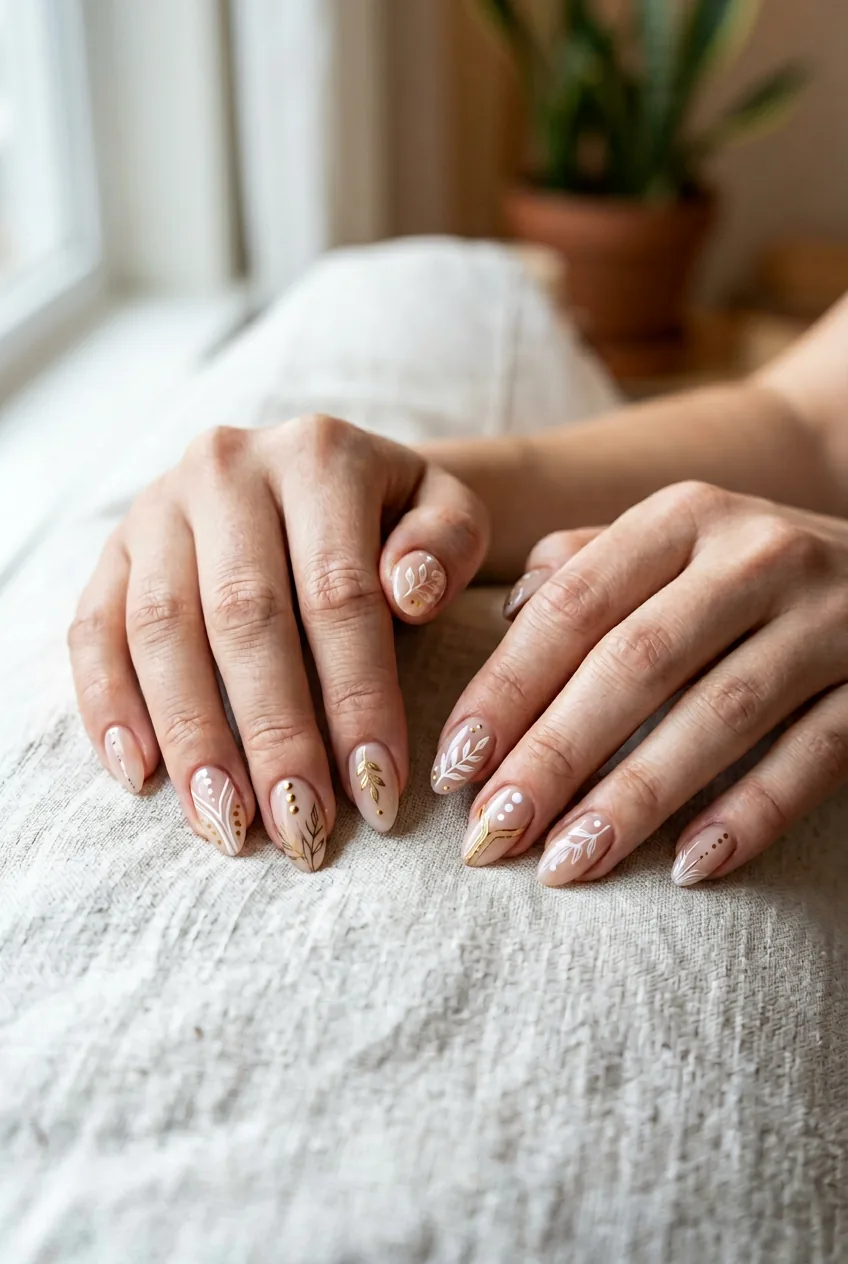
Step 4: The Simplest Three Designs to Start With
Every free-hand nail artist needs a go-to trio of simple designs. These three will cover you for any occasion and build the foundation skills for more complex art later.
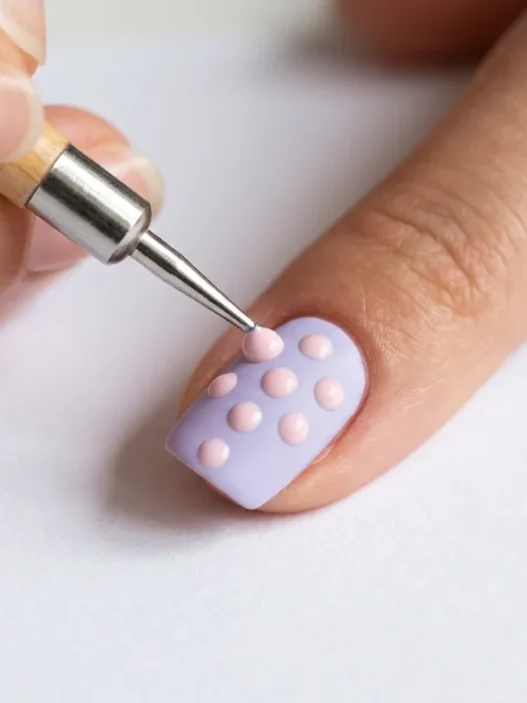
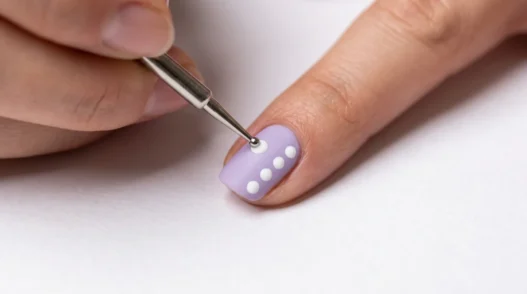
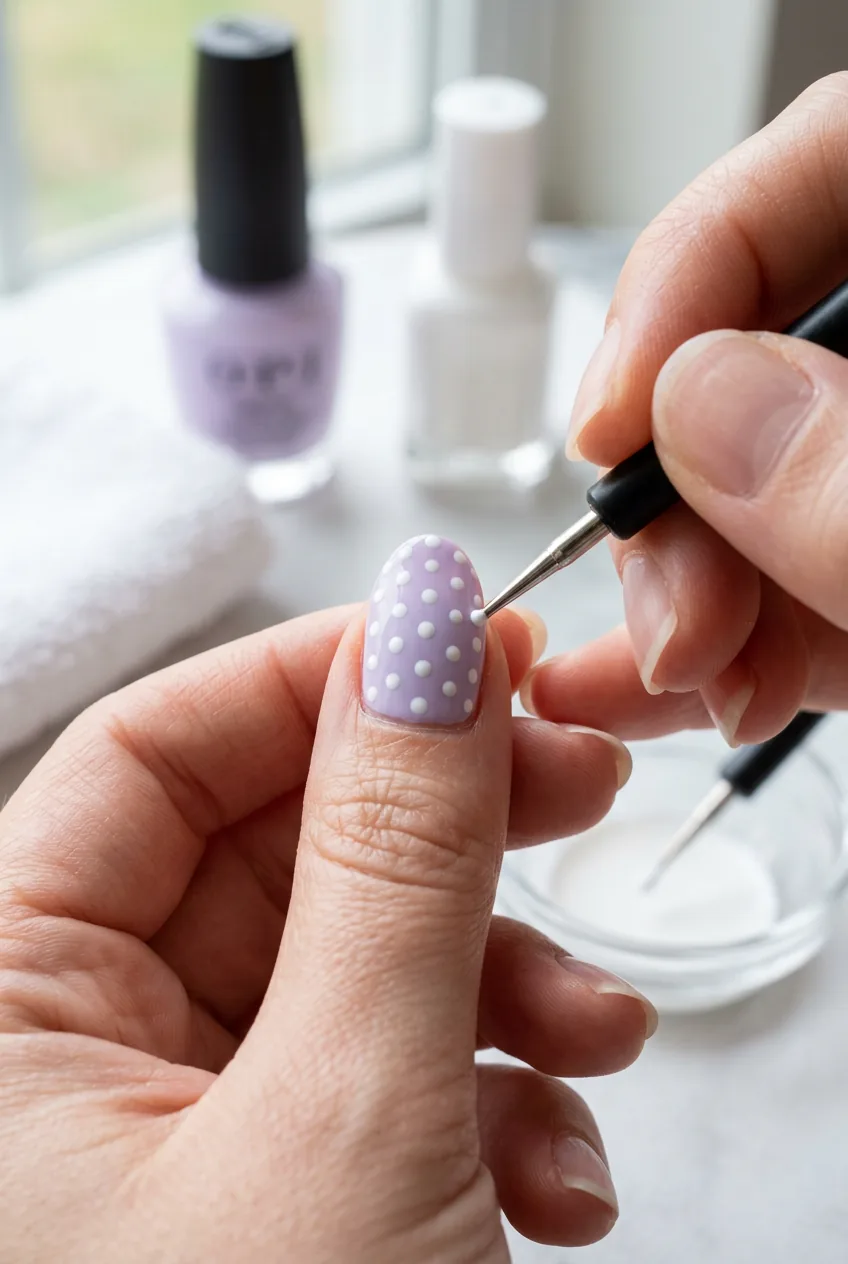
Design One: The Perfect Dot Pattern
Use your dotting tool to create evenly spaced dots across the nail. Start with five dots in a cross pattern, then fill in between. The key is consistent pressure — each dot should be the same size.
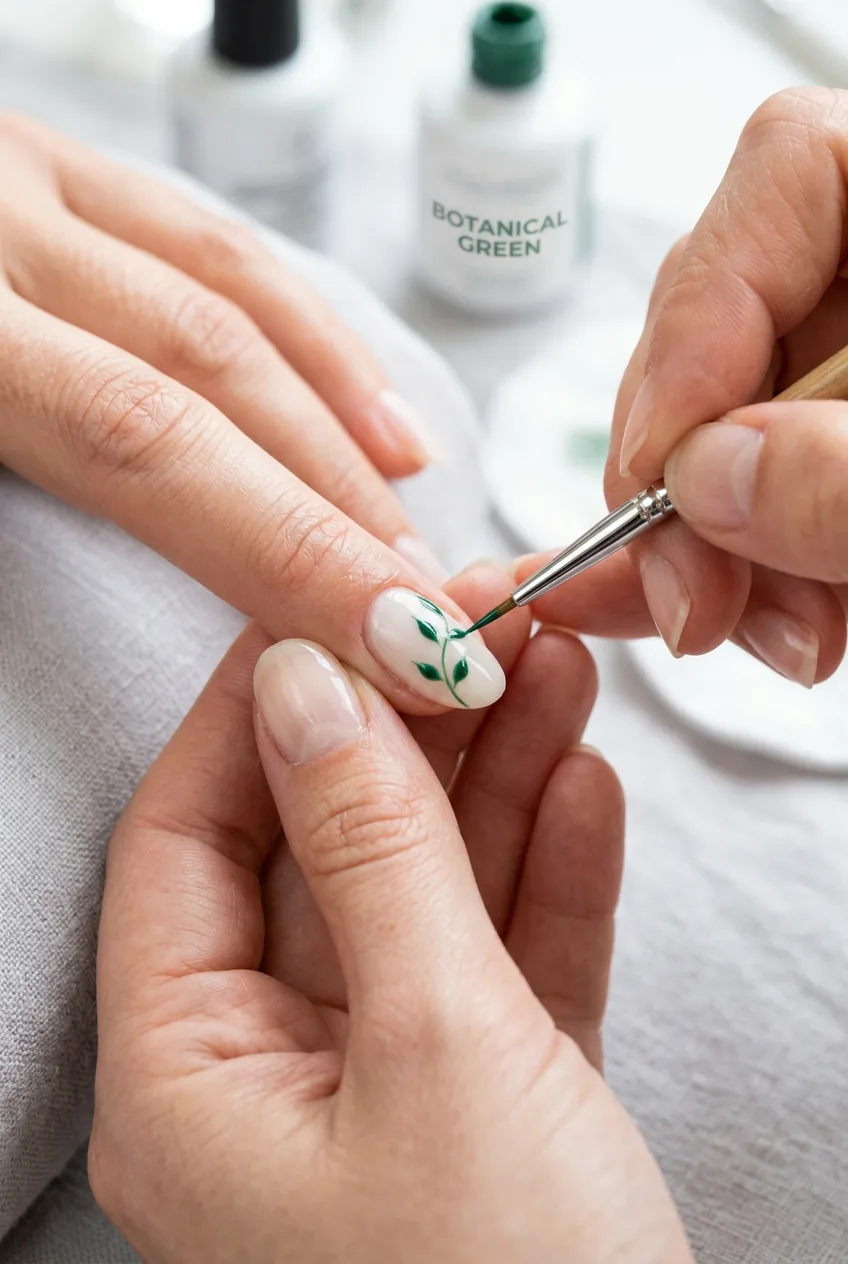
Design Two: Simple Leaf Accent
Draw a curved line for the stem, then add small teardrop shapes branching off. Think of it as a simple fern rather than a detailed rose. Two or three leaves per nail is plenty.
Design Three: Elegant Line Work
Create thin parallel lines running diagonally across the nail. Start with just two lines, evenly spaced. Once you master this, you can experiment with different angles and spacing.
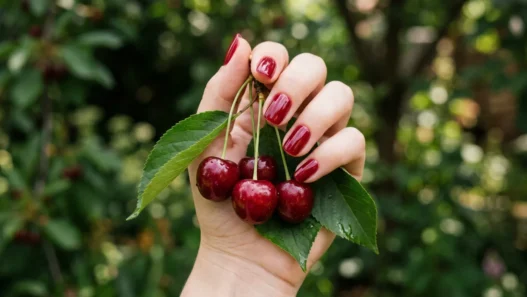
These designs work beautifully for winter nails when you want something subtle but special. The dots look elegant in metallics, while the leaf design adds organic beauty to any base color.
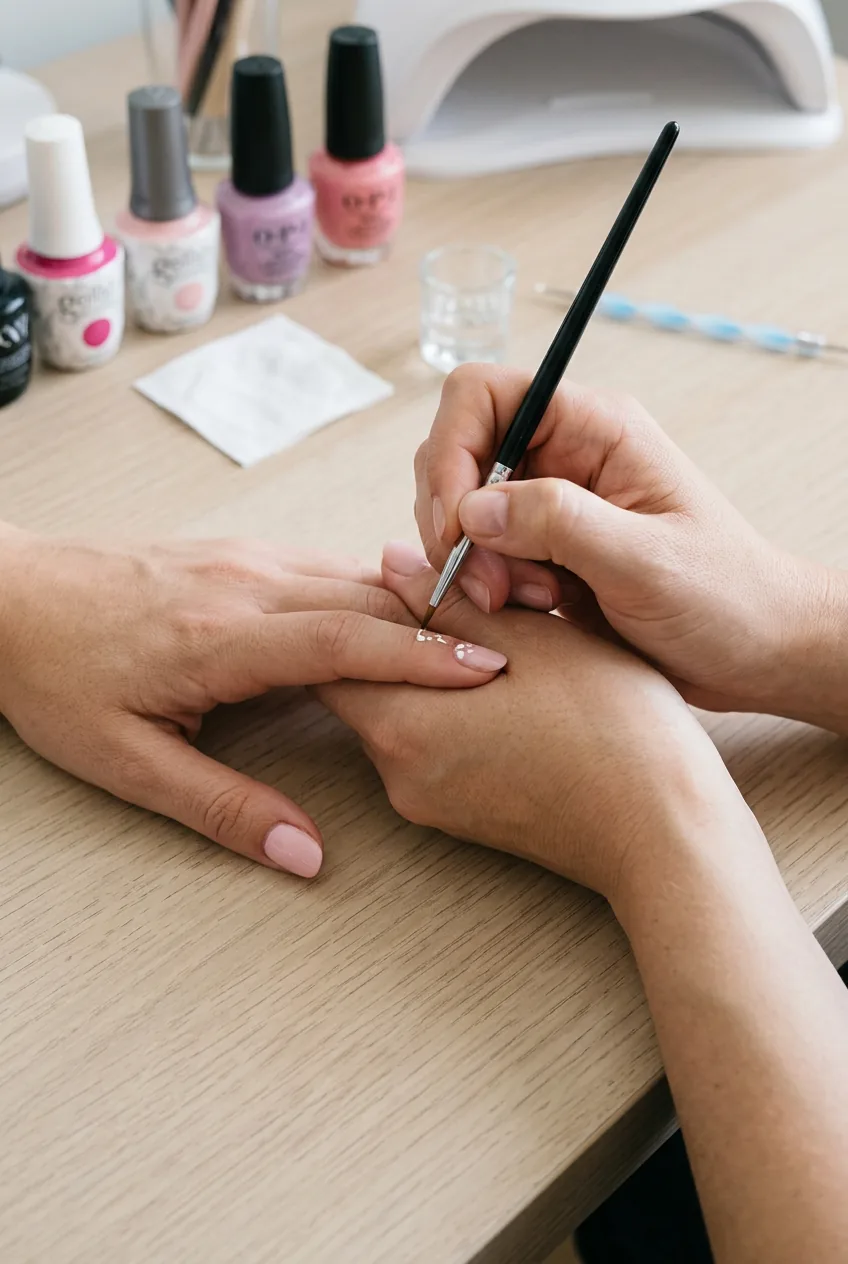
Step 5: Moving from Paper to Nails
The transition from paper to actual nails feels intimidating, but there’s a smart way to approach it. Start with your non-dominant hand — if you mess up, it’s less noticeable, and you’ll have learned something valuable for the hand people actually see.
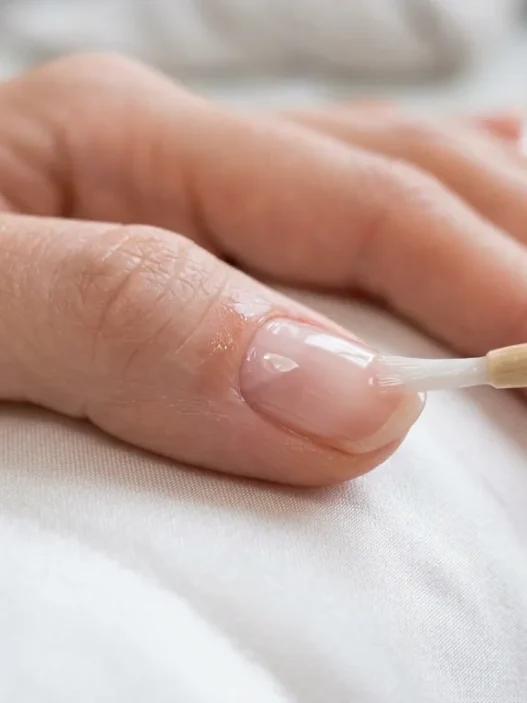
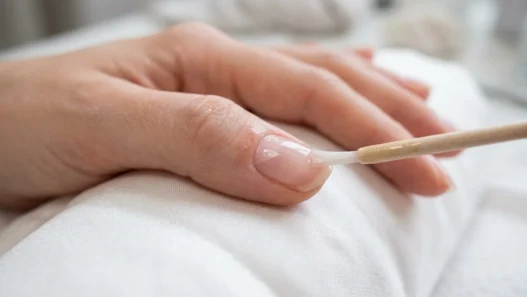
Apply your base coat and let it dry completely. I cannot stress this enough — rushing this step will cause your design to drag and smudge. Then apply your base color in thin, even coats.
When your base is completely dry, it’s design time. Work on one nail at a time, completing the entire design before moving to the next. This prevents you from accidentally smudging partially completed work.
For your first attempts, choose a design color that contrasts with your base but isn’t stark white or black. These unforgiving colors show every wobble. A soft gold on navy, or coral on cream gives you room for imperfection while still looking intentional.
The basic brush techniques you’ve been practicing on paper will translate directly to your nails now.
Watch the Paper-to-Nail Transition
Step 6: Troubleshooting Your First Attempts
Let’s be honest — your first attempts probably won’t look Instagram-perfect. Mine certainly didn’t. But most “mistakes” in free-hand nail art can be fixed or incorporated into the design.
If your line goes wobbly, don’t panic. Use a thin brush dipped in nail polish remover to clean up the edges, or add more decorative elements to balance out the imperfection. Sometimes a wonky flower becomes the perfect starting point for a garden scene.
Smudged designs can often be saved by adding complementary elements over the top. A smudged leaf can become the base for a more detailed botanical design.
The biggest lesson I learned? Stop comparing your day-one attempts to someone’s day-365 work. Every nail artist started with shaky lines and uneven dots. The difference is they kept going.
When working on nail designs for a two-hour manicure project, remember that free-hand elements can be the perfect finishing touch to elevate simpler base techniques.
For more complex techniques as you advance, exploring different freehand painting methods will expand your creative possibilities.
Consider how your chosen design will work with different nail shapes and lengths — some designs look better on longer nails, while others shine on shorter, more practical lengths.
Questions I Get About Free-Hand Nail Art
Do I need expensive brushes to get started?
Not at all. A single quality liner brush (around $3-5) will handle 90% of free-hand designs. I used the same basic brush for my first year of nail art. Invest in good technique first, fancy tools later.
How long should I practice before trying on my actual nails?
I recommend one solid practice session on paper for each new design, but don’t overthink it. Once you can draw the design three times in a row without major wobbles, you’re ready for nails.
What if my dominant hand looks perfect but my non-dominant hand is a disaster?
This is completely normal! Your non-dominant hand will always be trickier. Consider doing simpler designs on that hand, or embrace asymmetry as an intentional style choice.
Can I use regular nail polish for free-hand art?
Absolutely. Regular polish actually gives you more working time to perfect your design compared to fast-drying formulas. Just make sure your base is completely dry before starting your art.
After six months of practicing these techniques, I can honestly say free-hand nail art became one of my favorite ways to unwind. There’s something meditative about creating tiny works of art on such a small canvas. Your early attempts might not be gallery-worthy, but they’ll be uniquely yours — and that’s worth more than perfect technique any day.