


For an embarrassingly long time, I thought I was just bad at nails. Every single time I painted them at home, I’d smudge a thumb before the second hand was even done. Or I’d wake up to sheet marks pressed into what I thought was perfectly dry polish. I tried drying sprays, I tried blowing on them, I even tried that trick where you dip them in ice water. Nothing stuck — literally. It wasn’t until I stopped rushing the prep that everything changed, and honestly, it felt like the most obvious thing in the world once I saw it.
Starting With Real Prep
The thing nobody told me — or maybe they did and I ignored it — is that prep is ninety percent of the result. I used to wash my hands, dry them on a towel, and start painting immediately. And I mean immediately. I was always in a rush. The polish looked okay going on but would peel from the free edge within two days. I thought it was cheap polish. It wasn’t. It was residual lotion and oils sitting invisibly on my nail plate and destroying adhesion before the first stroke was even dry.
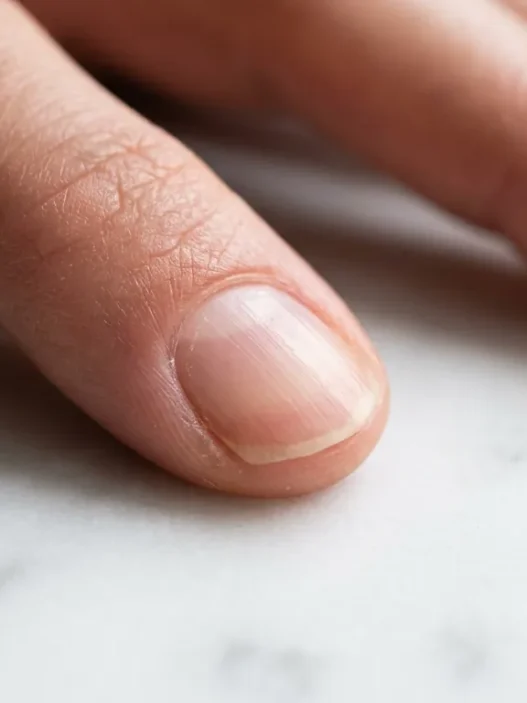
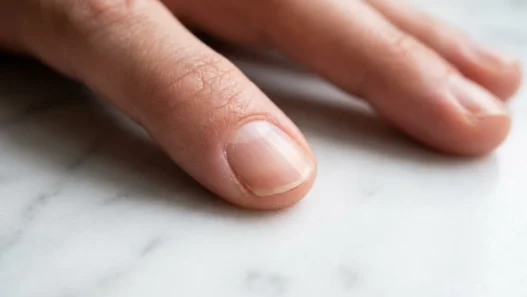
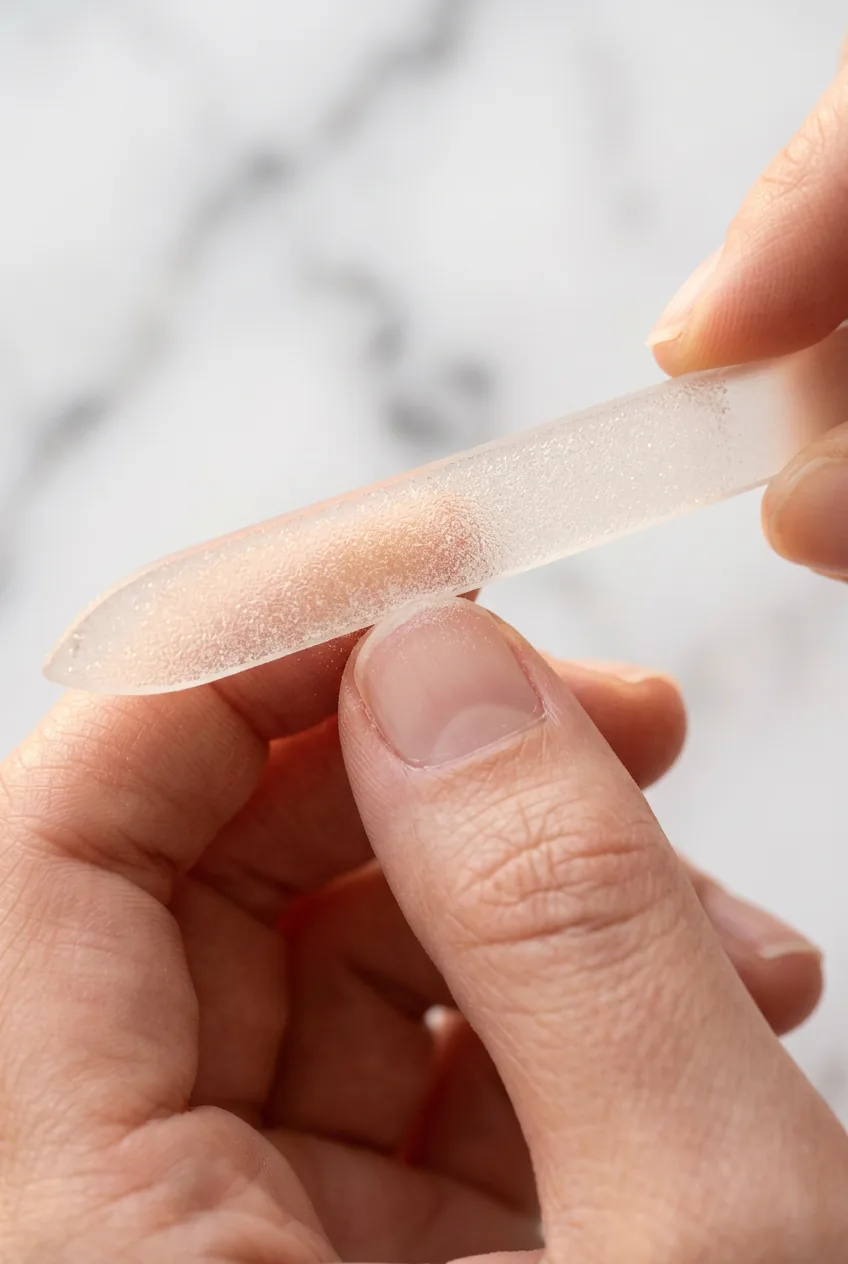
Real prep starts with shape. I file dry nails — never wet, because wet nails are more prone to splitting — using a glass file rather than a drugstore emery board. Glass files seal the edge as they smooth it, which dramatically reduces those tiny edge lifts that let polish peel up from the tip. If you’ve never tried one, stop believing the myth that all files do the same job. They really don’t.
After filing, I push back my cuticles gently with a rubber-tipped pusher — I don’t cut them, because cutting them just makes them come back thicker and faster. Then I wipe every single nail with a lint-free pad soaked in pure acetone. Not nail polish remover. Acetone. It strips the oil layer completely, and you can literally feel the difference: the nail goes from slightly tacky-feeling to squeaky clean. That squeaky clean surface is what polish bonds to.
The Products That Actually Matter
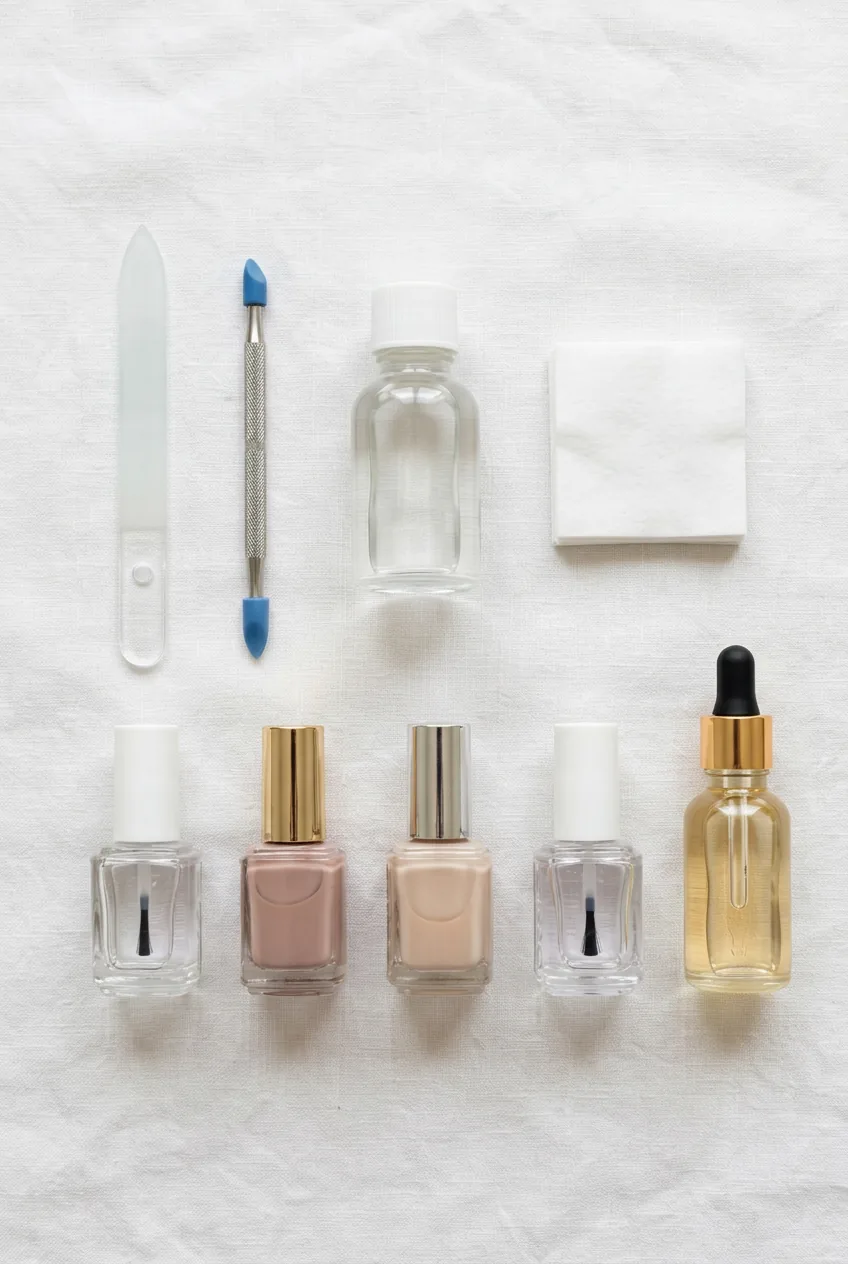
I used to own about forty polishes and not a single dedicated base coat. That tracks with where I was mentally — focused on color, ignoring foundation. Here’s everything I actually use now for a clean, long-lasting basic manicure:
- A glass nail file (fine grit, the kind you can run under water to clean)
- A rubber-tipped cuticle pusher
- Lint-free nail wipes or small cotton pads
- Pure acetone (a small bottle from the beauty supply — so much cheaper than fancy removers)
- A dedicated base coat — I use a ridge-filling one because my nails have a few vertical ridges
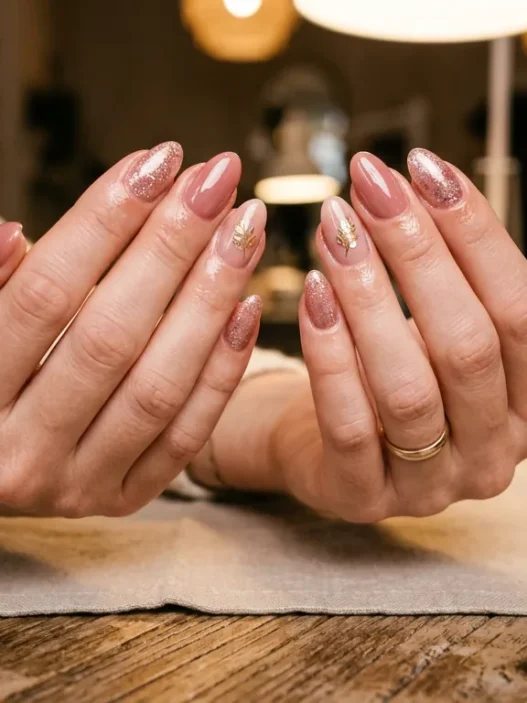
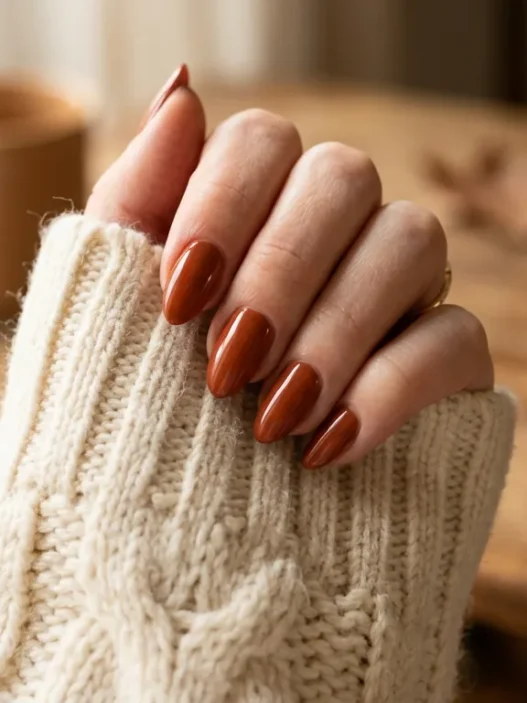
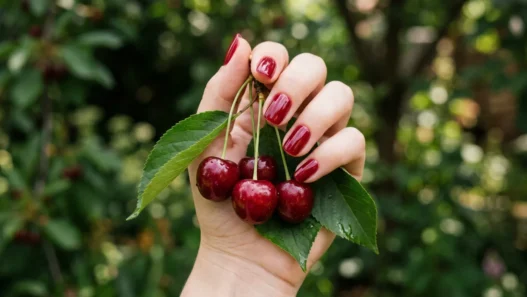
- A quality cream or sheer nail polish in the color I want (right now I’m rotating between a warm nude and a barely-there pink)
- A fast-dry top coat — not the same as regular clear polish, the formula is genuinely different
- A thin nail art brush or cleanup brush dipped in acetone for edge cleanup
- Cuticle oil for after everything dries
That list looks long but most of it lasts forever. The glass file I’ve had for two years. The acetone bottle is enormous and costs almost nothing. The real investment is in base coat and top coat — don’t skip either, and don’t use the same product for both. They’re formulated differently and they work in tandem. If you want to go deeper on building an actual routine around these products, the effortless minimalist nails manicure routine I’ve referenced before breaks it down really well.
Where Most Manicures Fall Apart
This is the section I wish someone had handed me years ago. Most at-home manicures fail at the same three points, and I have personally hit every single one of them on repeat.
The first failure point is thick coats. I used to glob on polish trying to get full coverage in one pass. Thick coats don’t dry — they skin over on top while staying wet underneath, and that’s what causes those horrible dents hours later when you barely graze something. Two thin coats, always. Three if the color is sheer. Each one should be almost dry before the next goes on.
The worst mistake I ever made was painting my nails right after applying hand lotion. I thought the lotion had absorbed. It had not. Every single nail peeled off in sheets within 24 hours. Now I do nails before any hand care, always — or I do that acetone wipe no matter what.
The second failure point is skipping the free edge. Capping the tip — dragging your brush across the very edge of the nail at the end of each stroke — seals that vulnerable edge where chips always start. It’s a tiny extra motion that adds maybe fifteen seconds to the whole process and makes a genuinely noticeable difference in how long the manicure lasts. Sealing the free edge is something professionals swear by and home manicurists almost never do.
The third failure point is rushing the top coat. Applying top coat over polish that isn’t dry enough drags the color, creates streaks, and can actually pull the whole layer up. I wait at least two minutes between my last color coat and my top coat. I know two minutes feels like twenty when you’re sitting there trying not to touch anything, but it matters.
The Brush Trick Nobody Talks About
Okay, this is the one that genuinely changed things for me, and I feel slightly embarrassed it took so long to find it. The way you load the brush matters more than almost anything else in the application.
Most people — me included, for years — pump the brush in and out of the bottle to load it. Don’t do that. Pumping introduces air bubbles into the polish and thickens it faster. Instead, twist the brush against the neck of the bottle on one side only as you pull it out. You want a small, controlled bead of polish on the tip of the brush, not a huge loaded glob that you then have to wipe half of back off.
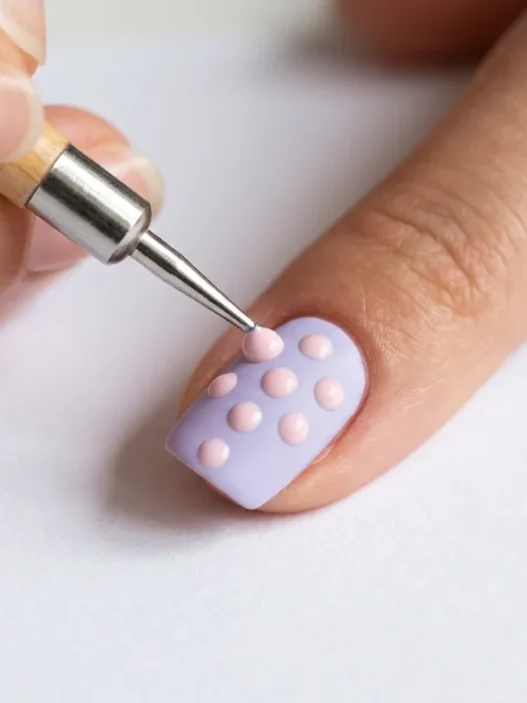
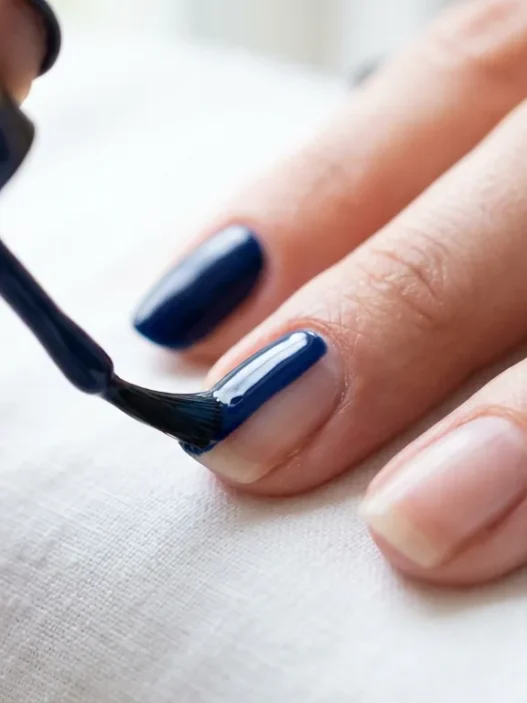
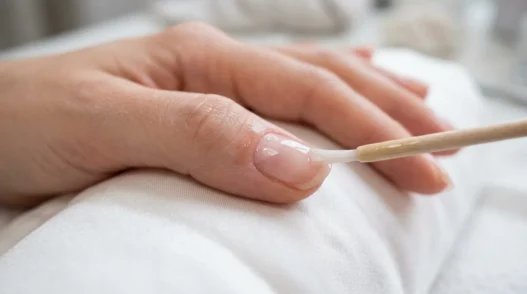
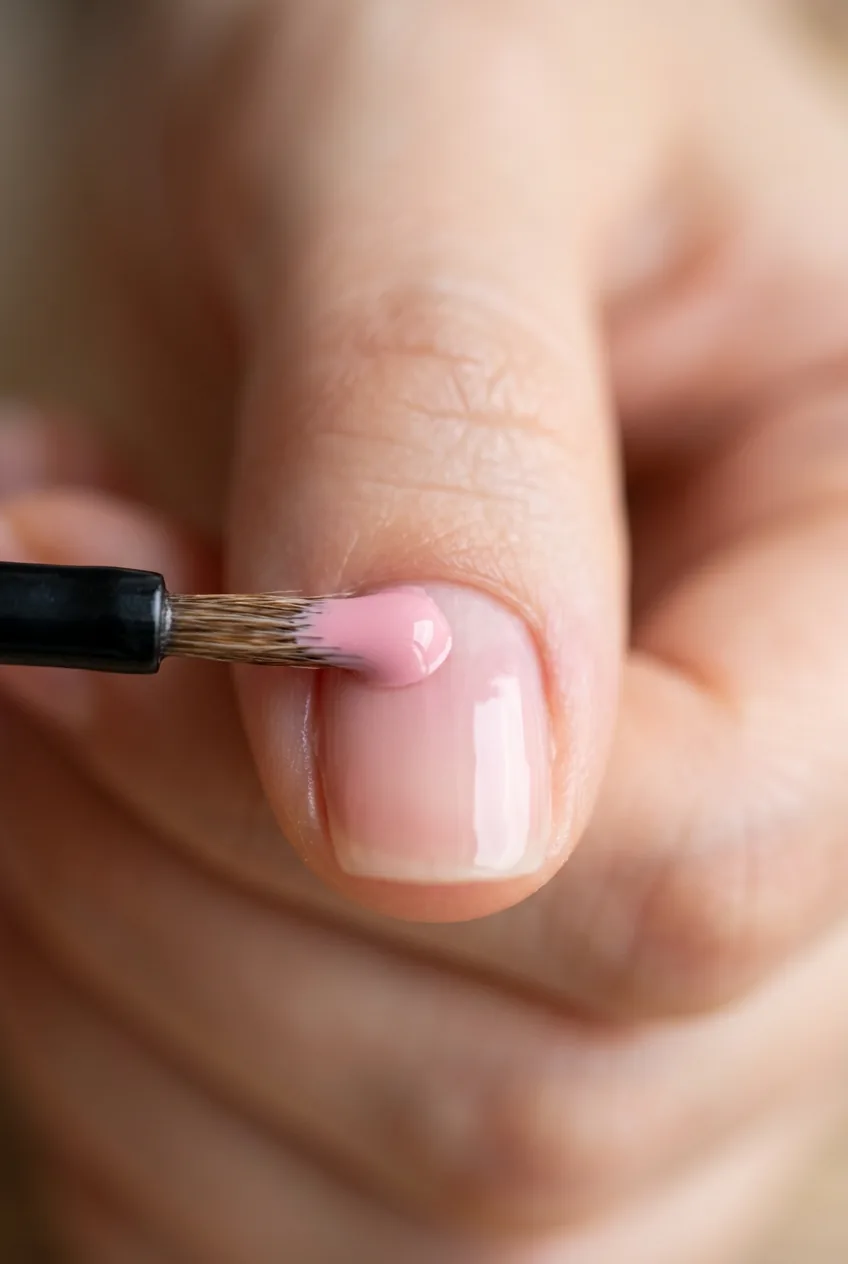
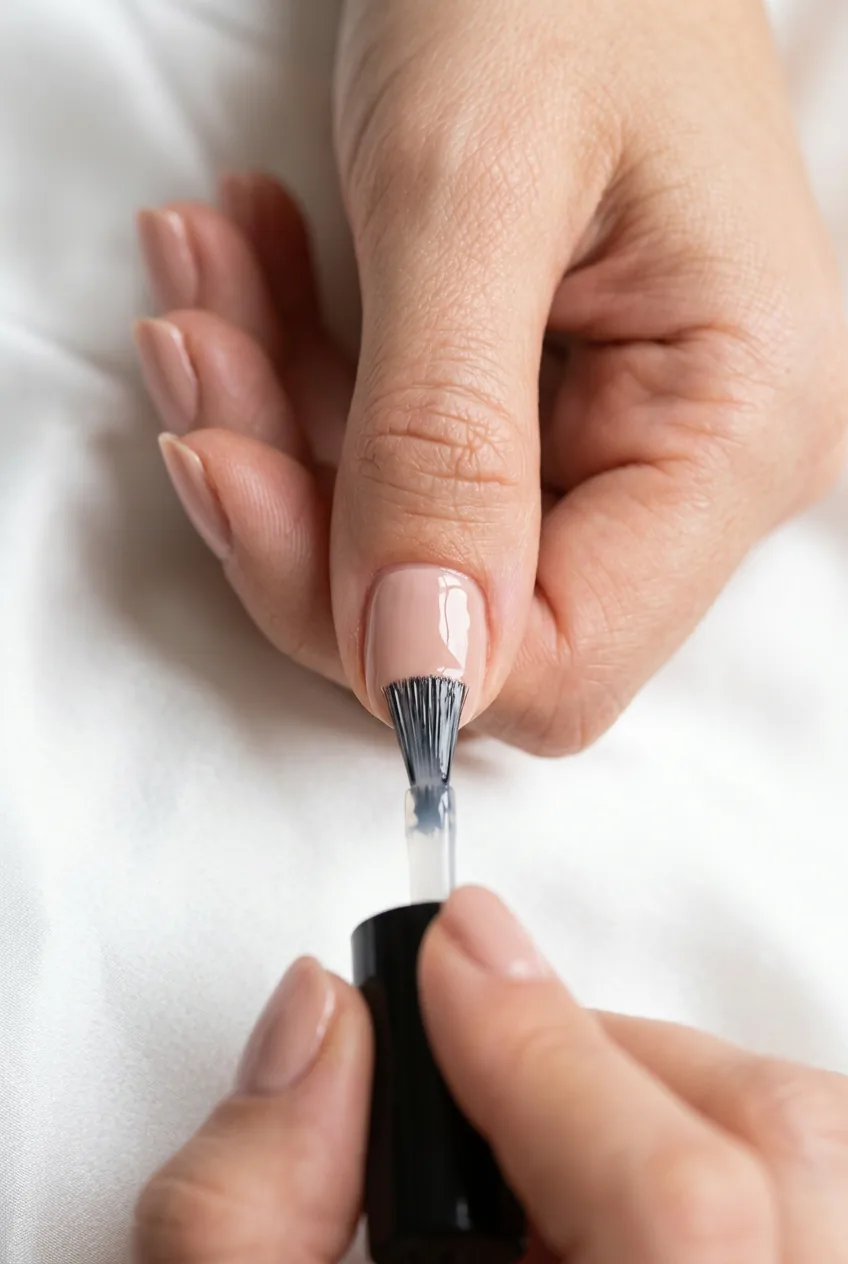
Then place the brush about a millimeter from the cuticle — not touching the cuticle, just close — apply light pressure, and let the polish fan out toward the cuticle on its own before you stroke forward to the tip. This self-flooding technique means you get near-perfect coverage without dragging polish over the skin. Look at how close to the cuticle she’s working in the image below — that’s the proximity I mean, and the result is that clean, salon-looking margin that makes even the most basic nail colors look intentional and precise.
Three strokes per nail: center, left side, right side. That’s it. Don’t keep going back over areas to fix them — you’ll drag the polish. If there’s a gap, the second coat will cover it. Patience over perfection on the first pass.
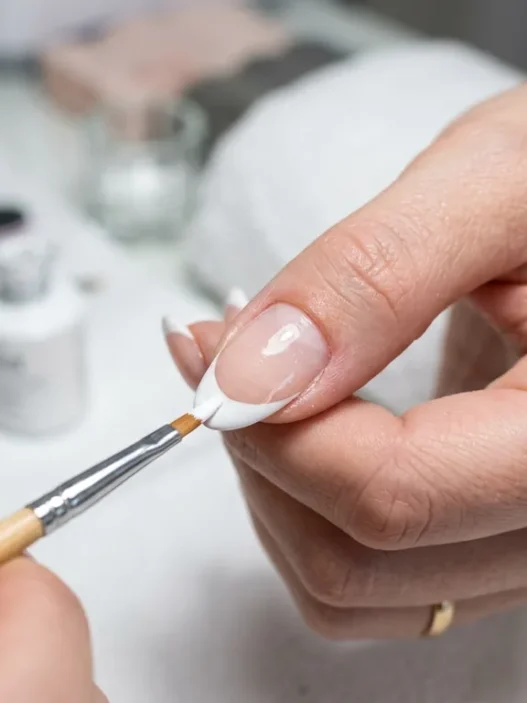
And the cleanup brush! After the top coat goes on and everything is fully dry — like, actually dry, the next morning if you can stand it — I dip a thin angled brush in acetone and run it right along the skin edge of every nail. It removes any polish that bled onto the skin and makes the whole manicure look instantly sharper. It’s the difference between homemade and professional-looking, and it takes about three minutes. This is the kind of thing the simple nails manicure method talks about — small efficiency moves that add up to a much better result.
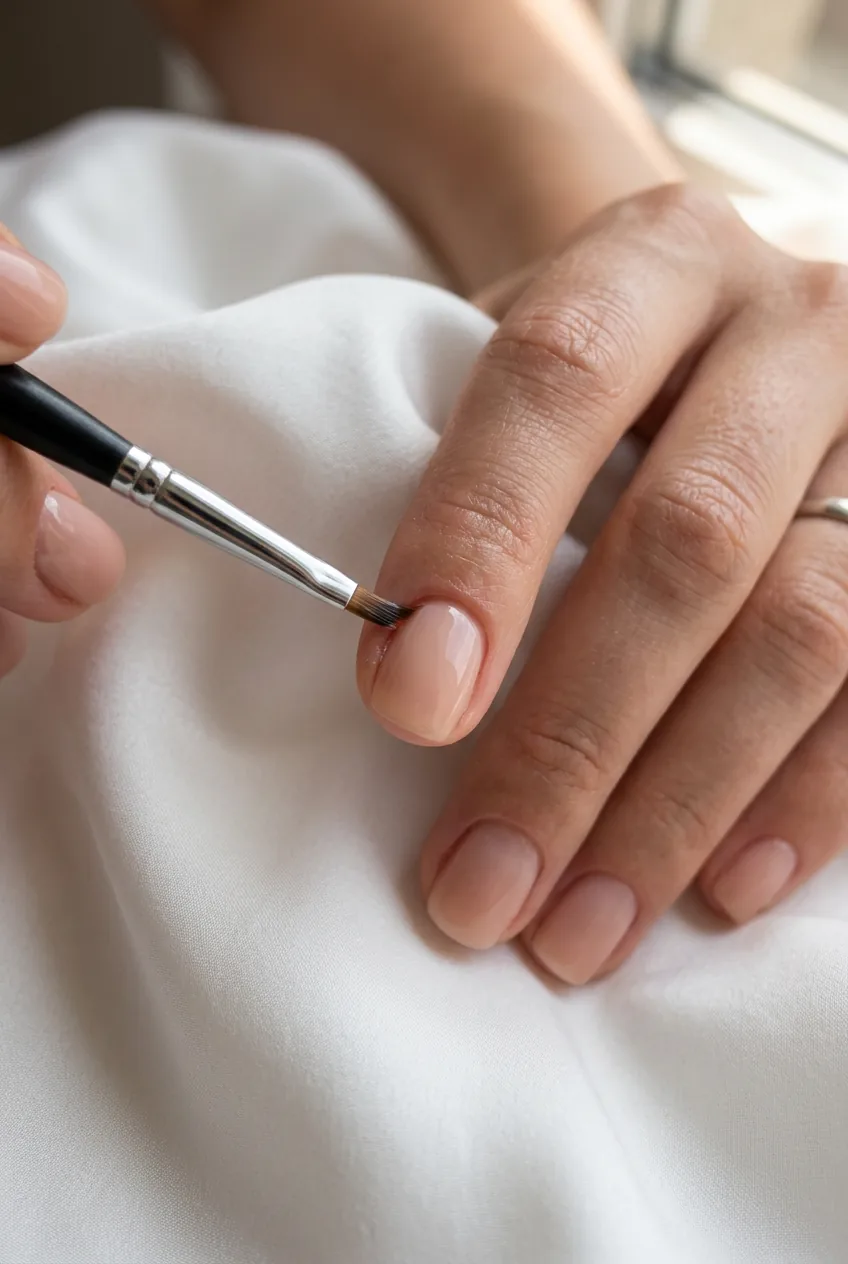
Seeing the Brush Technique in Real Time
How I Finally Got the Finish Right
The finish is really about the top coat, the dry time, and one small aftercare habit. For top coat, I use a fast-dry formula with a slightly domed brush so I can get good coverage without pressing too hard. I apply it in the same three-stroke pattern as the color — center, left, right — and I cap the free edge again just like I did with the color coats.
Then I wait. I do something completely hands-free for twenty minutes minimum. I watch a show. I read. I don’t scroll my phone. Phone scrolling is genuinely one of the top causes of manicure smudging because you think your nails are dry enough to handle the glass and they’re not. The surface dries in minutes. The layers underneath take much longer.
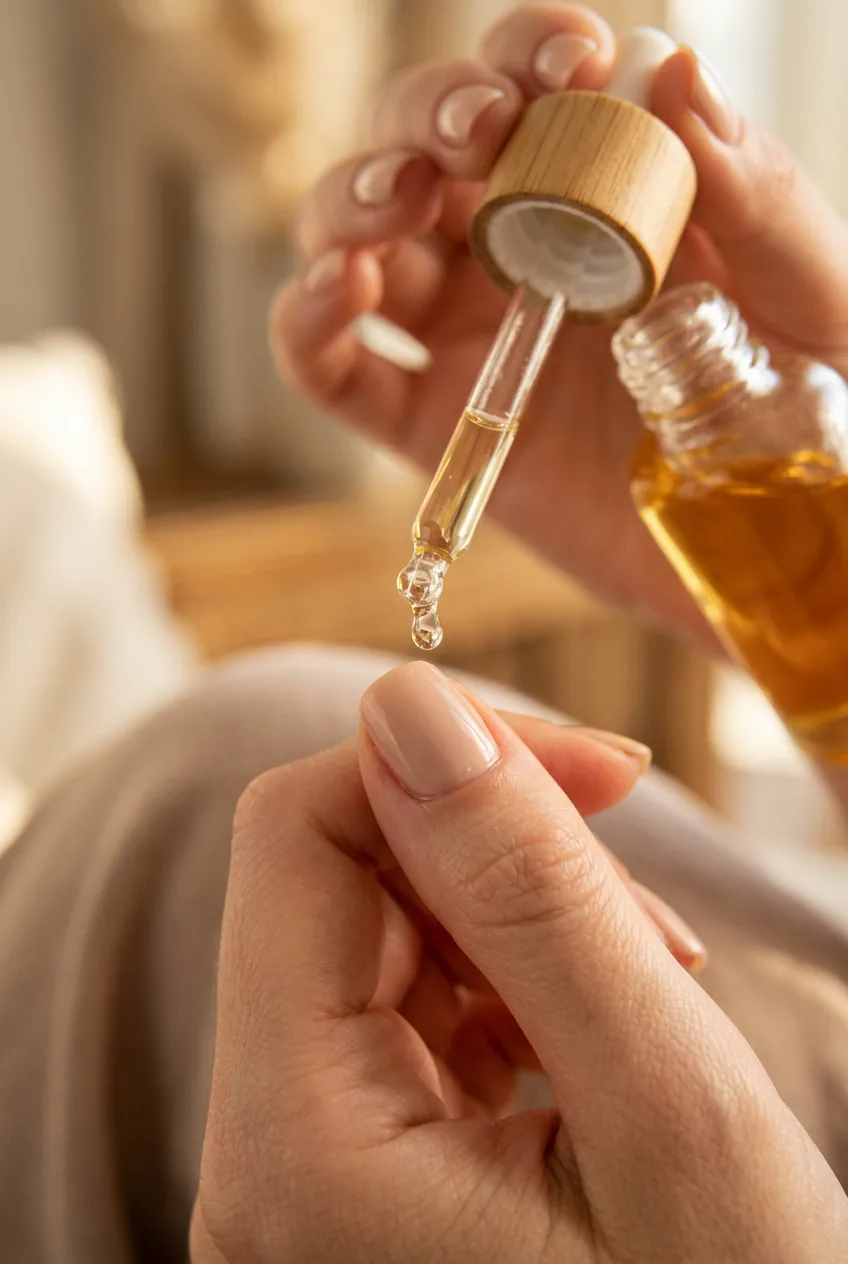
Once everything is fully set — and I mean the next morning, after a full overnight dry — I apply cuticle oil around every nail. Not before, because oil under polish ruins adhesion. But after, cuticle oil keeps the skin around the nail hydrated, which actually helps the manicure look better longer. Dry, cracked cuticle skin makes even a perfect polish job look ragged. Cuticle oil benefits goes into this in more detail if you want to understand the why behind it.
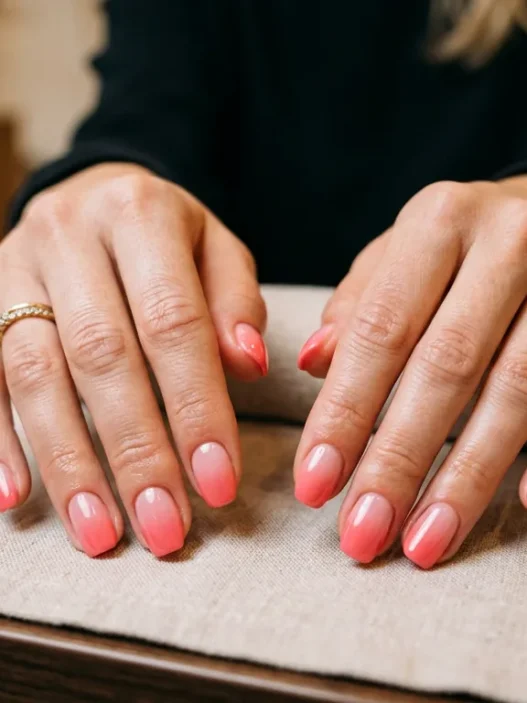
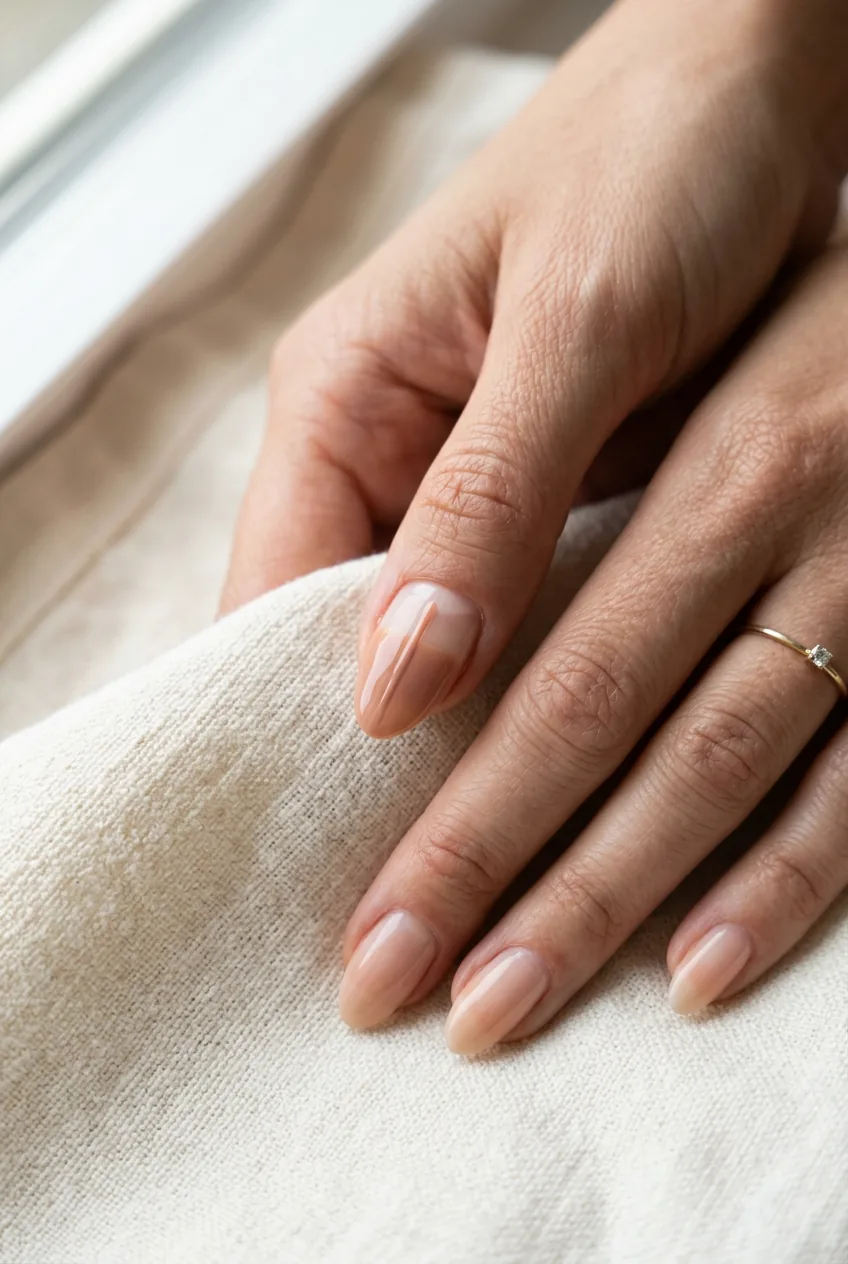
The result I get now is genuinely different from what I was getting before. A basic nude or sheer pink manicure on short, well-shaped nails lasts me five to seven days without major chips — sometimes longer if I’m not doing a lot of dishes without gloves. It looks clean, it looks intentional, and it looks like I know what I’m doing. Which, after years of smudged thumbs and peeling color, feels like an actual small victory. If you’re working with shorter nails and want to see how well this approach translates, there’s a whole philosophy around short natural nails that I find genuinely inspiring — clean prep and good technique matter more than length every time.
And honestly? The whole process now takes me about thirty-five minutes including dry time I spend doing something else. That’s not a lot. It’s just doing the right things in the right order instead of rushing through a process I never actually learned properly. If you’re leaning into a pared-back approach to your nails generally, the whole minimalist simple nail designs manifesto is worth reading — it reframes how you think about what nails are even supposed to look like.
Questions I Get About This
Do I really need a separate base coat and top coat?
Yes, genuinely. Base coats are formulated to grip the nail plate and provide something for color to stick to — they often contain ingredients that fill ridges or bond to keratin. Top coats are formulated to be hard, shiny, and resistant to abrasion. Using one product for both jobs means you’re compromising on both. It’s one of those small investments that pays for itself in how much longer your manicure lasts.
Why does my polish bubble even when I apply thin coats?
Usually one of three things: you shook the bottle (roll it instead), you pumped the brush in and out of the bottle introducing air, or you applied it in a warm or humid environment. Polish bubbles when air gets trapped in the wet formula. The twist-don’t-pump method I described above fixes the most common cause pretty quickly.
How long should I wait between color coats?
At minimum, wait until the previous coat is no longer tacky to a very light touch — usually one to two minutes for a thin coat in normal room temperature. If your room is cold or humid, give it a bit longer. I usually do one hand’s second coat while the other hand’s first coat is drying, which keeps me moving without rushing.
Is acetone bad for my nails if I use it every time I prep?
Using a small amount of acetone to wipe the nail plate before painting is not the same as soaking nails in acetone to remove gel or acrylics. A quick swipe to degrease is very low exposure and the drying effect is minimal — especially since you’re about to apply base coat on top. I’ve been doing this for over a year with no noticeable increase in brittleness. That said, following up with cuticle oil after everything dries is a good habit regardless.