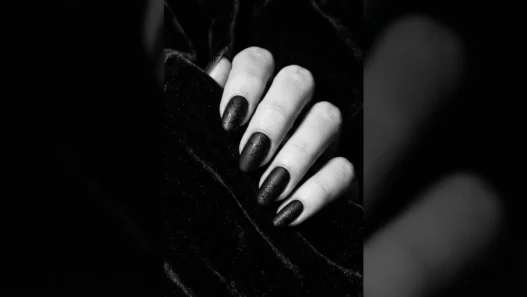


I used to think French tips were just about steady hands and white polish. Then I started digging into the actual chemistry happening on our nail plates, and everything changed. My manicures went from chipping in three days to lasting two weeks once I understood what was really going on beneath the surface.
Here’s What We’ll Cover
- Understanding Your Nail Plate Structure
- Why pH Balance Matters Before Polish
- What You’ll Need for Science-Based French Tips
- Step 1: Prep Your Natural Nail Chemistry
- Step 2: Create the Perfect Base Bond
- Step 3: Map Your Smile Line Using Nail Geometry
- Step 4: Apply the White Tip Using Polymer Science
- Step 5: Seal and Cure for Maximum Durability
- The 24-Hour Chemical Process
Understanding Your Nail Plate Structure
Your nail plate isn’t just a smooth surface waiting for polish. It’s actually made up of three distinct layers of keratin proteins, stacked like microscopic shingles. The top layer — what we see — has tiny ridges and valleys that affect how polish adheres.
Here’s what matters for French tips: the nail plate’s porosity changes from cuticle to free edge. The area near your cuticle is denser and less porous, while the tips are more porous and flexible. This is why French tip manicures often chip at the edges first — that white polish is sitting on the most vulnerable part of your nail.
The keratin structure also explains why some people’s French tips last forever while others chip immediately. If your nail plates are naturally more porous (often genetic, sometimes from overuse of acetone), you’ll need different prep techniques than someone with dense, smooth nail plates.
Why pH Balance Matters Before Polish
This is the part that changed everything for me. Your natural nail plate has a slightly acidic pH of around 4.5 to 5.5. Most nail polishes are formulated to adhere best at this pH range. But here’s the catch — washing your hands, using hand sanitizer, even touching certain surfaces can temporarily alter your nail’s pH.
When your nail pH is too alkaline (above 6), the polish doesn’t bond properly to the keratin proteins. It sits on top instead of creating those crucial molecular connections. That’s why nail dehydrators aren’t just about removing oils — they’re actually pH balancing your nail plate back to its optimal state.
I started testing my nail pH with indicator strips (yes, really), and discovered my nails were consistently too alkaline after my morning routine. Once I started accounting for this, my French tips stopped lifting at the edges within 24 hours.
What You’ll Need for Science-Based French Tips
I’m going to be honest — this isn’t your typical French tip supply list. We’re adding some chemistry-based products that make a real difference:
- pH balancing nail dehydrator (not just any dehydrator)
- Acid-free primer that bonds to keratin
- Base coat with cross-linking polymers
- White polish formulated for tip application (thicker consistency)
- Top coat with UV stabilizers
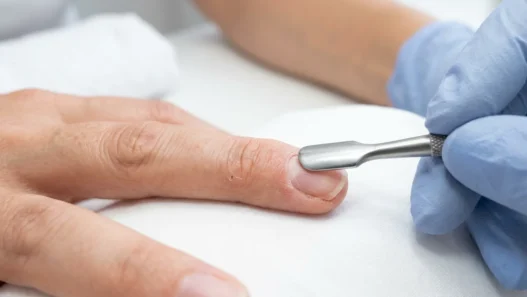
- Cuticle pusher and nippers
- Fine-grit buffer (240/280)
- Lint-free nail wipes
- Small detail brush for cleanup
The key difference is understanding what each product does at the molecular level, not just following steps blindly.
Step 1: Prep Your Natural Nail Chemistry
Start with completely clean, dry nails. But here’s where the science comes in — I wait exactly 20 minutes after washing my hands before I start prepping. This gives my nail plate time to return to its natural pH and moisture content.
Push back your cuticles gently, then use your buffer to very lightly smooth the nail surface. You’re not trying to make it perfectly smooth — you’re creating microscopic texture for better adhesion. Think of it like lightly sanding wood before painting.
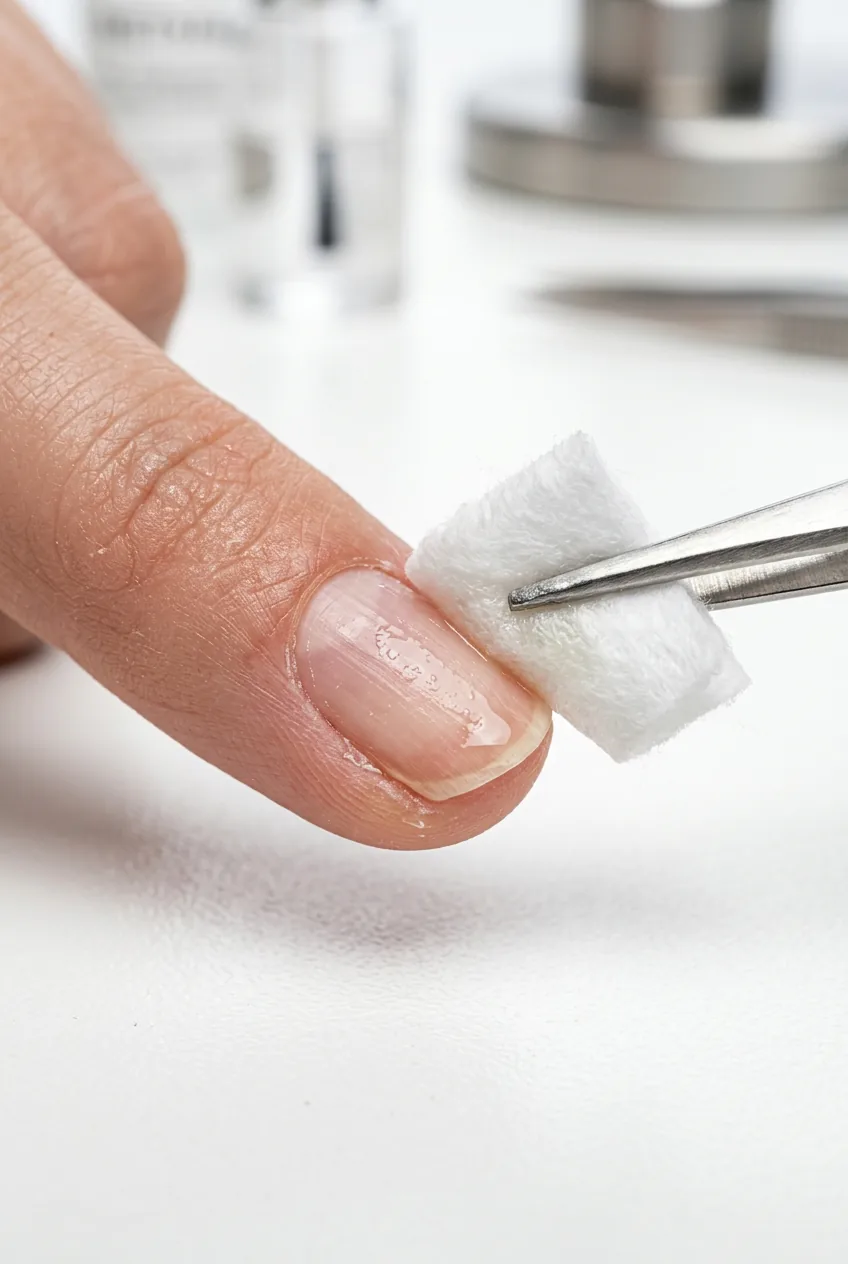
Now apply your pH balancing dehydrator. This isn’t just removing oils — it’s actually adjusting the surface chemistry of your nail plate. Let it sit for 60 seconds, not the usual 30. The keratin proteins need time to respond to the pH change.
I used to rush this step and wonder why my French tips never lasted. Turns out, giving the nail chemistry time to stabilize makes all the difference. Now I actually set a timer.
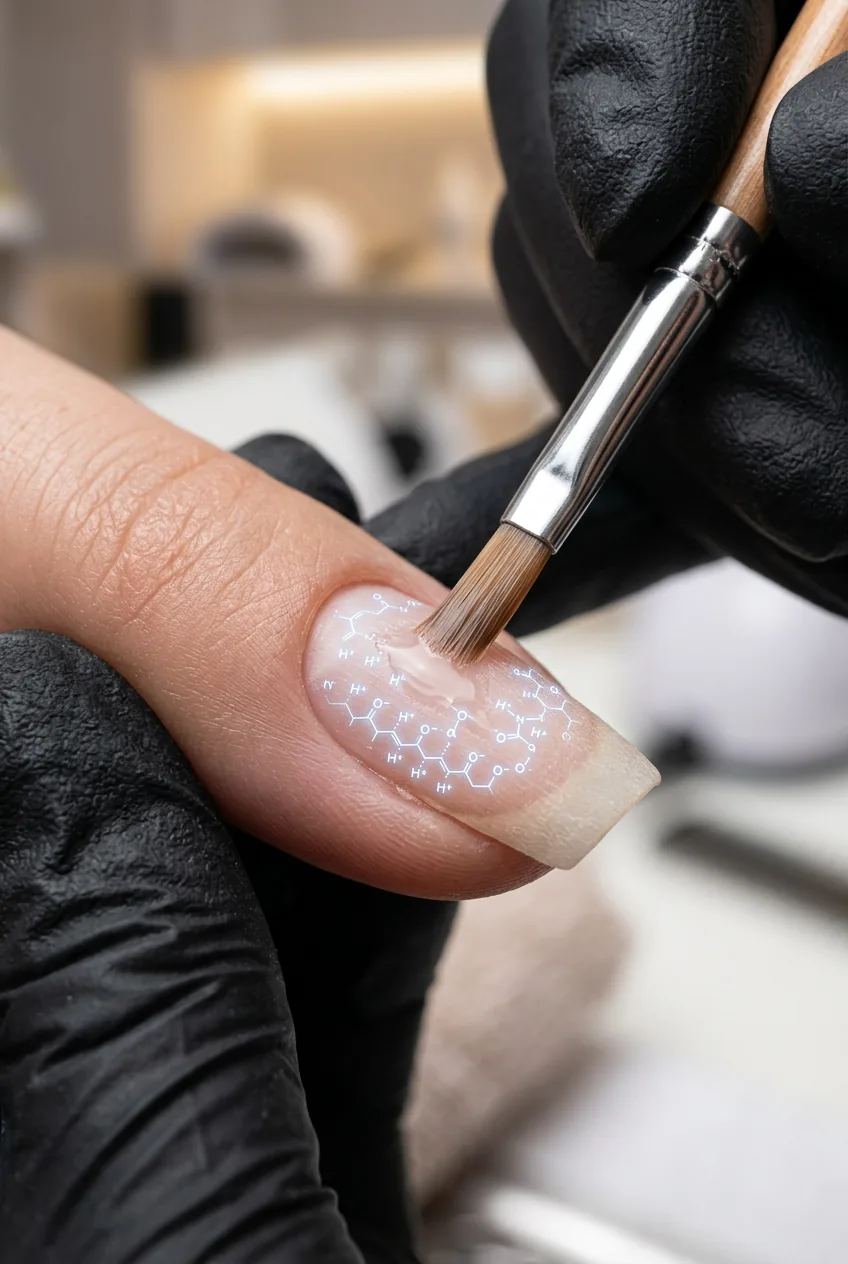
Step 2: Create the Perfect Base Bond
The primer goes on next, but here’s what most people don’t know — acid-free primers work by creating molecular bridges between the nail keratin and the polish polymers. You want a thin, even layer that disappears into the nail plate rather than sitting on top.
Apply the primer in long, smooth strokes from cuticle to free edge. Don’t go back over it — the molecular bonding starts immediately, and disrupting it weakens the connection. Let it dry for two minutes. You’ll know it’s ready when the nail plate looks slightly matte.
Now for the base coat. This is where cross-linking polymer chemistry becomes your best friend. Apply one thin coat, then wait 30 seconds before applying a second thin coat. The first layer partially cures and creates anchor points for the second layer. This double-layer technique gives you exponentially better adhesion than one thick coat.
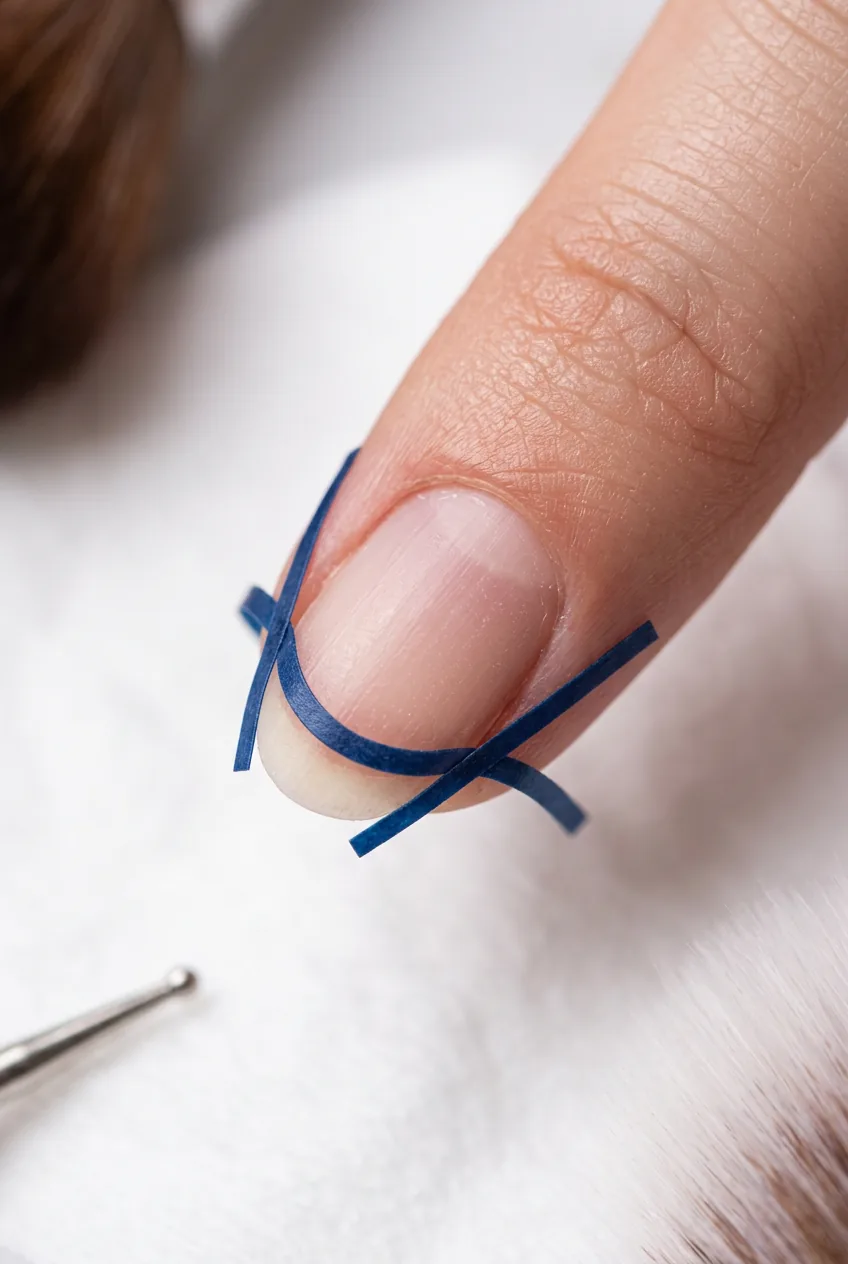
Step 3: Map Your Smile Line Using Nail Geometry
Here’s where art meets science. The perfect smile line isn’t just about what looks good — it’s about following the natural stress patterns in your nail plate. The strongest French tips follow the nail’s natural curve because they work with, not against, the keratin fiber direction.
Look at your nail from the side. See how it curves? That curve continues underneath, and the strongest smile line mirrors that three-dimensional shape. I use the width of my nail at the widest point as my measuring guide. The smile line should hit at about 20-25% of that width from each side.
For mapping, I actually use a small piece of tape as a guide, but I curve it to match the nail’s natural architecture rather than making it perfectly straight. This might sound overly technical, but it’s the difference between tips that crack along stress lines and ones that flex naturally with your nail movement.
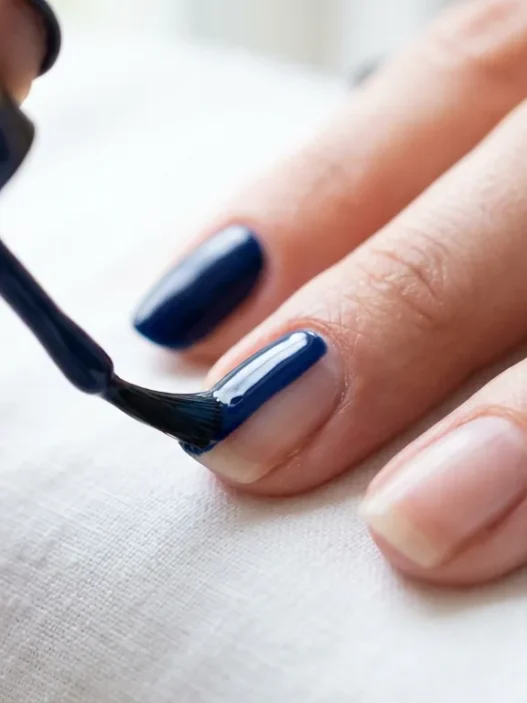
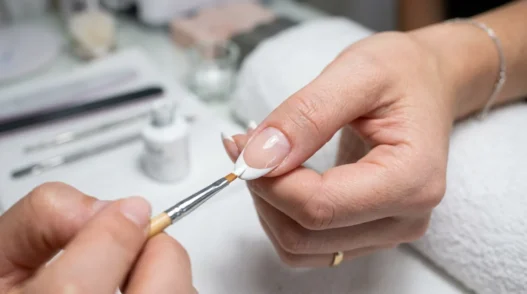
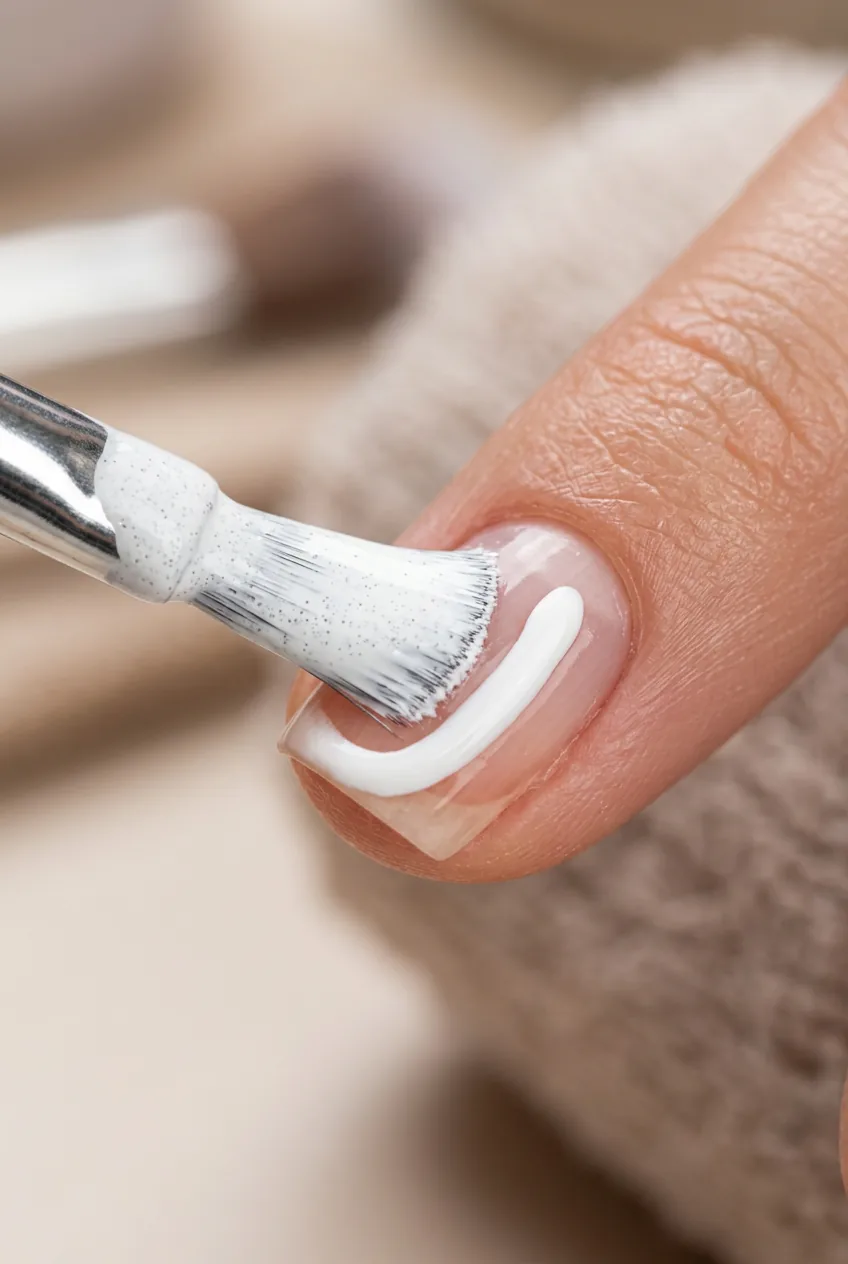
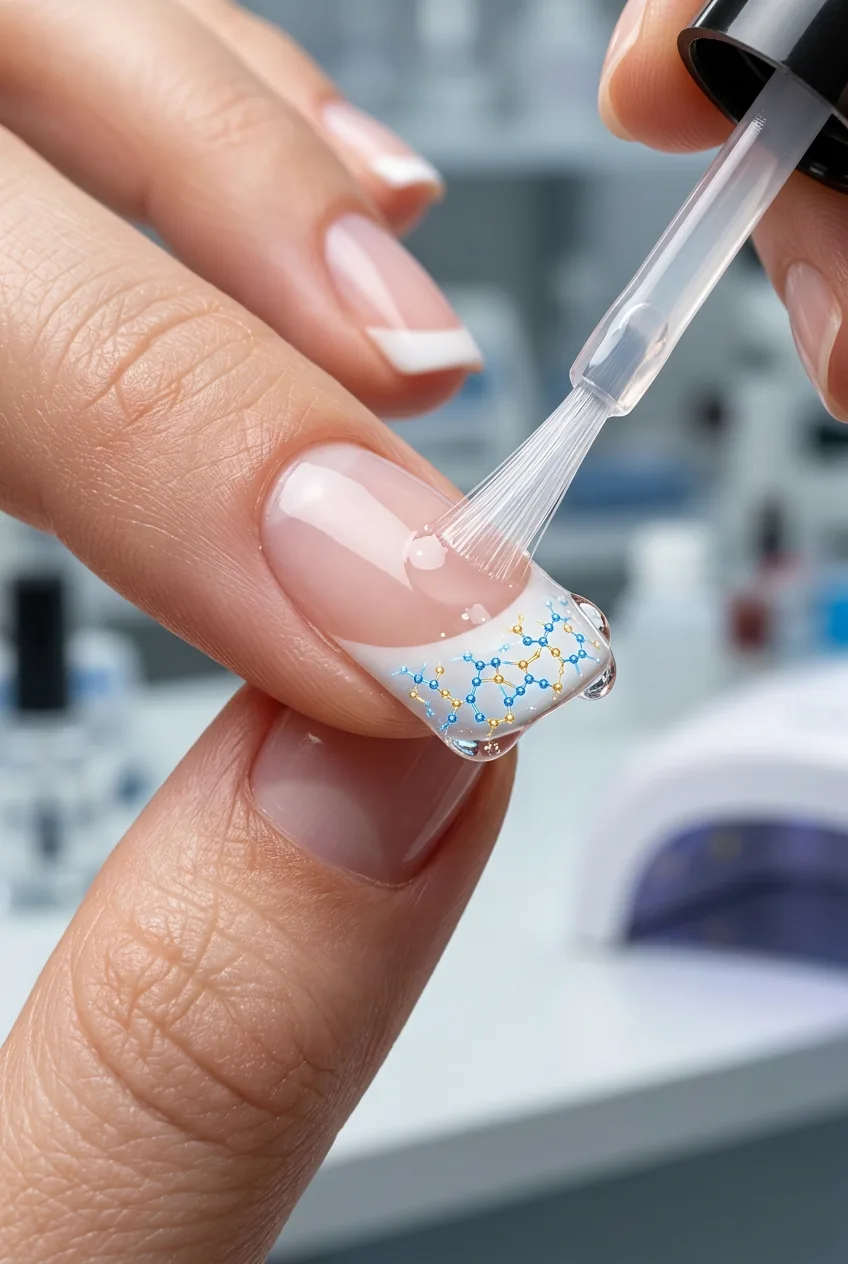
Step 4: Apply the White Tip Using Polymer Science
The white polish application is where polymer behavior really matters. White polish contains titanium dioxide particles suspended in the polymer base, and these particles want to settle. That’s why you see streaking if you work too slowly or go over the same area multiple times.
Start with a loaded brush — more polish than you think you need. Place it at one corner of your mapped smile line and draw across in one smooth motion. Don’t lift the brush until you reach the other side. The key is maintaining consistent pressure so the titanium dioxide particles distribute evenly.
If you need a second coat for opacity, wait until the first coat is completely dry. The polymer chains need to stop moving before you add more layers. I wait about three minutes — longer than most tutorials suggest, but the chemistry doesn’t lie.
For cleanup, use your detail brush dipped in acetone to perfect the smile line. But here’s the science trick — work quickly. Acetone doesn’t just remove polish, it temporarily softens the underlying layers. Clean up within 60 seconds of application, or you risk disrupting your base bond.
Watch the Polymer Science in Action
Step 5: Seal and Cure for Maximum Durability
The top coat isn’t just protection — it’s the final step in creating a unified polymer network across your entire nail. Choose a top coat with UV stabilizers, especially if you spend time in sunlight. UV exposure breaks down the polymer chains over time, leading to yellowing and brittleness.
Apply the top coat in thin layers, just like the base coat. But here’s the crucial part — seal the free edge by running the brush along the tip of your nail. This creates a protective barrier where your nail experiences the most stress and wear.
Let the manicure cure completely before using your hands. “Cure” doesn’t just mean surface dry — it means the polymer chains have finished cross-linking throughout all the layers. This takes about 2-3 hours for full chemical bonding. I know it sounds excessive, but the difference in longevity is remarkable.
The 24-Hour Chemical Process
What happens in the first 24 hours after your French tip application determines how long your manicure will last. The polymer chains continue cross-linking and hardening during this time. Research in cosmetic chemistry shows that nail polish reaches about 80% of its final hardness within 24 hours, but full curing takes up to 72 hours.
During this time, avoid hot water, which can cause the still-flexible polymers to expand and contract rapidly. I learned this the hard way when I did dishes the same evening and watched my perfect smile lines develop tiny stress cracks.
The nail plate itself also adapts to the polymer coating. Your natural nail continues its normal metabolic processes, releasing tiny amounts of moisture that the polish has to accommodate. This is why some people experience lifting — their nail chemistry isn’t compatible with rapid moisture changes.

By understanding what’s actually happening at the molecular level, I’ve been able to troubleshoot my own nail issues and consistently get French tips that last 10-14 days without chipping. It’s not magic — it’s just chemistry working in your favor.
Questions I Get About This Method
Do I really need to wait 20 minutes after washing my hands?
Yes, if you want the best results. Your nail pH changes immediately after contact with soap and water. Giving it time to return to its natural slightly acidic state makes a huge difference in how well the polish bonds. I use this time to set up my supplies anyway.
Can I use regular nail polish for this technique?
Absolutely, but you’ll get better results with polishes formulated for longer wear. Look for brands that mention “polymer technology” or “cross-linking formula” on the bottle. The basic chemistry principles still apply regardless of the polish brand.
Why do my French tips always chip at the edges first?
Because that’s where your nail plate is most porous and flexible. The tips experience the most mechanical stress from daily activities. Short nails actually hold French tips better for this reason — less mechanical stress at the free edge.
How long should I really wait between coats?
Longer than most people think. Each layer needs time for the solvents to evaporate and the polymers to begin cross-linking. I wait 2-3 minutes between color coats and always set a timer. Rushing this step is the main reason for bubbles and poor adhesion.
Understanding the real science behind French tip nails has completely changed my approach to nail care. When you know what’s actually happening on your nail plate, every step makes sense — and the results speak for themselves.