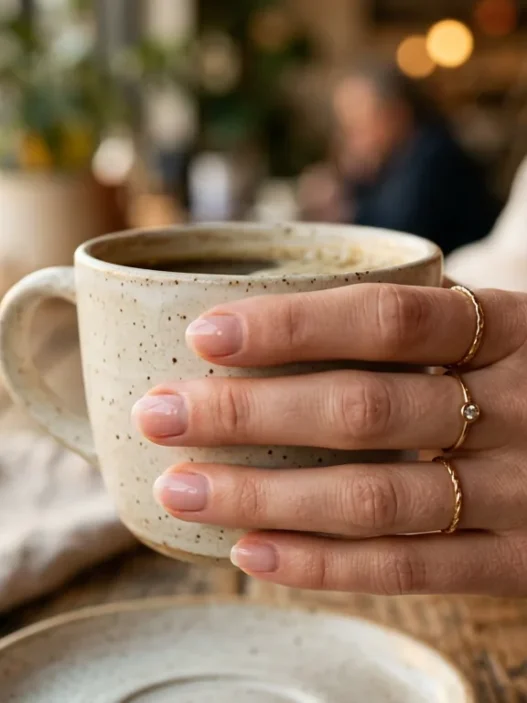


I used to think minimalist nails meant perfect application and twenty-seven steps to achieve that “effortless” look. Turns out I was overcomplicating everything. After burning out on elaborate nail art and hour-long manicures, I developed this ridiculously simple routine that actually looks more expensive than my old complicated methods.
The Only Tools You Actually Need
Forget the twenty-bottle collection. Here’s what actually matters:
- One good file (I swear by a glass one)
- Cuticle oil (any drugstore version works)
- One sheer or neutral polish with good coverage
- Cotton rounds and acetone (for mistakes only)
That’s it. No base coat, no top coat, no fancy treatments. The whole point is to work with what you have instead of against it.

Skip the Base Coat (Yes, Really)
This was the game-changer for me. Most sheer polishes and quality neutrals don’t need base coat for the longevity we’re actually looking for with minimalist nails. We’re not trying to make this last three weeks — we’re going for that perfectly imperfect look that gets better as it wears.
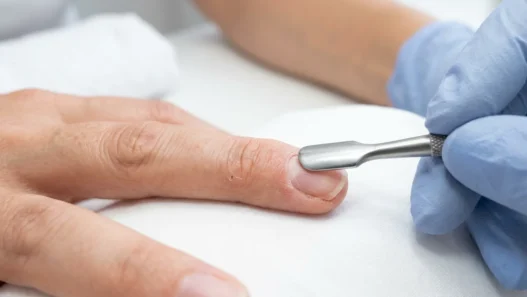
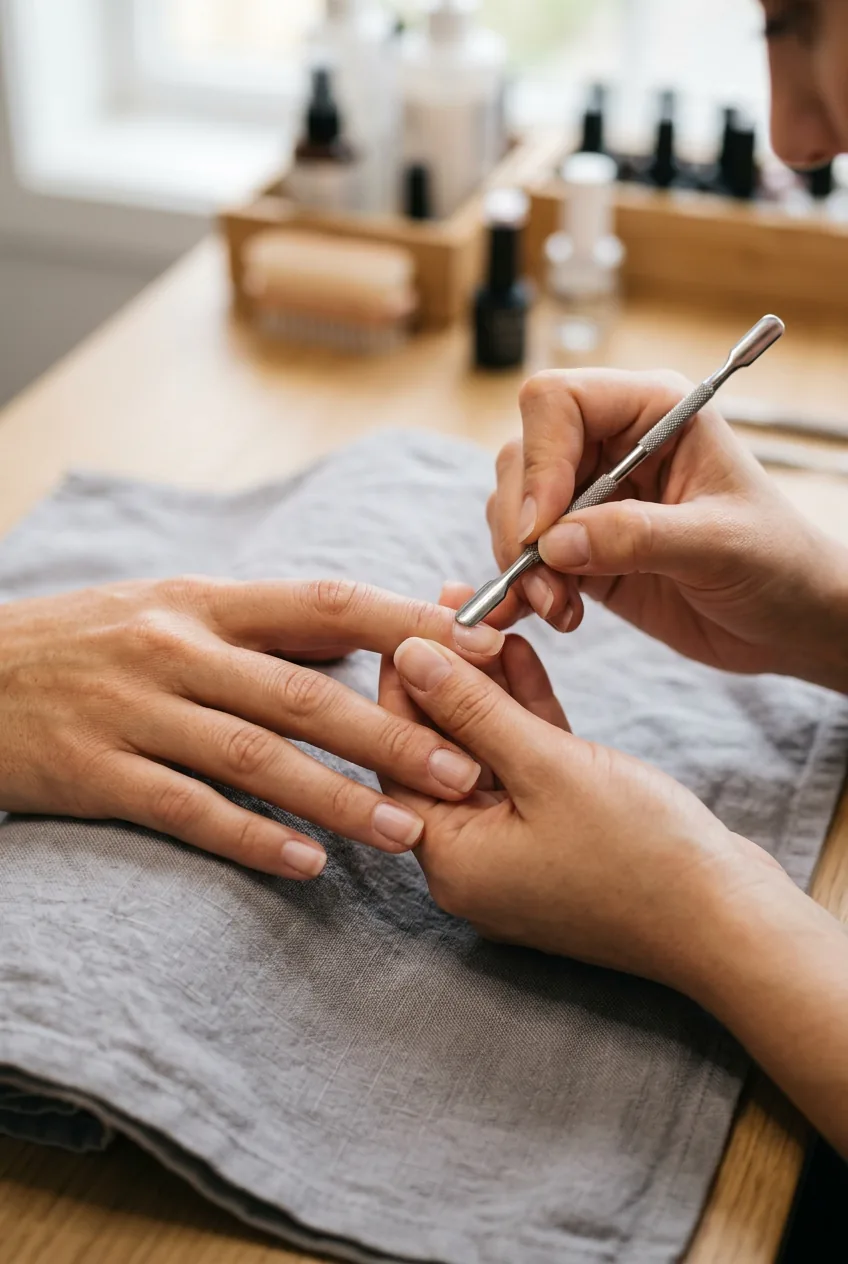
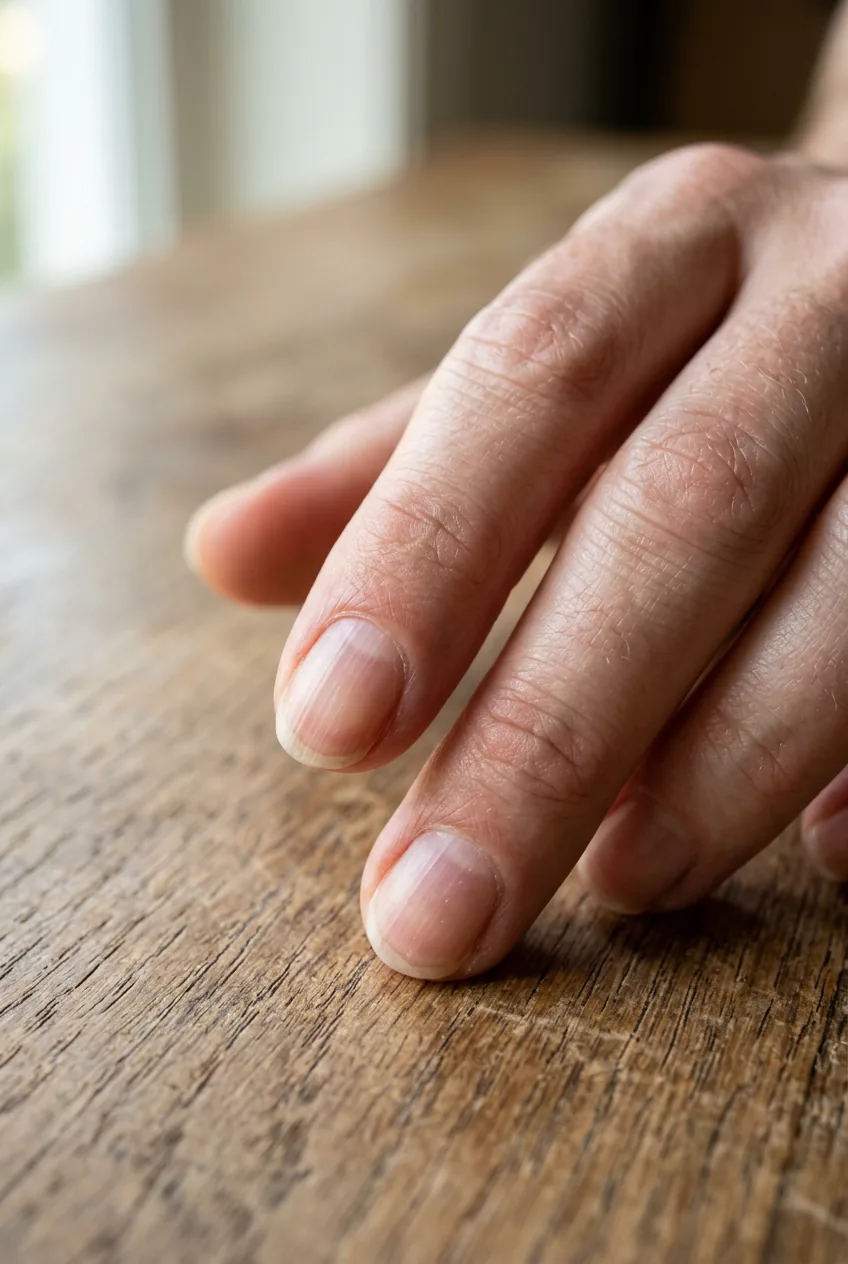
Start with clean, dry nails. Push back cuticles gently with your finger (no special tools needed). File in one direction — back and forth creates those micro-tears that make polish chip faster.
I spent months wondering why my “simple” manicures took forever until I realized I was still doing all the prep work from my gel nail days. Sometimes less really is more.
The One-Coat Color That Changed Everything
Here’s where most people go wrong — they pick a color that needs three coats to look decent, then complain that minimalist nails are too much work. The secret is choosing formulas designed to work in one pass.
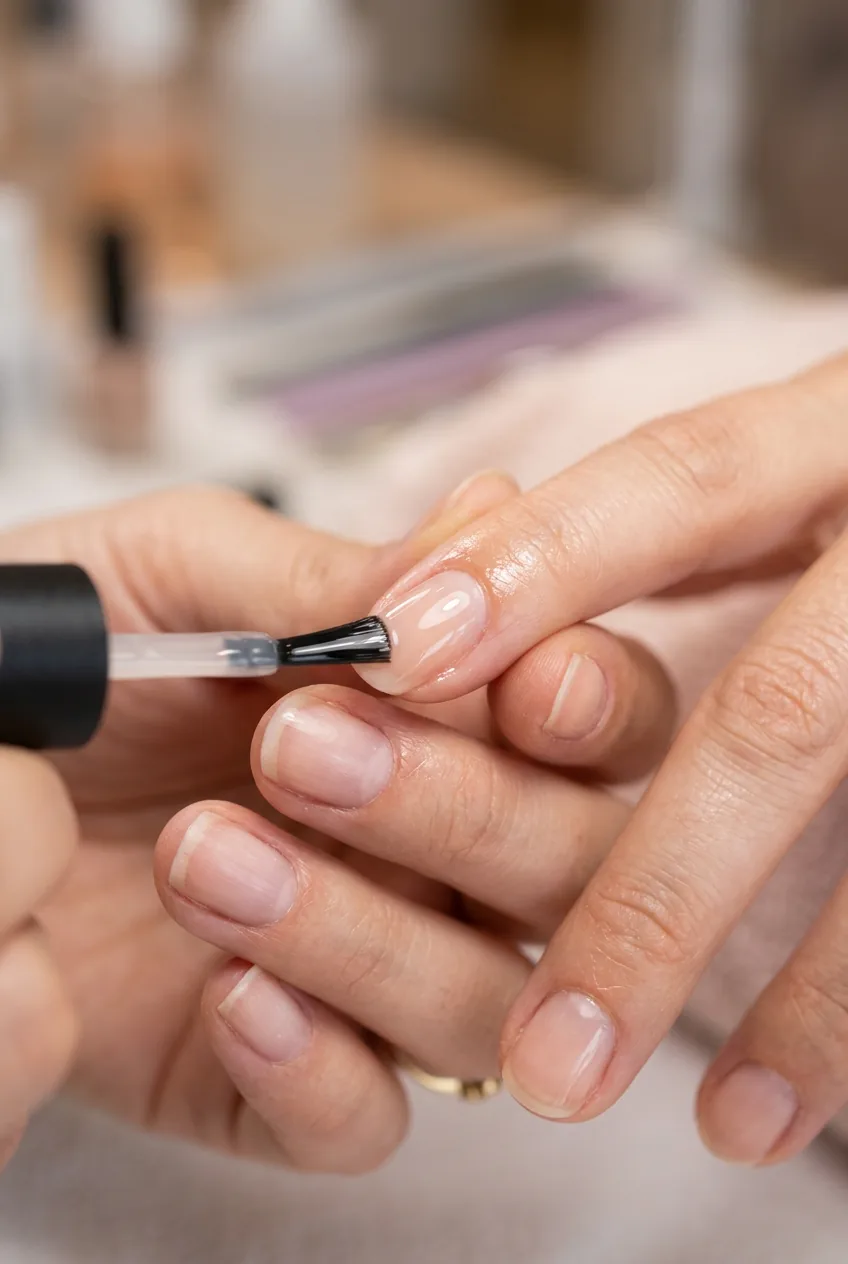
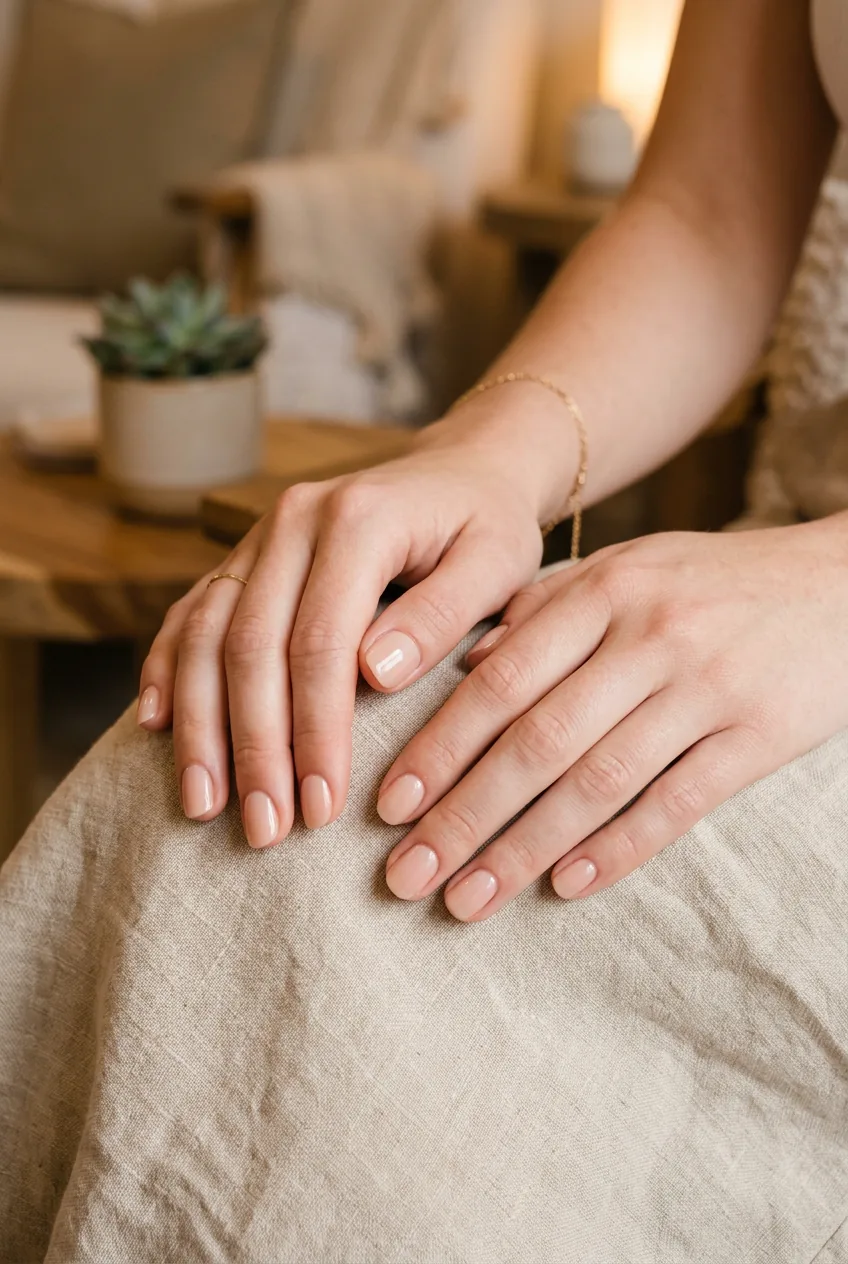
I’ve found that slightly sheer nudes, milky whites, and tinted clear polishes are the most forgiving. They hide application mistakes and look intentional even when they’re not perfect. One-coat formulas save so much time and energy.
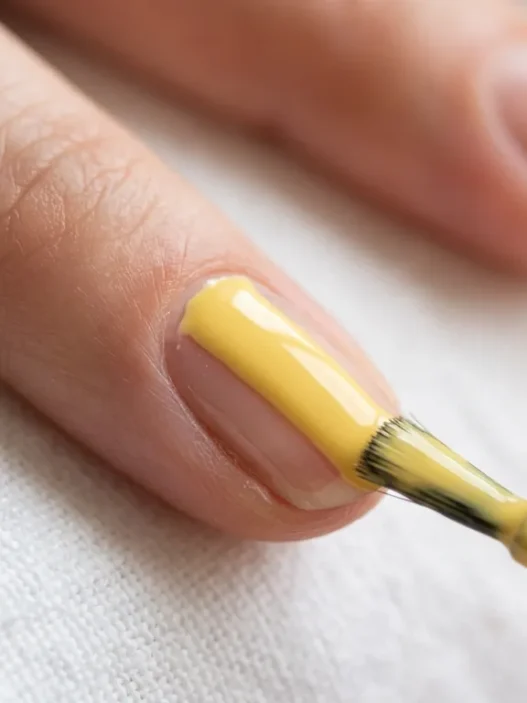
Apply in the middle of the nail first, then sweep to each side. Don’t worry about getting it perfect near the cuticle — we’re going for that lived-in look anyway.
Why I Never Buff Anymore
Buffing ridges and imperfections used to be non-negotiable for me. But minimalist nails look better with a little texture. Those natural nail ridges catch light differently and add character.
Instead of buffing, I just file the tips smooth and call it done. This also means your nails stay stronger since you’re not thinning them out with aggressive buffing.
The Move That Replaces Three Steps
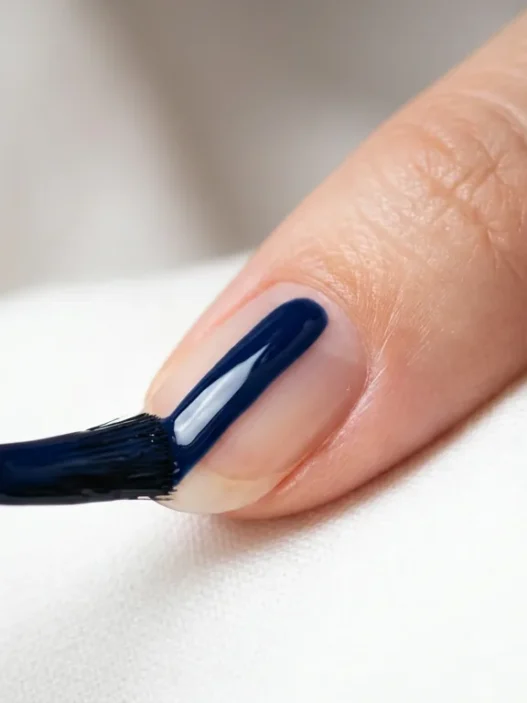
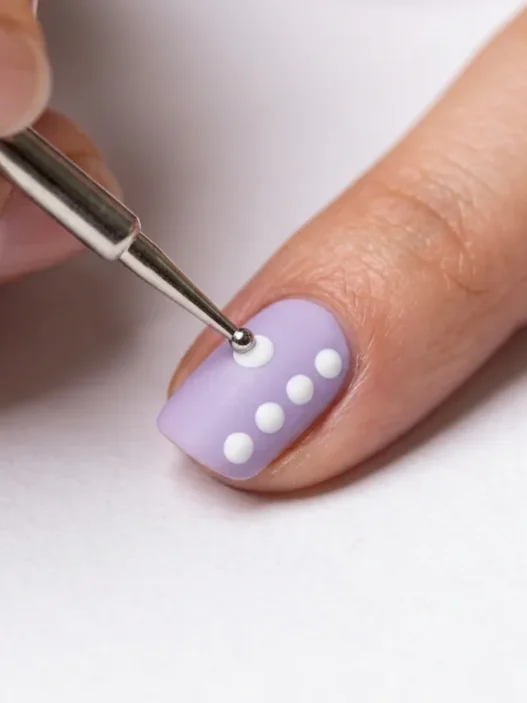
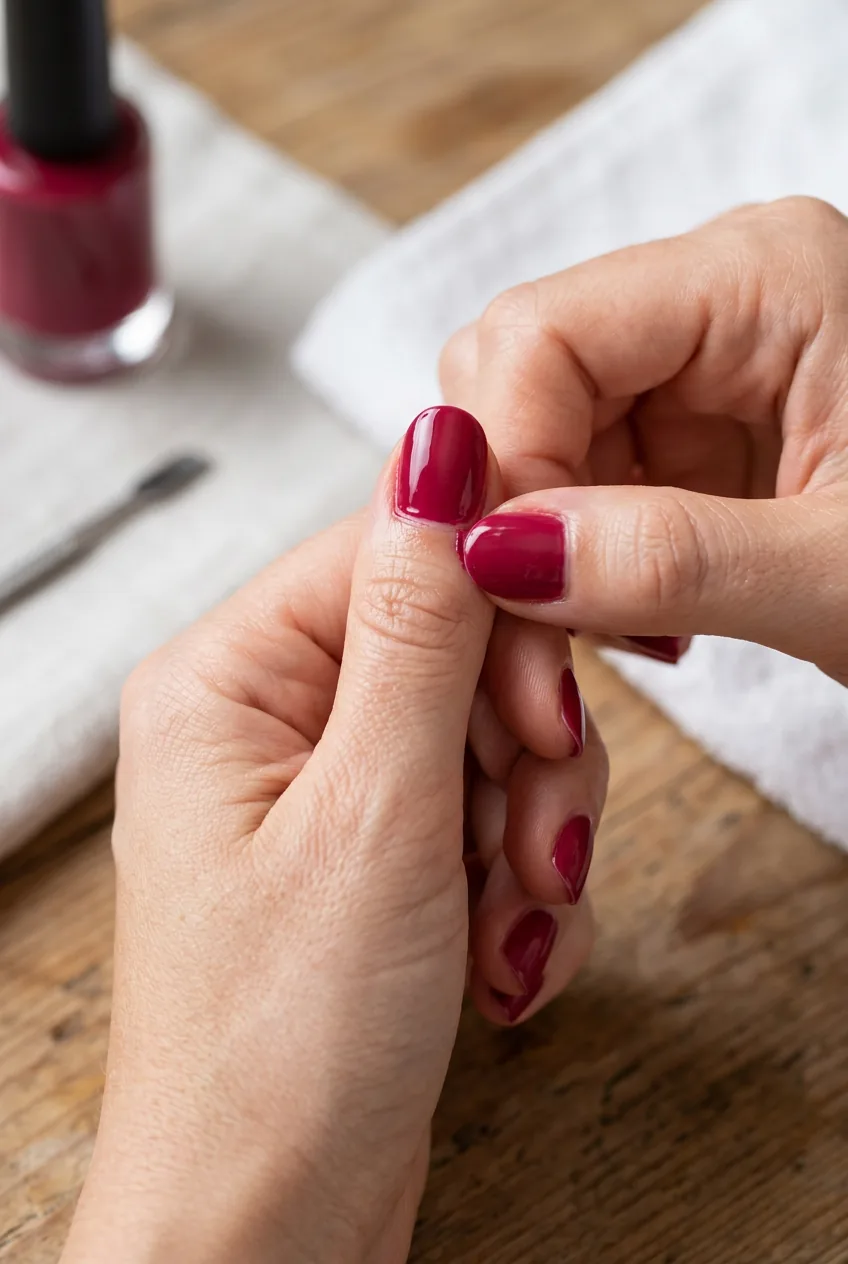
While your polish is still slightly tacky (about 30 seconds after application), run your finger along the edge where polish meets skin. This removes any mistakes and creates a clean line without needing cleanup brushes, special pens, or perfect application skills.
This one trick replaces: careful application around cuticles, cleanup with acetone, and edge sealing. It works because the polish is still moveable but not completely wet.
If you’re interested in more freehand painting techniques that embrace imperfection, there are some great low-pressure approaches that work with this philosophy.
See the Cleanup Technique Live
When to Stop
The hardest part of this whole routine? Knowing when you’re done. I used to keep tweaking and “fixing” until I’d overworked everything.
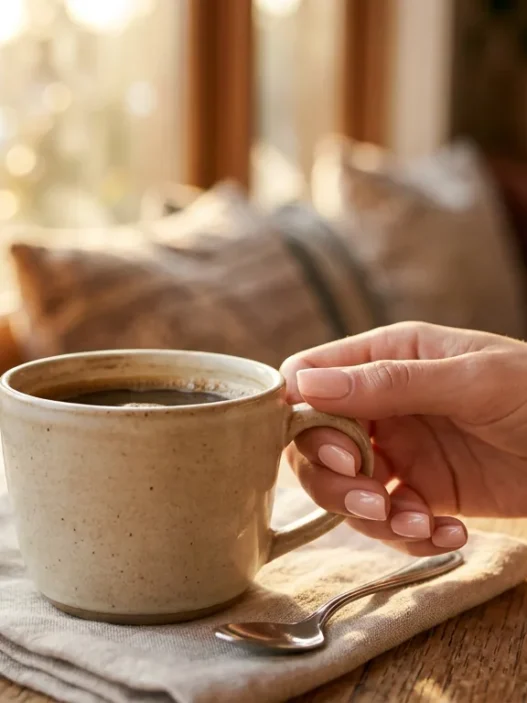
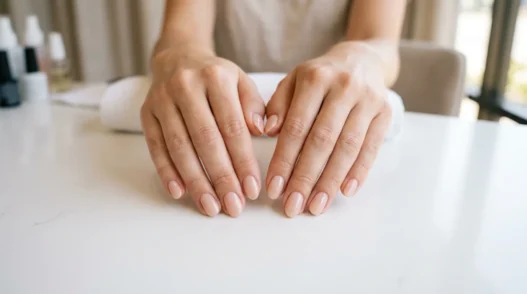
Your nails should look like you — just with a little extra intention. If someone asks if you’re wearing polish, you’re doing it right. The goal isn’t Instagram-perfect; it’s effortlessly put-together.
Let them air dry for about ten minutes, then get on with your day. No quick-dry drops, no UV light, no paranoia about smudging. This kind of short nails approach works especially well if you’re keeping length minimal too.
Questions I Get About This
Won’t this chip faster without base and top coat?
Yes, but that’s actually the point. Minimalist nails look better with a little wear. When they start chipping around day four or five, it adds to that effortless vibe instead of looking messy.
What if I mess up the application?
With sheer formulas, mistakes are barely noticeable. If you do get polish on your skin, wait until it’s completely dry then gently peel it off with your fingernail. It comes right off without damaging the manicure.
How often should I redo this?
I usually touch up every 5-7 days, but sometimes I let them go longer if the wear looks good. The beauty of this method is you’re not investing so much time that you feel precious about maintaining it.
Can I use any nail shape with this technique?
Absolutely. I prefer shorter lengths because they’re more forgiving, but this works on any shape. Just remember that longer nails might need an extra swipe of color for even coverage.
This routine has completely changed my relationship with my nails. Instead of spending Sunday afternoons doing elaborate manicures that stressed me out, I can have polished-looking nails in under ten minutes. And honestly? They look more expensive than when I was trying so hard.