


I used to watch my Christmas nails chip by December 26th every single year. All that effort spent creating the perfect red and gold design, only to have it start peeling off while I was wrapping presents. Last December, I finally figured out the system that keeps holiday nails looking salon-fresh through New Year’s Eve — and honestly, it comes down to these seven specific steps I wish someone had taught me years ago.
Time estimate: About 90 minutes from start to finish (including drying time between coats)
What You’ll Need
- Nail file and buffer
- Cuticle pusher or orange stick
- Alcohol or nail dehydrator
- Quality base coat (I swear by ridge-filling formulas)
- Christmas-themed polishes — deep red, forest green, gold, white
- Thin nail art brush or dotting tool
- Small makeup sponge for gradients
- Quick-dry top coat
- Cleanup brush and acetone
- Cuticle oil for the finishing touch
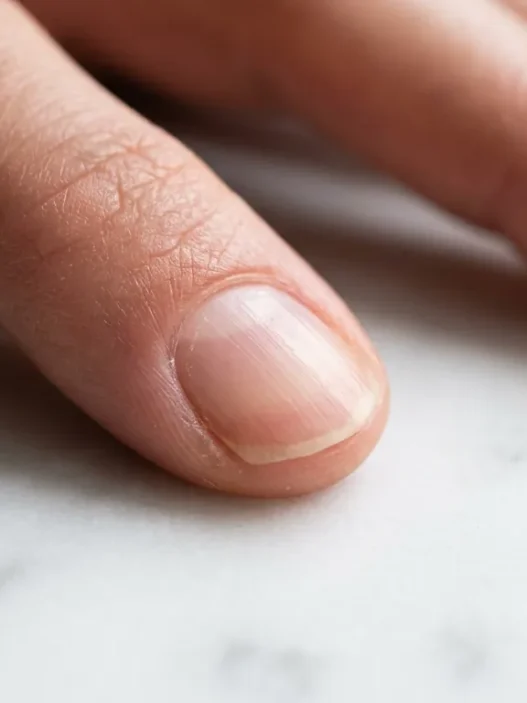
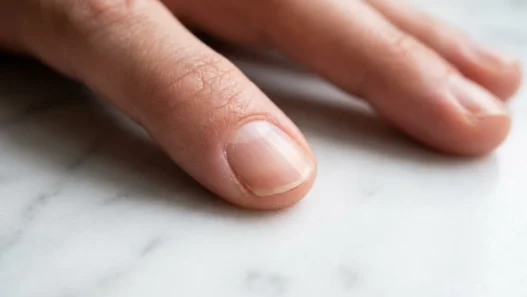
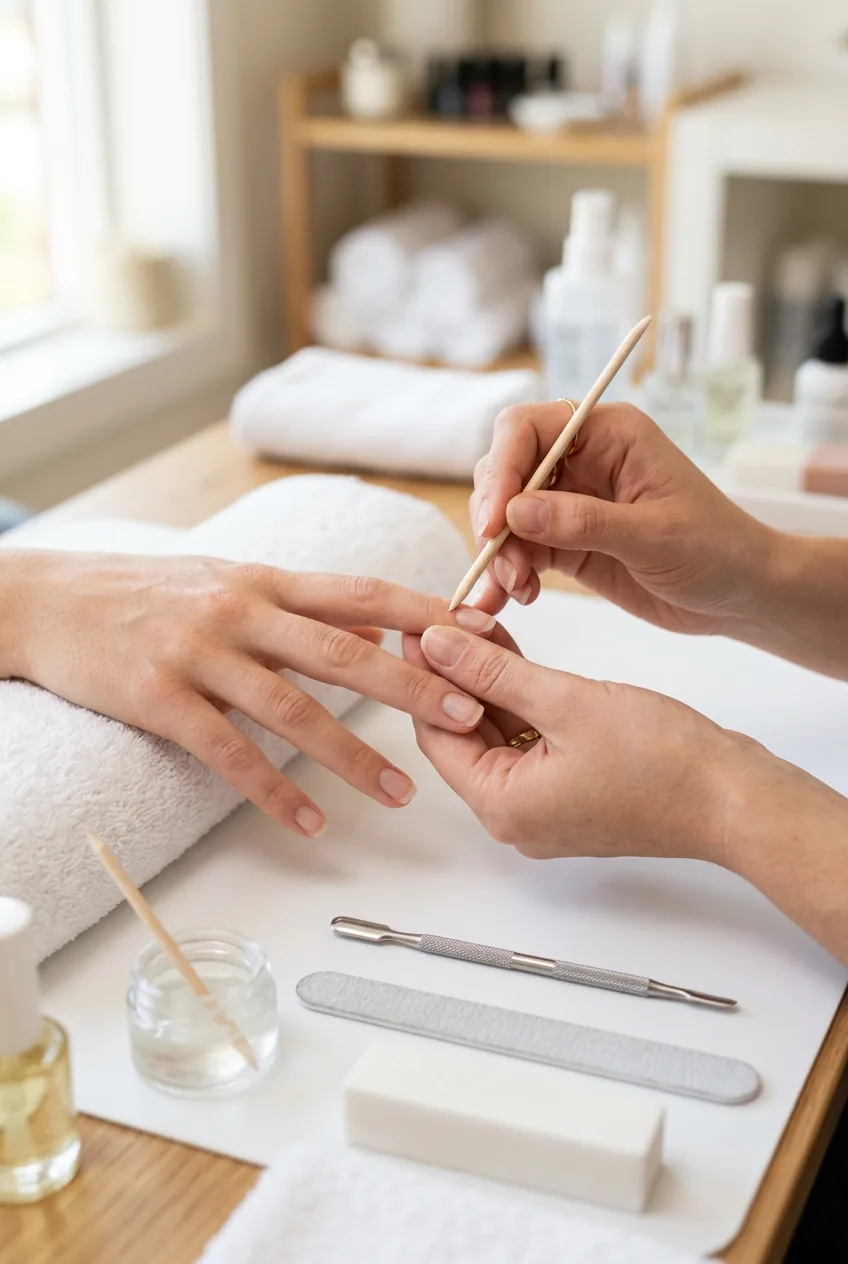
Step 1: Prep the Nail Plate
This is where most Christmas manicures fail before they even start. I used to skip the proper prep because I was excited to get to the fun design part. Big mistake.
Start by pushing back your cuticles gently — never cut them unless you’re trained. File your nails to your desired length, keeping the shape consistent across all ten fingers. I prefer a rounded square for winter nails because it’s less likely to catch on sweaters.
The crucial step everyone skips: dehydrate the nail plate. Use rubbing alcohol or a commercial nail dehydrator to remove any oils. This gives your base coat something to actually grip onto.
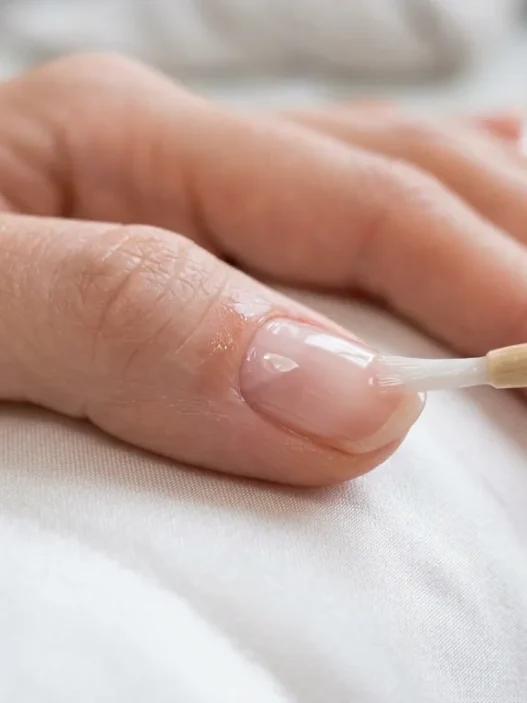
Step 2: Apply Base Coat Protection
Your base coat is doing heavy lifting here — it’s preventing stains from those deep red and green polishes, and it’s creating the smooth foundation your Christmas design needs to look professional.
Apply a thin, even layer covering the entire nail from cuticle to tip. Don’t flood the cuticle area, but do get close enough that there’s no bare nail showing. The key is brushing in three strokes: one down the middle, then one on each side.
Let this dry completely — I mean completely. Touch the surface lightly with your knuckle. If it gives at all or feels tacky, wait longer. This usually takes about 5 minutes with a good base coat.

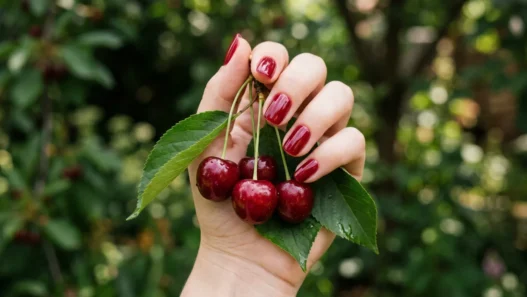
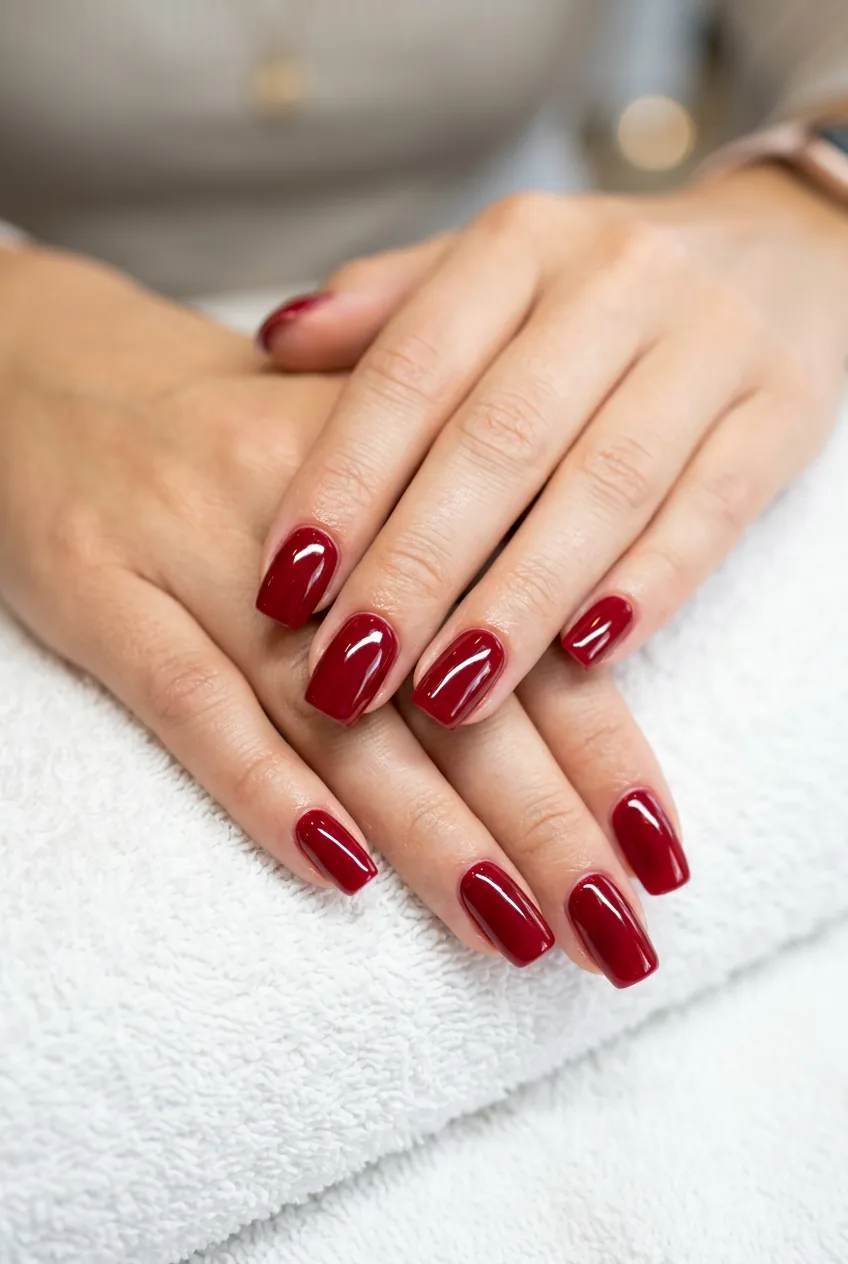
Step 3: Create Your Christmas Base Color
Now we’re getting to the fun part. For classic Christmas nails, I usually go with a deep cranberry red or forest green as the base. The trick is building color gradually rather than trying to get opacity in one thick coat.
Apply your first color coat using the same three-stroke technique, but keep it thin. You’ll probably see some streaking or patchiness — that’s completely normal. The second coat evens everything out.
Mistake I made early on: I used to apply polish so thick trying to get perfect coverage in one coat. This always led to bubbles and terrible drying time. Thin coats are your friend, even if it means doing three instead of two.
Wait for the first coat to be touch-dry (about 2 minutes), then apply your second coat. This should give you that rich, saturated Christmas color you’re after. Some colors need a third coat — don’t fight it.
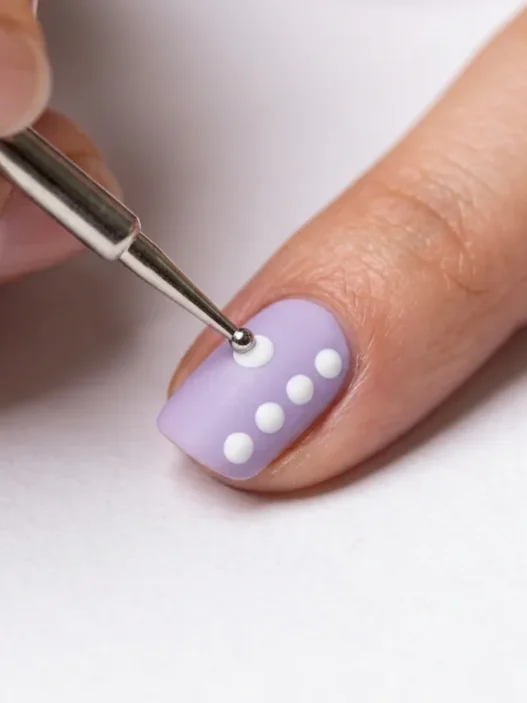
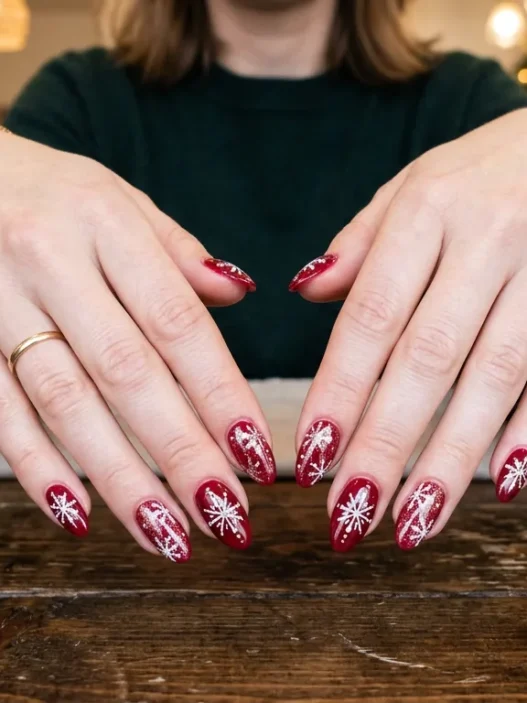
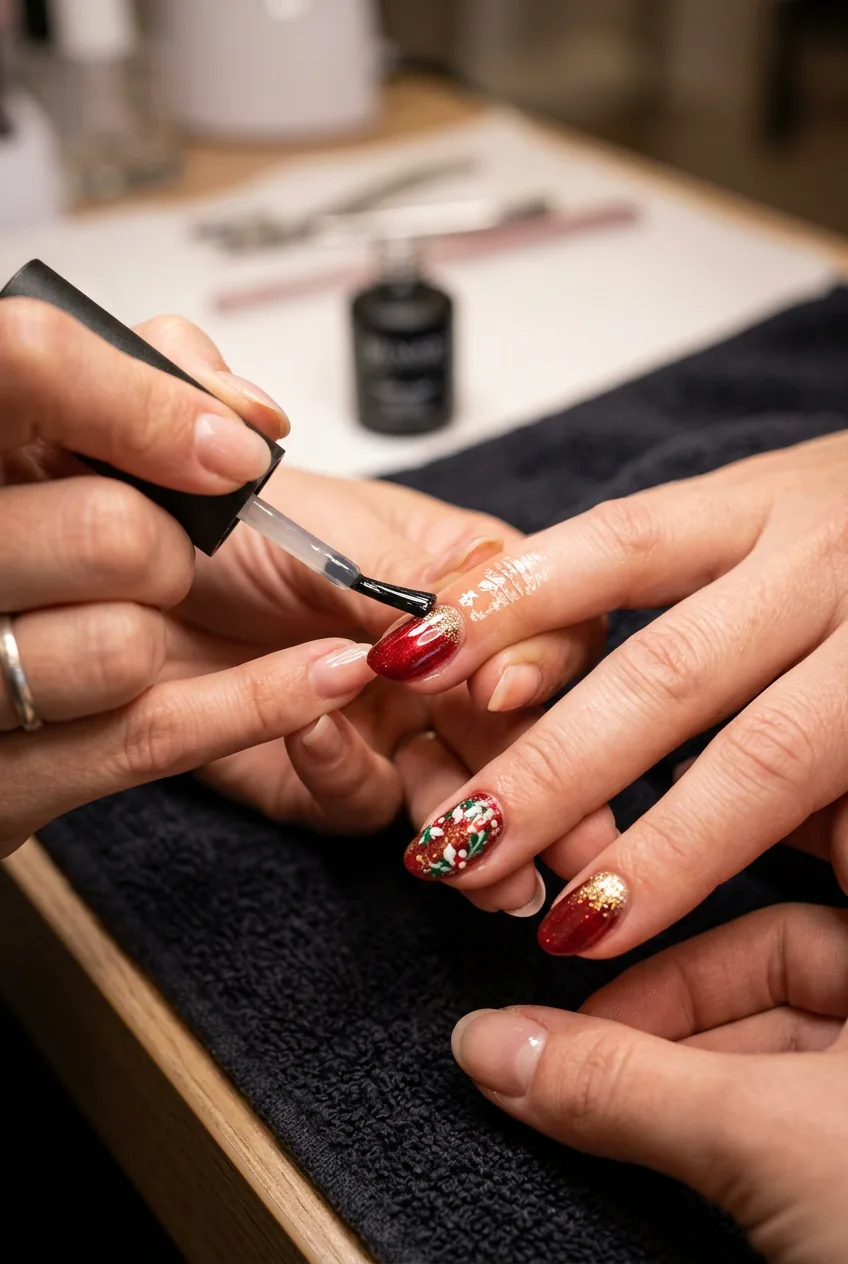
Step 4: Add Holiday Design Elements
This is where your Christmas nails start looking like something special instead of just regular red or green polish. I like to vary the design across my nails rather than making them all identical — it looks more interesting and honestly takes less precision.
On your thumb and ring finger, try a simple gold accent. Use a thin brush to paint a diagonal line from one corner, or dot some gold polish on a makeup sponge and dab it for a gradient effect. Your middle finger can get a tiny snowflake or star using white polish and a dotting tool.
For nail art designs, simple is better than complex. I learned this after spending two hours on intricate holly leaves that looked like green blobs from arm’s length. Now I stick to dots, lines, and basic geometric shapes that actually read as intentional.
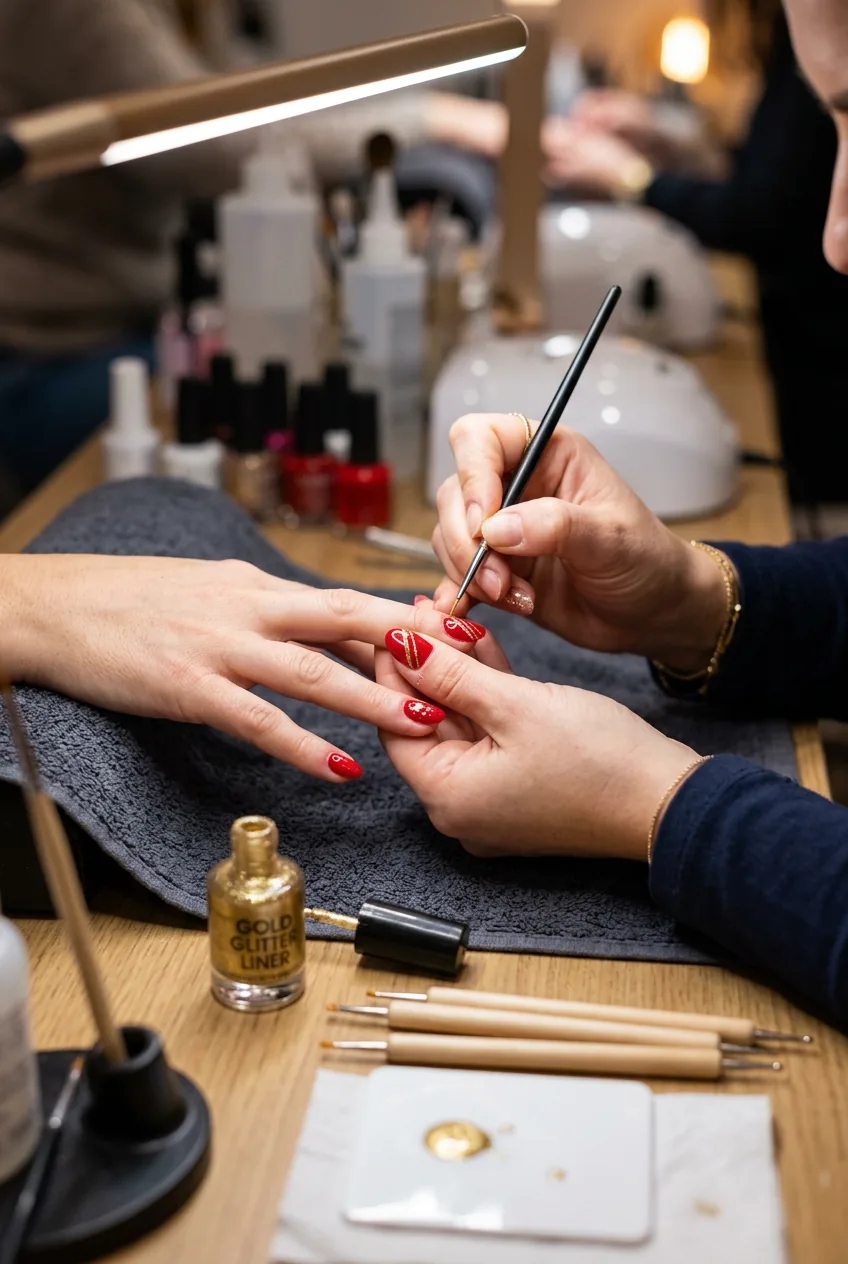
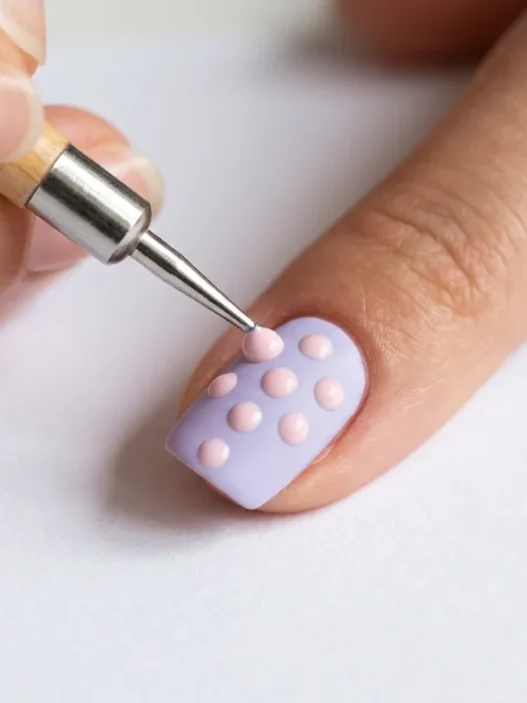
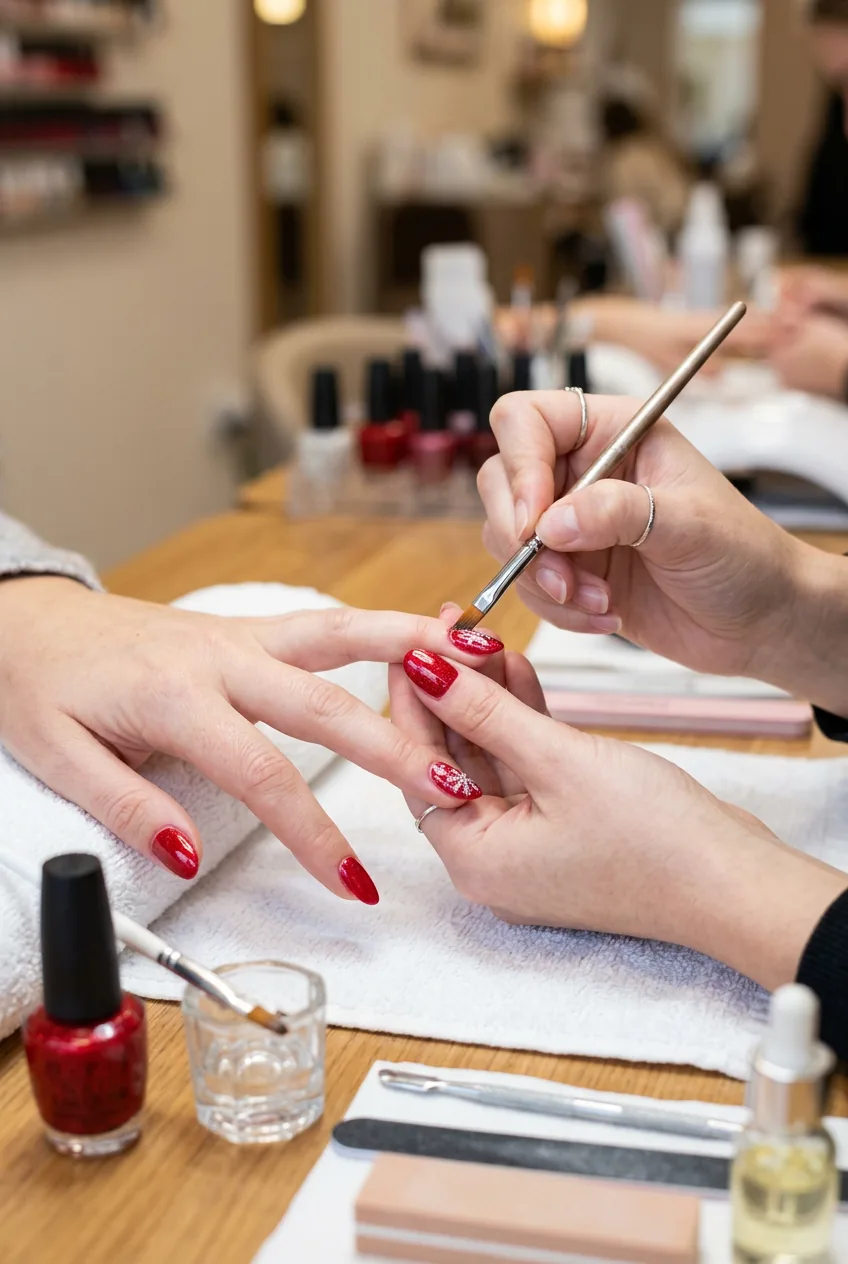
See the Technique in Action
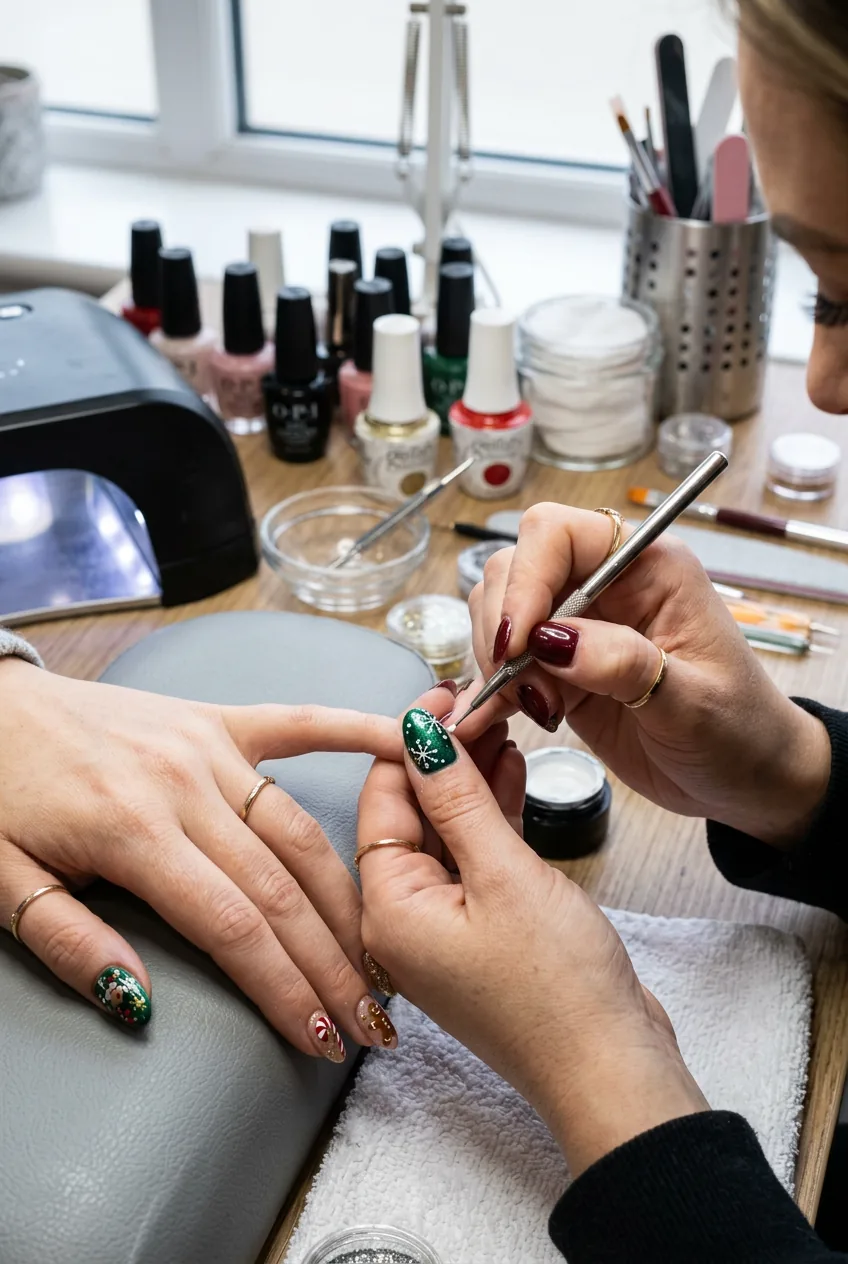
Step 5: Perfect the Fine Details
The details make the difference between “I did my nails at home” and “Where did you get these done?” This step requires patience, but it’s worth it.
If you added gold accents, go back with a tiny brush and clean up any wobbly lines. Add small white dots to create snowflake centers, or use gold to outline shapes you made in the previous step. Dotting techniques can help you create perfect circles every time.
Work on one hand completely before starting the other. Your dominant hand will always look better, so do your non-dominant hand first when your energy is highest.
Step 6: Seal with Top Coat
This step determines whether your Christmas nails last three days or three weeks. The top coat isn’t just about shine — it’s protection against chips, scratches, and the general wear that comes with holiday activities.
Apply top coat just like you did the base coat: three even strokes, covering the entire nail surface and wrapping slightly under the tip. Don’t go back over areas you’ve already coated unless you see a bare spot — top coat can get streaky if you overwork it.
I always do two thin coats of top coat for Christmas nails because they need to survive more than usual wear. Party prep, gift wrapping, cooking — December is hard on manicures. The second coat goes on after the first is completely dry, about 10 minutes later.
Step 7: Final Cleanup and Shine
Even with careful application, there’s always some cleanup needed. This is what makes the difference between amateur and professional-looking results.
Dip a small cleanup brush in acetone and carefully trace around each cuticle to remove any polish that wandered onto your skin. Work slowly — it’s easier to clean a little at a time than to fix a big smudge.
Once everything is completely dry (give it at least 30 minutes), massage a drop of cuticle oil into each nail area. This prevents the skin around your nails from looking dry and flaky, which can make even perfect polish look messy.
Manicure longevity tips include wearing gloves while cleaning and reapplying top coat every few days — simple habits that keep your Christmas nails looking fresh.
Questions I Get About Christmas Nails
Can I do this with regular polish instead of gel?
Absolutely! This whole method is designed for regular polish. Gel requires different techniques and curing lights. Regular polish gives you more flexibility to fix mistakes and costs way less.
How long should I wait between each step?
Base coat needs 5 minutes to fully dry. Each color coat should be touch-dry before the next (about 2-3 minutes). Design elements need to set for about 5 minutes before top coat. Don’t rush — wet polish under top coat never ends well.
What if I mess up the design partway through?
If the base color is still wet, clean everything off that nail with acetone and start over. If it’s dry, you can usually fix small mistakes with a cleanup brush. For bigger problems, I remove just the design elements and redo them.
How do I keep them looking good through New Year’s?
Wear gloves for cleaning, apply a fresh layer of top coat every 3-4 days, and touch up any small chips immediately. I keep a bottle of my base color handy for quick fixes. Most importantly, don’t use your nails as tools.
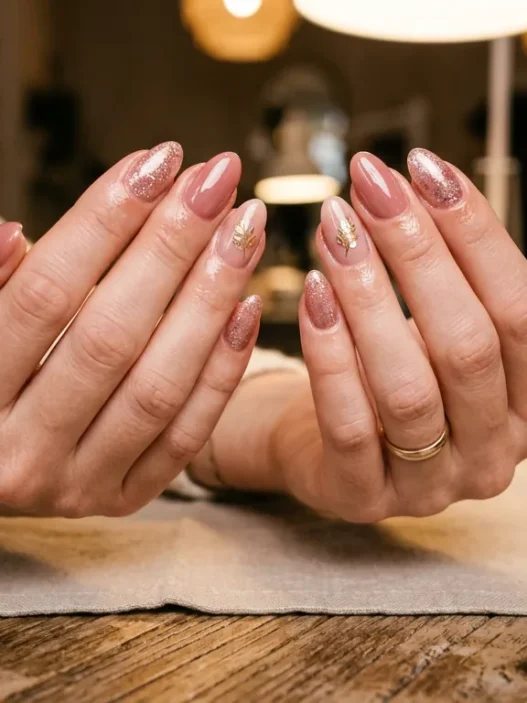
My Christmas nails this year lasted until January 3rd without a single chip. I spent New Year’s Eve getting compliments instead of hiding my hands, and honestly, that made the whole holiday season feel more put-together. The technique works — you just have to trust the process and not rush through the boring prep steps that make everything else possible.