


I used to think blue nails were impossible to pull off at home. Every time I tried, I’d end up with streaky, uneven coverage that screamed “DIY disaster.” But watching my nail tech work her magic one afternoon, I realized the difference wasn’t the polish — it was the technique. She had this methodical approach that I’d been completely skipping.
What You’ll Need
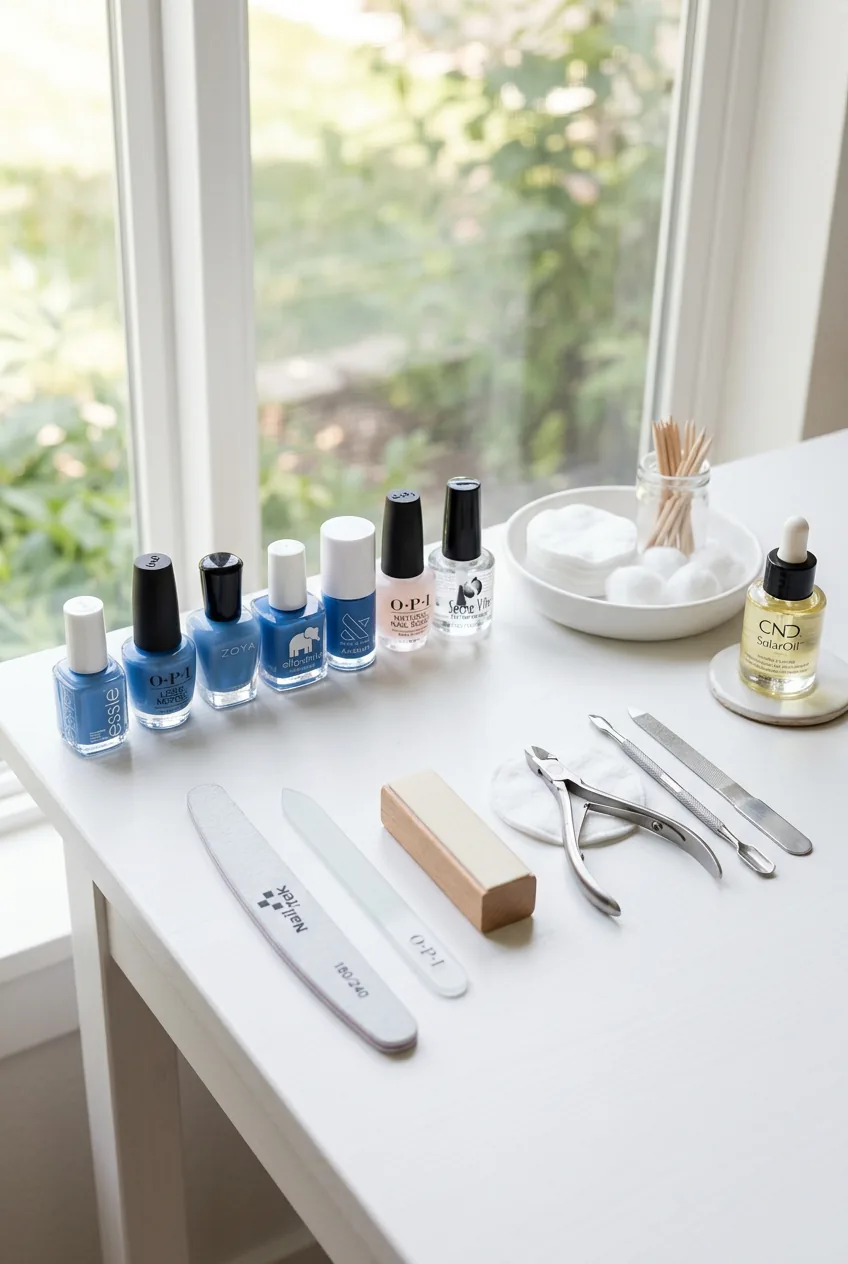
Here’s what I keep in my at-home setup now:
- Your favorite blue polish (I’m obsessed with deeper navy shades lately)
- High-quality base coat — don’t cheap out here
- Fast-dry top coat
- Cuticle pusher or orange stick
- Nail file (180/240 grit works perfectly)
- Acetone or nail dehydrator
- Lint-free wipes
- Small cleanup brush
- Good lighting (seriously, this matters more than you think)
The Salon Setup, Scaled Down
The first thing I learned? Salons don’t just dive into polish. They create the perfect environment first. I started setting up a dedicated workspace with everything within arm’s reach. No more balancing bottles on my knee or squinting in dim light.
Position yourself near a window if possible — natural light shows the true color and helps you spot any imperfections. I arrange my tools in the order I’ll use them, left to right. Seems obvious, but it prevents that awkward reaching-over-wet-nails moment we’ve all experienced.
Temperature matters too. Cold hands mean sluggish polish flow and longer drying times. I always warm my hands under lukewarm water for about 30 seconds before starting. My polish bottles get the same treatment — I roll them between my palms to bring them to room temperature.
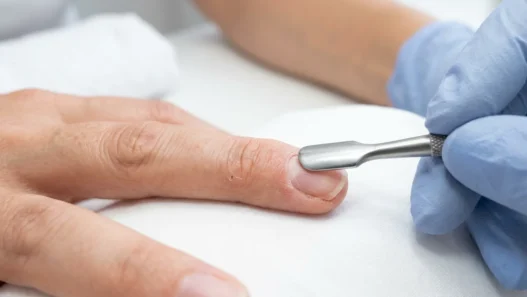
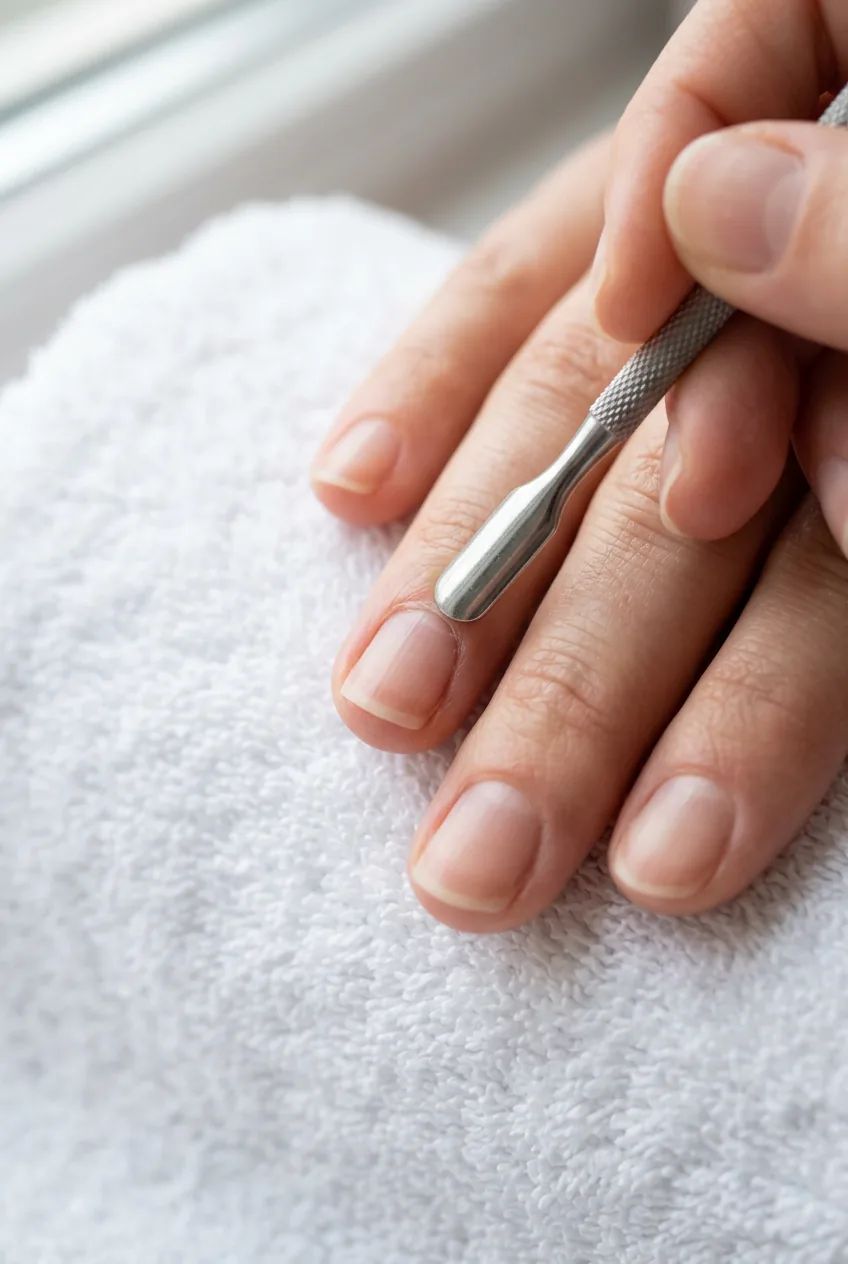
The Step Salons Never Skip (And You Probably Are)
This is where most of us go wrong. We see clean nails and think we’re ready to paint. But salons spend serious time on nail prep — it’s literally the foundation of everything that follows.
Start by pushing back your cuticles gently. I use a silicone cuticle pusher because it’s less likely to cause damage than metal ones. The goal isn’t to be aggressive — just create a clean nail bed so your polish has a smooth surface to grip.
Shape your nails while they’re still unpolished. I learned this the hard way after ruining a perfect manicure trying to fix a rough edge afterward. File in one direction only — back and forth creates microscopic tears that lead to breaks later.
The final prep step is dehydrating the nail surface. This is huge. I either use a nail dehydrator or swipe each nail with acetone on a lint-free pad. This removes any oils or residue that could cause chipping. Your nails should feel slightly rough to the touch when you’re done.
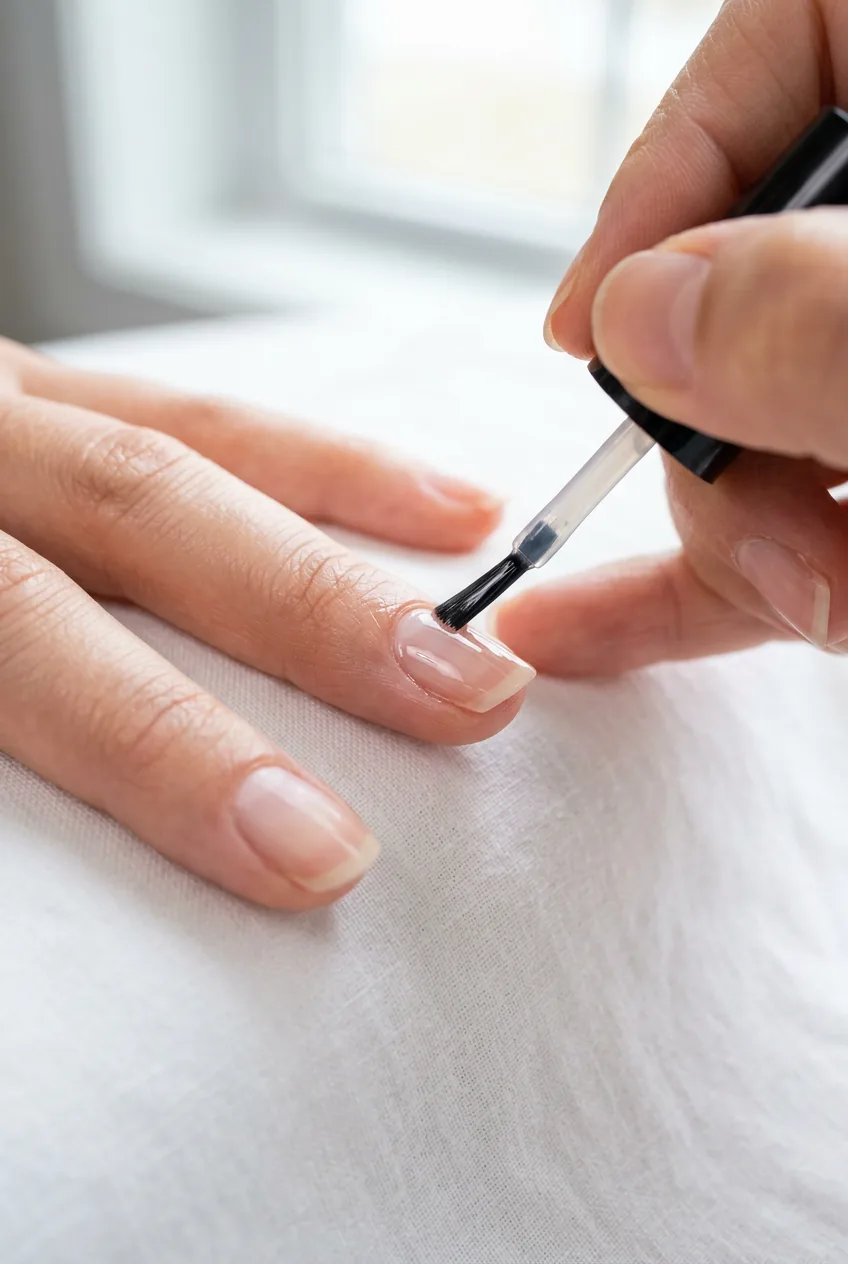
The Base That Makes Everything Better
I used to skip base coat all the time. Big mistake. With blue polish especially, you need that barrier layer. Blues can stain like crazy, and without base coat, you’re looking at yellow-tinted nails for weeks.
But here’s the technique part: apply base coat like you mean it. I do thin, even strokes from cuticle to tip, making sure to cap the free edge. That means running the brush along the tip of your nail — it seals the edge and prevents chipping.
My biggest base coat mistake was rushing the dry time. I’d start color immediately and wonder why everything bubbled. Now I wait a full two minutes between coats. It’s the difference between amateur and professional results.
The base should be completely dry before you move to color. I test by gently tapping the center of my nail with a clean finger — if it feels tacky, wait longer.
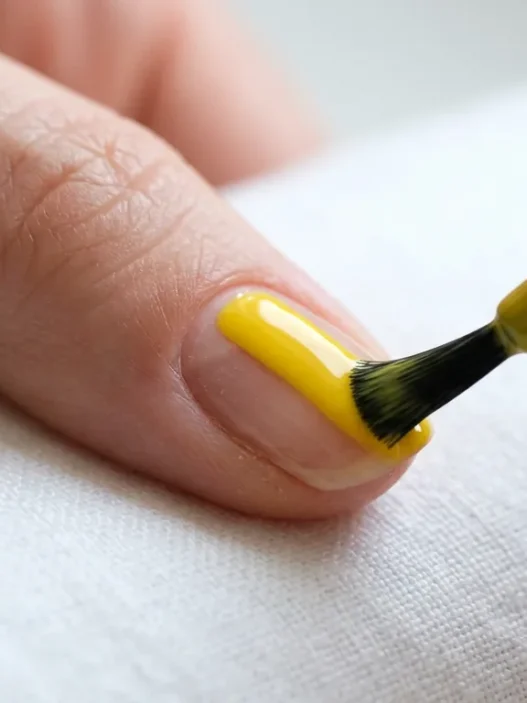
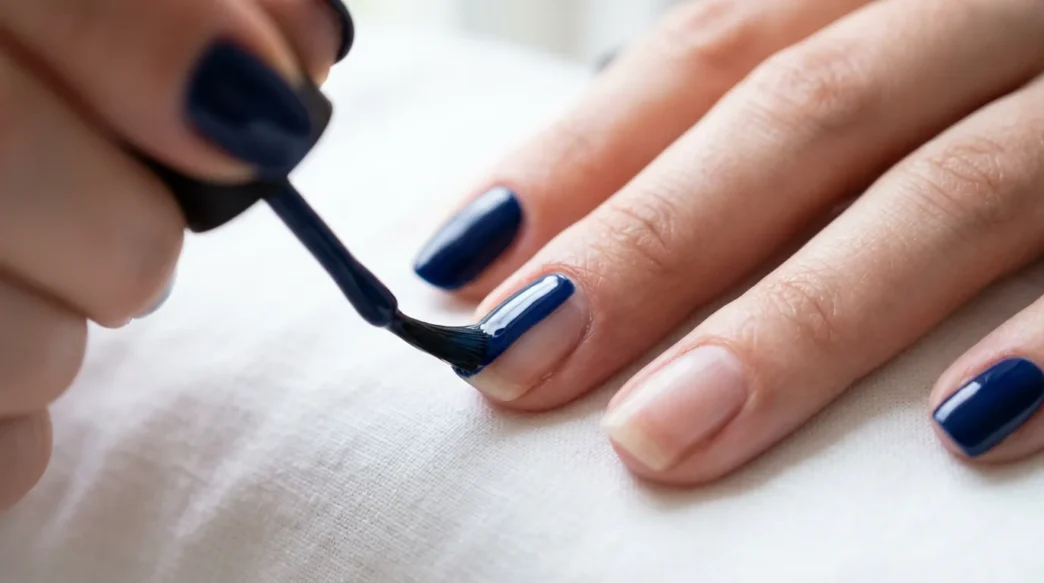
The Pro-Level Brush Technique
This is where the magic happens. The difference between streaky blue nails and salon-perfect ones comes down to brush control. I watched my nail tech’s hand movements obsessively until I figured out the pattern.
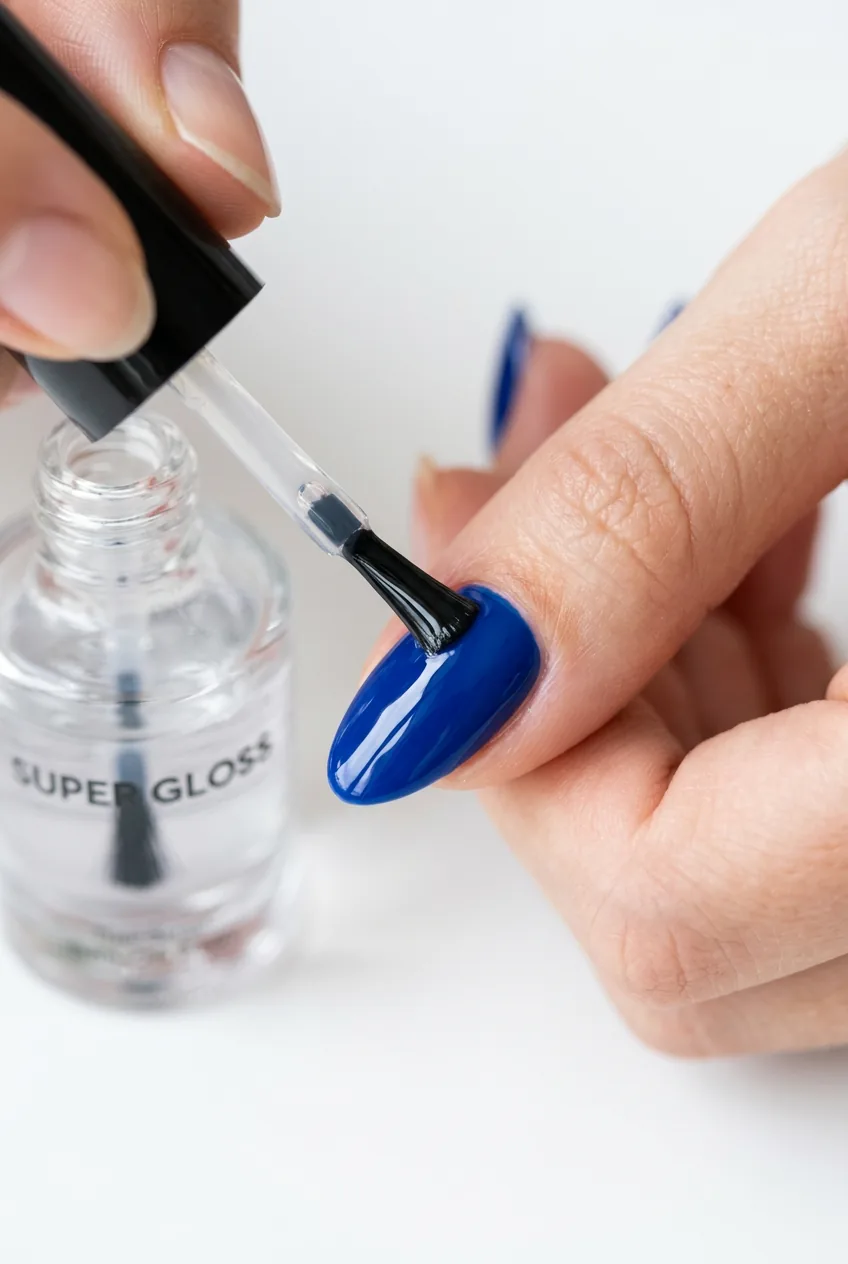
Load your brush with polish, but not too much. I wipe one side against the bottle neck, leaving the other side fully loaded. The goal is controlled coverage, not flooding.
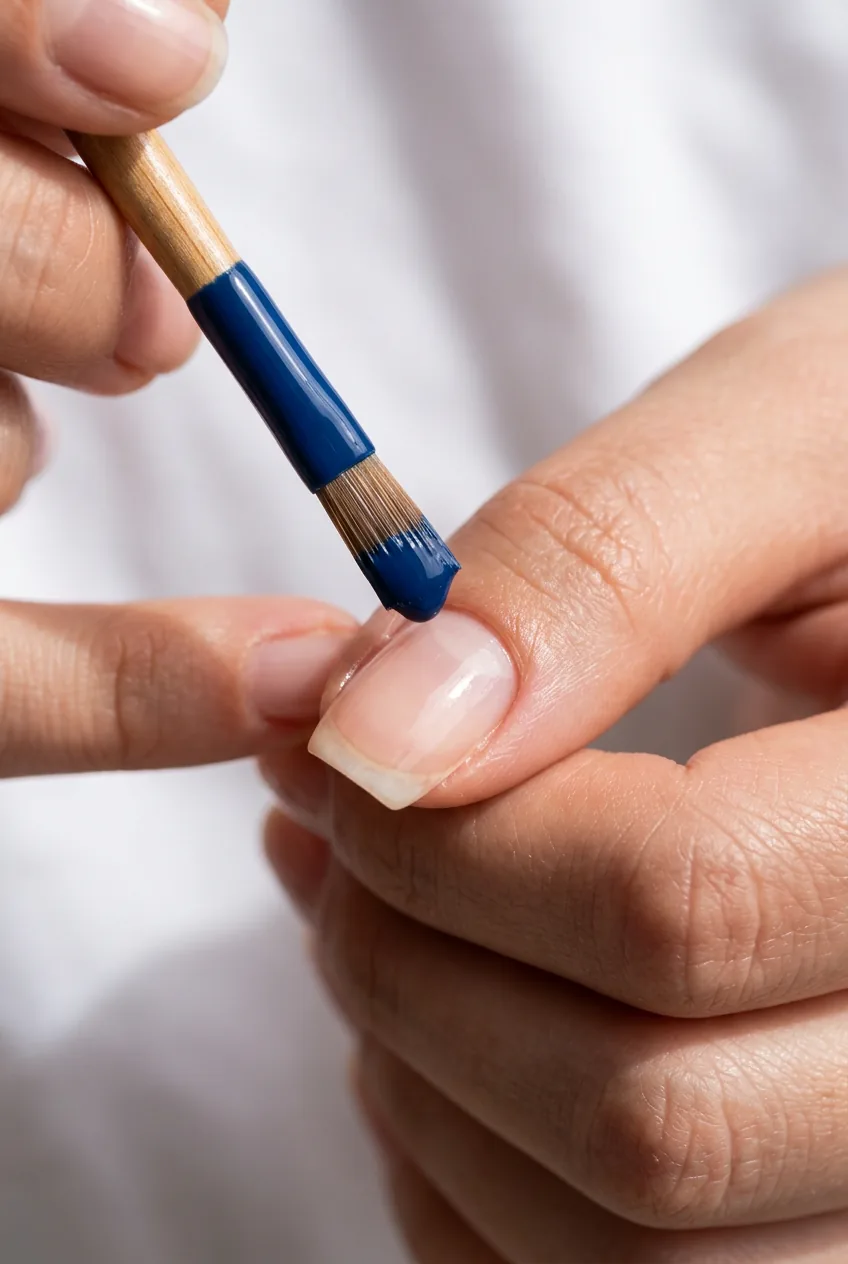
Place the brush about 2mm from your cuticle — never right against it. Push the polish toward the cuticle line with gentle pressure, then draw it down the center of your nail in one smooth stroke. This creates a clean cuticle line without the mess.
Side strokes come next. Two more strokes, one on each side of the center line, overlapping slightly. The key is maintaining wet edges — if the polish starts to set before you blend, you’ll see lines.
Blue polishes show brush marks more than any other color family. I’ve found that fewer, more deliberate strokes work better than multiple thin layers with this shade range. Professional application methods can help you master the pressure and speed.
Watch the Brush Technique in Action
The Second Coat Secret
Here’s what separates good blue nails from incredible ones: the second coat isn’t just a repeat of the first. It’s a correction opportunity.
Wait until the first coat is completely dry — I’m talking 5-7 minutes minimum. Blues take longer to set than lighter colors, and rushing this step guarantees streaks and bubbles.
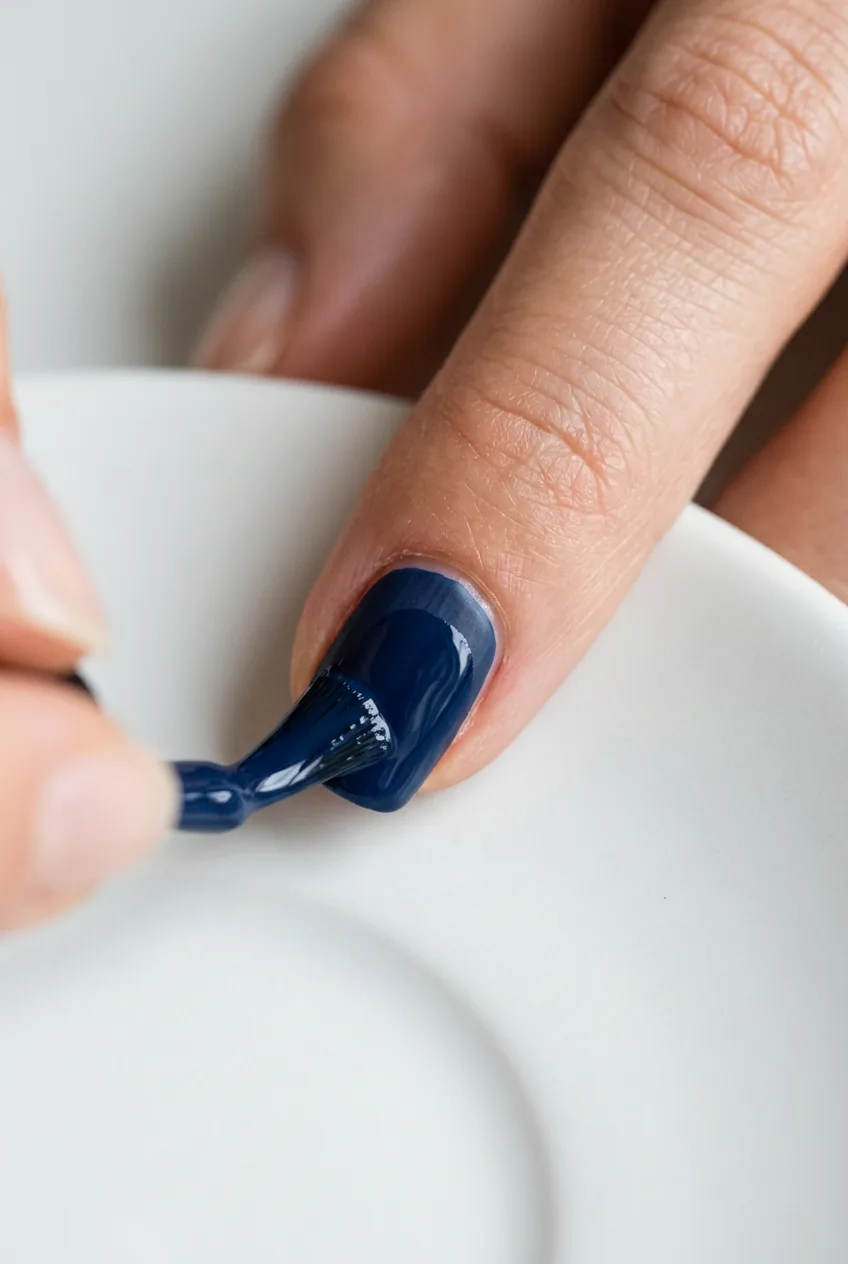
The second coat uses the same brush technique, but with a lighter touch. You’re enhancing opacity and smoothing any minor imperfections from round one. I actually use slightly less polish on the brush for the second coat — it prevents that thick, gloopy look.
Pay special attention to the tips during this coat. Blue polish tends to pull away from nail edges, leaving thin spots that chip easily. Make sure your coverage extends fully to the free edge.
The Finishing Touches That Look Salon
The top coat isn’t just protection — it’s what gives you that glossy, professional depth. But timing and technique matter just as much here as they did with the color.
Wait for your blue polish to be completely set before applying top coat. I do the tap test again — the surface should feel firm and dry. If there’s any give or tackiness, wait longer.
Apply top coat using the same three-stroke method: center, then sides. But here’s the salon trick — extend slightly beyond your color coverage. This seals the edges and prevents chipping from starting at the tips.
The final step is cleanup, and this is where precision matters. I use a small cleanup brush dipped in acetone to perfect the cuticle line and side walls. Work quickly — acetone evaporates fast and can create harsh lines if you’re not smooth about it.
Cuticle oil comes last, once everything is completely dry. This adds that healthy, conditioned look that screams professional manicure. I like to check out spring nail trends for inspiration on seasonal blue shades that work with this technique.
Quick Answers
How long should I wait between coats?
At least 5-7 minutes for blue polish specifically. Blues contain pigments that take longer to set than lighter colors. I usually do one hand completely, then the other, which gives perfect timing.
Why does my blue polish always look streaky?
Usually it’s too much polish on the brush or working over polish that’s already starting to set. Use less product and work quickly with smooth, deliberate strokes.
Can I do this with any blue shade?
Absolutely. This technique works for everything from pale sky blues to deep navy. Lighter blues might need a third thin coat for full opacity, while darker shades usually look perfect after two.
What if I make a mistake during application?
Don’t panic and don’t try to fix wet polish. Let it dry completely, then use a fine nail file to gently smooth any imperfections before applying your next coat.
The first time I followed this exact process, I actually thought I’d used different polish. The depth and smoothness looked nothing like my previous attempts. Now blue nails are my go-to when I want something that looks professionally done. The technique takes practice, but once you nail the brush control and timing, you’ll never go back to your old rushed method.