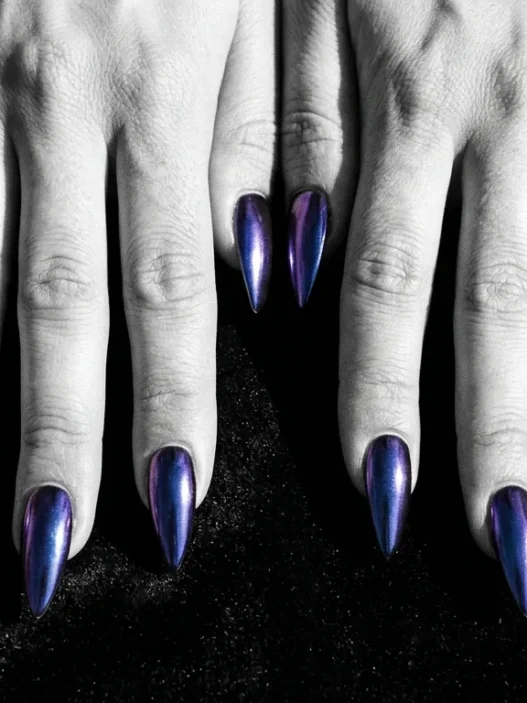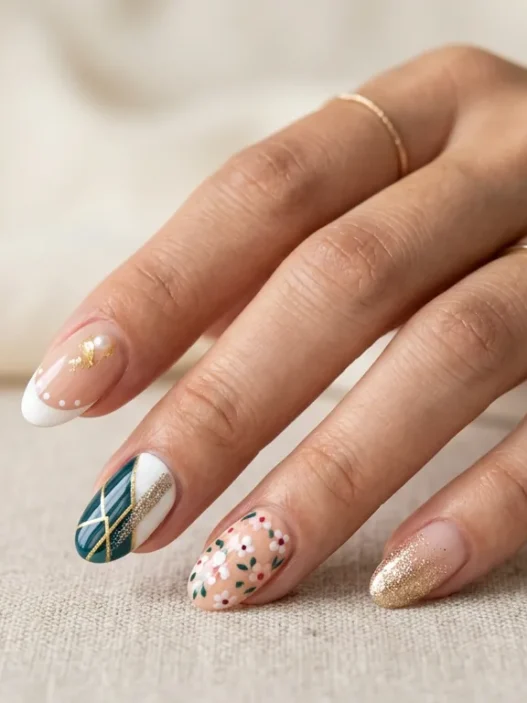







Every October I go a little feral about Halloween nails. I start pinning ideas in August, I buy at least three polishes I didn’t need, and I absolutely overestimate my own patience at the nail desk. If you’ve ever sat down to recreate something gorgeous from the internet and ended up with something that looks like a toddler’s art project — same, honestly. That’s exactly why I put this list together. Twelve Halloween nail designs, sorted by actual difficulty, with real talk about what’s hard and what’s not.
Your Halloween Nail Roadmap 🎃
- Beginner-Friendly (Try First)
- 1. Matte Black with Glossy Spiderweb Topcoat
- 2. Orange and Black Gradient
- 3. Simple Ghost Nail Art
- 4. Bloody Drip Tips
- Intermediate (You’ll Want a Steady Hand)
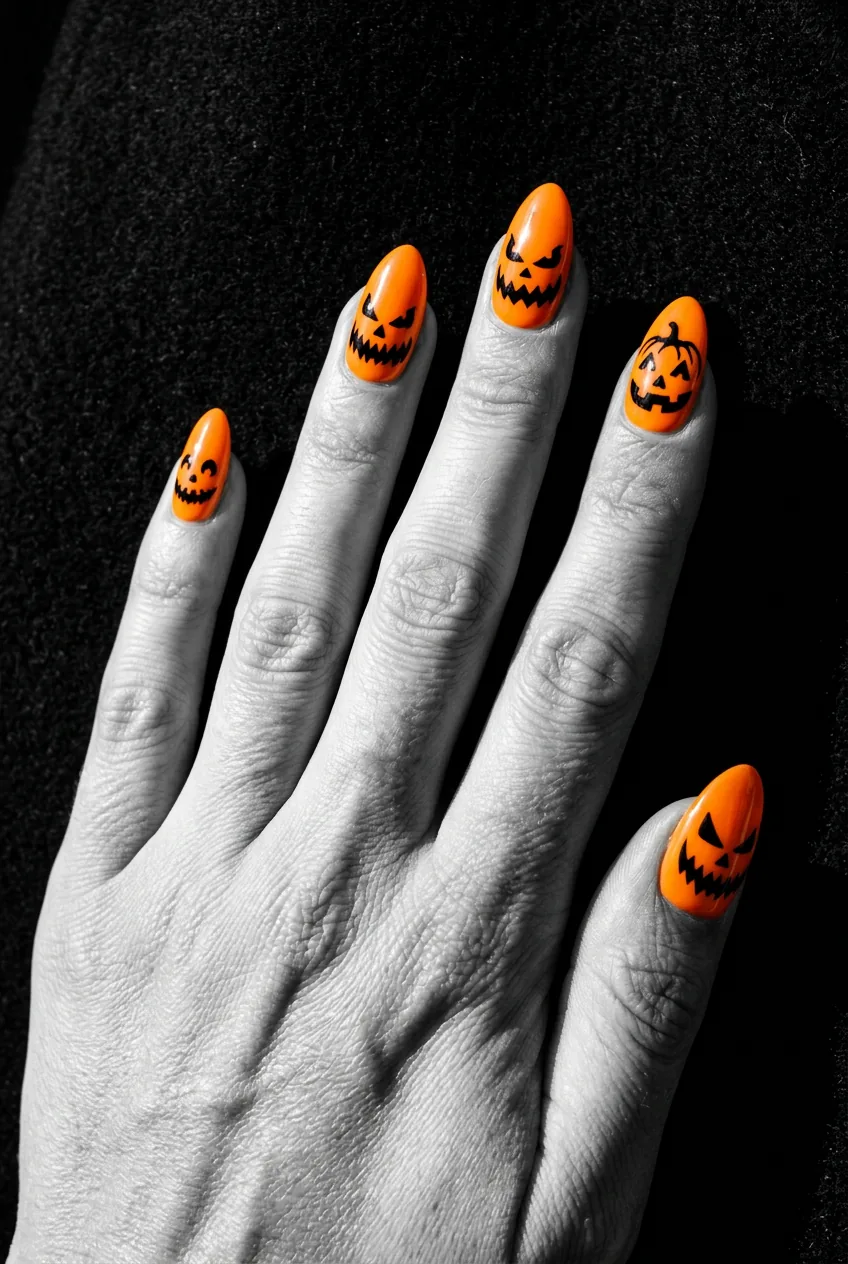
- 5. Classic Jack-o’-Lantern Faces
- 6. Negative Space Bat Silhouettes
- 7. Watercolor Haunted Forest
- 8. Foil Moon and Stars
- Advanced (Maybe Save for a Pro)
- 9. 3D Spider with Gem Eyes
- 10. Freehand Skull With Florals
- 11. Micro Fine-Line Haunted Mansion
- 12. Full Coffin Mummy Wrap with Crystals
- Quick Answers Before You Start
Beginner-Friendly (Try First):
These four designs are genuinely achievable your first attempt. They rely on techniques that are forgiving — meaning a slightly wobbly line or an uneven edge actually adds to the spooky look rather than ruining it. No special brushes required for most of them. If you’re new to nail art or just short on time, start here and feel good about yourself.
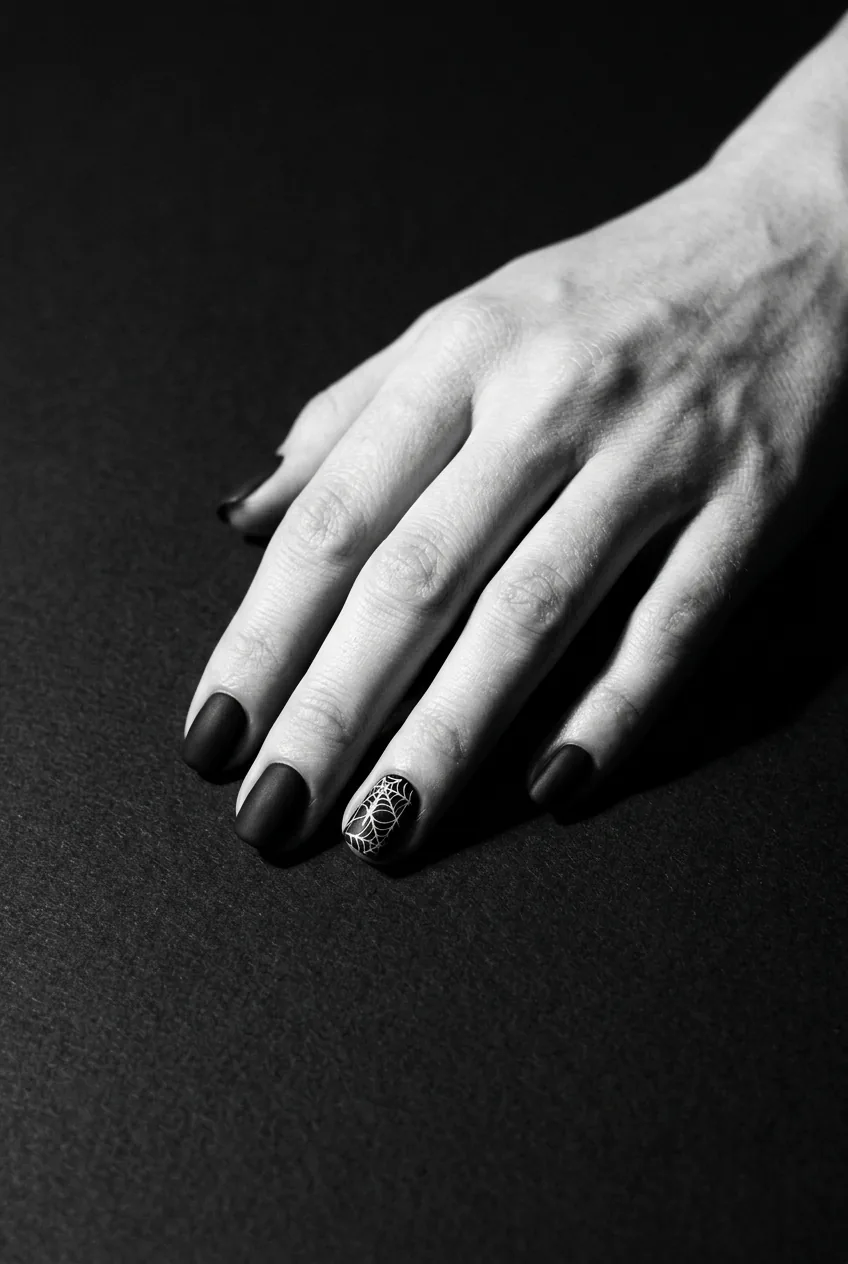
1. Matte Black with Glossy Spiderweb Topcoat
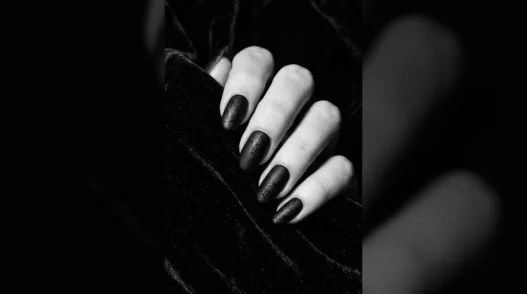
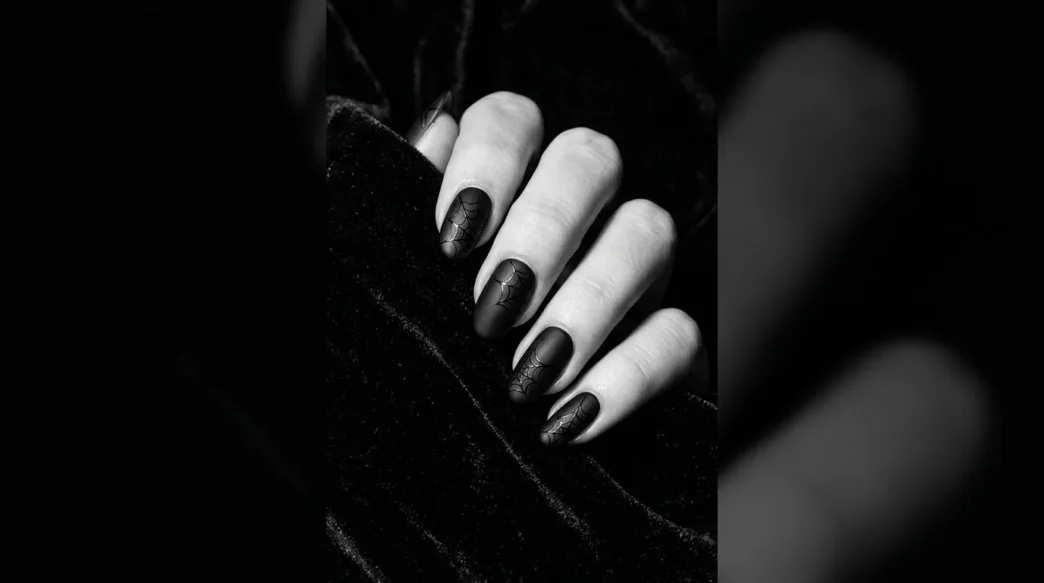
This is the Halloween nail equivalent of wearing a perfect black dress — it always works. Paint your nails with a matte black base (two coats), let it dry fully, then use a clear glossy topcoat and a thin dotting tool or toothpick to draw a simple spiderweb on one or two accent nails. The contrast between matte and shine does the heavy lifting.
What makes it easy: spiderwebs are supposed to look slightly irregular. There’s no perfectly symmetrical spiderweb in nature. Shaky lines? That’s atmosphere. First-attempt outcome is genuinely great.
Tools you need: matte topcoat, glossy topcoat, toothpick or thin dotting tool. That’s it. Level up path: swap the glossy web for chrome powder pressed into the lines — it reads as a silver silk web and takes this look from cute to editorial.
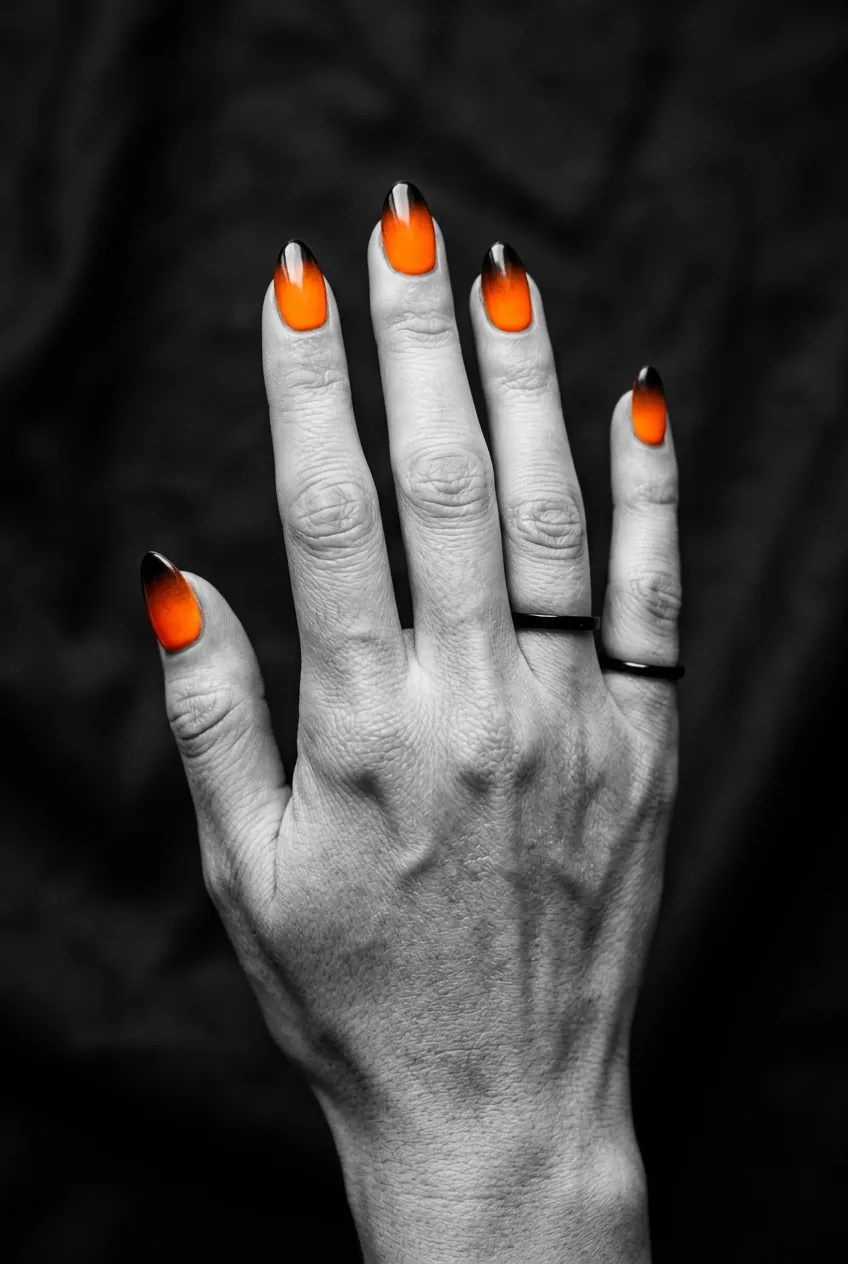
2. Orange and Black Gradient
Classic Halloween colors, zero nail art skills required. You just need a makeup sponge, orange polish, and black polish. Swipe both colors side by side on the sponge and dab it onto your nail. Yes, it’s messy around the edges — clean it up with a small brush dipped in acetone and you’re done.
Sponge gradients are forgiving in a way that brush techniques are not. The slight blotchiness reads as texture, not mistake. Expect your first attempt to take about 20 minutes once you’ve prepped, and it’ll look better than you expect.
This look pairs beautifully with other fall nails ideas if you want to extend the orange and black palette into the rest of your season. Level up path: add a tiny stamped bat silhouette over the dry gradient using a stamping plate and black polish.
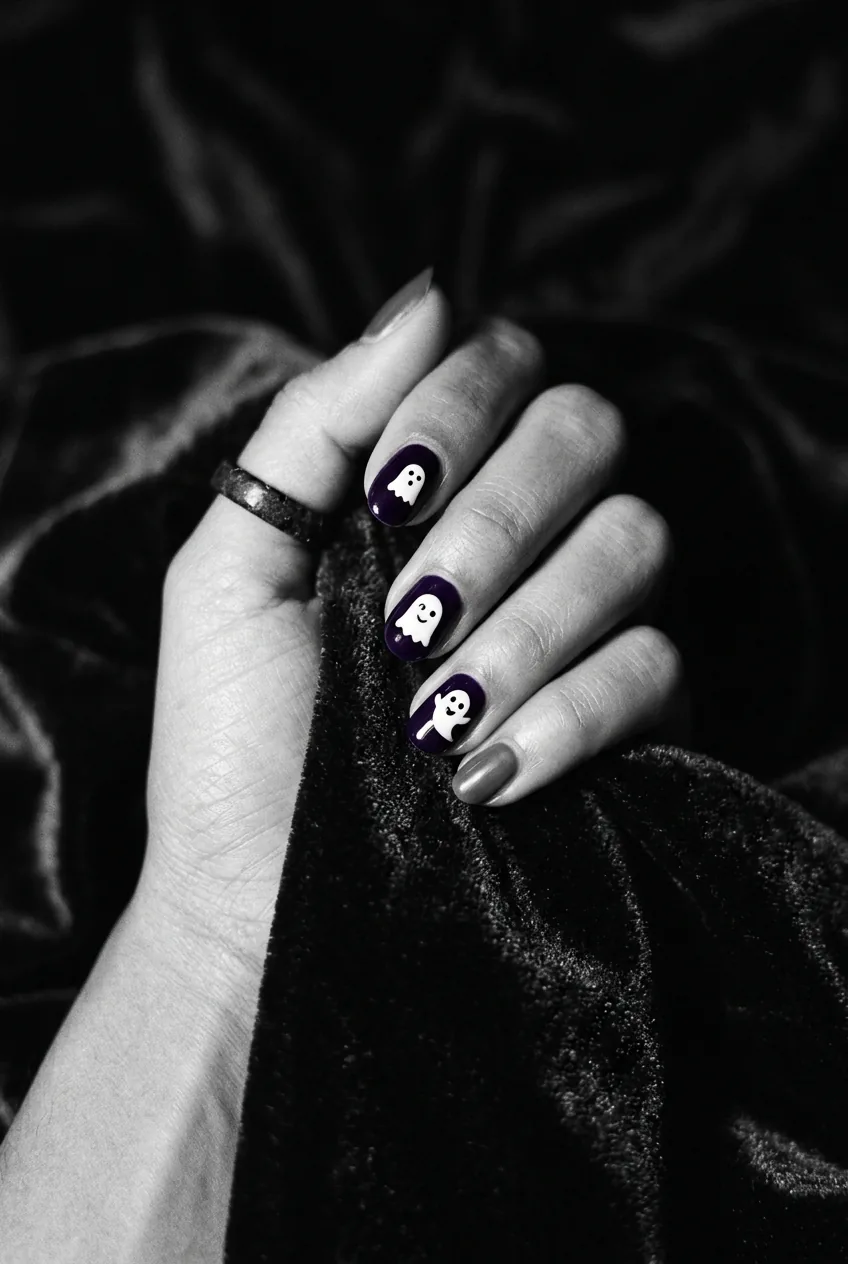
3. Simple Ghost Nail Art
Ghost nails are having a serious moment and honestly they deserve it. The design is three shapes: a white oval blob (the ghost body), two tiny black dot eyes, and a little curved line for a mouth. Paint your base any dark color — black, midnight purple, deep burgundy — then add the white ghost using a medium-sized dotting tool or the rounded end of a bobby pin dipped in white acrylic paint.
The charm of ghost nails is that they’re supposed to look slightly cartoonish and adorable. There’s no pressure for realism here. I’ve seen women do these in literally ten minutes and they look incredible.
Tools: base polish, white acrylic paint or thick white polish, small black dotting tool, toothpick for the mouth. Level up path: try giving your ghost a little expression — a surprised O mouth, or tiny hands reaching up — using a fine liner brush.
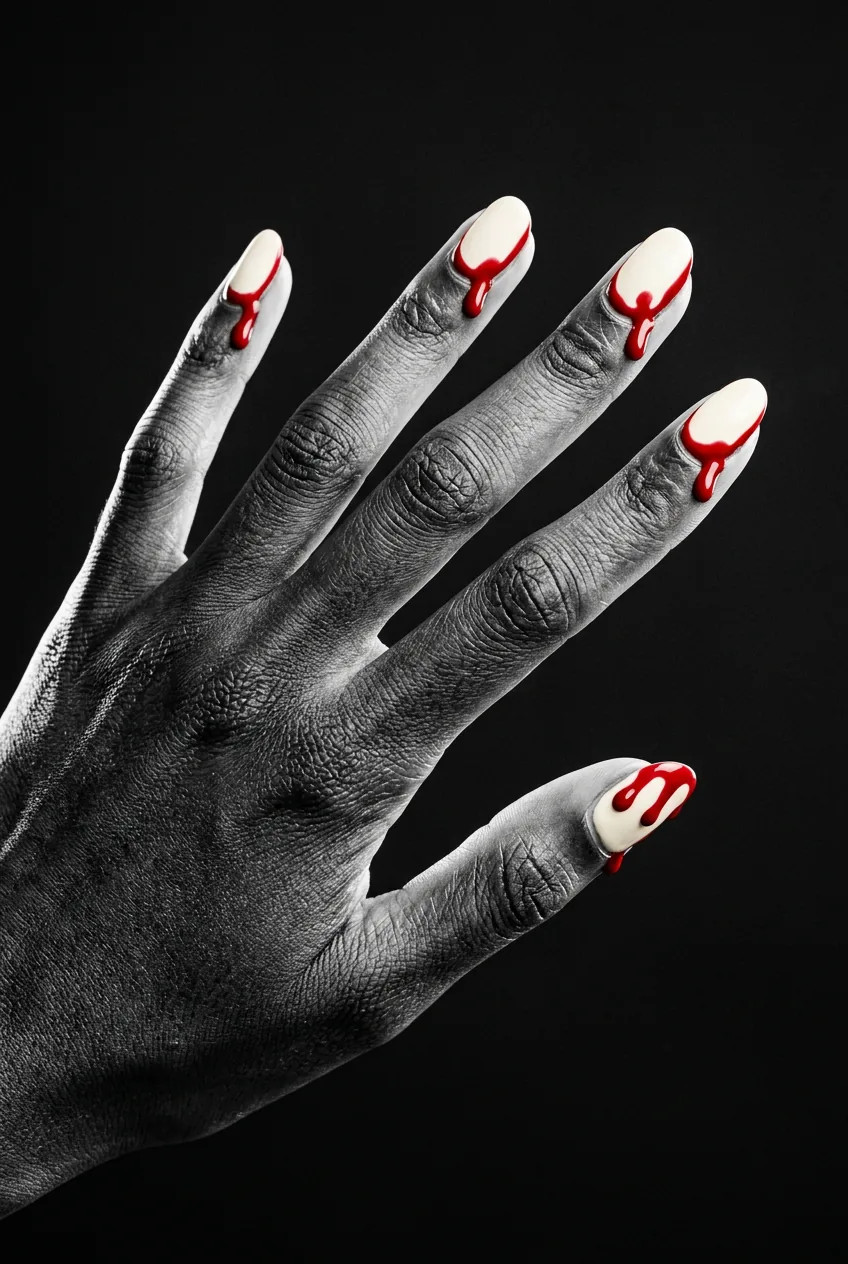
4. Bloody Drip Tips
This one sounds intimidating but it’s genuinely one of the easier designs on this list. Paint your nails white or light nude first. Then, using a red polish with a thin brush (or a nail art pen), paint irregular drip shapes from the tip downward — like blood slowly running. The key is to vary the drip lengths so they look accidental and organic.
Imperfection is a feature here. Uneven drips look more realistic. If you add a drop of black polish to your red while it’s still wet, you get a darker, more dramatic dried-blood effect that looks genuinely creepy.
Level up path: try doing the drip effect over a chrome or holographic base — the reflective surface underneath makes the red pop like something out of a horror movie poster.
Intermediate (You’ll Want a Steady Hand):
These designs require a bit more control and patience. We’re talking thin lines, small shapes, and sometimes multiple steps that need to dry between each one. If you’ve done basic nail art before and felt okay about it, these are your next challenge. Don’t expect perfection on attempt one — expect something you’re proud of by attempt two.
5. Classic Jack-o’-Lantern Faces
Orange base coat, then you’re painting a pumpkin face in black. Sounds simple, but the triangle eyes and jagged teeth require actual brush control. A good thin liner brush makes this so much easier — don’t try to do it with the polish brush that came in the bottle.
What makes it tricky is the teeth. Keeping them even-ish and symmetrical takes a few attempts. My honest first-attempt outcome prediction: the face will be slightly lopsided in a way that’s actually endearing. The second try looks deliberate and good.
Tools: orange base, black acrylic paint or polish, thin liner brush, toothpick for clean-up. Level up path: add a subtle orange-to-yellow gradient to the base before the face details to mimic a real pumpkin’s color variation. It elevates the whole thing dramatically.
My personal pick from this entire list is the watercolor haunted forest (#7). When I first tried it, I expected disaster — but the blending was so forgiving that it ended up being one of my favorite nail looks of the whole year. The imprecision is the point. If you only try one intermediate design, make it that one.
6. Negative Space Bat Silhouettes
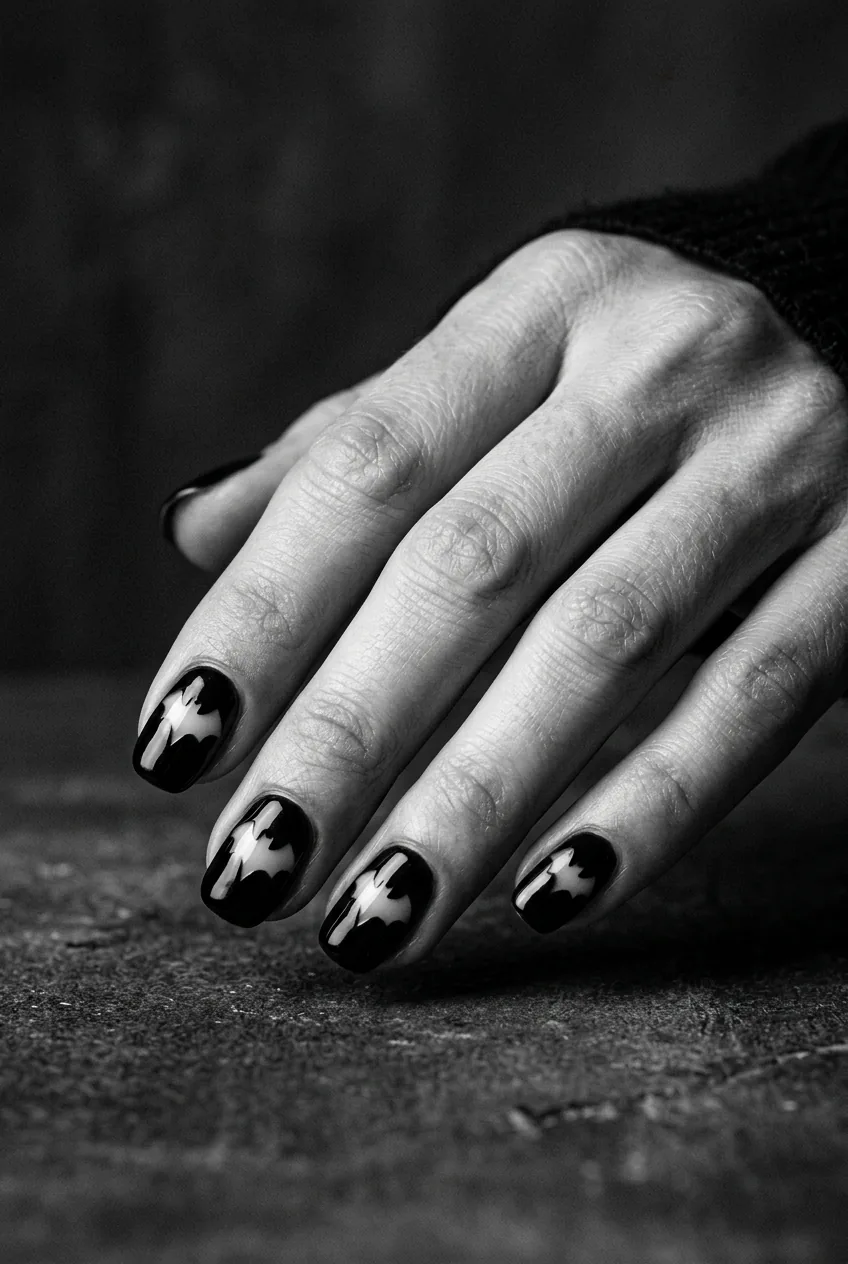
Negative space nail art uses your bare nail as part of the design, and it looks incredibly sophisticated with almost no tools. Apply black polish only to certain areas of your nail, leaving the natural nail showing in the shape of a bat silhouette. You can use tape or a small sticker as a mask, paint around it, then peel it off before the polish dries.
The difficulty is in cutting or finding the right bat sticker shape, and in pressing the tape/sticker down cleanly enough that the edges stay crisp. Practice on a nail wheel first if you have one.
This is one of those Halloween nail designs that reads as very editorial — the kind of thing you’d see on a underrated fall nails design roundup because it’s not obvious but it’s stunning up close. Level up path: apply a dark duochrome topcoat over the black sections so the bats shimmer from black to deep purple in the light.
7. Watercolor Haunted Forest
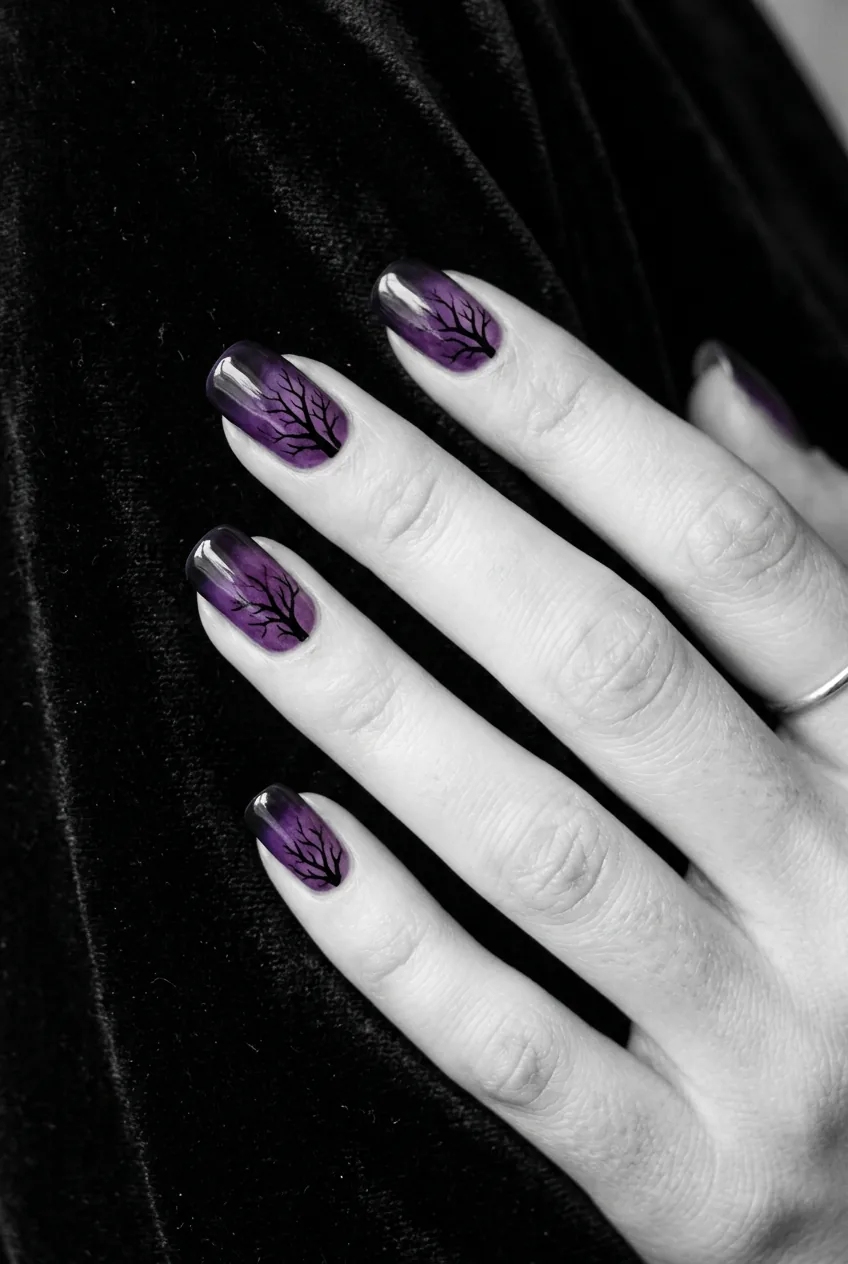
This is the one I keep coming back to. A white or pale grey base, then diluted black, deep purple, and midnight blue acrylic paints blended wet-on-wet across the nail to create a moody sky. While still slightly tacky, use a fine liner brush to paint bare-branch tree silhouettes coming up from the bottom of the nail.
The watercolor background is genuinely easy to do — just drop colors and push them around with a brush. The hard part is the trees. Bare branches have a specific spread-and-taper structure that takes practice to get looking natural rather than like a child drew a stick figure tree. But even imperfect branches look hauntingly beautiful over a moody sky.
You can learn a lot about watercolor nail painting before you sit down with your brushes — it helps to see the wet-on-wet blending in action. Level up path: add a tiny full moon in white behind one of the trees, with a faint yellow halo using a fan brush.
8. Foil Moon and Stars
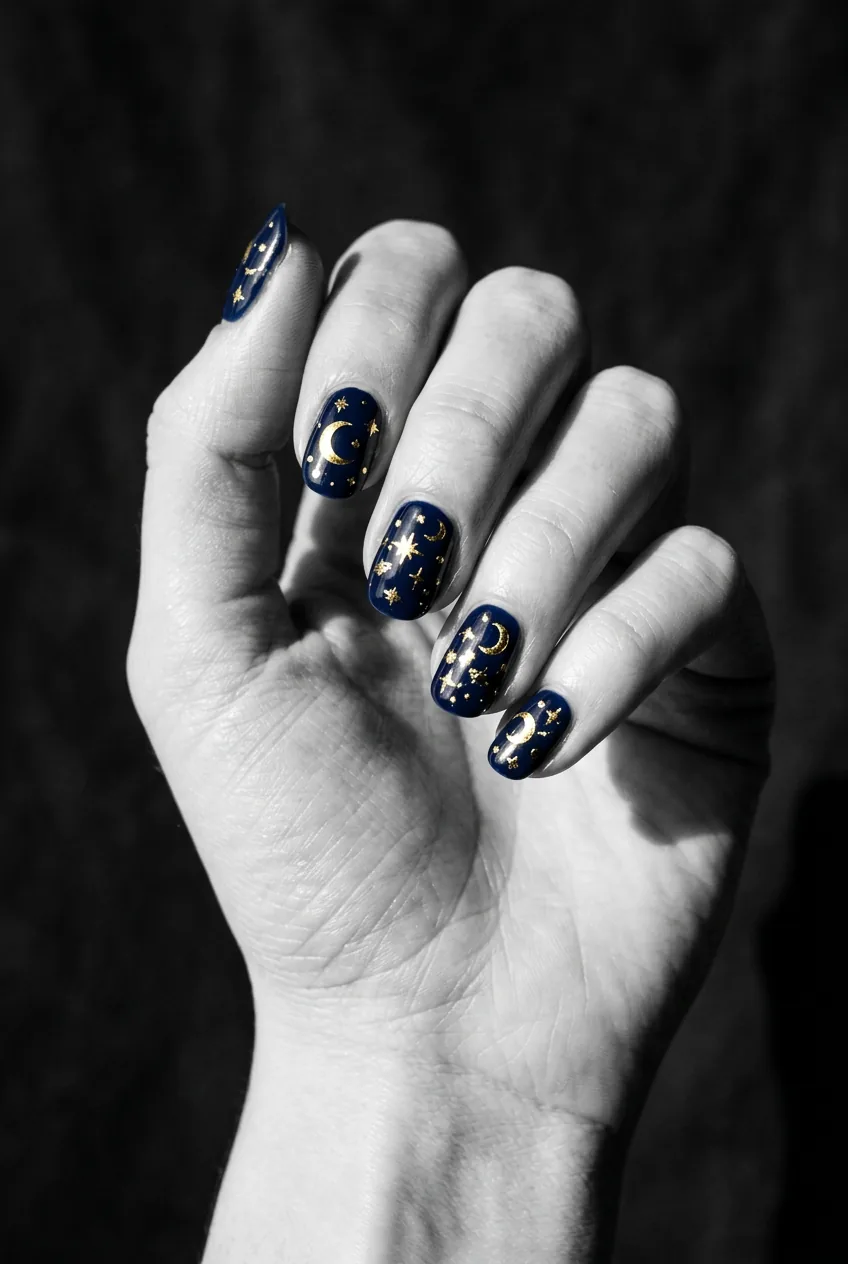
Nail foils are a game-changer for intermediate nail artists because they create a metallic, otherworldly finish without needing any painting skill. Apply a deep navy or black base, then use nail foil transfer sheets in gold or silver to create crescent moon and star shapes. The foil applies via a special foil glue — you press the foil over the dried glue and peel it back slowly.
What makes this intermediate rather than beginner is the patience required. The foil glue needs to be at exactly the right tackiness — too wet and the foil smears, too dry and nothing transfers. First attempt you’ll probably lose a few stars to smearing. Third attempt it’s flawless.
Level up path: combine the foil stars with a hand-painted tiny planet or comet trail using a liner brush dipped in iridescent polish for a full celestial Halloween universe on your nails.
Advanced (Maybe Save for a Pro):
I’m going to be honest with you: these four designs are the ones I either book with my nail tech or accept will take me multiple sessions to get right at home. They’re not impossible if you’re experienced, but if you’re attempting them for the first time the week before Halloween, have a backup plan. They require precision tools, specific products, and sometimes gel or acrylic skills. That said — when they’re done well, they are absolutely jaw-dropping.
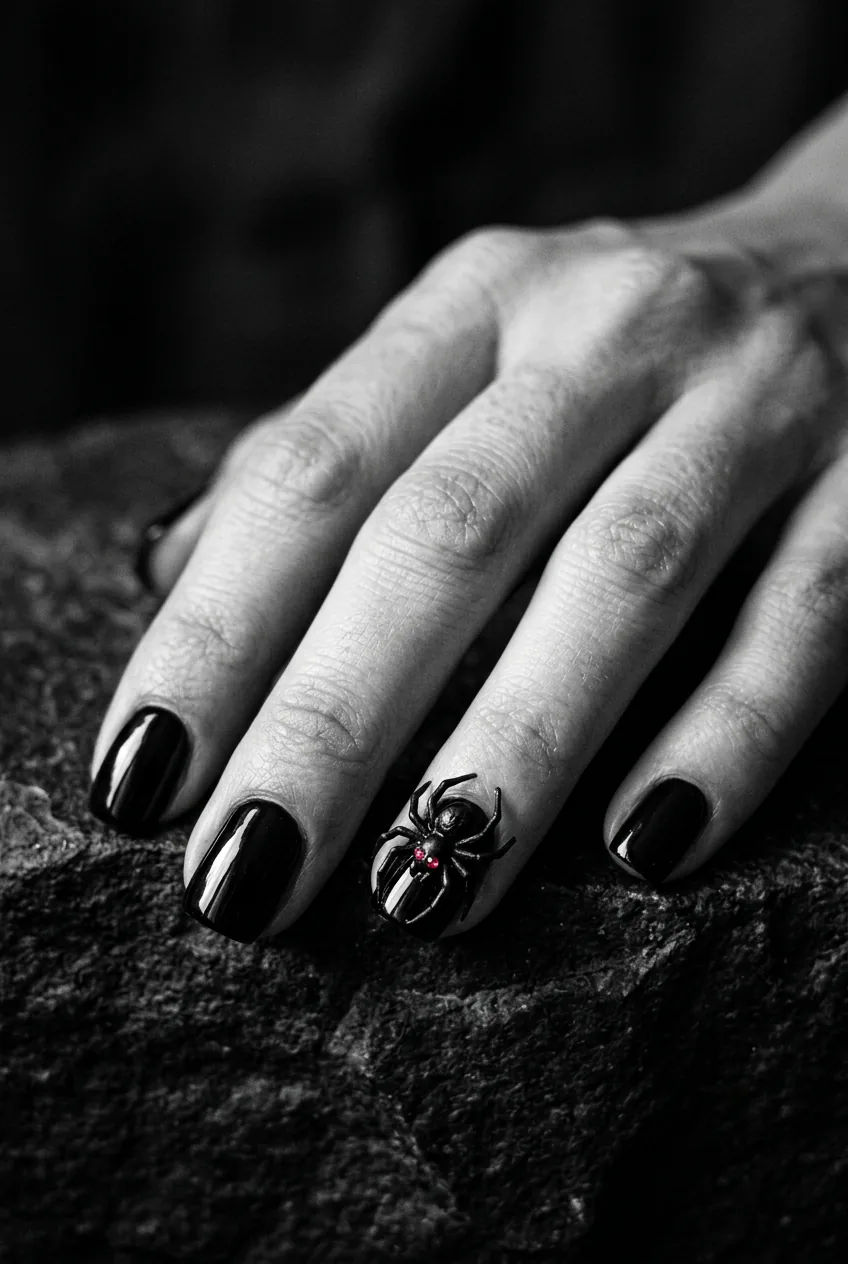
9. 3D Spider with Gem Eyes
A dimensional spider sitting on your nail, with tiny rhinestone eyes. The body is built up using hard gel or acrylic in black, sculpted into a rounded dome shape, then the legs are painted in long curved strokes with a very fine liner brush. The rhinestone eyes are applied with a wax pencil while the gel is still uncured.
Every single step here is challenging. The 3D sculpting requires gel or acrylic work — you can’t do this with regular polish. The legs need to be thin and even and not smudge the body. And placing gems precisely is fiddly even for experienced nail techs. This is absolutely a design where looking at how she wears hers in reference photos — those impossibly perfect legs extending symmetrically — will make you realize why it takes years of practice to get there.
If you want to try a DIY version, applying rhinestones to nails is a skill worth learning first before tackling the sculpting. Tools needed: hard gel or acrylic, fine liner brush, rhinestones, wax tip pencil, UV lamp. Expected first attempt: the body will look good, the legs will give you trouble. Level up path from intermediate: practice the leg painting technique on paper before touching your nails.
10. Freehand Skull With Florals
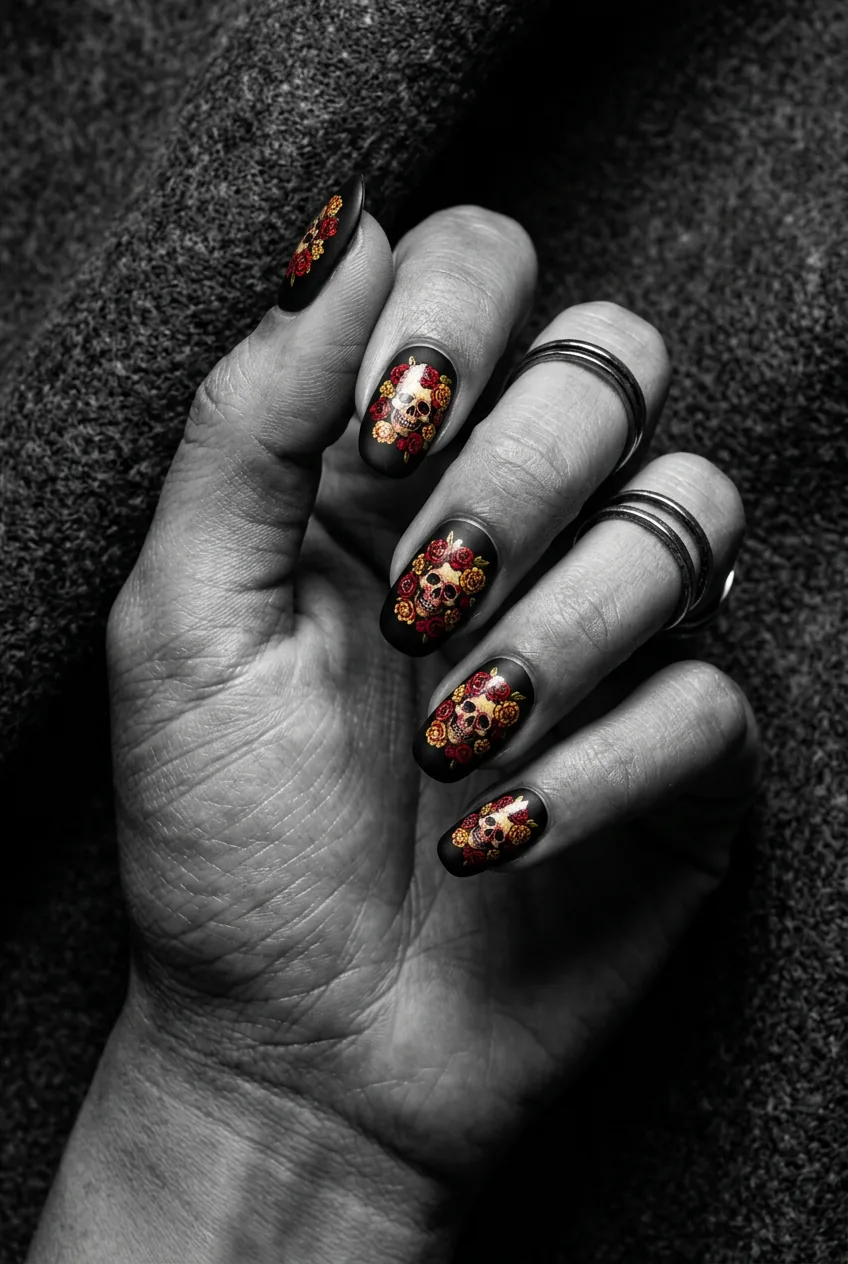
This is the Day of the Dead-inspired skull covered in intricate floral painting — roses, marigolds, small leaves — all rendered in saturated color directly onto the nail surface. It’s breathtaking when done well. It’s also one of the most technically demanding freehand painting designs you can attempt.
The skull itself requires confident linework and understanding of proportion. The flowers require layering petals with multiple brush strokes each, letting layers dry between applications, and mixing colors on the nail. This is not a one-session design. Budget several hours, good lighting, and a magnifying glass if you have one.
That said — if you love floral nail art and have been doing it for a while, this is a glorious challenge. The combination of spooky and botanical is exactly the kind of design I see popping up on fall nail ideas for big events — it genuinely works for Halloween parties and autumn occasions alike. Level up path from intermediate: start with just the skull outline (no flowers) until you’re happy with your skull proportions, then add one ring of petals around it.
11. Micro Fine-Line Haunted Mansion
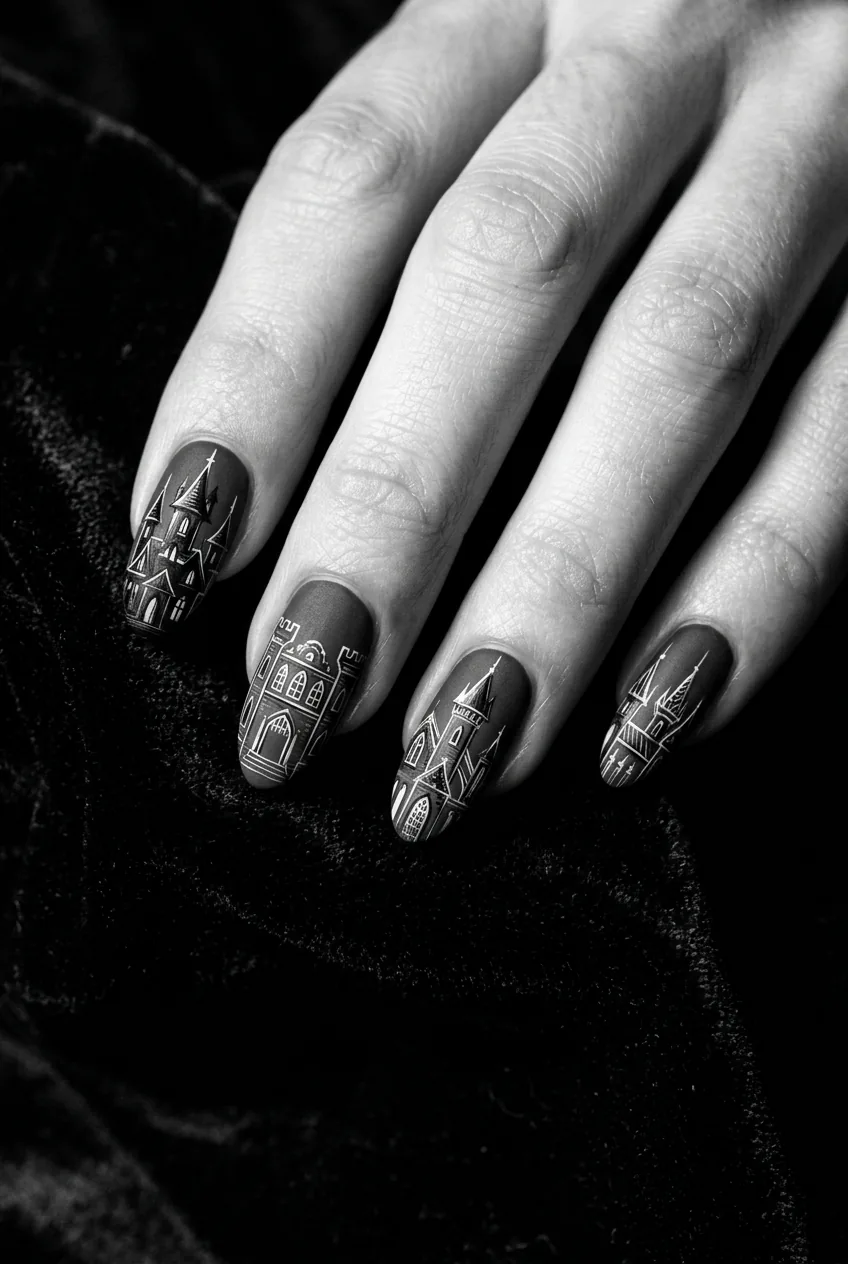
Imagine a Gothic Victorian mansion, complete with pointed turrets, arched windows, and iron gates, rendered in hairline-thin black lines on a deep grey or midnight blue nail. This is micro nail art — the kind where you need a 00 or 000 brush and the patience of someone who does cross-stitch for fun.
Fine line nail art requires a very specific type of acrylic paint consistency — thin enough to flow through a tiny brush tip, thick enough to stay where you put it. Getting that ratio right takes experimentation. The lines themselves must be confident and unbroken — hesitating mid-stroke creates blobs. Architects might have an unfair advantage here.
First attempt outcome: your mansion will probably look more like a house. Which is fine! A spooky house is still a spooky house. Level up path from intermediate: practice the straight-line technique by drawing architecture on paper with your nail brush before attempting it on a nail.
12. Full Coffin Mummy Wrap with Crystals
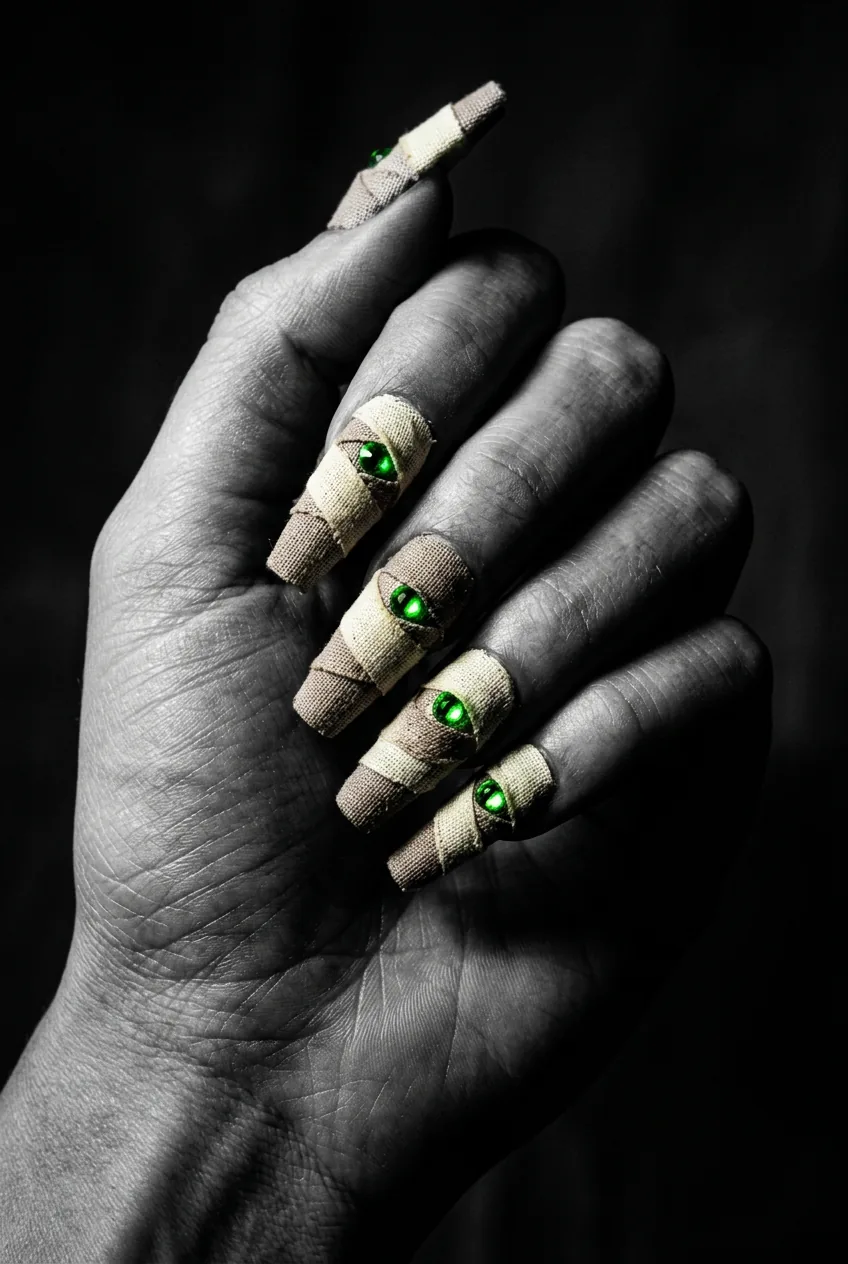
Save the best for last. This design works on coffin or almond shaped nails and involves wrapping the entire nail surface in overlapping linen-bandage strips painted in cream, taupe, and aged yellow, leaving two glowing red or green crystal gem eyes peeking through a gap near the tip. The bandages are painted with a flat brush using slightly irregular strokes to mimic fabric weave.
This is a full nail art commission-level design. The layering takes multiple stages. The crystals need to be precision-placed. And the aged, slightly dirty look of the bandages requires color-mixing skill — if you go too clean and even, it looks like white striping tape, not ancient linen. The goal is controlled imperfection, which is paradoxically harder than precise work.
If you’re booking this with a nail tech, check out some fall manicure inspo to show them the specific vibe you’re going for — mummy nails can lean whimsical or genuinely creepy depending on the color choices. For winter holidays after Halloween, you might even explore winter nails to keep the crystal-embellishment energy going. Expected first attempt: beautiful chaos. Genuinely worth it.
Quick Answers Before You Start
Do I need gel polish to do Halloween nail art at home?
Not for most of these designs. Designs 1 through 8 can all be done with regular polish and acrylic paint. You’ll only need gel or UV products if you’re attempting 3D elements like the spider body in design 9. If you want the art to last longer, sealing everything under a gel topcoat with a UV lamp helps enormously.
What’s the single most useful tool for Halloween nail art?
A thin liner brush — I cannot stress this enough. The brush that comes in the polish bottle is almost never the right tool for nail art. A good quality 00 or 0 liner brush from any art supply store costs almost nothing and transforms what you can do. Pair it with a dotting tool set and you have 80% of what these designs require.
How long should I let each layer dry before adding details?
Longer than you think. At minimum two minutes between layers for regular polish, and you want it actually touch-dry, not just surface-dry — press lightly with a knuckle to test. For acrylic paint over polish, wait until the polish underneath is completely set or the paint will drag it. Patience here is the difference between clean art and smeared mess.
Can I do Halloween nail art on short nails?
Absolutely yes — and some of these designs actually look better on shorter nails because the compact canvas makes the art look more intentional. Ghost nails, spiderweb accents, and bloody drip tips work brilliantly on short lengths. The mummy wrap in design 12 genuinely benefits from longer coffin nails, but that’s the exception. You can find plenty of inspiration in posts about short Halloween nail ideas if you want to see specific short-nail versions.
Whatever level you’re at right now, there’s something on this list that’s genuinely yours. Start with the matte spiderweb if you’re nervous — you’ll feel so good when it works. And if you nail (pun absolutely intended) the beginner tier and want to keep the autumn nail energy going through the whole season, there’s a whole world of fall nails to explore once October is over. Happy haunting. 🖤