






I spent the better part of two years being absolutely obsessed with 3D nails from Instagram, pinning every little floral bead and butterfly sculpture I could find — and then paying a premium every single visit to get them done. When my go-to nail tech moved cities last spring, I was genuinely devastated. So I did what any sensible person does: I ordered a full acrylic kit at midnight and told myself it couldn’t be that hard. Reader, it was that hard. But I figured it out, and now I’m here to save you from the same bag of lumpy, lopsided beads I produced in month one.
Your Roadmap to Salon-Level 3D Nails
- The Salon Setup, Scaled Down
- What You’ll Need
- Step 1: The Prep Salons Never Rush
- Step 2: Apply Your Tip or Form
- Step 3: Mix Your Monomer Ratio Like a Pro
- Step 4: The Pro-Level Brush Technique for 3D Bead Placement
- Step 5: Sculpt Your 3D Element
- Step 6: File, Refine, and Surface-Prep
- Step 7: The Finishing Touches That Look Salon
- Quick Answers Before You Start
The Salon Setup, Scaled Down
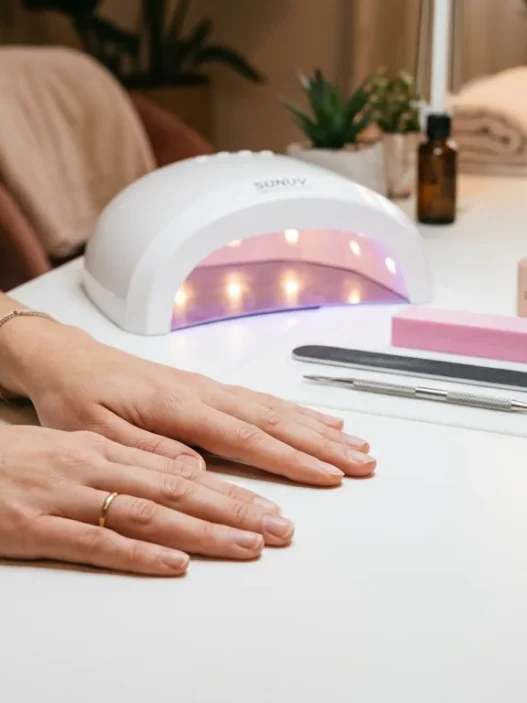
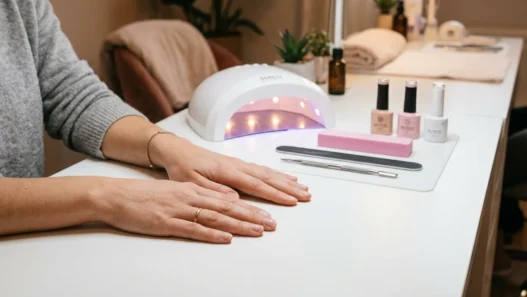
Here’s the honest truth about what separates a salon 3D nail from a home attempt: it’s not talent. It’s environment and discipline. Nail techs work under a dedicated lamp, at a clear clean station, with their liquid and powder ratios memorized from muscle memory. They also work in a ventilated room — and that part is non-negotiable for you too, by the way. Crack a window. Run a small fan directed away from your work area.
You don’t need a $400 nail table. You need a flat, wipeable surface, a dedicated dappen dish, good lighting, and the discipline to not touch your bead once it’s placed. That last one is the hardest part for most beginners. I still catch myself going back in too soon.
Also worth saying: the look we’re building in this guide is a classic 3D rose cluster on an almond nail. One specific design, done properly from start to finish. Once you understand the process for this, you can apply the same logic to any nail art designs you want to try next — the fundamentals transfer everywhere.
What You’ll Need
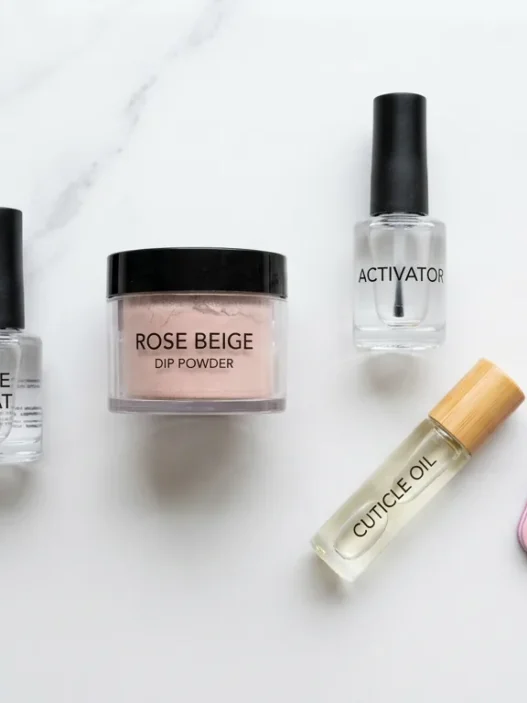
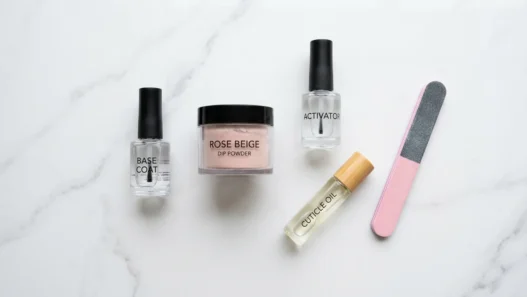
Get everything laid out before you open any liquid. Acrylic moves fast, and scrambling for your brush mid-bead is how you end up with a hardened disaster.
- Acrylic nail tips or nail forms (I prefer forms for a more natural look)
- Nail tip glue (if using tips)
- Acrylic monomer liquid (low-odor is fine — I use a MMA-free formula)
- Acrylic sculpting powder in your base color (clear or pink) and white or colored powder for your 3D element
- Size 8 or 10 kolinsky acrylic brush — do not skip the kolinsky, it matters
- Dappen dish for your monomer
- Nail dehydrator and primer
- 100/180 grit file plus a buffer block
- Cuticle pusher and nippers
- Lint-free wipes
- Top coat (gel or regular, your preference)
- UV/LED lamp if you’re going with gel top coat
- Cuticle oil for the finish
A quick note on brushes: the kolinsky hair holds just the right amount of monomer to pick up a bead with control. I wasted two months on a synthetic brush wondering why my beads were soupy. If you want to understand which brush size to use, it genuinely changes your results faster than anything else.
Step 1: The Prep Salons Never Rush
This is the step every home manicurist rushes, and it is the single biggest reason 3D nails lift at the base within a week. Salons spend a genuinely surprising amount of time on prep — more than on the actual sculpting. Match that energy.
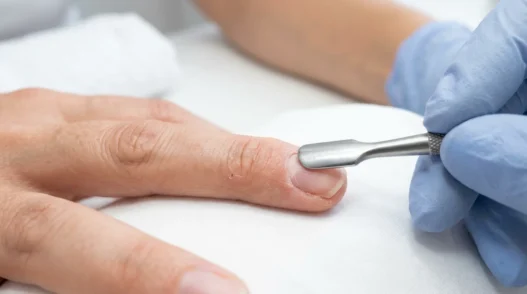
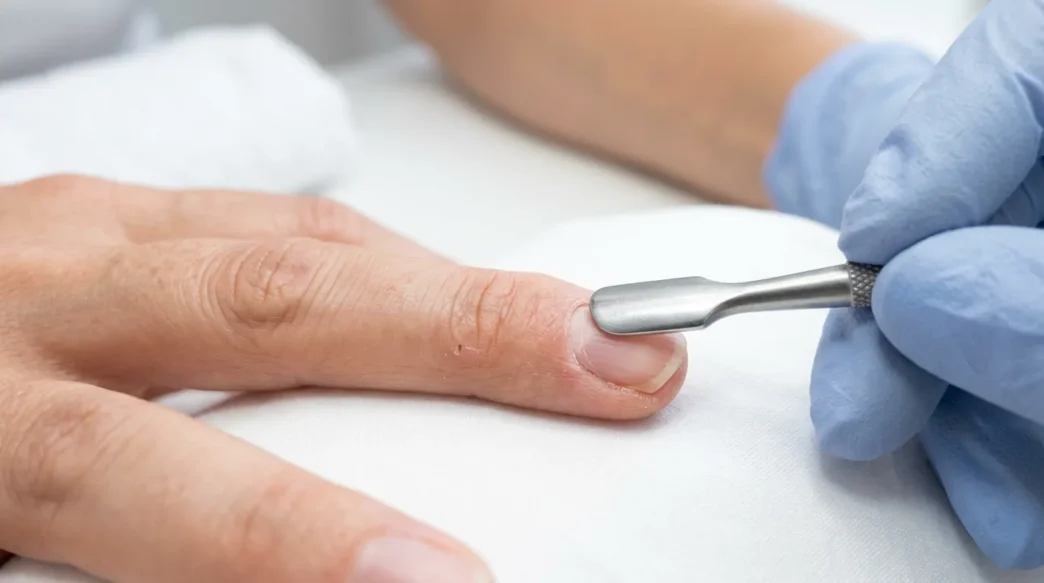
Push your cuticles back gently with your cuticle pusher. Then nip away any excess skin carefully — you want a clean canvas right up to that cuticle line. Use your 100 grit file to gently buff the surface of each natural nail. You’re not filing down; you’re breaking the shine so the product has something to bond to. Wipe away all dust with a lint-free wipe.
Apply your nail dehydrator, let it fully evaporate (about 30 seconds — don’t blow on it, that introduces moisture), then brush on your primer. Let the primer go tacky but not wet. This two-step chemical prep is what techs mean when they talk about proper adhesion. Skipping it is skipping the foundation of the whole build.
Mistake I made: I thought buffing hard would give me better adhesion. It doesn’t — it thins your natural nail and causes breakage underneath. Light passes only. You’re scuffing the surface, not reshaping it.
Step 2: Apply Your Tip or Form
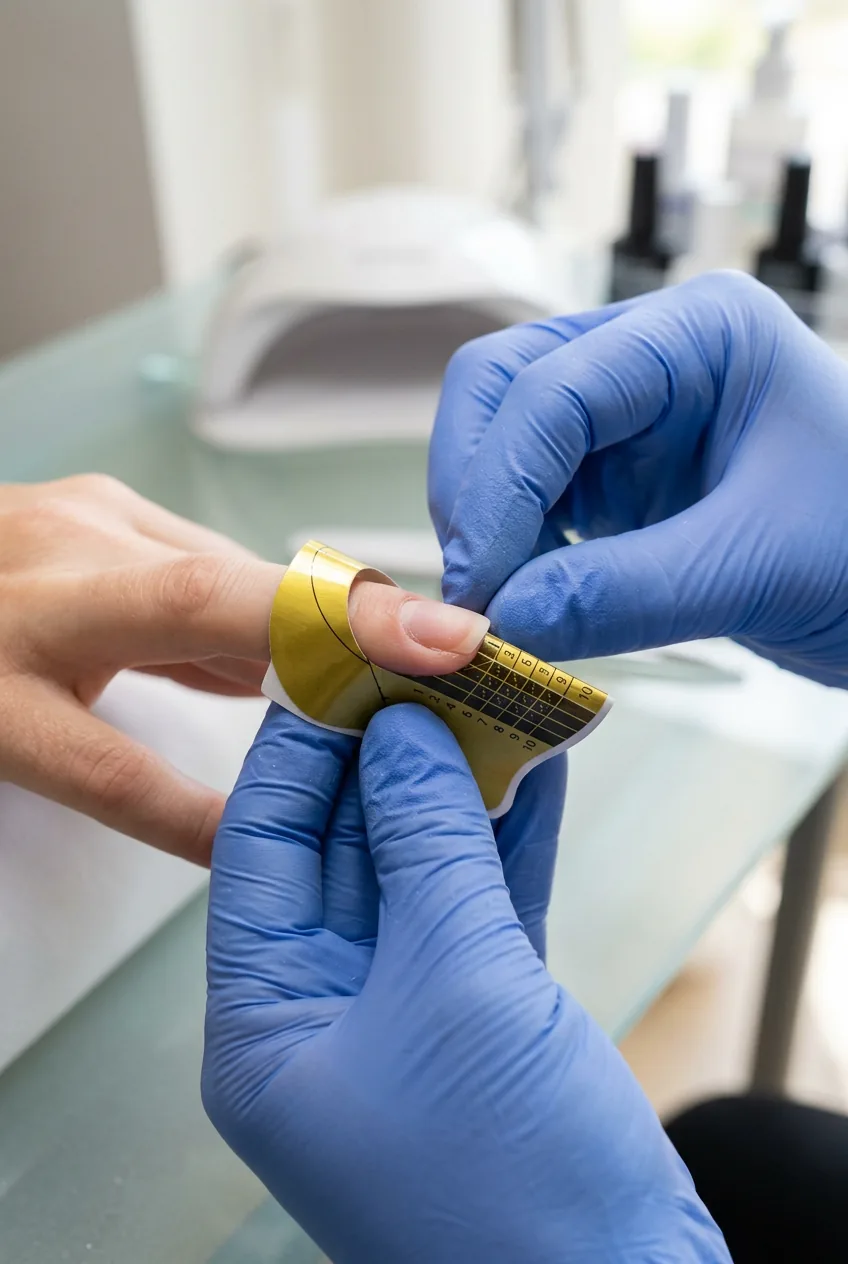
If you’re using nail tips, select the right width for each finger — it should sit flush against the sides without pinching or gapping. Apply glue to the well of the tip, press at a 45-degree angle onto the free edge, hold for ten seconds. Then blend the seam with your file so there’s no ridge. That ridge, if left, will show through your acrylic later.
If you’re using nail forms (my preference), slide the form under the free edge so it’s centered and the guide lines match up with the center of your nail. Pinch the sides to create a slight c-curve — this is what gives almond and coffin shapes their structure. Forms are more finicky to fit correctly, but the finished nail looks sculpted and seamless in a way tips sometimes don’t. Thinking about your shape now matters. If you want an almond or coffin silhouette, check out what goes into different nail shapes and lengths before you commit — the form placement varies.
Step 3: Mix Your Monomer Ratio Like a Pro
This is where most beginners go sideways, and it’s completely understandable because no one talks about it clearly. Your liquid-to-powder ratio determines everything about your bead — its workability, its drying time, its final strength.
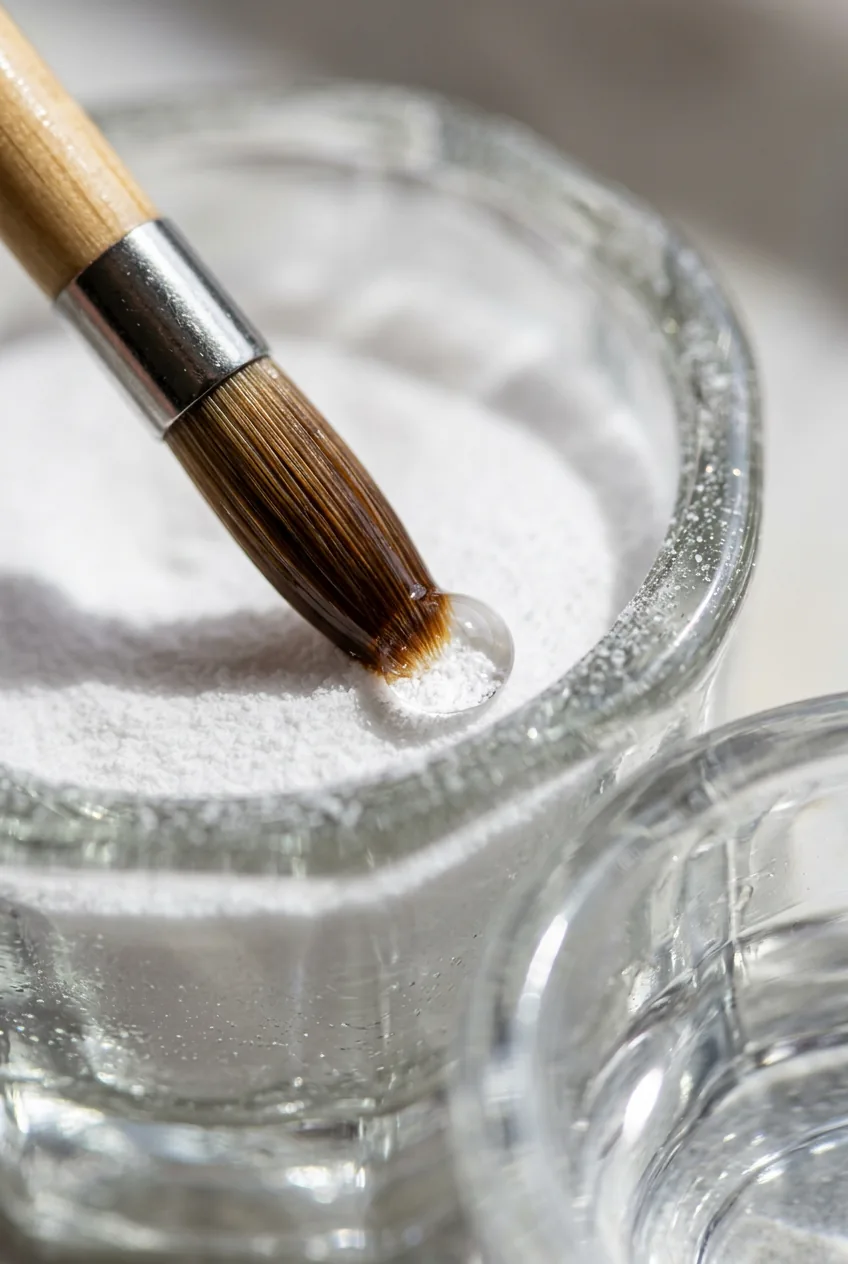
The rule I use: dip your brush into the monomer, wipe the excess on the inside rim of the dappen dish (not the outside edge — bacteria territory), then touch the tip of your brush to the surface of your powder. The bead should form and look like a small, glossy dewdrop that barely moves when you tilt the brush. If it runs, it’s too wet. If it looks dry and crumbly when you try to pick it up, you need a tiny bit more liquid.
A medium-wet bead is what you’re aiming for. It should hold its shape when placed but still be workable for about 20 to 30 seconds. That window is your entire sculpting time. Don’t fight it — work with it.
Step 4: The Pro-Level Brush Technique for 3D Bead Placement
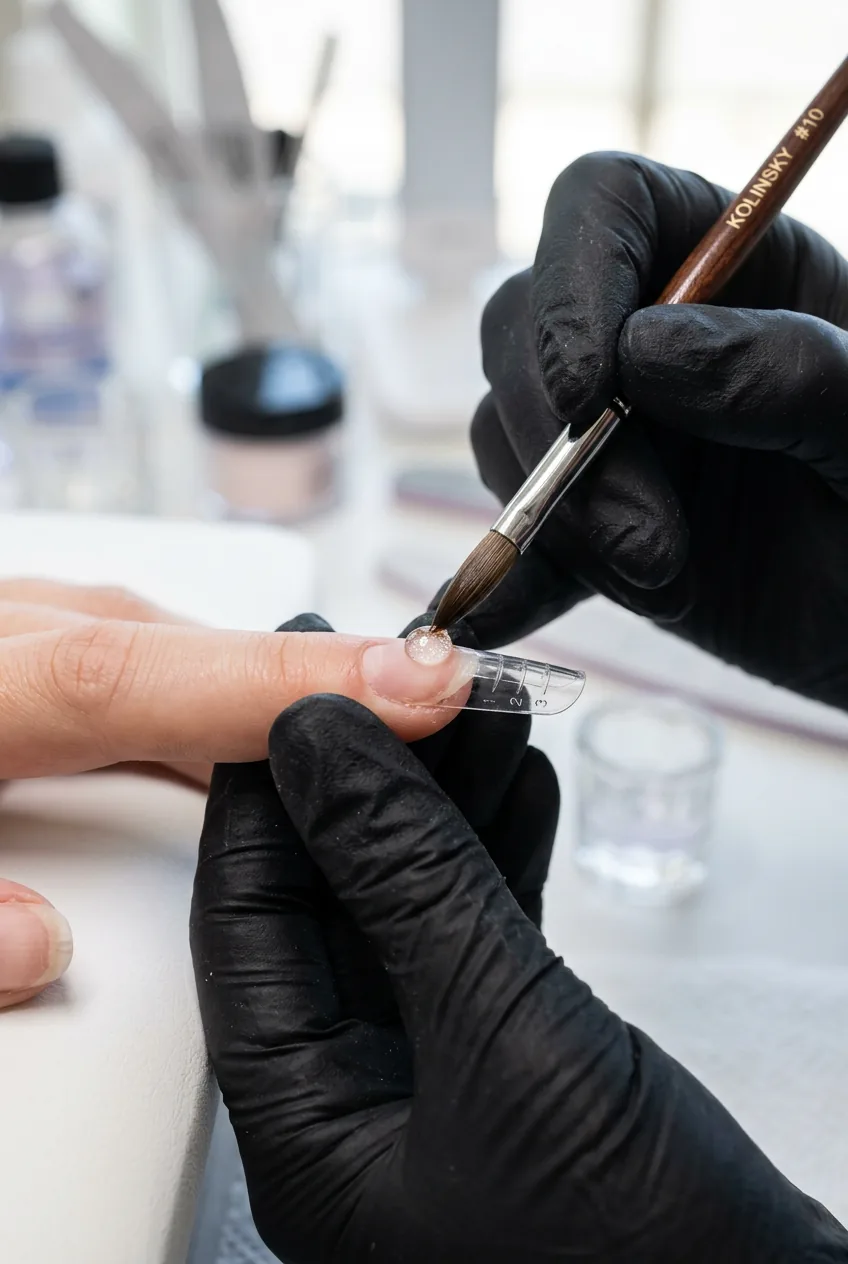
Look at the photo here — see how she’s holding the brush almost parallel to the nail surface, barely touching it, letting the bead transfer with gravity rather than pushing? That is the exact angle. That moment is what separates a professional application from a home one. The bead does the work. The brush guides it.
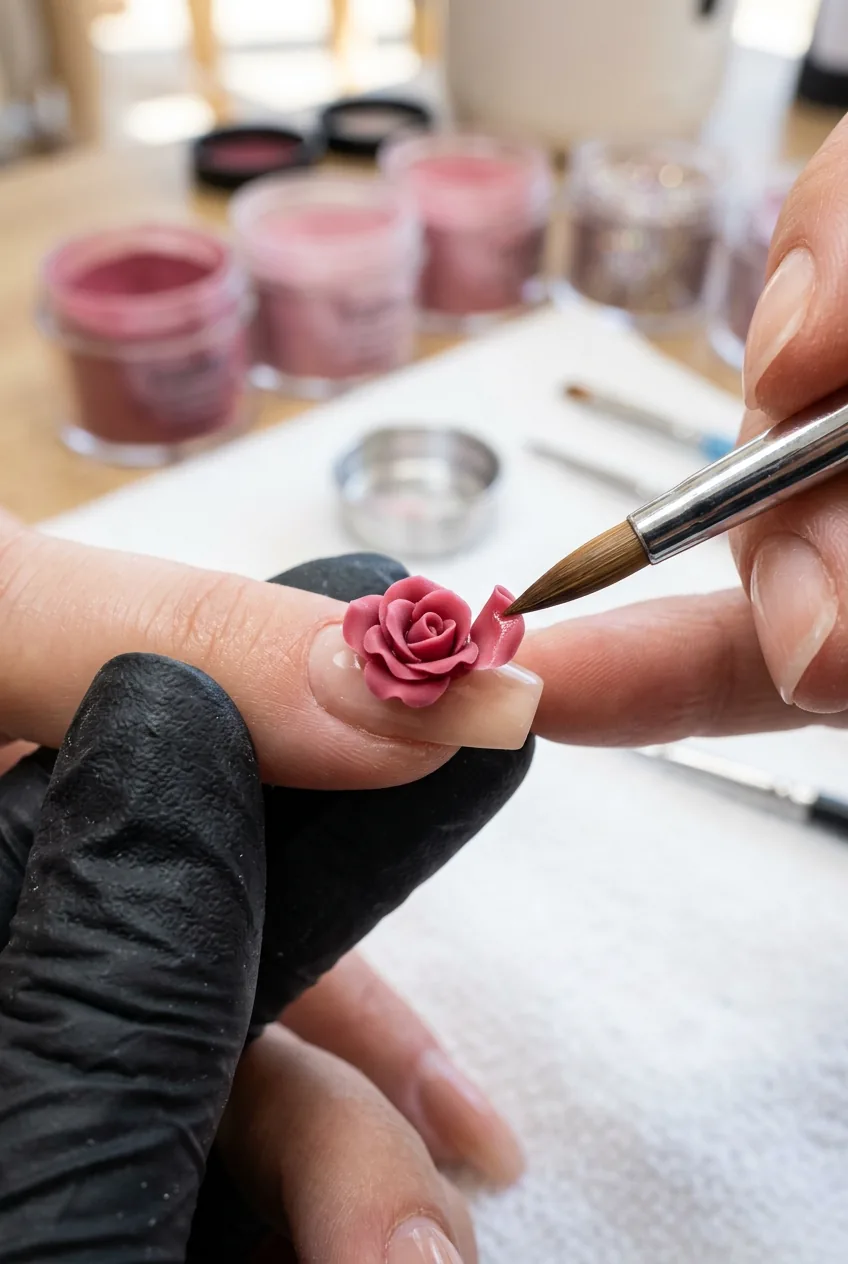
Place your base layer bead first — this is your foundation, not your 3D element yet. Touch the bead to the nail roughly two millimeters from the cuticle and use the belly of your brush (not the tip) to gently pat and guide it toward the cuticle, then forward toward the free edge. Do not stroke. Patting motion only. Stroking drags product and creates uneven ridges.
Techs who build 3D nails work in two layers for the base: a thin placement layer and then a second bead to build the apex (the highest arch point, roughly in the middle third of the nail). This arch is structural — without it, the nail can crack under the weight of your 3D element. Apply your second bead to the middle zone and gently pat to build that peak. This is the step salons never skip, and most home tutorials gloss over entirely.
Mistake I made: I built my 3D rose directly onto a flat base with no apex. The nail cracked at the stress point within five days. The arch isn’t decorative — it’s load-bearing.
Step 5: Sculpt Your 3D Element
Now the fun part. Once your base has cured fully (tap it — it should sound slightly hollow and feel completely rigid, not flexible), you’re ready to sculpt your 3D rose. The rose is beginner-friendly for 3D work because its petals are forgiving — slight imperfections just look like organic variation.
Pick up a small bead using your colored or white powder. Place it on the nail and immediately use the flat side of your brush to press one edge down while leaving the other curling upward — this creates a single petal. Work quickly. The moment the product starts to resist, stop. Forcing a curing bead creates cracks. Each petal is its own separate bead placement, built outward from a central point.
For a full rose, I typically place five to six petals per flower — three inner petals tighter and more upright, three outer petals wider and with more of a curl. The curl comes from pressing down at the base while lifting your brush upward at the tip in one smooth motion. Practice this on a nail tip first. Seriously — do not attempt it on your actual nail without a dry run.
This kind of detailed sculptural work is what puts 3D nail art squarely in its own category within nail art designs — it rewards patience in a way flat art doesn’t. You can also explore gel manicure techniques for the base if you prefer working in gel rather than acrylic liquid-and-powder for your foundation.
Watch the Rose Petal Technique Up Close
Step 6: File, Refine, and Surface-Prep
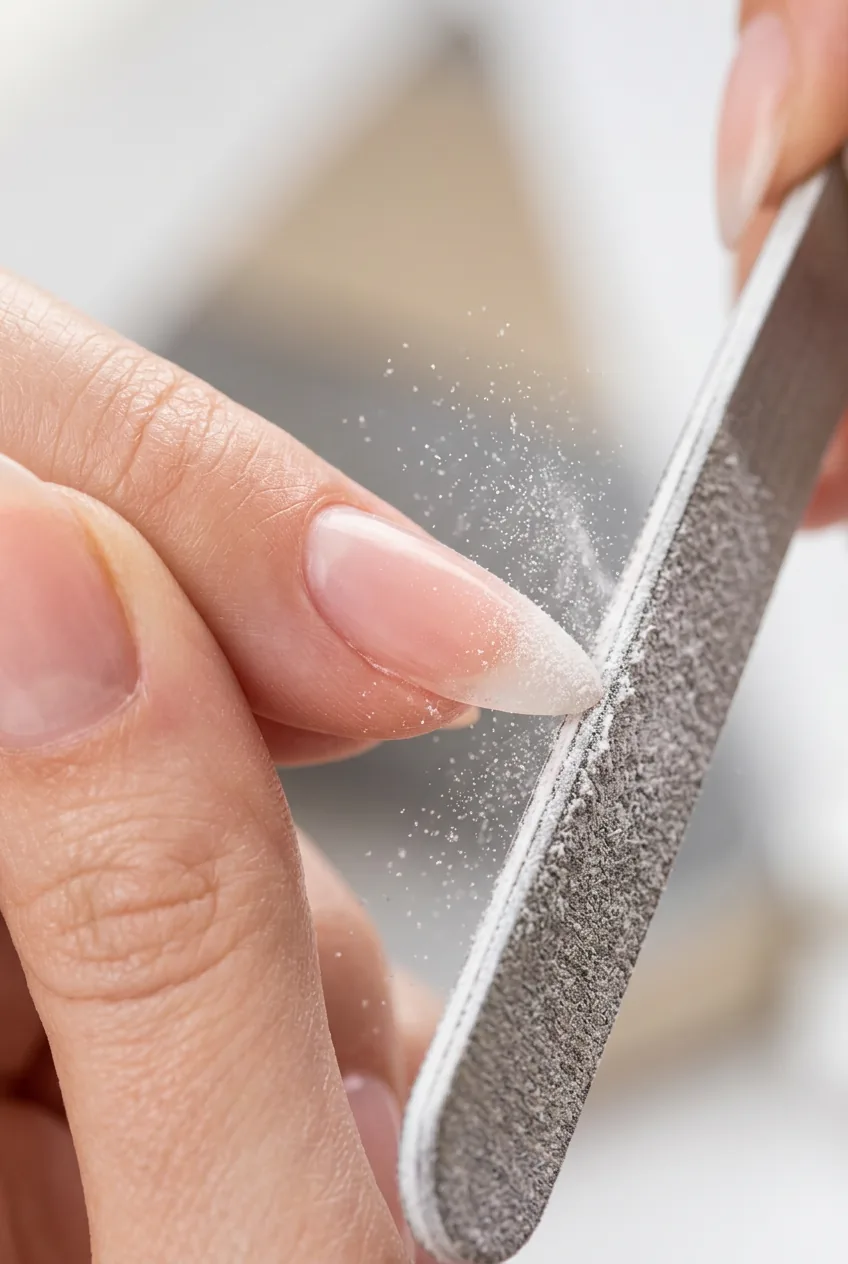
Once everything is fully cured, this is where the polish happens — literally and figuratively. Use your 180 grit file to refine the shape of the nail extension itself. For almond nails, you’re filing the sides inward at an angle, narrowing toward a rounded point. For square-squoval (my personal favorite for 3D work because it gives the sculpture more surface to sit on), check out some reference images for square squoval nails to get the sidewall angle right.
Here’s the salon step almost everyone skips at home: cap the free edge. Run your file along the very tip of the nail extension — perpendicular to the nail — sealing the product at the edge. This prevents water and product from sneaking underneath and causing lifting. It adds maybe twenty seconds to your process. Do it every time.
Buff the surface of the base (away from the 3D element) with your buffer block to smooth out any ridges. You want a surface that feels uniformly matte and smooth. Wipe away all dust with a lint-free wipe dampened with a tiny bit of monomer or isopropyl alcohol.
Step 7: The Finishing Touches That Look Salon
The difference between “nice home nails” and “wait, did you just get those done?” is almost always in the finish. Here’s how to close that gap.
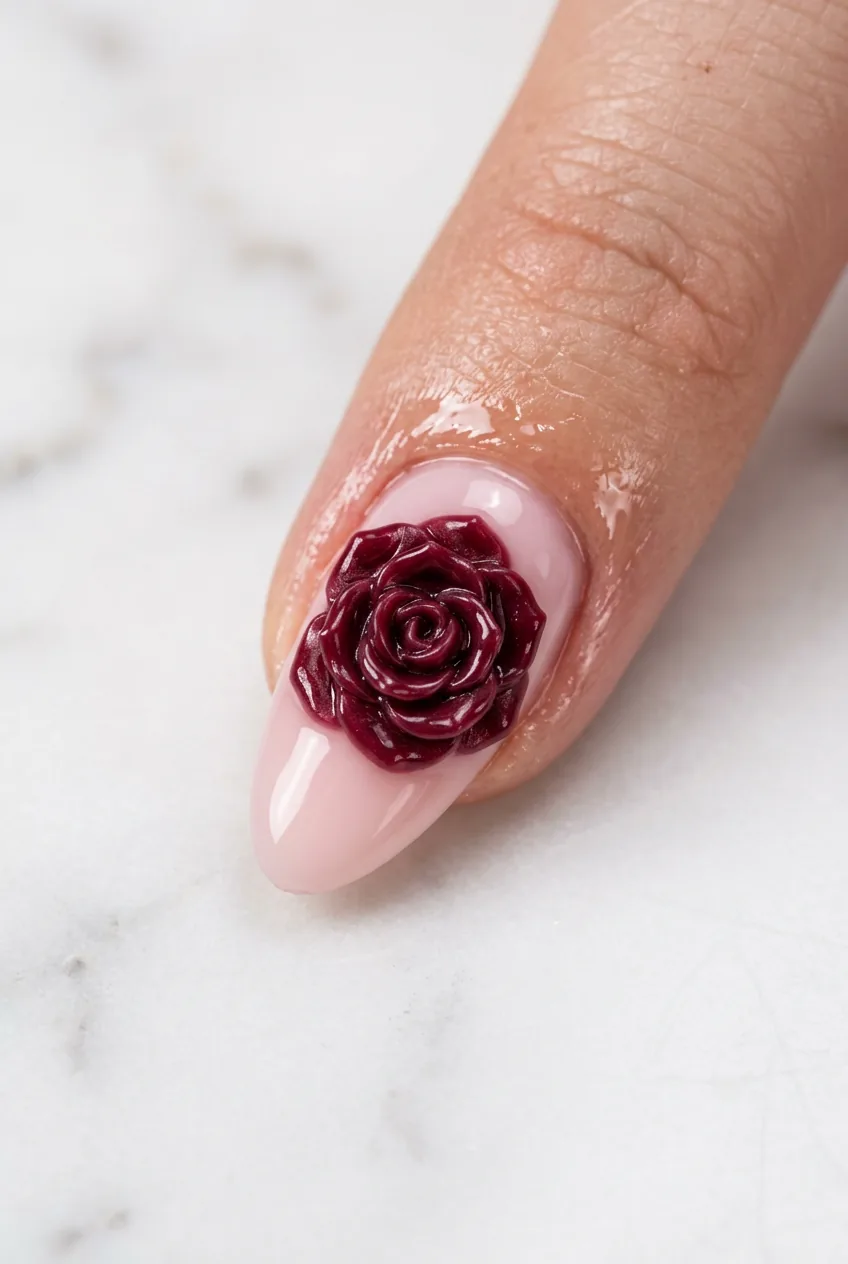
Apply a thin layer of your chosen top coat over the base of the nail, carefully working around (not over) your 3D sculpture. If you paint top coat over a 3D element, it flattens it and it loses that dimensional quality you worked so hard to build. Cure if using gel. Then — and this is the move most people forget — apply a second very thin coat of top coat to the free edge and the underside of the nail tip. This seals everything and dramatically increases wear time.
Finish with cuticle oil. A generous drop to each cuticle, massaged in for thirty seconds. This is the step that makes finished nails look hydrated and intentional instead of dusty and dry. Look at how her nails photograph in that last shot — the skin around the nail looks just as good as the nail itself. That’s the cuticle oil. Never skip it.
For maintenance, apply fresh cuticle oil every night. The acrylic can dry out the surrounding skin, and keeping that area moisturized also helps with product adhesion long-term. If you want to keep seasonal nail inspo going, some of my favorite 3D nail ideas work beautifully as fall nails — deep burgundy roses, dried flower beads, rust-toned botanicals.
Also, understanding how when to do a nail fill keeps your work looking fresh between rebuilds without damaging your natural nail underneath.
Quick Answers Before You Start
Can I do 3D nails without a kolinsky brush?
Technically yes, but your results will be noticeably worse. Synthetic brushes don’t hold monomer as precisely, which makes bead consistency very difficult to control. A decent size 8 kolinsky brush is genuinely one of the best investments you can make for acrylic work — they cost around $15–30 and last years with proper care.
How long do 3D acrylic nails last before they need a fill?
Typically two to three weeks before you’ll see noticeable grow-out at the cuticle. The 3D element itself, if built correctly on a solid apex, can last much longer without cracking. Daily cuticle oil application and wearing gloves for heavy chores will extend your wear significantly.
What’s the best nail shape for 3D nail art?
Almond and coffin shapes give your 3D element the most visual real estate and they angle the sculpture toward the viewer beautifully. That said, I’ve seen gorgeous 3D work on square nails too — the flat surface gives a clean geometric contrast to the organic texture of a floral bead. It really comes down to your personal preference and how much length you’re comfortable wearing.
Is acrylic monomer safe to use at home?
Yes, with proper ventilation. Open a window, use a small fan directed away from your work area, and avoid breathing the fumes directly. MMA-free monomers (EMA-based) are lower odor and gentler on the nail plate. Always read the product instructions and keep the room aired out for at least twenty minutes after you finish working.
Can I add 3D elements to gel nails instead of acrylic?
You can, though hard gel is the better candidate than soft gel for sculpting 3D elements — it holds structure under a UV lamp in a way that soft gel doesn’t. Some nail artists also use a combination: acrylic for the 3D sculpture placed onto a gel base. If you’re more comfortable with gel as your foundation system, that hybrid approach works really well and is worth experimenting with once you’ve got the bead technique down.
My first full set of 3D rose nails took me about three hours — and they weren’t perfect, but they were mine and they looked genuinely good. I sent a photo to my old nail tech and she asked if I’d gone to someone new. That was the moment I knew the process actually worked. Stick with it past the first messy attempt. The second set is always dramatically better, and by the third you’ll wonder why you ever paid someone else to do it.