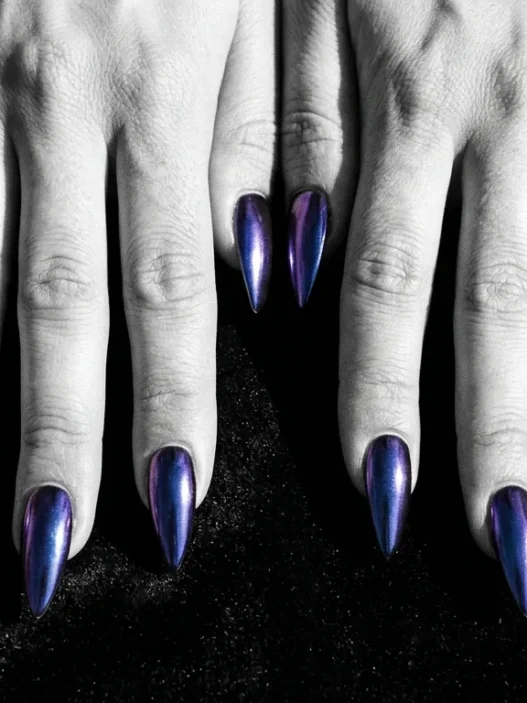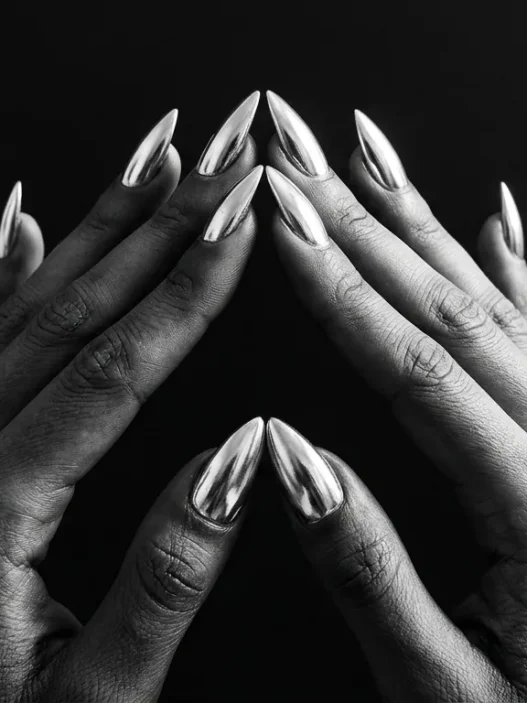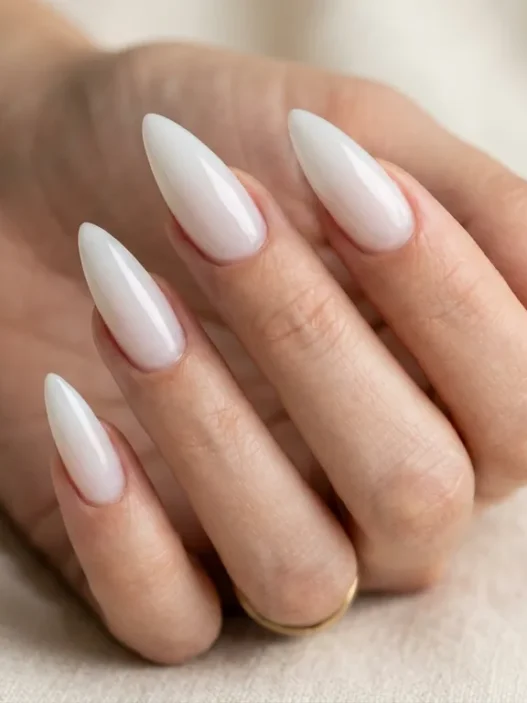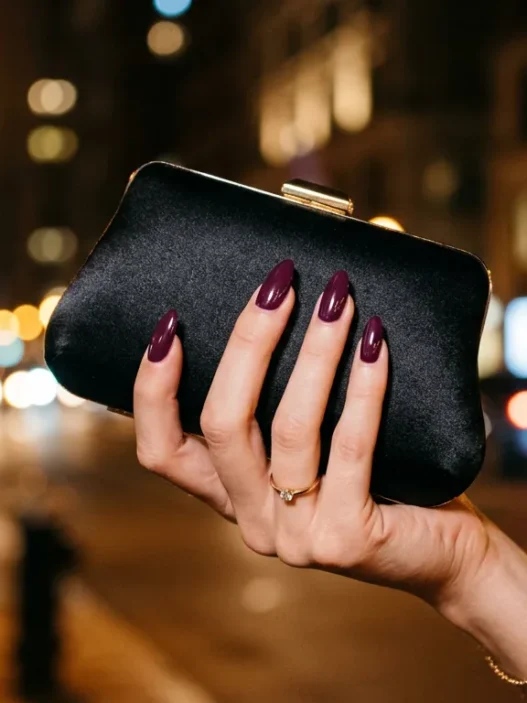





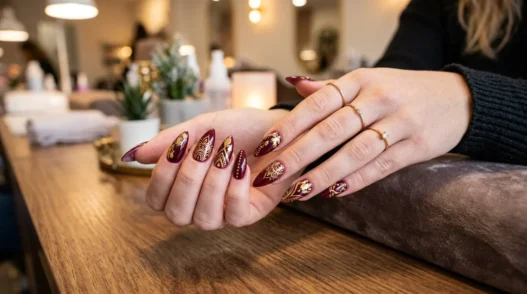
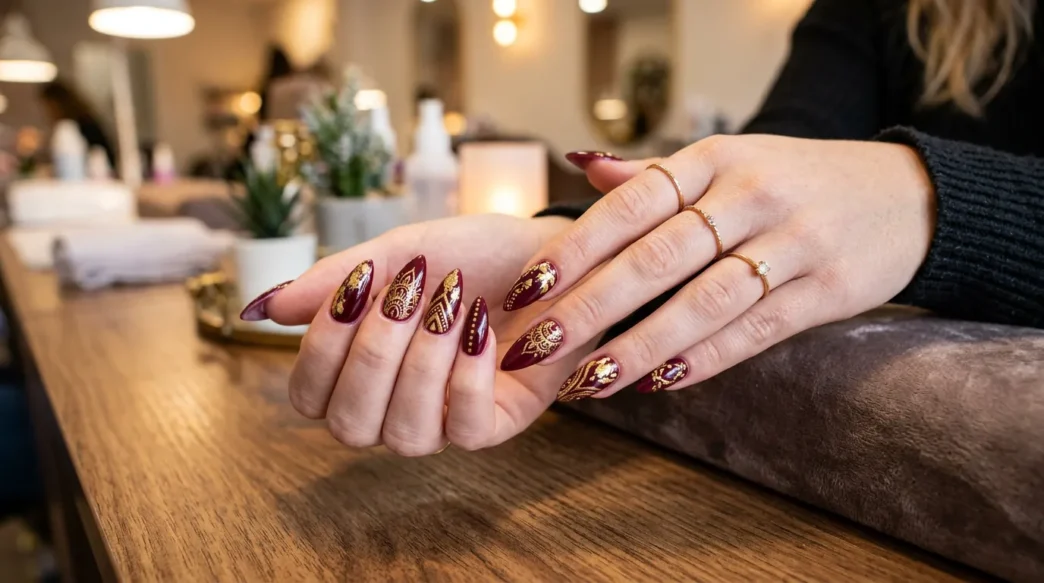
I started seriously trying to design stiletto nails about two years ago, and for the longest time I could not figure out why everything I painted looked off — slightly wobbly, slightly amateur, slightly not-quite-right in a way I couldn’t name. The shape is so specific and so dramatic that it demands precision most other nail shapes just don’t. I eventually realized the problem wasn’t my art. It was that I didn’t understand freehand painting as its own technique with its own logic. Once I did, everything clicked. This post is the guide I wish I’d had at the start.
What Freehand Painting Actually Is
Freehand painting on nails is exactly what it sounds like — you’re using a brush and nail paint directly on the nail surface, no stamps, no stencils, no transfers. Just pigment, bristle, and whatever you’ve got going on inside your head translated onto a very small curved canvas. It sounds simple. It is not simple. But it is learnable, which is a different thing entirely.
The technique has roots in traditional nail art from 1970s Japan, where detailed hand-painted designs on natural nails became a genuine art form long before gel extensions made dramatic shapes accessible to the average person. When you look at nail art designs from that era, you see incredibly intricate patterns done with brushes barely two millimetres wide. The craft was always there. Stiletto nails just gave it a bigger, more theatrical canvas to work with.
What makes freehand specifically interesting on a stiletto shape is the geometry. The nail tapers to a point, which means any design has to either work with that taper — using it as a natural vanishing point — or actively fight against it in a way that creates visual tension. The best freehand artists on stilettos do the former instinctively. They think about the nail as a shape first and a canvas second.
The Tools Worth Buying
I’ve tried a lot of brushes. Most of them were wrong. Here’s what actually matters:
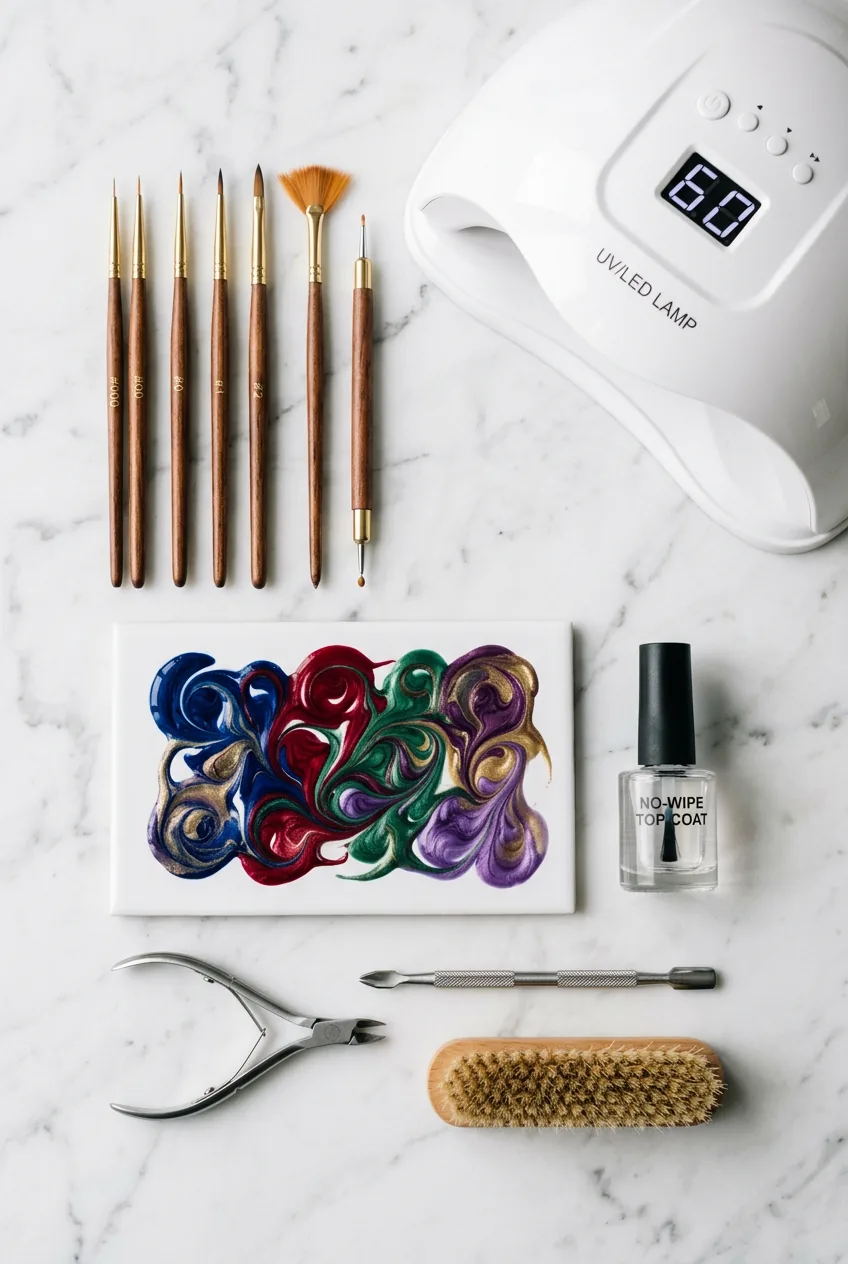
- A liner brush (size 10/0 or 20/0): This is your workhorse for fine lines, outlines, and delicate detail work. The longer the bristles, the better the ink flow — don’t go too short or your strokes will drag.
- A flat shader brush (size 4): Perfect for filling in larger areas and creating bold colour blocks that sit cleanly against the nail’s edges.
- A fan brush: Underrated. Great for gradient effects and blending on the surface before gel cures.
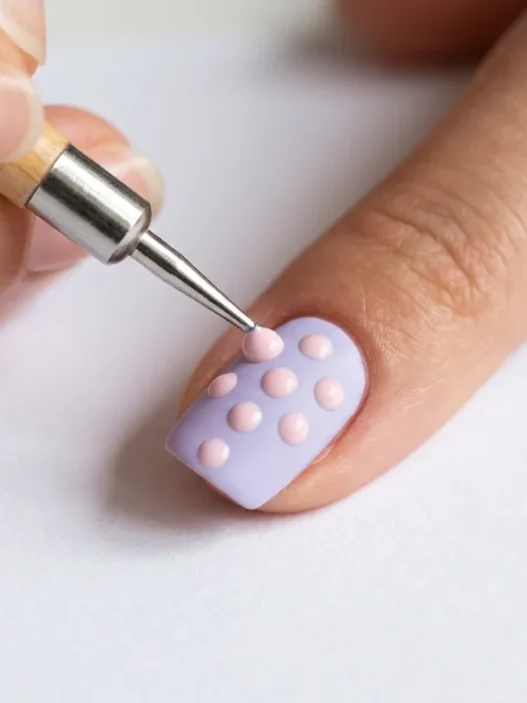
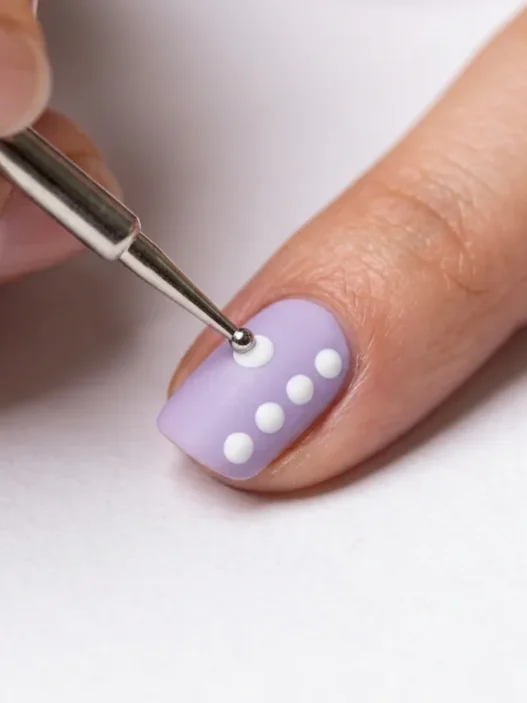
- A detail brush with a fine point: Different from a liner — this is for dots, comma strokes, and tiny ornamental flourishes at the tip of the stiletto.
- Nail art paints (not regular polish): Acrylic-based gel nail paints with a fluid consistency. Thick polish drags. You want something that flows.
- A palette tile or silicone mat: Mix colours on this, not the bottle lid. Temperature-stable and easy to clean.
- A no-wipe top coat: For sealing freehand art that sits on top of a gel base. Skipping this is how you ruin everything in the last ten seconds of the whole process.
- Gel base coat and a UV/LED lamp: Non-negotiable. Freehand on gel holds far better than on regular polish.
I want to mention one thing about brushes that nobody told me early on. A cheap brush with synthetic bristles will splay the moment there’s any pressure on it. For freehand work, that’s catastrophic — you’re doing strokes that require a consistent line width, and a splayed brush gives you something that looks like a tiny panicked broom. Invest in one or two good kolinsky or high-quality synthetic liner brushes. You can get decent ones from professional nail supply brands; check out what fine-line nail brushes are actually recommended by working nail techs before you buy a full set.
How the Technique Works on the Nail
Let me walk through the actual mechanics of freehand on a stiletto nail because this is where most people skip steps and then wonder why the result looks rough.
Step one is always the base. You need a fully cured gel base coat — not just tacky-cured, fully cured — before you put a single brush stroke of freehand paint on the nail. Any tackiness in the layer underneath will bleed into your design colours. I’ve ruined beautiful work this way. Cure your base properly, then apply your base colour (if you’re using one), and cure that too.
Step two is planning the composition on paper first. Not kidding. The stiletto shape is an inverted triangle, basically. Before touching the nail, I sketch the design roughly — even just scribbles — on a piece of paper shaped like the nail. Where does the design start? Does it fill the whole surface, or does it use the negative space of the base colour? Does the point of the stiletto anchor the design or float free of it? Answering these questions on paper costs you thirty seconds and saves you twenty minutes of cleaning up smeared mistakes.
Step three is loading your brush correctly. Drag the brush through the paint on your palette, then fan it out very lightly on the tile surface to remove excess. You want the brush loaded but not globby. Too much paint and your line will blob at the start of every stroke. Too little and it will skip. The right amount makes the brush feel almost like a pen — responsive, controlled, consistent.
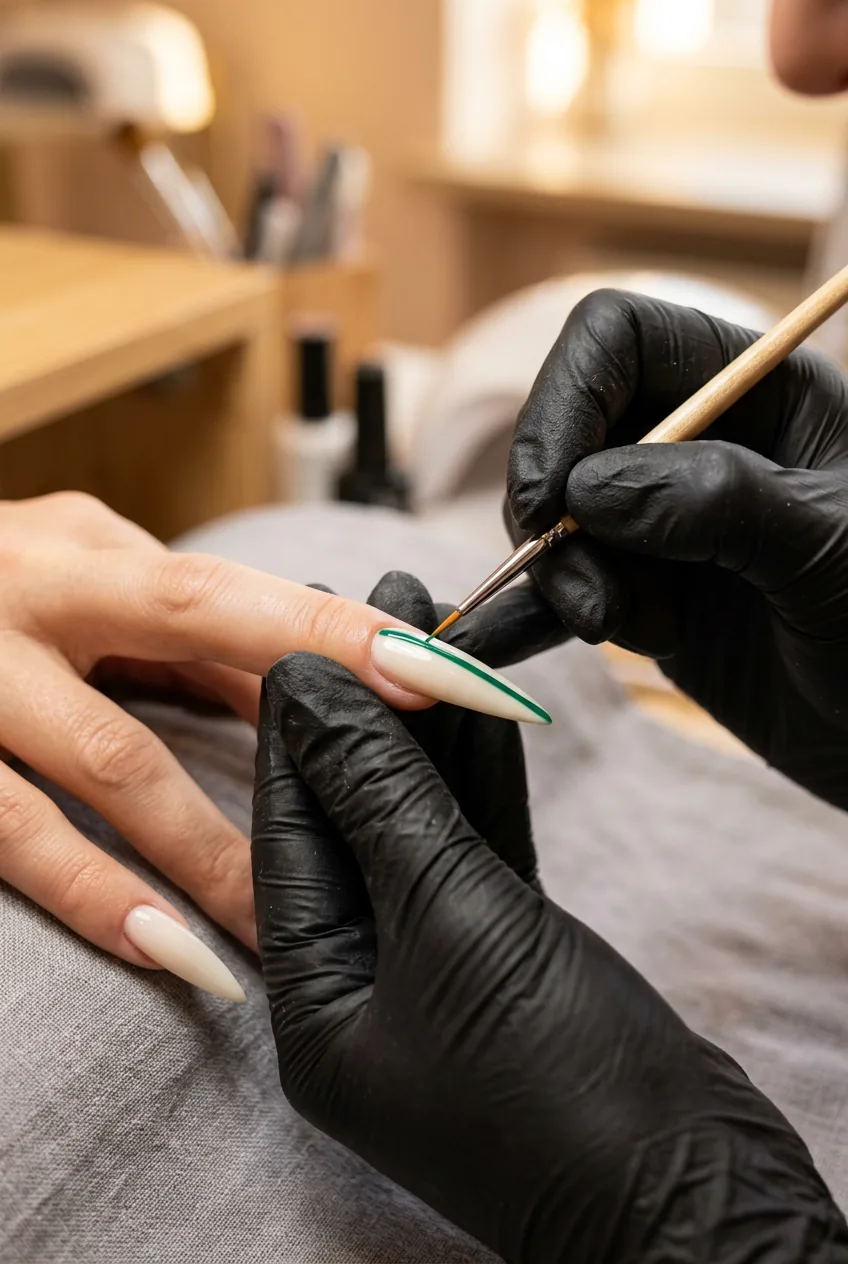
Step four is stroke direction. This is the thing I’m most emphatic about. On a stiletto nail, work from the cuticle toward the tip whenever possible, not sideways. The reason is the nail’s curvature — it’s convex, not flat, and horizontal strokes fight the curve while vertical strokes follow it. You’ll see this the moment you try both: vertical strokes land cleaner, spread more evenly, and look more intentional. There are exceptions (certain geometric designs need horizontal precision) but make “cuticle to tip” your default instinct.
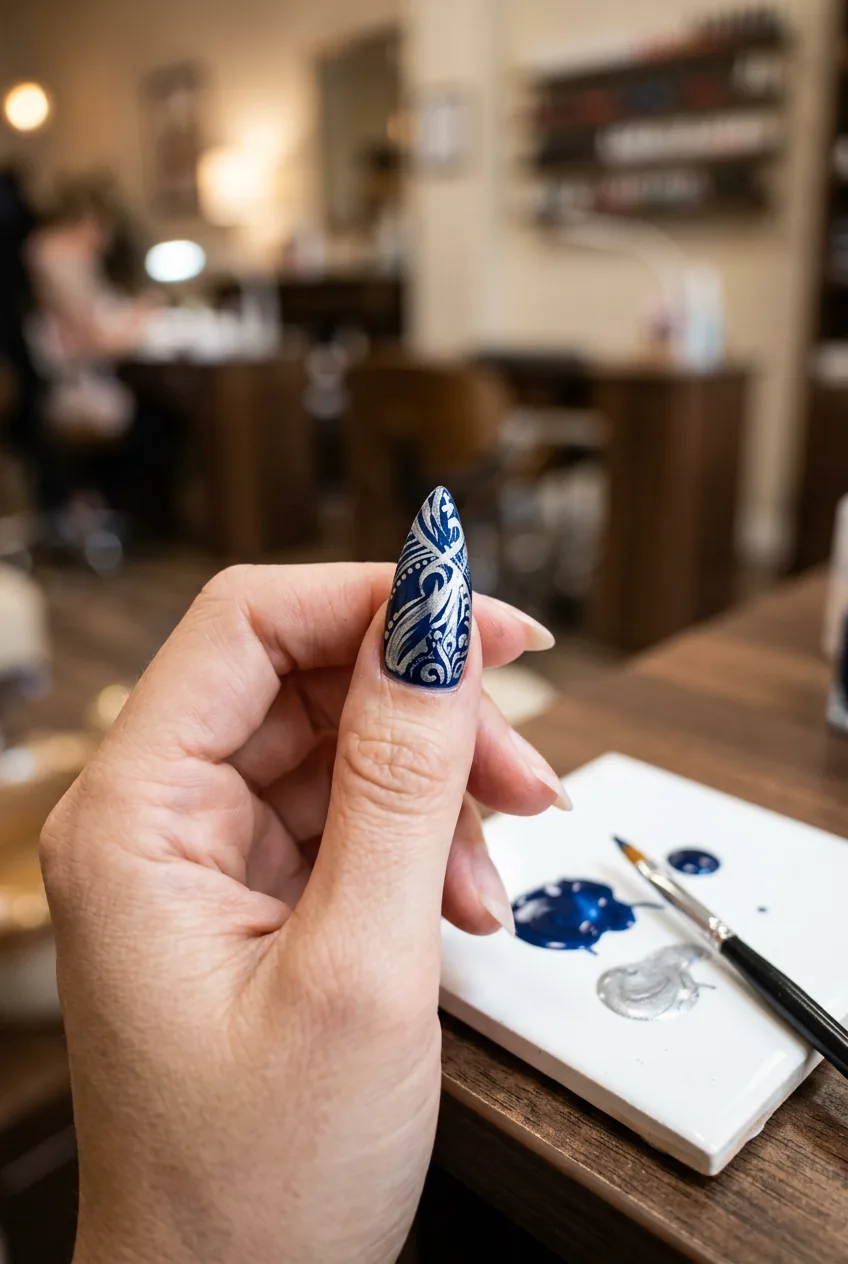
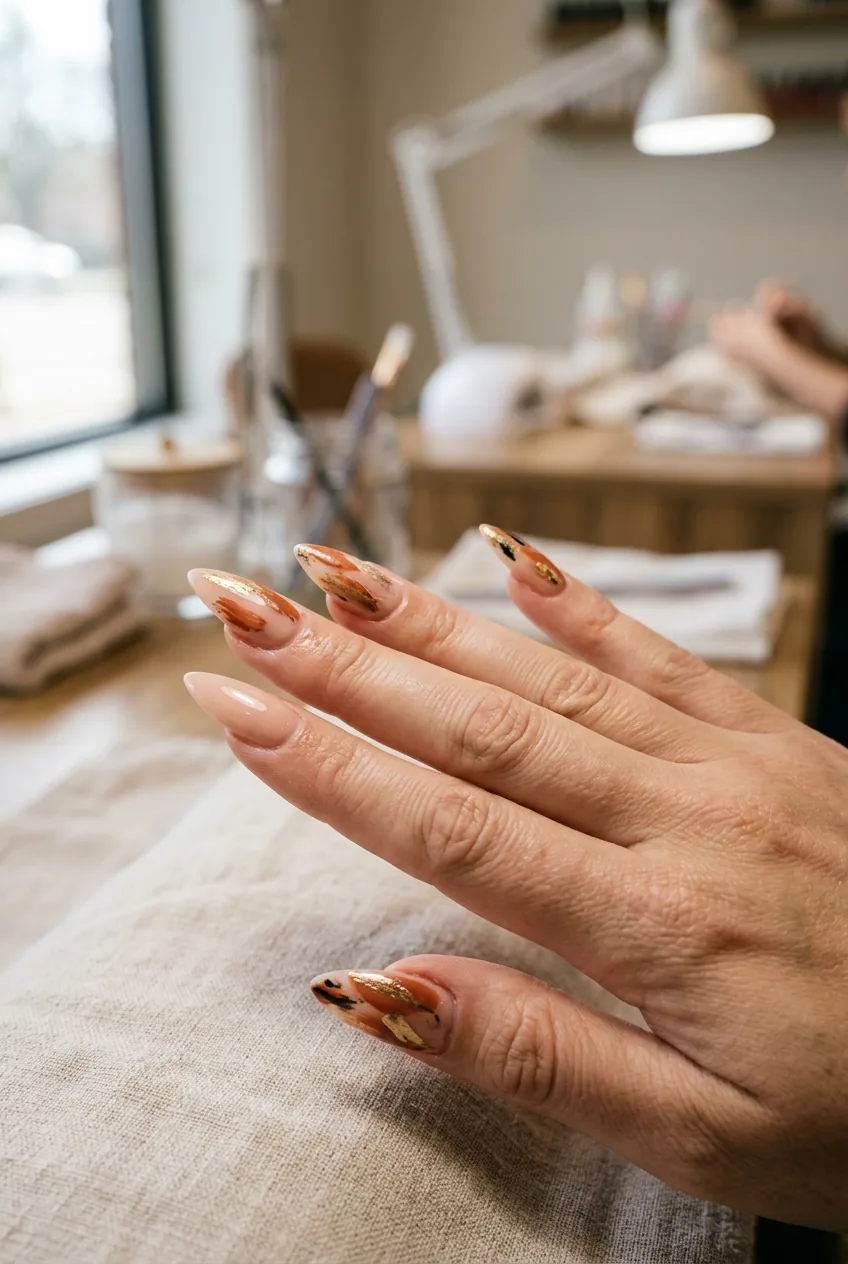
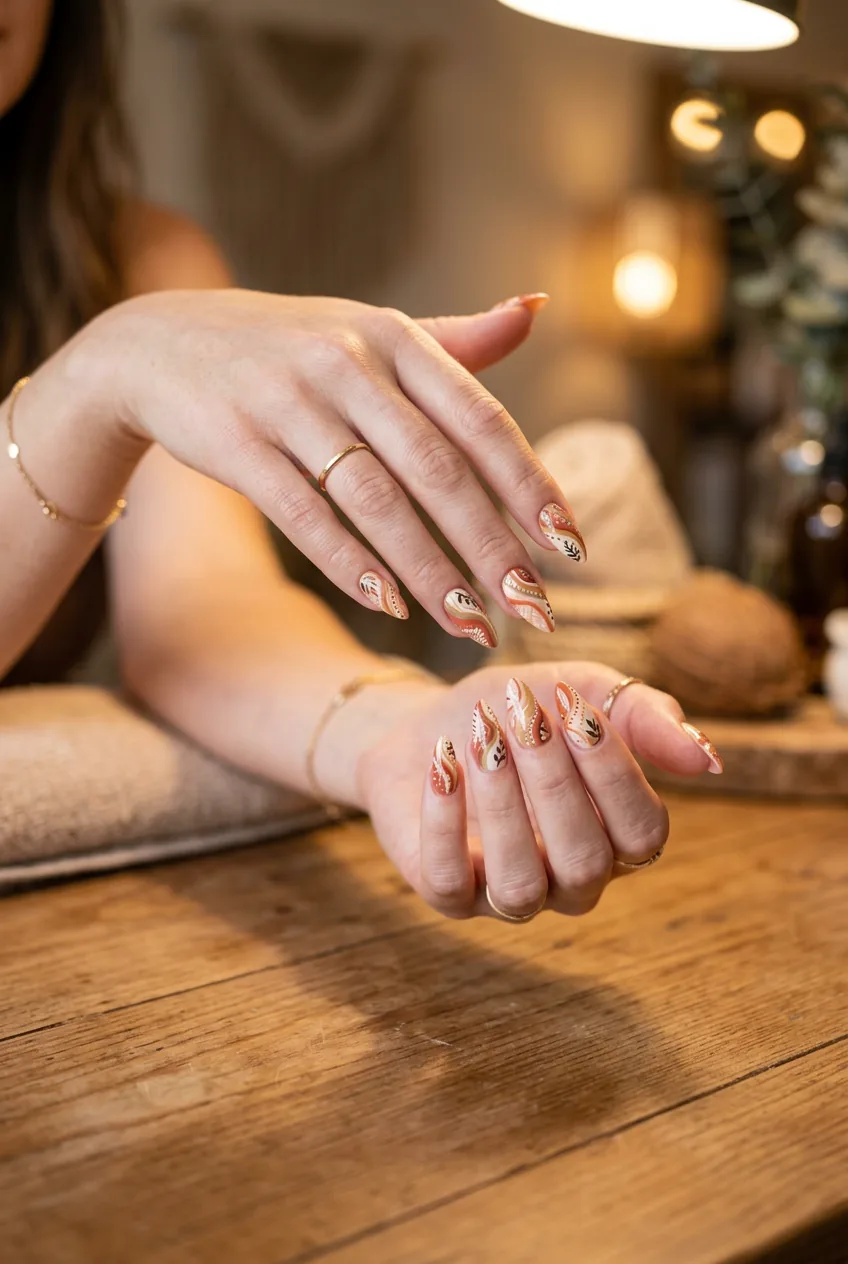
Step five is building in layers. Freehand nail art is almost always more than one layer of paint. You apply a background shape, let it partially cure (or fully, depending on the medium you’re using), then add detail on top. Think of it like oil painting in miniature — you’re building depth, not laying everything down at once. One of the things that makes a design on stiletto nails look genuinely professional is that sense of layered depth. You can see it in the photo below — look at how the paint sits differently on each layer, creating dimension rather than a flat printed effect.
Step six is the seal. Once your design is exactly where you want it, apply a no-wipe top coat in one smooth pass. Don’t go back and forth — one direction, one pass. Then cure it under the lamp for the full recommended time. If you’re using a gel-compatible nail art paint, the top coat bonds to it perfectly. If you used regular acrylic craft paint (which some people do for texture purposes), check that it’s fully dry before sealing or you’ll trap air bubbles.
See the Brush Mechanics in Real Time
The Common Pitfalls
I’ve made basically every mistake possible with freehand stiletto art, so let me save you some of that time.
The worst mistake I made early on was designing independently on each nail without thinking about the set as a whole. I’d finish one nail and it would look great, then finish the next and it clashed completely — different visual weight, different line thickness, different energy. A set of ten design stiletto nails is a collective composition. Before you start nail one, decide on a consistent element that will tie all ten together. Even something as simple as a shared accent colour or a repeated motif in the same position does the job. I genuinely didn’t understand this for months.
Painting too wet. If the paint on your brush is too fluid — which happens when the room is warm or you’ve mixed in too much thinner — your lines will spread the moment they hit the nail. The fix is painting in a slightly cooler room (weird but true), and working quickly so the paint doesn’t have time to run. Some artists deliberately thicken their paint slightly with a drop of gel medium for more control on curved surfaces.
Ignoring the sidewall edges. Stiletto nails taper sharply, and if your design bleeds past the sidewall onto the skin, the whole thing reads as messy. Use a thin cleanup brush dipped in acetone to refine the edges of your design as you go, not just at the end. Small corrections are easy. Big corrections after the whole design is done are heartbreaking.
Overcomplicating the tip area. The point of a stiletto nail is physically tiny. I kept trying to put too much detail right at the tip and it always looked cluttered under normal lighting. If you look at sets that photograph beautifully, the tip area usually has either a clean fade to nothing or one single clean accent — a fine line, a rhinestone, or a graduated colour. Reserve your most intricate work for the mid-nail where there’s actual surface area to work with. You can find a lot of inspiring examples in nail art designs archives to see how the best techs handle the tip-to-body transition.
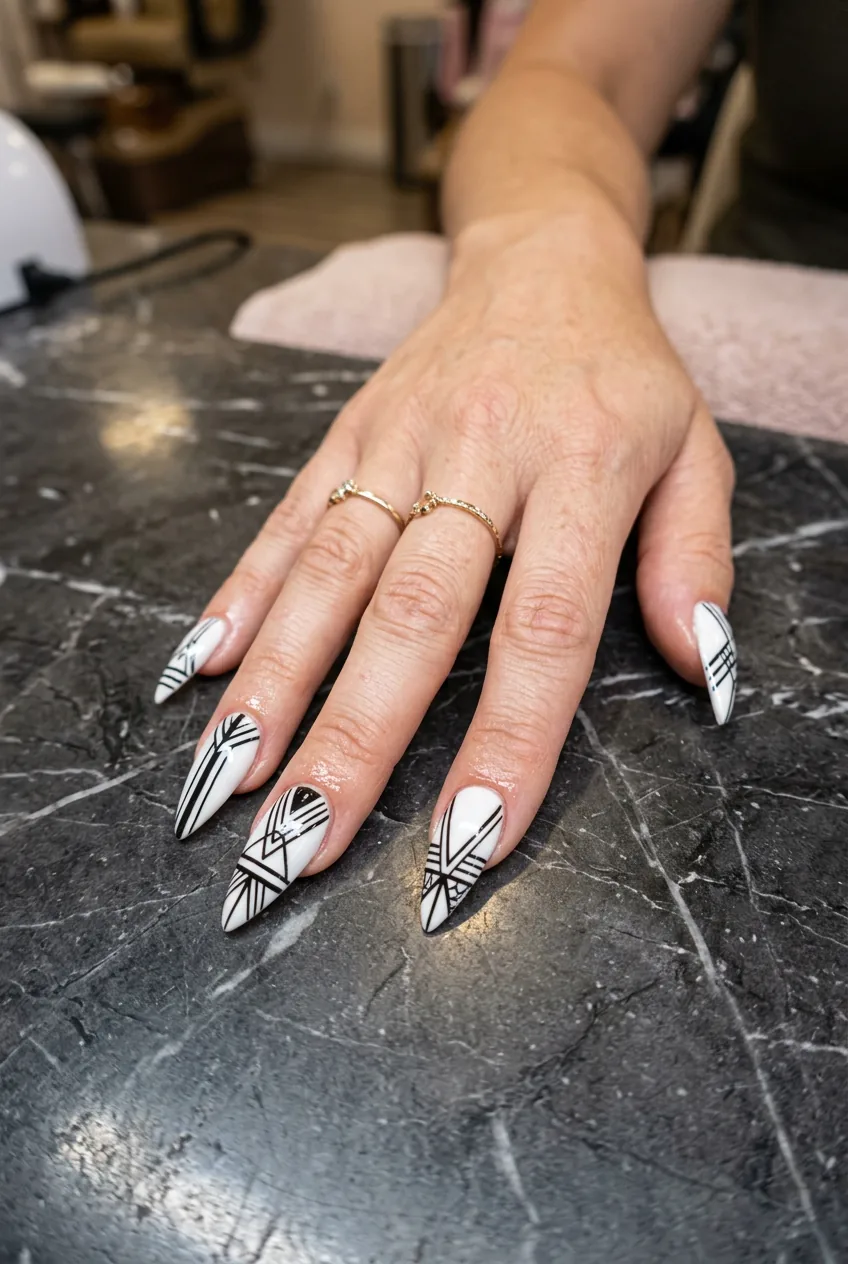
Rushing the cure between layers. Every freehand layer that goes on top of another needs a proper cure if you’re working with gel-compatible paints. Under-curing means the layer below is still slightly soft, and your next brush stroke will drag through it and ruin the crisp line you just made. Two seconds under the lamp is not the same as thirty. Use a timer.
If you’ve been going in circles on stiletto freehand and nothing seems to be working, I’d honestly recommend reading through this post on stuck on your stiletto nails tutorial — it reframes the learning process in a way that helped me stop repeating the same errors.
Once You’ve Got It, Where to Go Next
Once basic freehand starts feeling natural — and it will, with repetition — there are a few directions worth exploring that work particularly well on stiletto shapes.
Negative space design. This is where you intentionally leave parts of the base coat visible as part of the design, rather than painting over the whole nail. On a stiletto, negative space is extra powerful because the shape already does so much visual work. A simple geometric frame painted around the edges, with the bare gel base showing through the centre, looks incredibly architectural. The contrast between painted and unpainted is the design. You need maybe four brush strokes to pull it off, and it photographs stunningly — see how she’s done exactly this in the photo below, the clean lines against the pale base are doing all the heavy lifting.
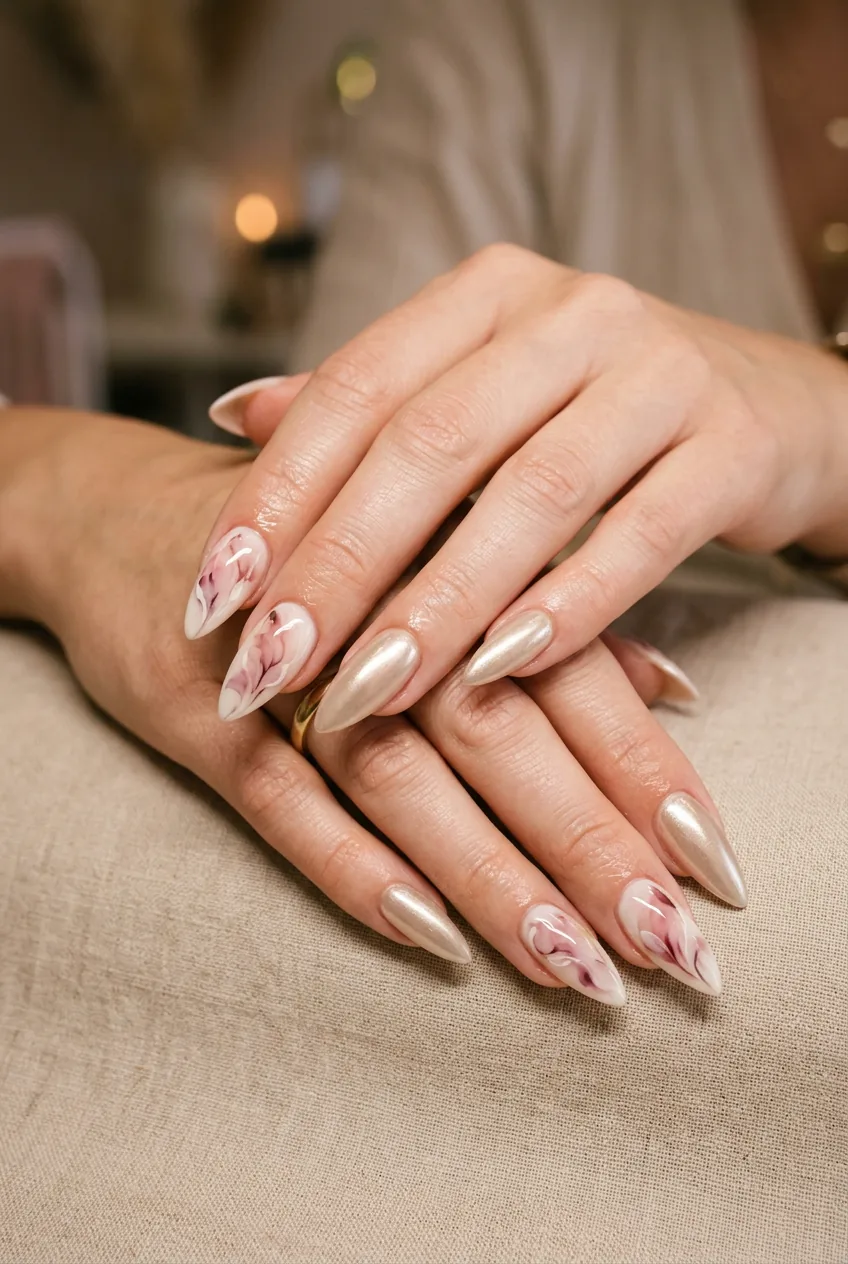
Encapsulated freehand. This is a more advanced variation where you paint your design on the nail and then encapsulate it under a gel overlay rather than sealing it with a simple top coat. The result is glass-smooth and lasts significantly longer. It’s worth understanding the encapsulation technique before attempting it, because the curing sequence is different and you need a builder gel that’s compatible with the paint underneath.
Watercolour-wash freehand. Dilute your gel-compatible paint heavily and apply it in translucent washes rather than opaque strokes. The effect is dreamy and soft in a way that contrasts beautifully with the aggressive shape of the stiletto. The nail shape reads as bold; the design reads as delicate. It’s one of my favourite combinations right now in 2026 — it shows up everywhere in editorial nail photography and for good reason.
Mixed-technique sets. This is where freehand really gets fun. You do freehand painting on some nails and a complementary technique — like chrome powder or foil transfer — on others. The freehand nails act as anchor pieces, the other nails provide textural contrast. If you want to explore how different design approaches translate across the shape, the stiletto nail ideas that suit every nail shape best has a great visual breakdown of what works at different lengths and aspect ratios.
The broader thing I want to say about levelling up your freehand work is: don’t just practice the same design repeatedly. Practice isolated skills — just liner strokes one session, just colour blending the next, just detail dotwork the session after. When you develop those micro-skills separately, combining them on an actual nail feels effortless rather than overwhelming. It’s the approach every serious nail artist I’ve spoken to swears by, and it’s the one I wish I’d followed from the beginning rather than stumbling toward it after months of frustration. If you want to explore more shapes alongside the stiletto to understand how design adapts, browsing through nail shapes and lengths reference content is genuinely useful for that kind of comparative thinking.
Questions I Get About This
Do I need to be able to draw to do freehand nail art?
Genuinely, no — not for most designs. The fundamentals of freehand nail art are brush control and consistency, which are motor skills you build through repetition, not artistic talent. Start with simple geometric shapes and clean lines. You’ll surprise yourself within a few weeks of consistent practice.
Can freehand nail art be done with regular polish instead of gel?
Yes, but it’s harder to control. Regular polish dries faster and doesn’t have the same workability as gel-compatible nail paints, so your blending window is much shorter. If you’re learning, gel-compatible paints give you more time to correct mistakes before they’re set. They’re worth switching to even if your base system is regular polish.
How long does a freehand design on stiletto nails typically last?
When sealed properly with a no-wipe top coat over a gel base, a well-done freehand design on stilettos lasts as long as the extension or overlay itself — typically three to four weeks before you’re seeing lifting at the cuticle. The design itself, if cured and sealed correctly, won’t chip or peel within that window. What gets people is an inadequate top coat application, which lets the freehand layer lift separately from the gel underneath.
What’s the best way to keep designs consistent across all ten nails?
Work on all ten nails in the same stage at the same time rather than completing one nail fully before moving to the next. Lay down your background colour on all ten, cure all ten, then add the first design layer on all ten, and so on. This keeps your paint consistency, line weight, and design placement much more uniform than finishing nails one at a time.
The first time I did a full set where everything clicked — the lines were clean, the composition worked across all ten nails, the colours didn’t bleed — I genuinely just sat there looking at my hands for a few minutes. It felt earned in a way that picking up a nail sticker never does. That’s the thing about freehand: the results are yours in a way nothing else quite matches.