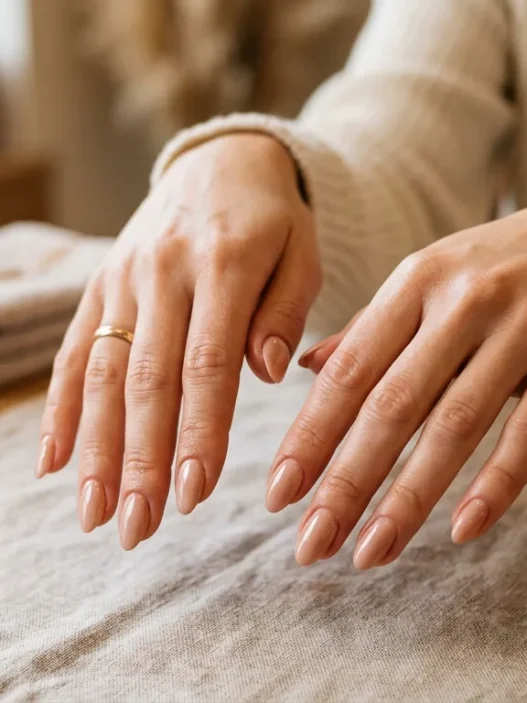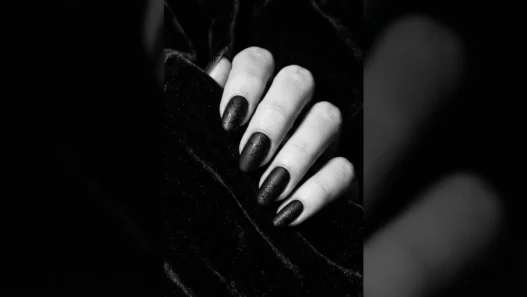


I used to rush through my manicures, thinking faster meant better. But after one too many chipped nails by Tuesday, I decided to try the opposite approach — treating nail art like a meditation instead of a race. This gradient technique became my weekend ritual, and honestly? The two-hour investment changed everything about how my manicures hold up.
What You’ll Need for This Slow Manicure
Before we dive into the actual process, gather these essentials. I’m particular about having everything within arm’s reach — interrupting the flow to hunt for cuticle oil defeats the whole meditative purpose.
- A large bowl for soaking (wide enough for both hands)
- Cuticle pusher and nippers
- Multiple grits of nail files (180, 220, and buffer)
- Base coat, two complementary polish colors, top coat
- Makeup sponges (the dense kind work best)
- Small palette or wax paper for color mixing
- Cuticle oil and hand cream
- Cotton swabs and acetone for cleanup
- A timer (trust me on this one)
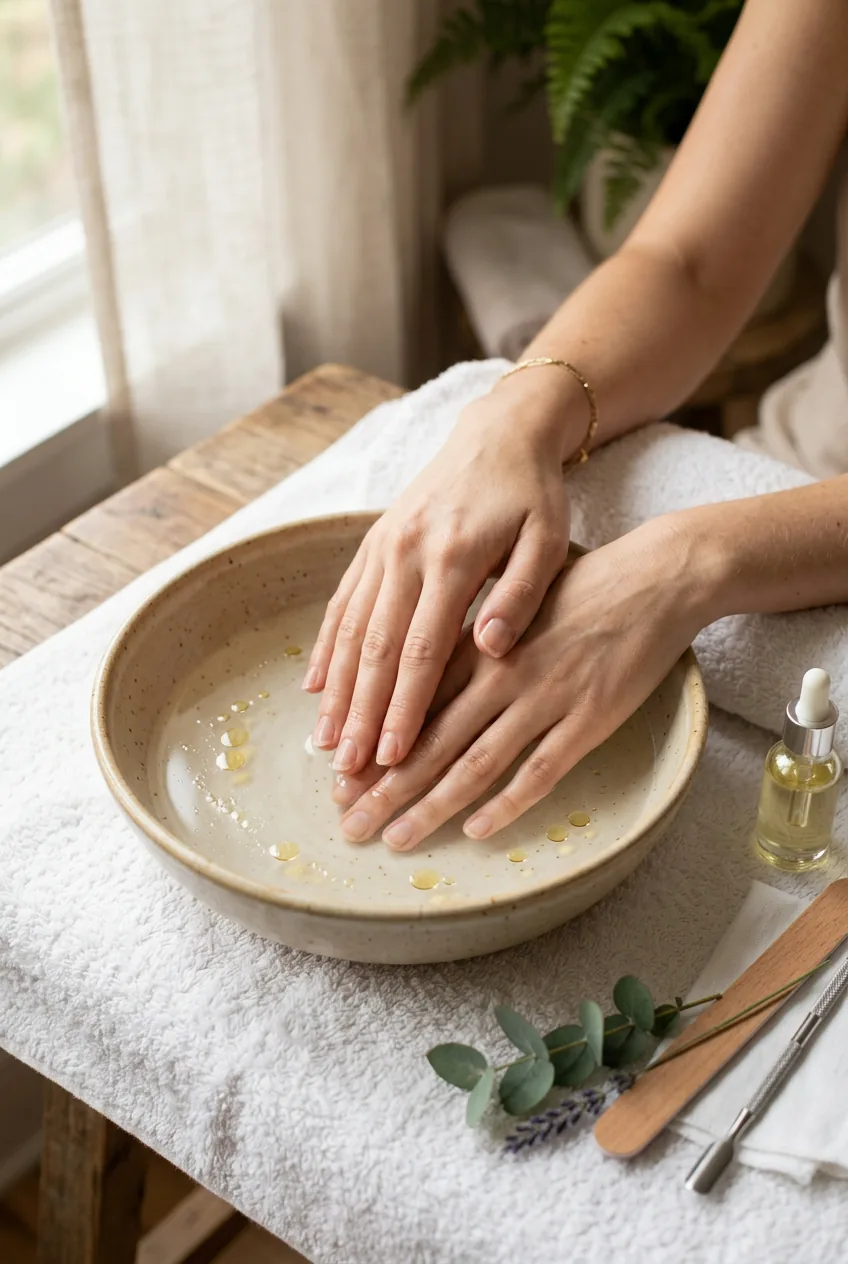
Step 1: Start With a Proper Soak
Fill your bowl with warm water — not hot enough to sting, but warmer than you’d usually use. I add a drop of cuticle oil to the water because it helps soften everything more effectively than plain water alone.
Set your timer for ten full minutes. This isn’t the rushed three-minute soak most tutorials suggest. Your cuticles need time to properly soften, especially if you’re someone who tends to pick at them during the week.
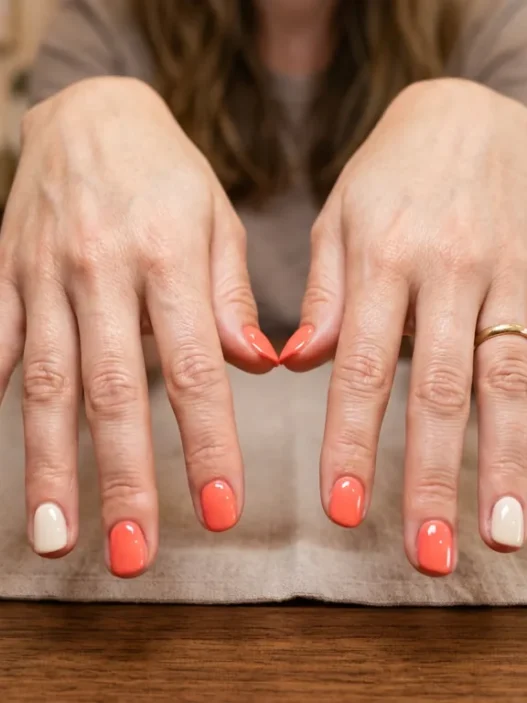
While you’re soaking, this is the perfect time to choose your gradient colors. I usually go for shades that are three to four tones apart in the same color family — close enough to blend seamlessly but different enough to create that stunning ombré effect.
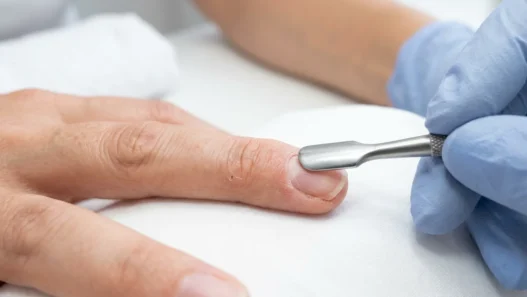
Step 2: Take Your Time With the Shape
After your soak, gently push back your cuticles with slow, deliberate movements. I used to attack this step, but rushing here leads to torn skin and uneven results that show through your polish.
Start filing with your coarsest grit. For gradient nail art designs, I prefer a slightly rounded square shape — it gives you enough nail surface for the color transition without being so long that the gradient gets stretched out.
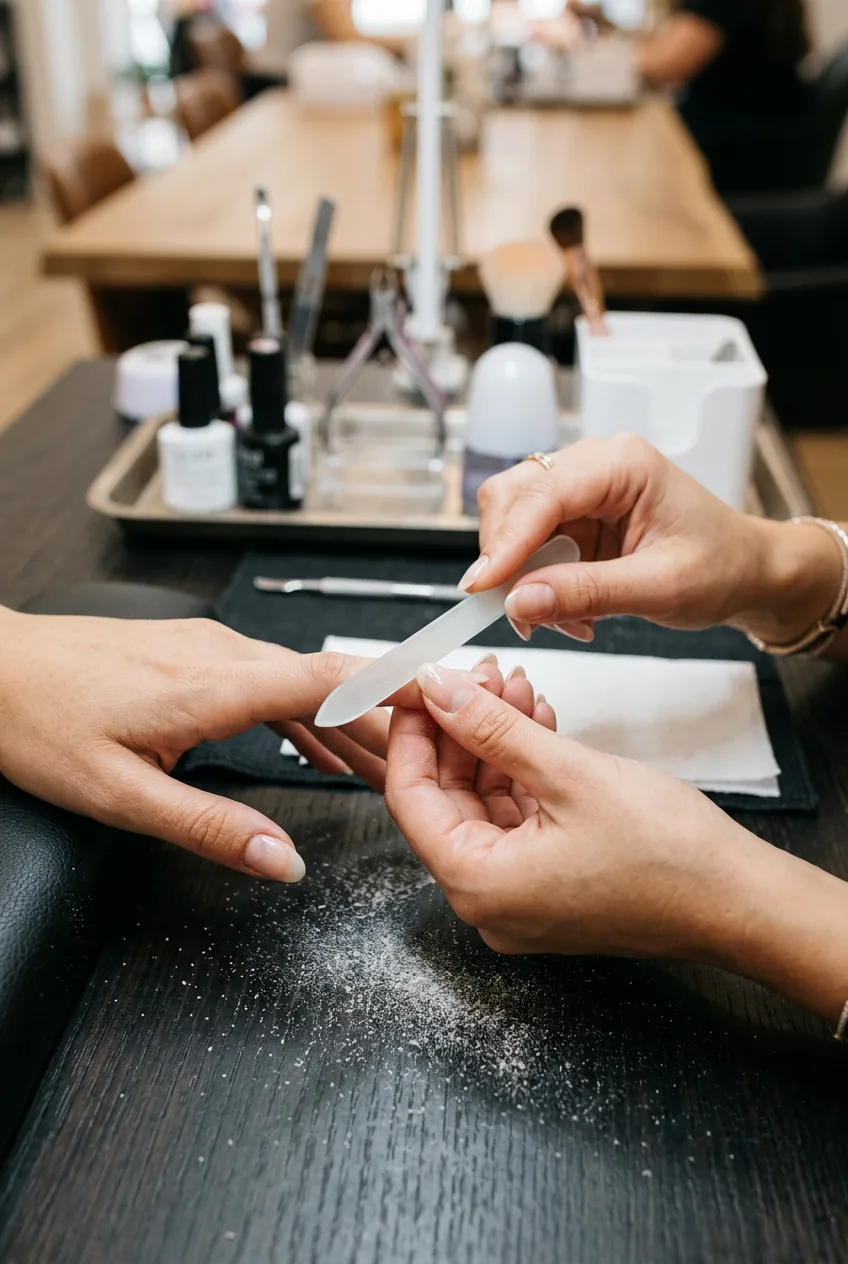
I made the mistake of rushing the filing step during my first few attempts at this technique. Uneven nail surfaces create streaky gradients because the sponge doesn’t make consistent contact. Take the extra five minutes to get this right.
Move through your grits systematically — 180 for shaping, 220 for smoothing, then your buffer for that glass-like finish. Each nail should feel perfectly smooth when you run your finger across it.
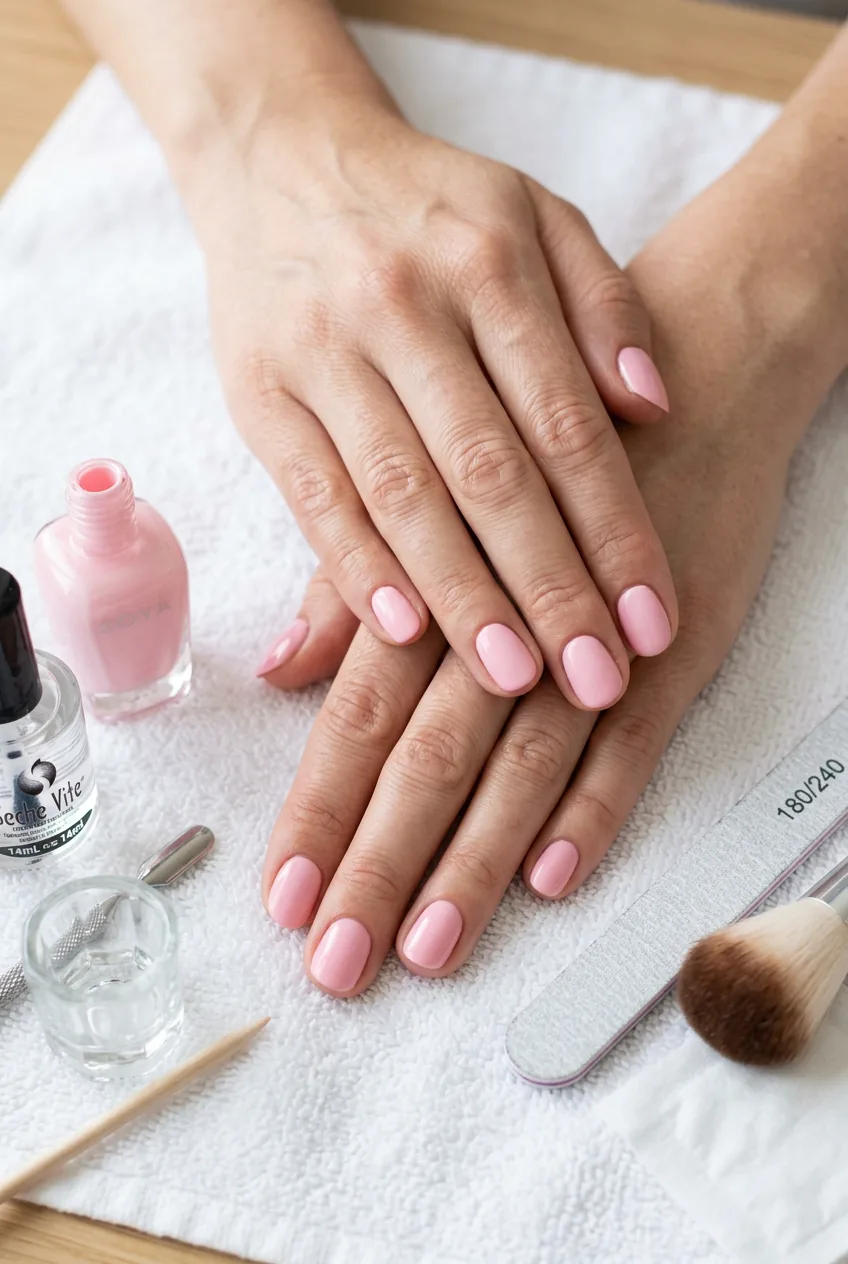
Step 3: Prime for Perfect Polish Adhesion
Clean each nail with rubbing alcohol or nail dehydrator to remove any oils from your cuticle treatment. This step separates manicures that last two weeks from ones that chip in three days.
Apply your base coat in thin, even strokes. I do three strokes per nail — one down the center, then one on each side, making sure to seal the free edge. The base needs to be completely dry before you move to color, so set your timer for another five minutes.

While you wait, prepare your color palette. Squeeze out small dots of both polishes on your wax paper, leaving space between them for blending. You’ll be working quickly once you start the gradient, so having everything ready matters.
Step 4: The Base Color Foundation
Apply your lighter shade as the base color across all ten nails. This will be the color that shows at your cuticle line, so choose accordingly. I typically use the lighter of my two gradient colors, but sometimes a neutral base works better depending on the look I’m going for.
Two thin coats work better than one thick one. Let the first coat dry for a full ten minutes before applying the second. I know it feels like forever, but this patience pays off in the final result.
The second coat should be completely opaque and even. Any streaks or thin spots will show through your gradient and ruin the seamless effect you’re working toward.
Step 5: The Layer-By-Layer Build
Now comes the fun part. Cut your makeup sponge into small pieces — each piece should be about the width of your nail. You’ll go through several pieces during this process, so prep more than you think you need.
On your palette, create a small puddle where your two colors meet and barely blend them. You want some mixing but not complete blending — the sponge will do most of the work.
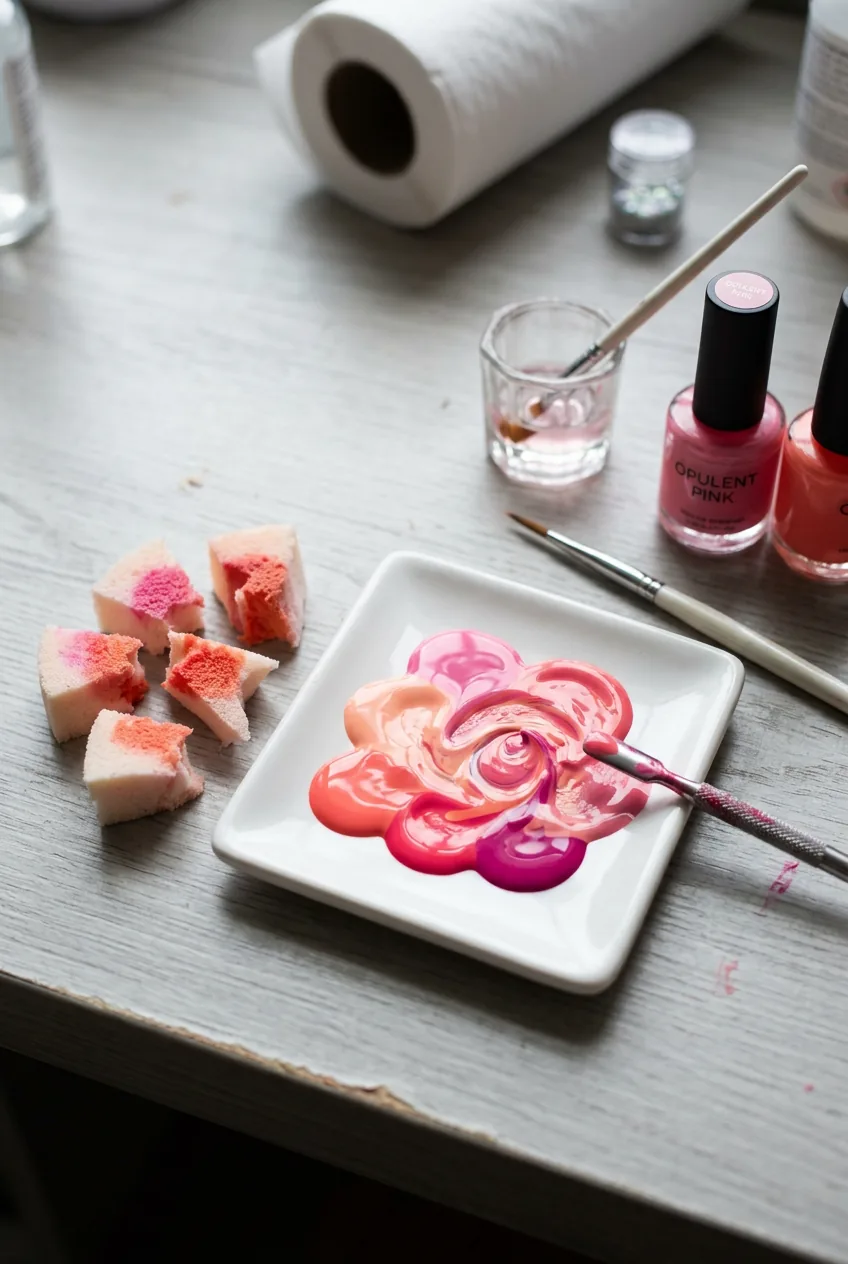
Press your sponge into the color blend, making sure both shades are picked up. The technique here is to dab, not drag. Dragging creates streaks, while dabbing creates that soft, airbrushed transition.
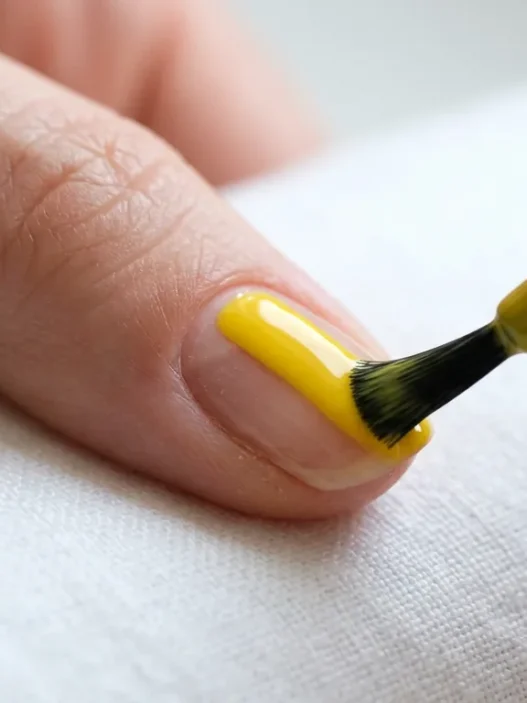
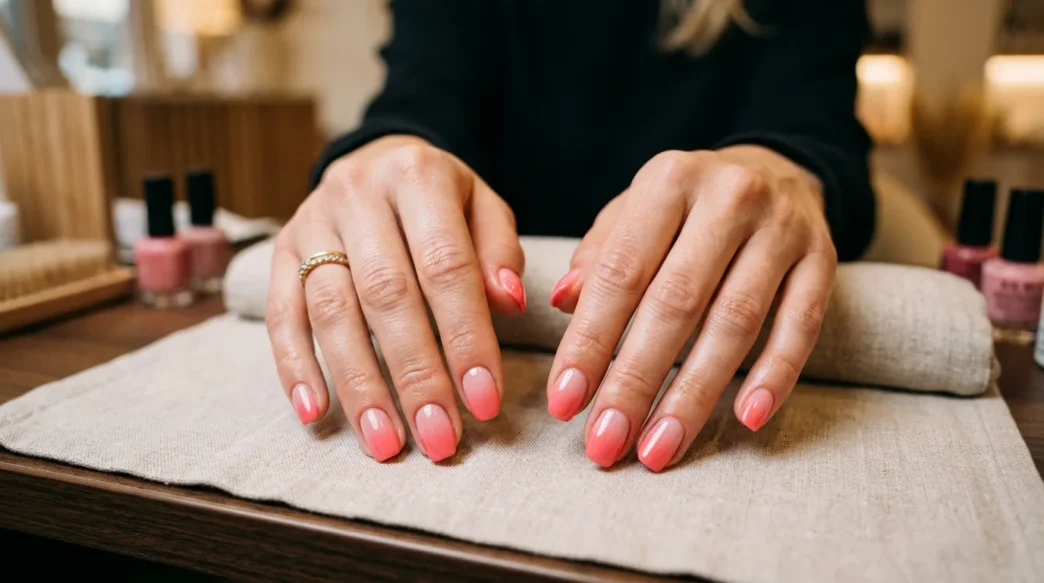
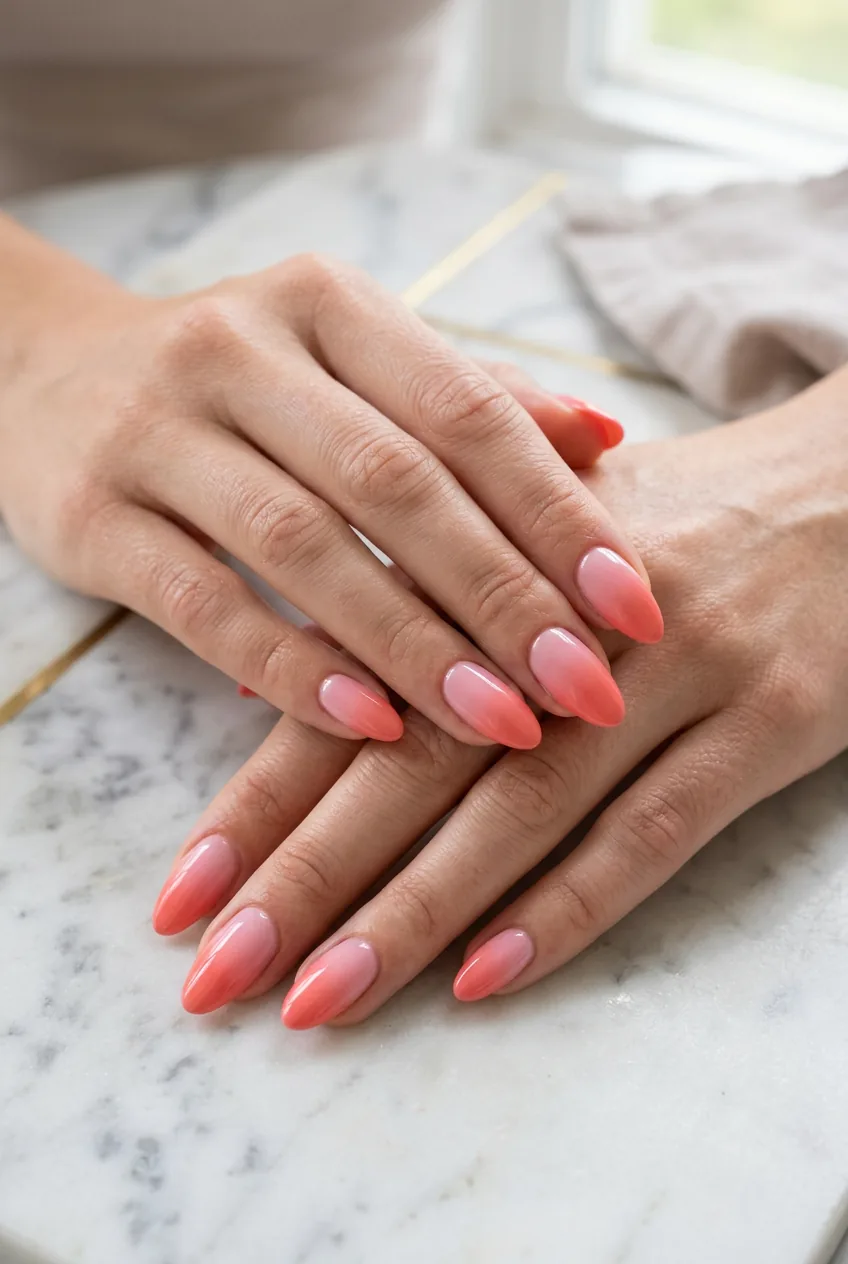
Step 6: Master the Gradient Technique
Start at the tip of your nail and work toward the middle. The darker color should be most concentrated at the free edge, gradually fading as you move toward your cuticle. Press the sponge gently and roll it slightly as you lift — this creates the most natural-looking blend.
Work on one nail at a time, reloading your sponge for each nail. The polish on your palette will start to get tacky, which actually helps create better texture. Don’t refresh it until it becomes unworkable.
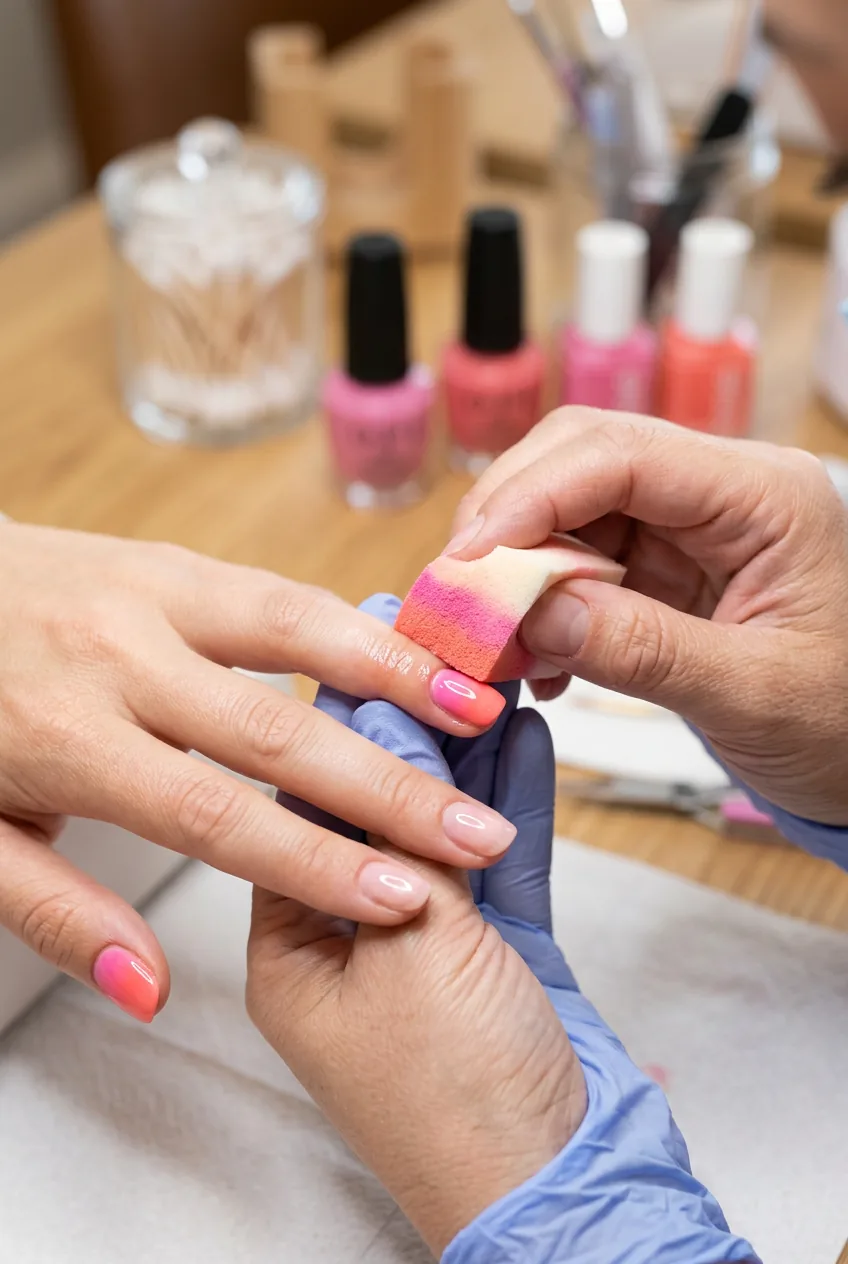
You’ll need multiple passes to build up the intensity. I usually do three to four layers, letting each dry for about three minutes between applications. The gradient building method is all about patience and layering.
After your final gradient layer, clean up the skin around your nails with a small brush dipped in acetone. Take your time here — sloppy cleanup ruins an otherwise perfect gradient.
Watch the Sponge Technique in Action
Step 7: The Finishing Touches That Make the Hour Worth It
Apply your top coat in the same three-stroke pattern you used for the base. The top coat should go over the entire nail, including the very tips. This seals your gradient and adds that glossy, professional finish.
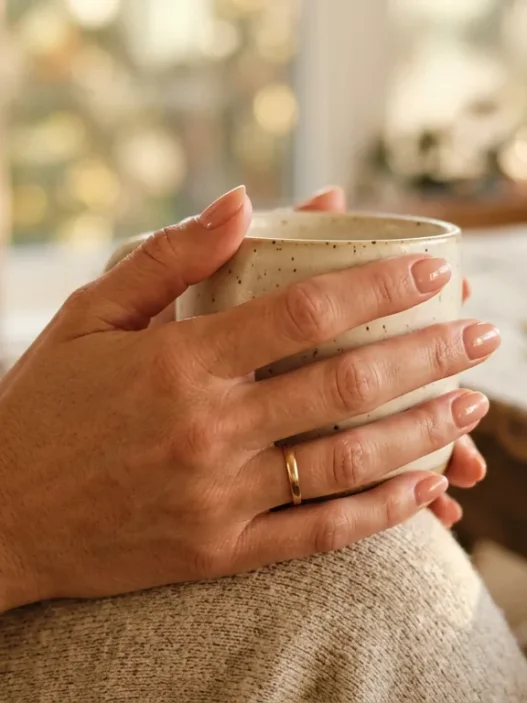
While the top coat is still slightly tacky, I like to add a tiny drop of cuticle oil around each nail. It prevents that tight feeling you sometimes get with longer manicure sessions and keeps everything looking fresh.
The final step is the hardest — letting them completely dry. Set your timer for twenty minutes minimum. I usually catch up on podcasts during this phase. The waiting is part of the ritual, and rushing it now undoes all your careful work.
These free-hand nail art techniques take practice, but the slow approach taught me so much about color theory and blending that I never learned from quick tutorials.
What People Usually Ask
Can I use regular household sponges instead of makeup sponges?
I tried this once and regretted it immediately. Regular sponges are too porous and create a textured, bumpy gradient instead of the smooth transition you want. Makeup sponges have the right density for polish application.
How long will this gradient manicure last?
When I follow this slow method exactly, I get 10-14 days of wear without chips. The key is really letting each layer dry completely — rushing any part of the process cuts the longevity in half.
What if my colors don’t blend well together?
This usually happens when you pick colors that are too far apart on the color wheel. Stick to analogous colors (next to each other on the wheel) or different shades of the same color family for your first attempts.
Do I need professional polishes for this technique?
Not necessarily, but polish consistency matters more for gradients than regular manicures. Thick, goopy polishes don’t blend well on the sponge. If your polish is too thick, a drop of polish thinner can fix the consistency.
The two-hour commitment felt excessive at first, but now it’s become my favorite Sunday ritual. There’s something deeply satisfying about the slow, methodical process — and the results speak for themselves. My gradient manicures get compliments for weeks, and more importantly, they actually last without chipping. Sometimes the old “slow and steady” approach really does win the race.