






I’d been putting off doing my own coffin nails at home for months because every tutorial I found either skipped half the steps or assumed I already owned a nail drill. Then one rainy Saturday I just decided to film myself doing it in real time — pausing, messing up, fixing it — and honestly? That’s the version I wished existed. So here it is, written out exactly the way it happened, timestamps and all.
This is the walkthrough I genuinely needed when I first started. No skipped steps, no pretending the pinky went perfectly on the first try.
Your Real-Time Roadmap to Coffin Nails
What You’ll Need
Nothing fancy, I promise. Here’s the actual stuff on my table right now:
- A 180-grit nail file (for shaping the coffin silhouette)
- A coarse buffer block (100/180 grit)
- Cuticle pusher — metal or the orange stick kind, both work
- Cuticle nipper (optional but life-changing)
- Cuticle remover gel or softener — I use one with urea in it, cuticle remover gel makes such a difference to the end result
- Nail dehydrator or isopropyl alcohol
- Thin nail primer (acid-free is fine for gel)
- A UV/LED lamp (36W minimum)
- Gel base coat
- Your colour gel — I’m using a deep burgundy for this one
- Gel top coat (non-wipe or wipe, your call)
- Nail cleanser or 91% isopropyl for the sticky layer
- A small flat brush for cleanup
- Acetone and a thin angled cleanup brush
- Lint-free wipes
If you’re doing this on natural nails, great — that’s exactly what I’m doing here. If you’re working with extensions or press-ons shaped into a ballerina nail, the colour and finish steps are identical.
0:00 — Setting Up
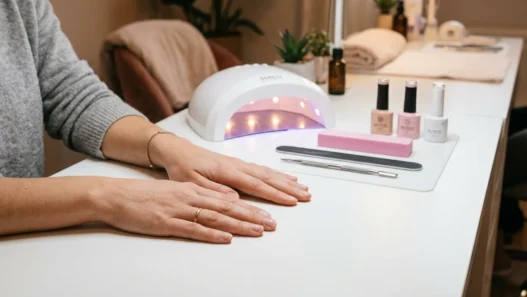
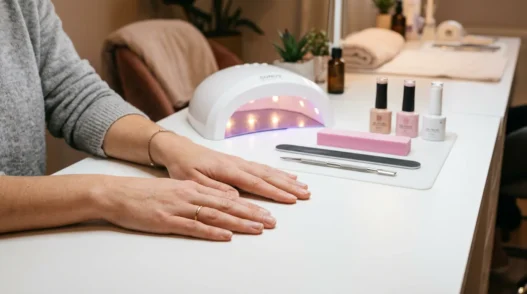
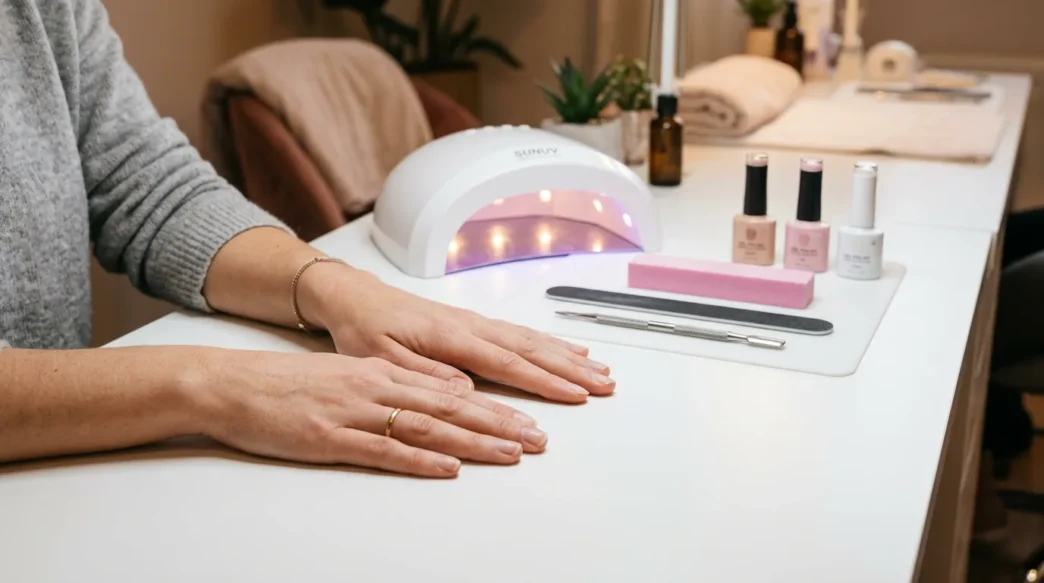
Before I even pick up a file, I get everything laid out. Left to right, in the order I’ll use it. This sounds fussy but it saves me from knocking over my lamp mid-cure because I was reaching for something across the table.
I also wash my hands really thoroughly at this point — soap, warm water, a good scrub under the nails. Any moisture or oil left on the nail plate is going to mess with adhesion later, so I take this part seriously. Then I let my hands air-dry for a full two minutes. Not patting with a towel, which transfers fibers. Just air.
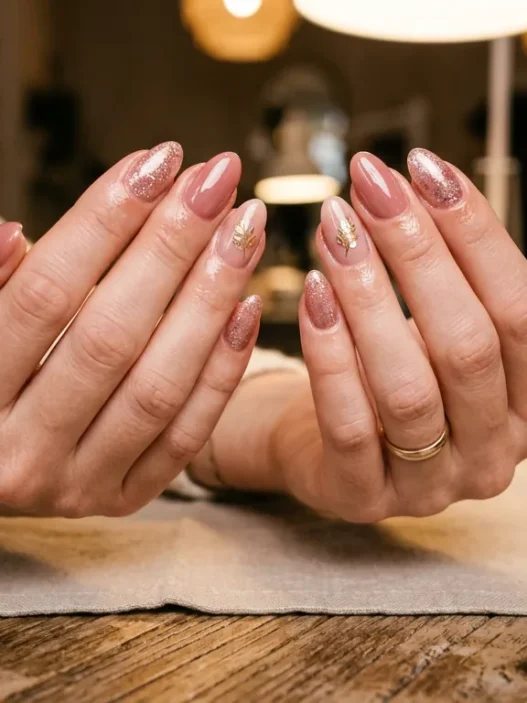
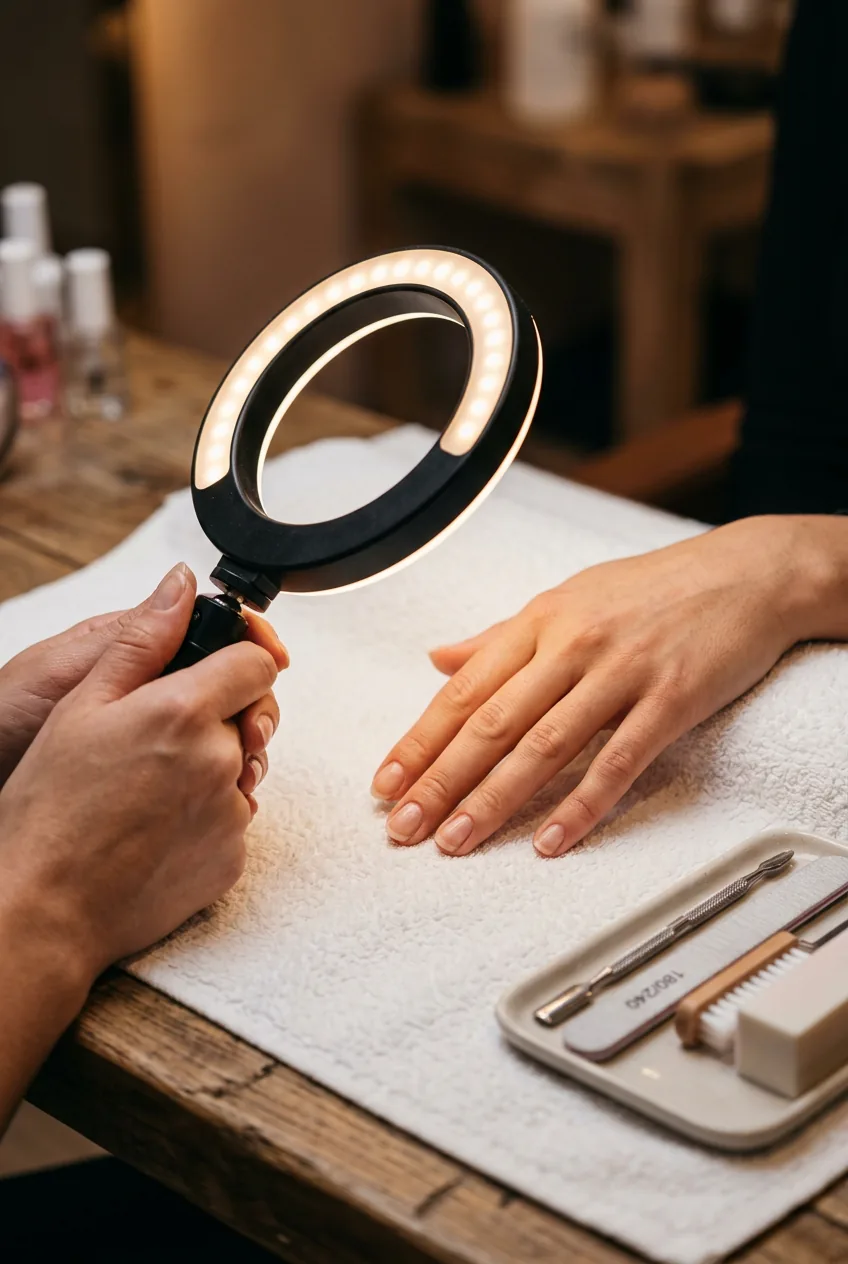
Good lighting matters more than people think. I position my ring light to the left (because I’m right-handed) so I can actually see what I’m filing. You’d be amazed how many weird angles you miss under bad light. She’s set up in a photo below — notice how the warm overhead light in the shot hits each nail evenly, which is exactly what you want when you’re doing cleanup work.
0:05 — Cuticles and Prep
This is the section most people skip and then wonder why their manicure lifts after three days. Don’t skip it.
I apply cuticle remover gel to each nail, let it sit for about 60 seconds (check the bottle — some are 30 seconds, some need 90), and then use my metal pusher to gently push back the cuticle and scrape away any dead skin from the nail plate. Work in small circular motions. You’re not trying to excavate anything, just loosen what’s there.
The dead skin on the nail plate — that translucent film right at the base — is the enemy of adhesion. Get it all off. Use the cuticle nipper for any hangnails or stubborn lifted bits, but go easy. You don’t want to cut living skin and end up with a sore finger you have to file around.
Now the filing. For a coffin shape — sometimes called ballerina nails — you’re aiming for a tapered side wall that flattens out into a squared-off tip rather than coming to a point. Think of it as filing toward the centre of the nail on both sides, then squaring the very tip. The difference between coffin and almond nails is exactly that flat tip: almonds taper to a rounded peak, coffins stay flat across.
File in one direction only — no sawing back and forth. I file left side, then right side, then lightly across the flat tip. Check from above, then from the side. Repeat until it looks even.
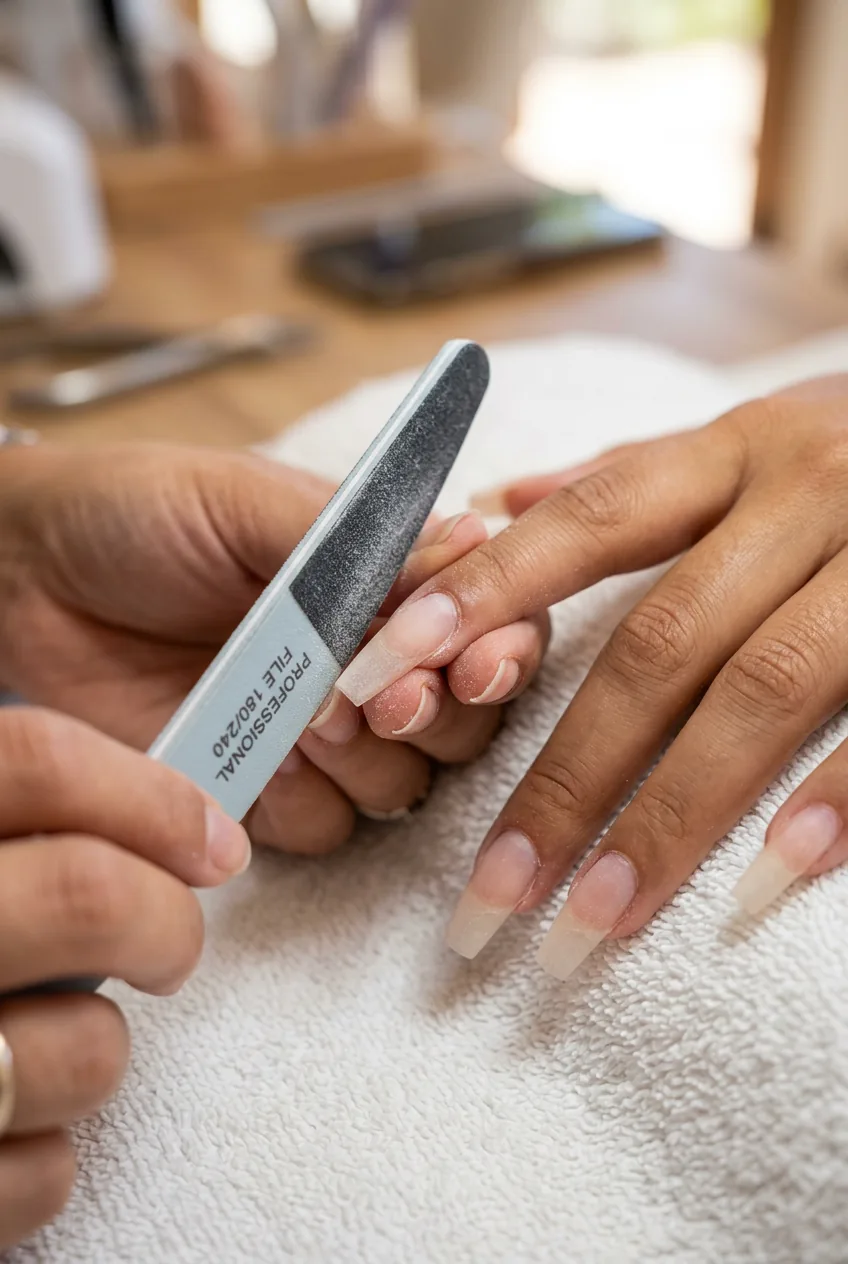
Once the shape is done, I buff the nail plate lightly — just enough to remove shine, not to thin the nail down. Then I wipe every nail with a lint-free wipe soaked in dehydrator. Every. Single. Nail. Even the ones that look fine. Then primer, thin coat, let it flash-dry for 30 seconds.
Mistake I made for an embarrassingly long time: I used to do my dominant hand’s nails first, then my non-dominant hand. By the time I got to filing the right hand, I was tired and rushed the shape. The pinky always looked like a slightly confused rhombus. Now I do both hands shape-by-shape — both pinkies filed, both ring fingers filed, and so on. It takes a little longer but the shapes actually match.
0:15 — Base Coat
Fifteen minutes in and this is where the real manicure begins. Base coat for gel isn’t optional — it’s the layer that bonds everything to your natural nail and keeps the colour from staining. I use a thin, thin coat. Thin enough that if you look at it from the side you’re barely sure it’s there.
Cap the free edge. This means swiping the brush across the very tip of the nail — the flat edge of the coffin. It seals the end and is one of the main things that stops the gel from peeling up from the tip later. I almost always forget this on my right hand and I’m not proud of it.
Cure under the lamp for the time your base coat specifies — usually 30 to 60 seconds under a 48W LED. Don’t look directly at the lamp. While one hand cures I’m prepping the brush for the other hand. The skin around the nails should stay gel-free at this stage — if you flood the cuticle now, it gives the colour nowhere good to go and it’ll lift from the base. You want a tiny gap between gel and skin, like 0.5mm. Looks almost invisible in person, looks perfect in photos.
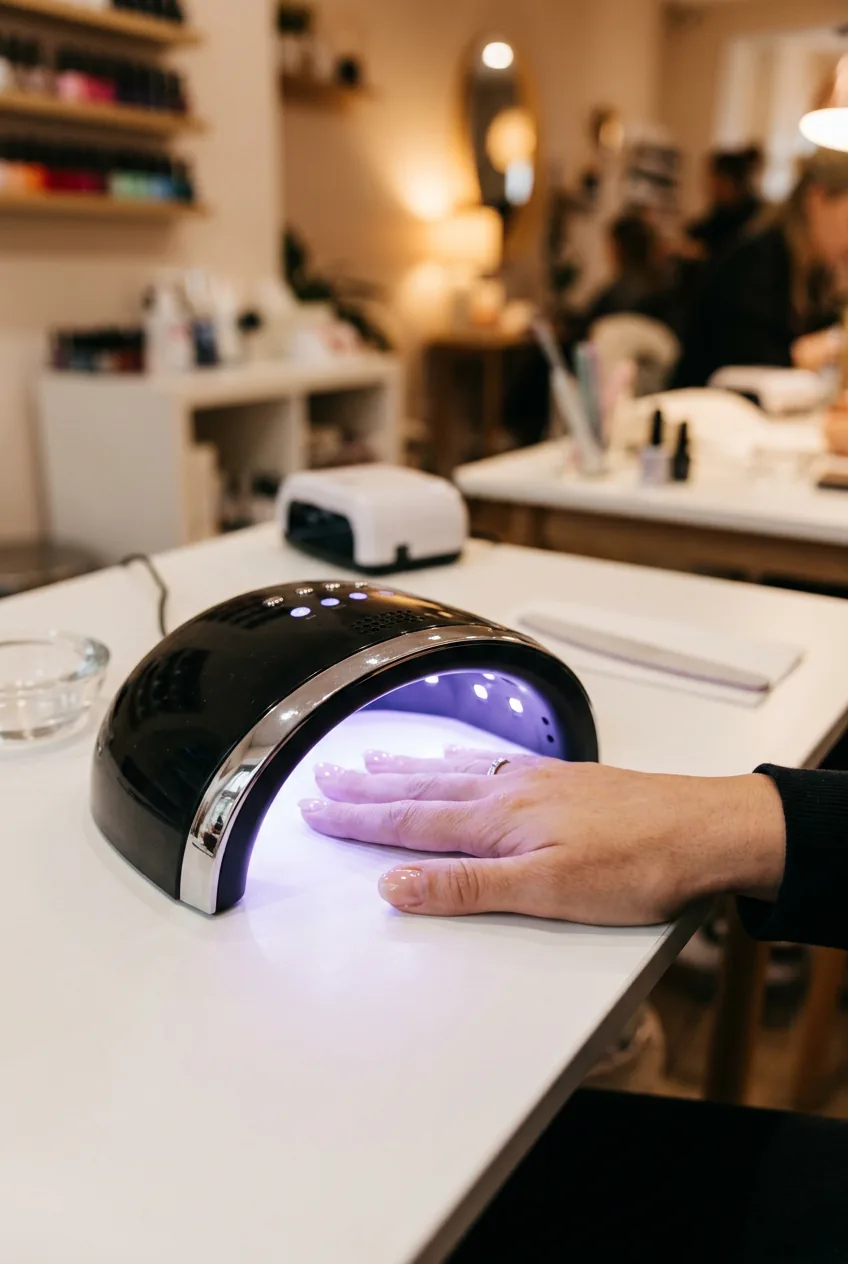
After both hands are cured, run your fingertip lightly over each nail. It should feel smooth and slightly tacky. That tackiness is normal — it’s what the colour layer bonds to. If any nail feels wet or still gel-like, give it another 20 seconds. Better to over-cure base than under-cure it.
0:25 — Colour
This is my favourite part and also where I slow down the most. The colour I’m using today is a deep wine-red, almost blackcurrant in certain lights. It’s the kind of shade that looks incredible on long coffin nails because the length gives it room to do its thing. You can read up on gel polish shades if you’re still deciding on a colour — there are some genuinely surprising options out there.
For gel colour, I always do two thin coats rather than one thick one. Thick coats cure unevenly — the outside sets but the gel underneath stays soft, which leads to wrinkling and bubbles. Thin coat one: cure. Thin coat two: cure. That’s the whole rule.
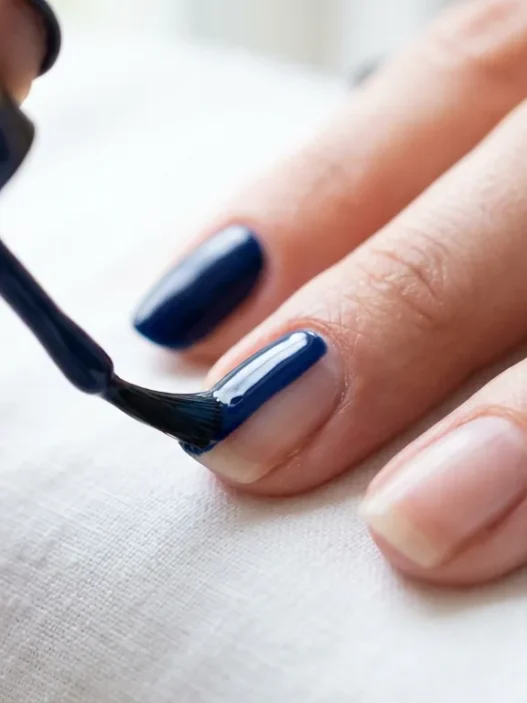
Apply the first coat with three strokes — one down the centre, one down the left side, one down the right. Don’t overwork it. Cap the free edge again. Cure.
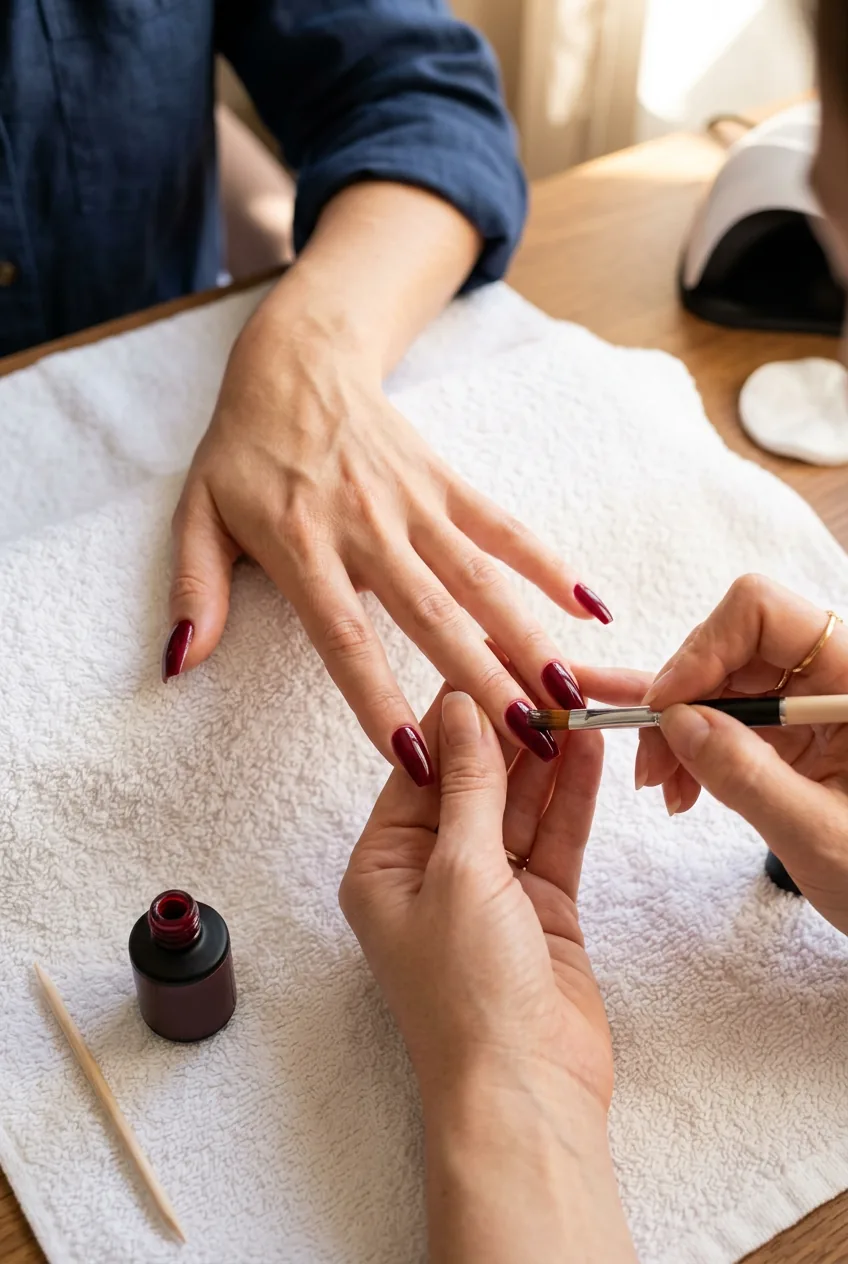
Second coat, same motion, slightly more pressure to ensure even coverage. This is where I check for streaks or patchiness. If you see a thin spot, a tiny extra stroke fixes it before you cure. Once it’s cured, you can’t go back without filing. After both coats are cured, hold your hand up to the light and check from multiple angles — looking straight down often hides an uneven spot that you’ll catch immediately from the side.
This stage is also when I’m most likely to clip the edge of the nail into the lamp while pulling my hand out — which smudges the tip of the gel before it’s fully cured. Slow, deliberate movement getting in and out of the lamp. Every time.
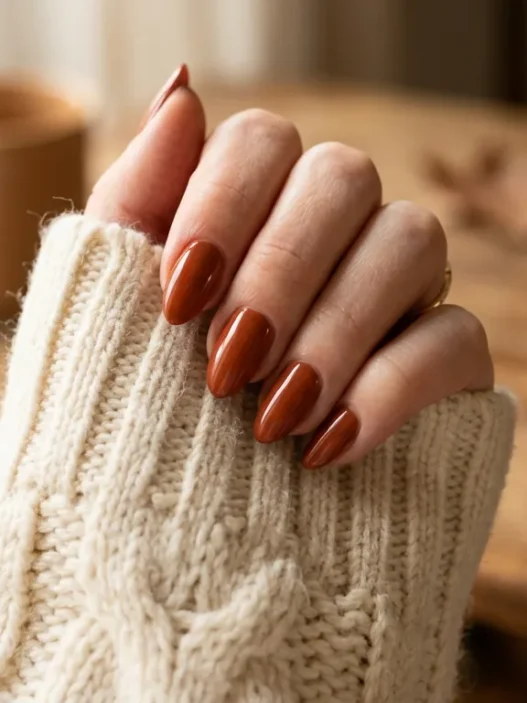
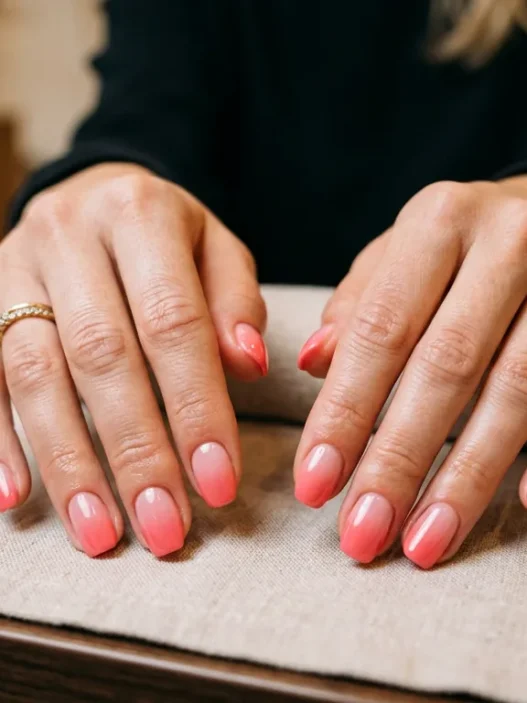
A quick note on seasonality: the colour you pick does shift the whole vibe. This dark berry works beautifully into fall nails and transitions seamlessly into winter nails — it’s genuinely one of those year-round shades that earns its place in the collection. If you’re doing this in warmer months, the same coffin shape with a sheer pink or a coral gel is gorgeous and gives very different energy. I’ve done it both ways and it never disappoints — the coffin silhouette is just flattering, full stop. For lighter-season energy, check out ideas for spring nails to see what shades feel right on this shape when the weather turns.
Watch the Colour Application in Real Time
0:40 — Top Coat and Cleanup
Almost there. Top coat is what takes this from “I did my nails” to “wait, did you just get a salon set?” — so don’t rush it.
I use a no-wipe gel top coat, which means once it’s cured there’s no sticky inhibition layer to wipe off and it gives an instant glass-like shine. Apply it the same way as your colour — three smooth strokes, cap the free edge, cure. If you’re using a regular wipe-off top coat, wipe with a lint-free pad dampened with nail cleanser right after curing, using a single swipe per nail rather than scrubbing.
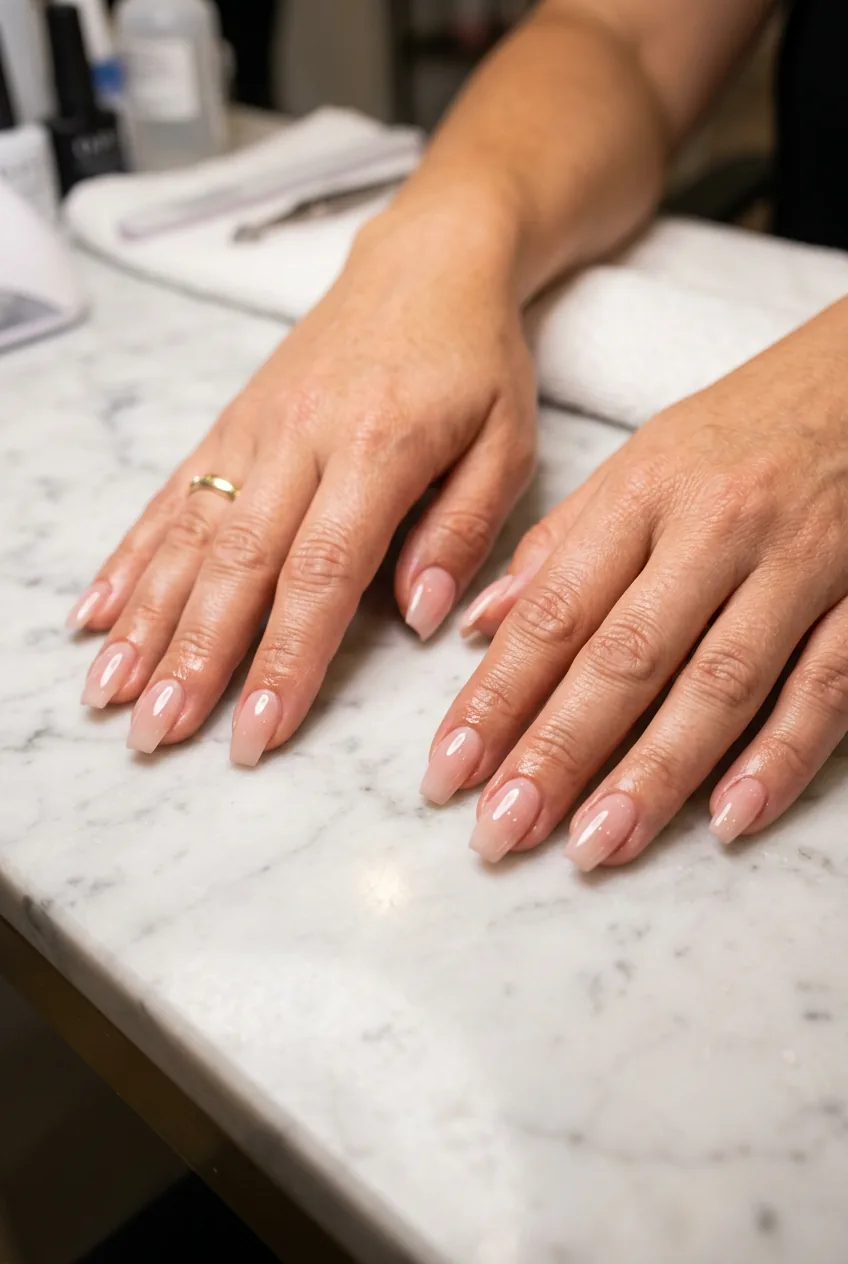
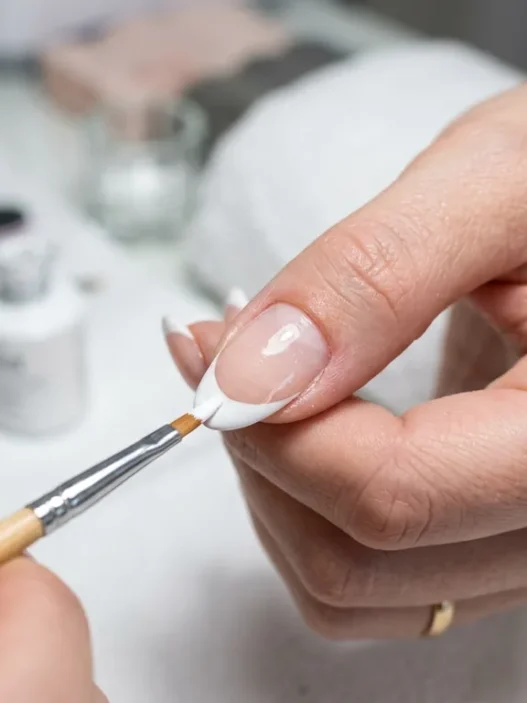
Now cleanup. Even if you were careful, there’s probably a tiny bit of gel that crept onto the skin somewhere. I dip a thin angled brush into pure acetone and trace along the cuticle edge and side walls, lifting off any stray gel. Work quickly because acetone evaporates fast and a dry brush drags rather than dissolves.
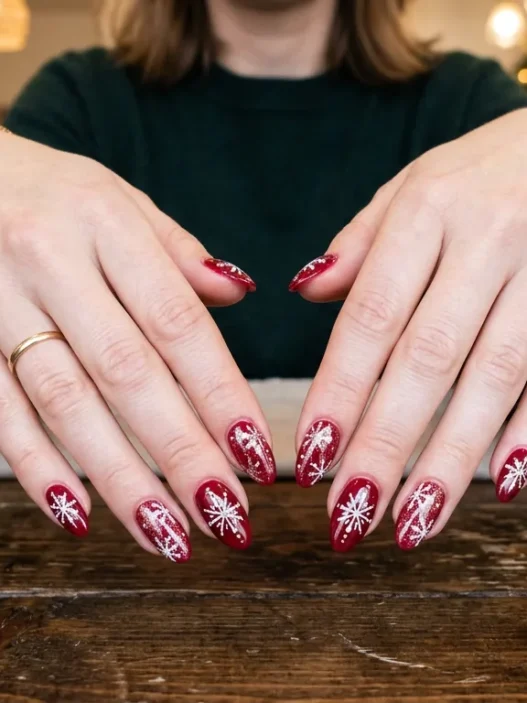
That cleanup step is the secret to why salon nails look so defined. Look at how clean the cuticle line is on her nails in the photo — that gap between skin and colour is what makes the shape pop. It’s not magic, it’s just a steady angled brush and thirty seconds of patience.
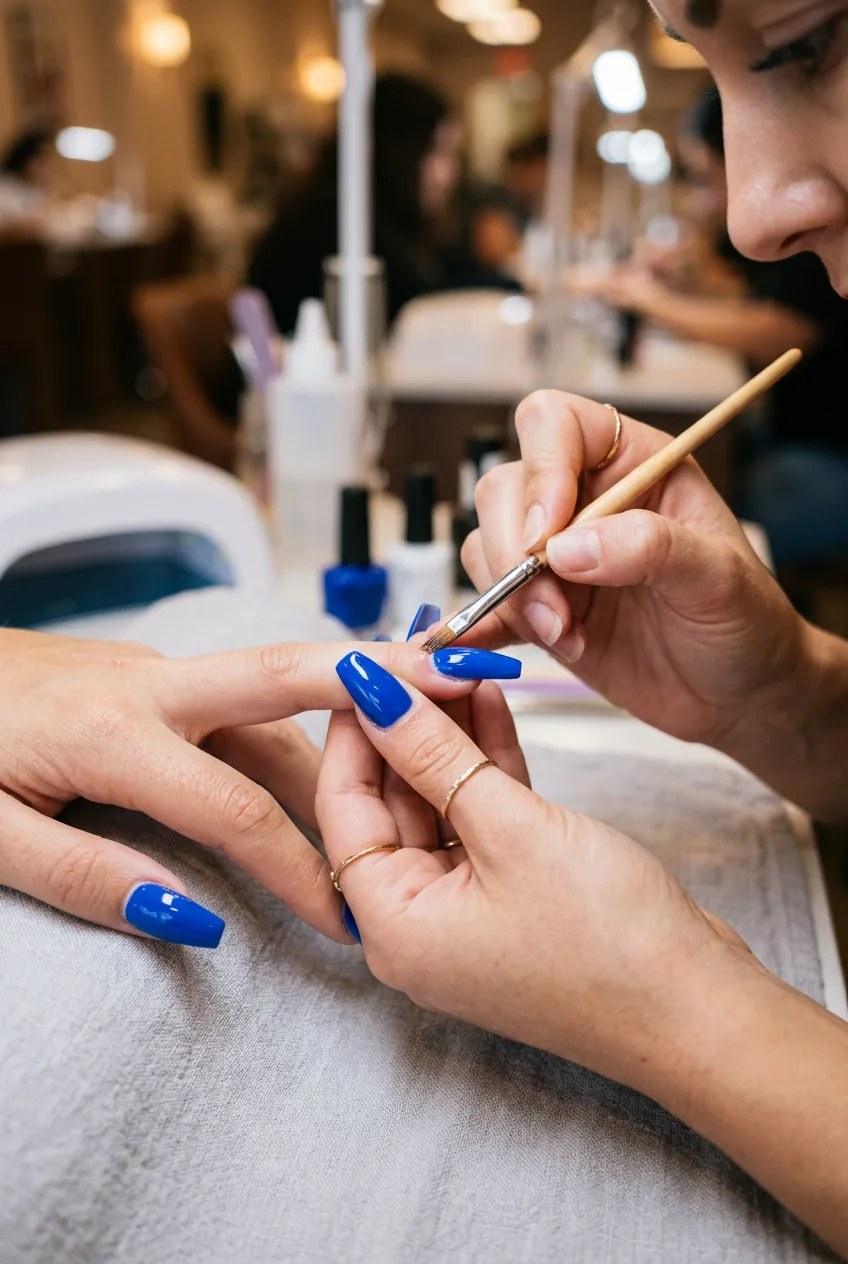
Once everything’s done, I rub a drop of cuticle oil into each nail bed, especially around the cuticles. Gel can dry out the surrounding skin and cuticle oil brings everything back to life, makes the finished look look intentional. Then I hold my hands out, fan my fingers, and have that moment. You know the one.
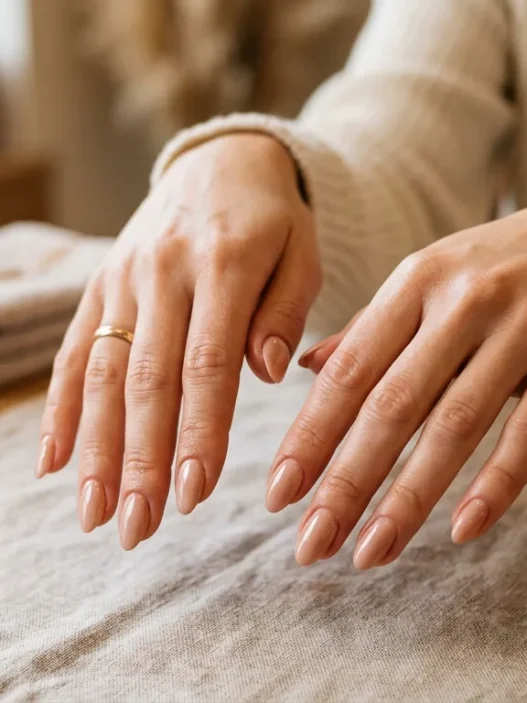
The coffin shape specifically photographs so well at this angle — flat tip forward, tapered sides visible, length doing its thing. If you love this shape but want to explore how it compares to alternatives, the square squoval nails post on here is worth a read — it’s a great shape for people who want the structure of coffin without as much length maintenance.
Quick Answers Before You Start
Do my nails need to be long to do a coffin shape?
They need some length — at least a few millimetres past the fingertip — because you need enough nail to taper the sides and still have a flat tip. If your natural nails are very short, nail tips or extensions are the way to go. Medium-length natural nails can absolutely pull off a subtle coffin, especially if you’re okay with a shorter, slightly wider silhouette than the dramatic long versions you see everywhere.
How long does a DIY gel coffin manicure actually last?
On well-prepped natural nails with proper dehydration and primer, I usually get two to three weeks before I see any lifting or tip wear. The biggest variable is prep — if you rush the cuticle and dehydration steps, you’ll see lifting within a week. Capping the free edge at every layer also adds significant wear time. You can also look into making gel nails last longer for extra longevity tricks.
What’s the difference between coffin and ballerina nail shapes?
Honestly? They’re the same shape — the names are used interchangeably. Both describe a nail that tapers toward a squared-off flat tip. “Ballerina” refers to the resemblance to a pointe shoe, and “coffin” to the tapered rectangular silhouette. Your nail tech will know what you mean with either term.
Can I use regular nail polish instead of gel for this walkthrough?
You can follow the same shape, prep, and colour steps — but skip the lamp curing and swap the gel products for regular base coat, polish, and top coat. The result will be beautiful but not as durable, and the colour coats will need longer drying time between them. With regular polish I’d expect about a week of wear on coffin-length nails before tip wear shows up.
Is the coffin shape harder to maintain than square nails?
A little, yes — the tapered sides mean your nails need to be a fairly consistent length across all fingers, otherwise the shape looks uneven. It also takes slightly more time to file correctly than a straightforward square. That said, once you’ve done it a few times it becomes second nature. I’d say it takes about three practice sessions before the shapes start looking really consistent.
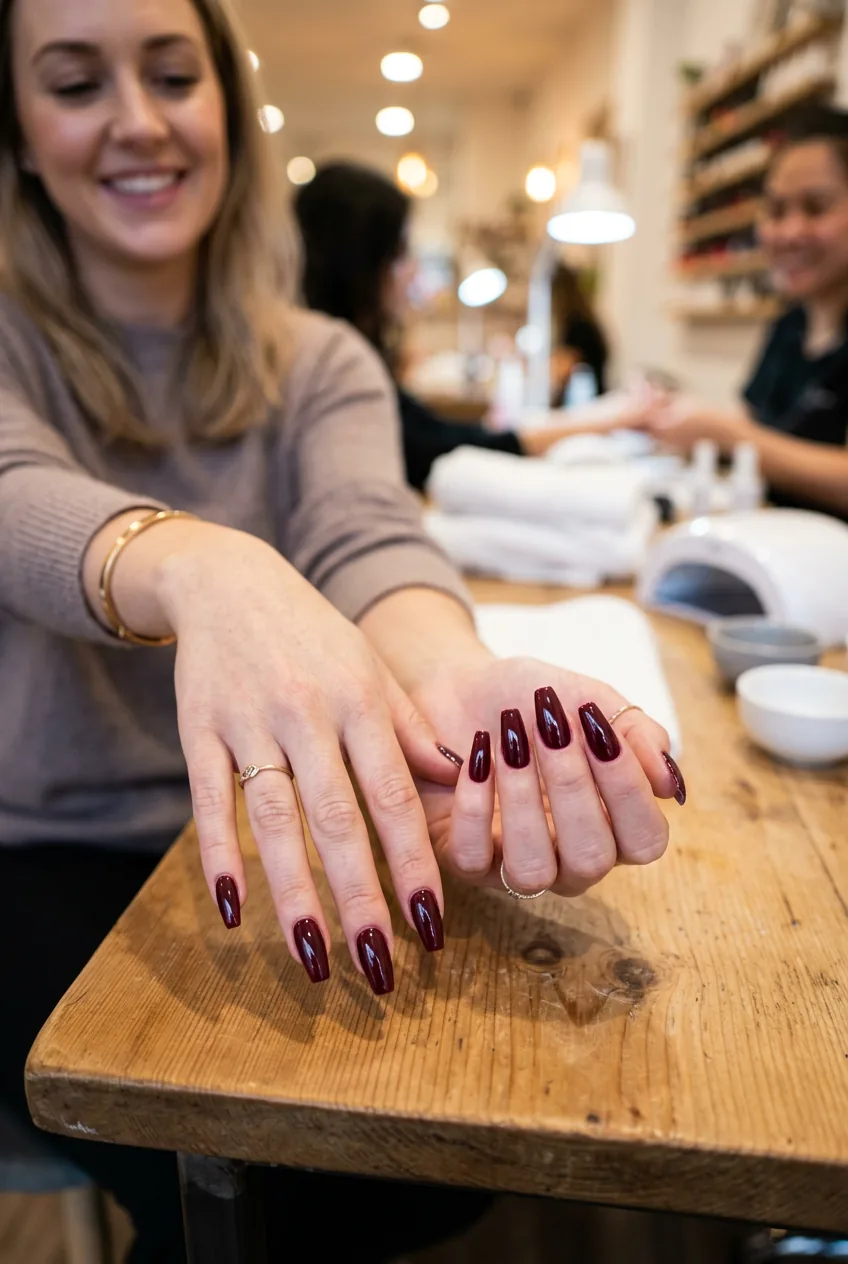
My hands looked properly done. Not “I painted my nails” done — actually, genuinely salon-level. The burgundy on the long coffin shape caught the light every time I moved and I spent the entire rest of the day unnecessarily gesturing at things. Totally worth it. Whether you’re trying this for the first time or just needed a walkthrough that doesn’t pretend everything goes smoothly — I hope this was it.