





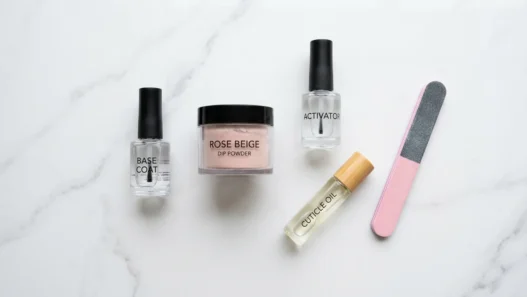


I have been chasing the perfect ombre nails for an embarrassingly long time. We’re talking blending sponges on my bathroom counter at midnight, YouTube tutorials playing on my phone propped against the mirror, and a healthy collection of ruined polish bottles I was “just experimenting with.” Last spring I finally decided to do this properly — I’d give my DIY method a real six-week run, then book a salon appointment and do the same gradient, and actually compare the two like a grown adult. Spoiler: one of the results genuinely shocked me, and it wasn’t the one I expected.
How My DIY Ombre Nails Actually Went
My setup for round one: a dusty rose base, a sheer peach for the mid-blend, and a warm cream for the tips. I used a cosmetic wedge sponge — the classic method, the one every tutorial swears by. I painted the gradient onto the sponge, dabbed it onto my nail, and immediately got that patchy, streaky mess that looks like a watercolor experiment gone wrong. Six tries later, I had something passable. Not good. Passable.
What I will say is that the process itself is kind of meditative once you accept the chaos. There’s something weirdly satisfying about building up those layers, even when three of them are essentially cleanup attempts. And the cost? About £4 in polish, a sponge from my bathroom, and an hour of my Saturday evening. Honestly fine.
The finish, though. Close up, you could absolutely see the sponge texture baked into the polish. It looked handmade — which some people love, but I kept staring at the uneven blend line near my cuticles and feeling vaguely irritated. I topped it with a thick glossy top coat, which helped blur things, but didn’t fully rescue it. For a casual summer look paired with summer nails vibes, it worked. For anything where someone would actually look at my hands up close? I was self-conscious.
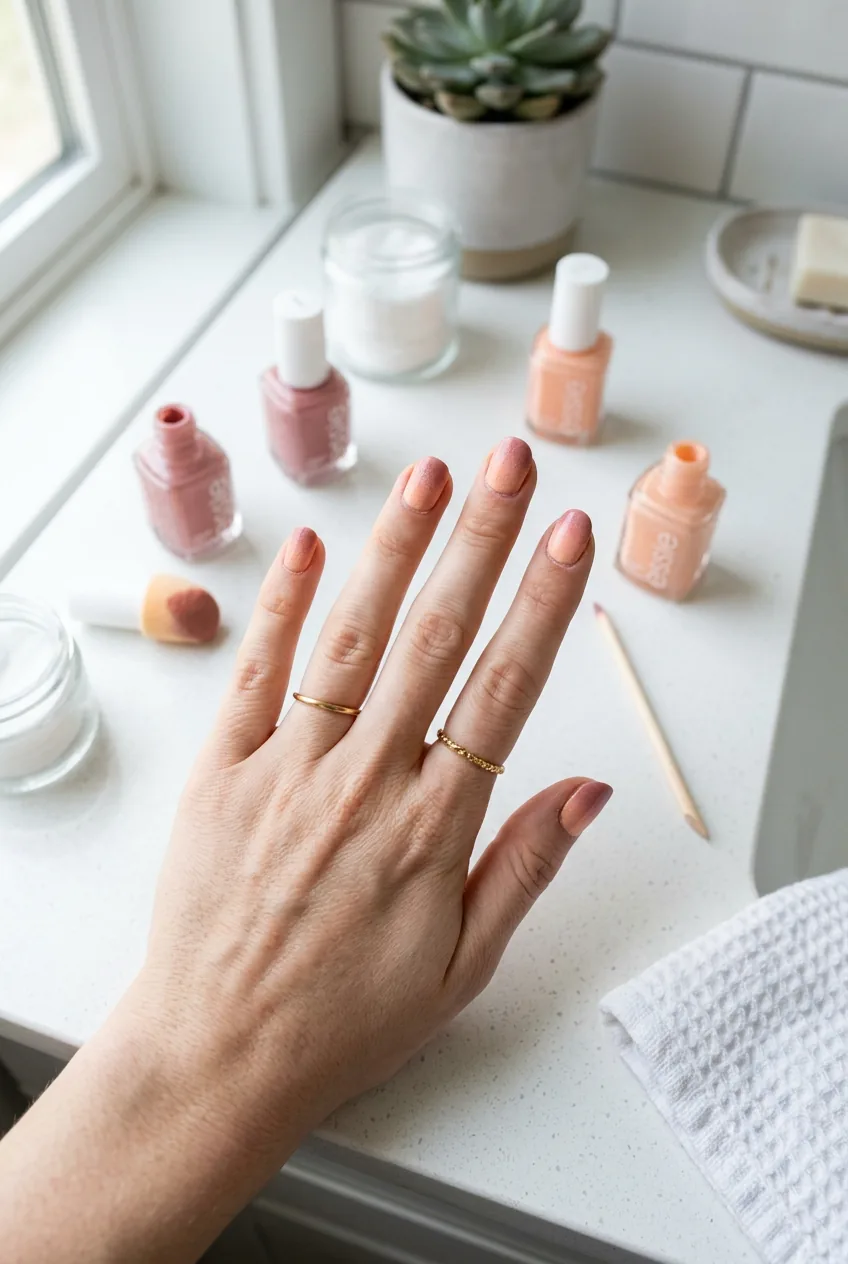
The real tell came at day four, when the tips started lifting at the edge. DIY polish on a sponged texture doesn’t adhere as evenly as a clean painted coat — the layers are inconsistent in thickness, and that means some spots cure faster, some slower, and the whole thing starts to feel fragile by the end of week one. Not a disaster. But not impressive either.
How the Salon Gradient Compared
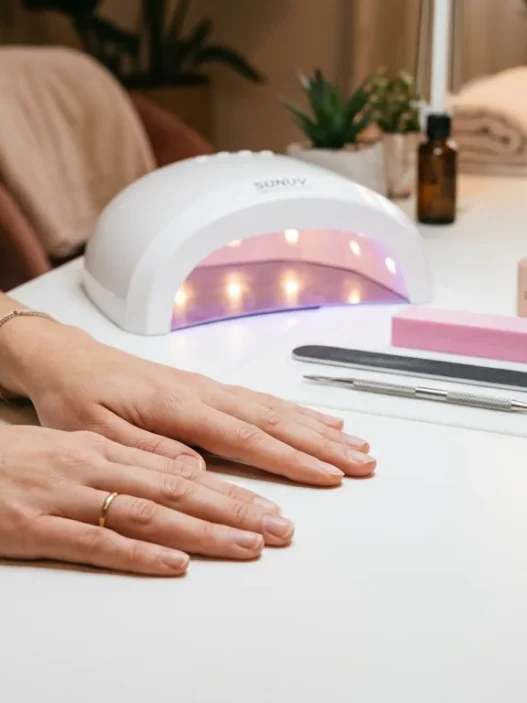
I walked into the salon with a reference photo — a dusty mauve fading into bare, almost skin-toned pink at the cuticle — and my technician barely blinked. She prepped my nails, applied a builder base, and then did something I’d never seen in person: she used a tiny flat brush loaded with two shades at once, feathering them together directly on the nail with this almost bored-looking precision. It took her maybe 25 minutes total, including the curing time under the lamp.
The result was what I’d been trying to get for two years. Smooth. Seamless. The transition zone looked like someone had literally airbrushed my nails. There was no visible texture, no harsh line, no moment where you could see the blend “happening.” It just… existed. Clean and quiet and perfect. She finished it as a gel manicure, which immediately told me the durability story was going to be very different from my DIY attempt.
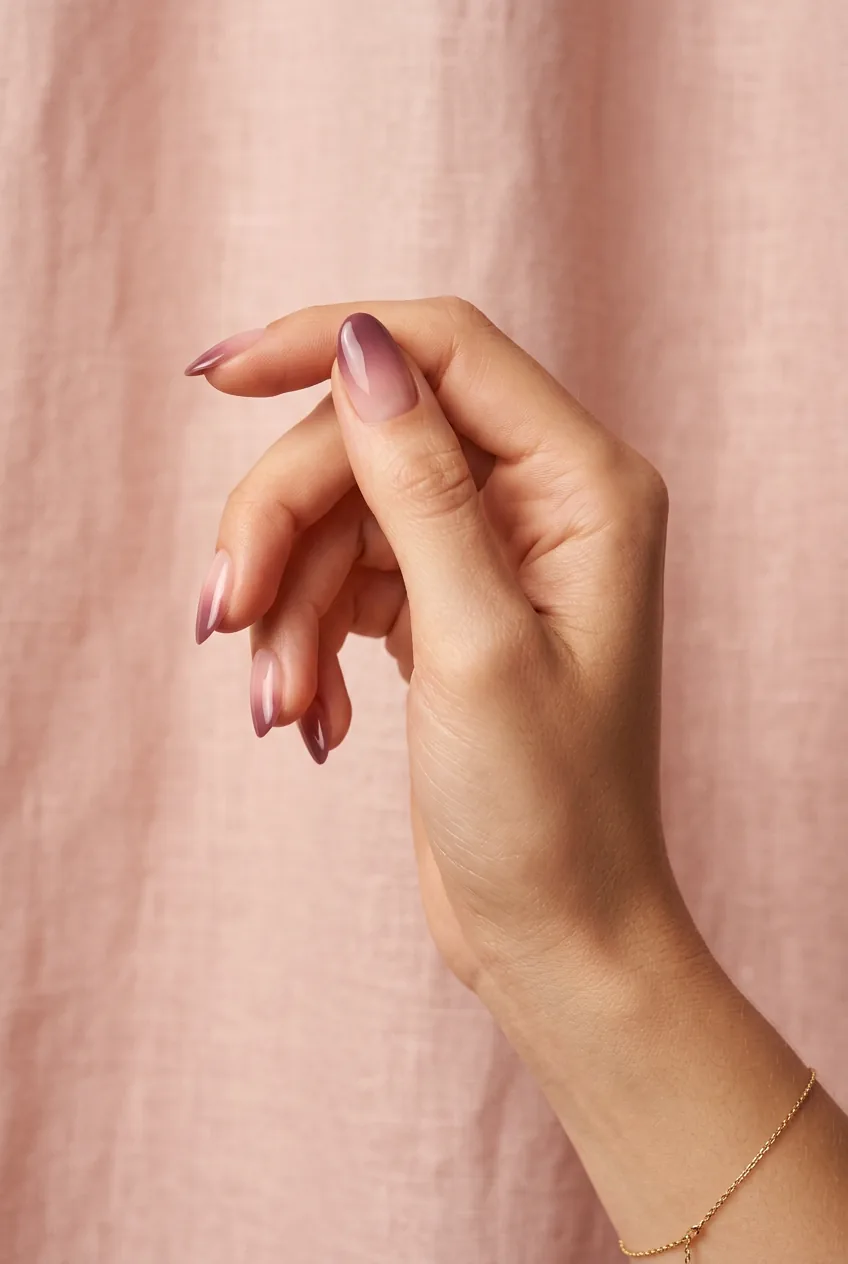
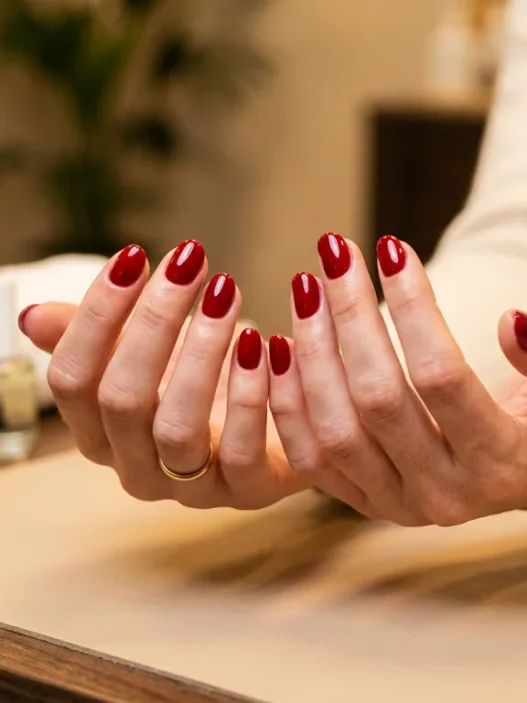
Look at how she’s holding her hand in the image above — that’s the exact gradient I’m describing. See how the colour seems to dissolve into nothing toward the base? That’s not a filter. That’s the skill gap between a sponge and a trained hand.
Cost: £45 including the gel top coat. Ouch, but also — I didn’t regret it for a single day it was on my hands.
What Each Got Right
Here’s where I want to be honest and not just crown the expensive option, because that would be lazy. Both versions genuinely had advantages, and depending on what you’re after, one might suit you better than the other even after reading my verdict.
DIY ombre nails got right:
- Total creative control — I could experiment with colour combos I’d never find on a salon menu
- Zero commitment — if I hated the result, I removed it that evening and started fresh
- The cost is genuinely negligible, especially if you already own the polishes
- For short, natural nails (which I was rocking that month), the softer, slightly handmade texture actually looked charming rather than rough
- It pairs beautifully with the whole nail art designs rabbit hole — I ended up adding tiny dots over my ombre which I never would have done if I’d paid £45 for the base
Salon gradient got right:
- The finish was genuinely photographic — editorial-quality in a way that made me look twice at my own hands
- Even application meant the colour read consistently in every lighting condition, which matters more than I realised
- The gel formula felt like armour — zero chips, zero lifting, zero anxiety
- My technician could execute shades and transitions I couldn’t have mixed myself without ruining the consistency
- It held up through a week of cooking, gardening, and one very chaotic move where I assembled flat-pack furniture for three hours straight
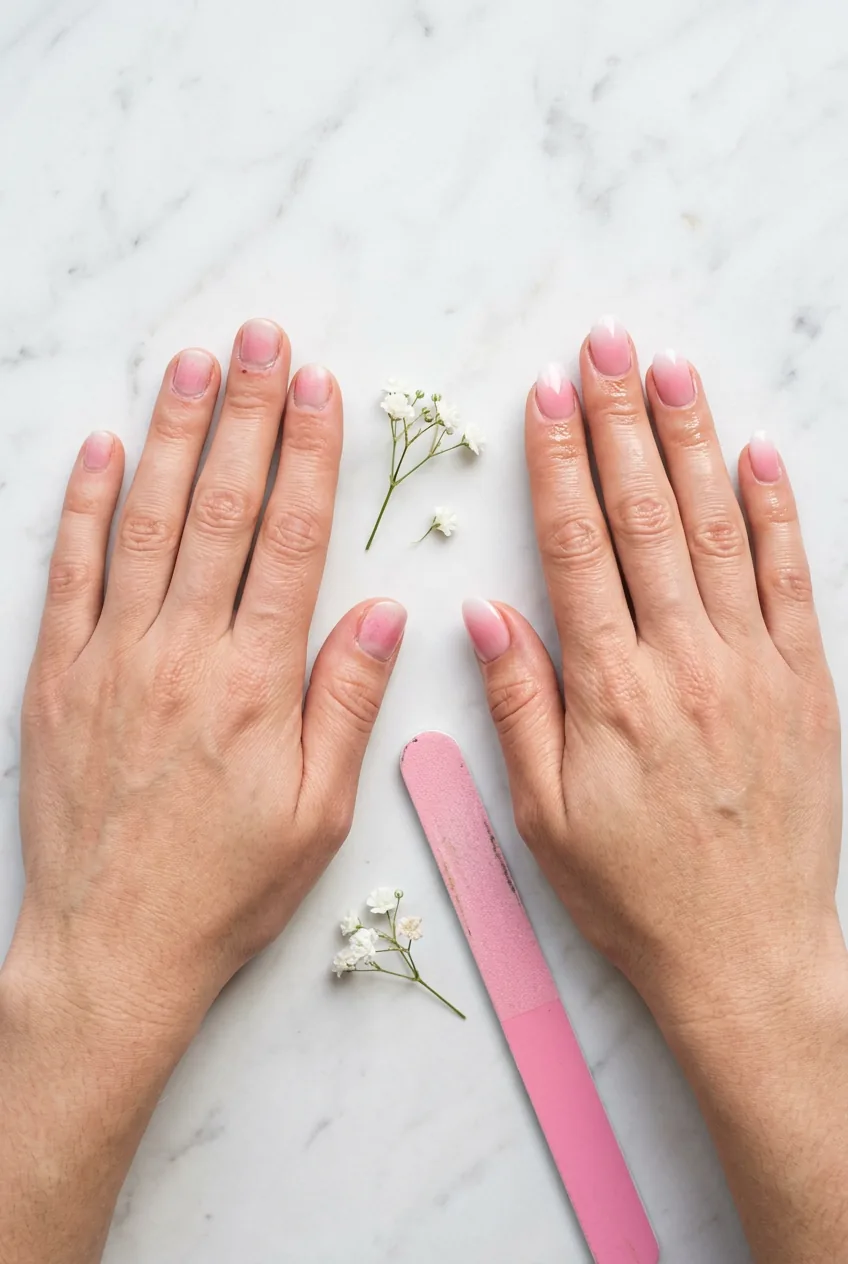
And here’s my unpopular opinion that I’ve already gotten mild pushback on: I think the DIY version looked more interesting as nail art. The slight imperfection gave it personality. The salon version was flawless, yes, but also a little anonymous — the kind of nails you see on every editorial hand shot. Sometimes handmade means you own the look rather than just wearing it.
The Wear Test — Week by Week
This is where it got genuinely interesting. I tracked both manicures over the same six-day working week (I work from home but I cook, type, and do a lot of yoga, so my hands aren’t exactly idle).
DIY — Day 1 to 3: Actually fine. The top coat was thick and holding everything together. I got two compliments. I started feeling smug.
DIY — Day 4: Tip wear on my dominant hand. The gradient started looking patchy near the free edge because the layers weren’t sealed evenly — the sponged texture had microscopic gaps and those gaps let water in.
DIY — Day 5 to 6: I refreshed the tips with a quick top coat. Bought myself another two days but the original softness of the blend was gone. It looked patched. I removed everything on day 7 feeling mildly deflated.
Salon — Day 1 to 6: Nothing. Not a scratch. Not a chip. I genuinely forgot I had nails on because they required exactly zero maintenance. The gel surface stayed glossy and the blend stayed crisp. You can read more about why gel application matters so much for longevity over at any good resource covering how gel application affects wear — the prep and cure process is everything.
Salon — Week 2: Still intact. Minor tip wear on the pinky by day 10, but the gradient itself? Perfect. I made it to 13 days before I booked a removal because I wanted to try something new, not because the nails forced my hand.

The durability comparison isn’t even close. One week versus nearly two, and the salon set required zero intervention during that time. That gap matters more than I initially admitted to myself, because touching up your nails mid-week is its own kind of time tax. You can also look into sponge vs brush ombre method if you want to understand why the application method affects longevity so directly — the short version is that uneven layers seal unevenly, and that’s the root of the DIY problem.
A Tutorial That Breaks Down the Technique
What I’m Booking Next
The salon gradient. Genuinely, no hesitation. The finish, the durability, the way it looked in every light from harsh office fluorescents to golden evening sun on a restaurant terrace — the salon set lived in a different category. When I think about nails that looked the way I wanted them to look from day one to day thirteen without a single anxious glance at my cuticles, that’s the salon version. Every time.
That said. I’m still going to DIY my ombre for low-stakes weeks. The week before a colour change when I’m experimenting with seasonal palettes — maybe something moody for fall nails or something icy for winter nails — I’ll get the sponge out and play. Because that’s the thing about DIY: it gives you permission to try anything without consequence. A £4 experiment doesn’t need to be perfect.
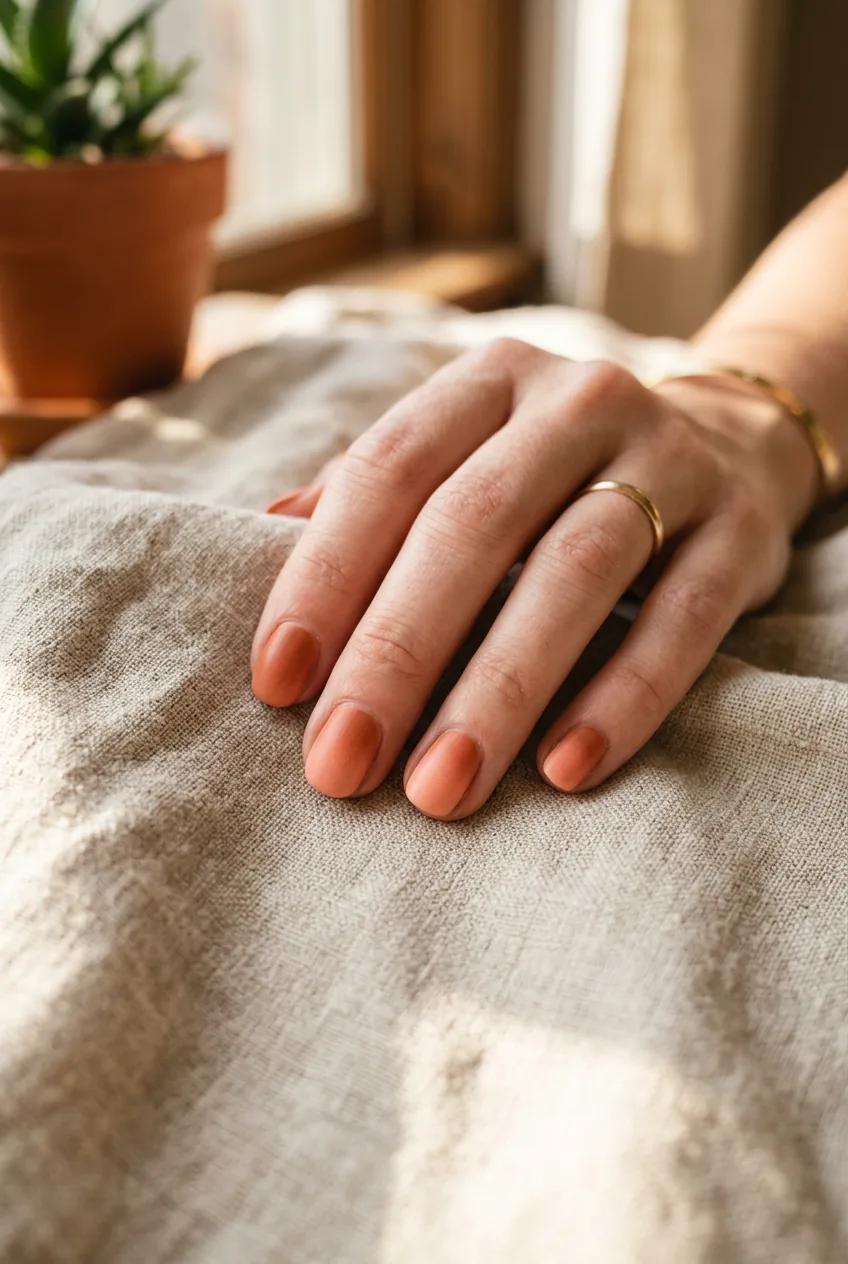
But you might pick the DIY option if you have genuinely good fine motor skills, a steady hand, and the patience to do six or seven thin layers without rushing the dry time. Some people are just naturally better at this than I am, and their sponge ombre looks genuinely incredible. See how she’s layered those shades in the image here — that softness at the transition is achievable at home, it just takes the kind of practice I apparently wasn’t willing to put in consistently. Also, if you love the experimental chaos of doing your own nails, the salon route strips out the fun part for you. You’d be paying for a result you’d rather earn yourself, and that’s completely valid.
My verdict in one line: the salon gradient won every metric that matters except cost and creative freedom. And those two things are not small. They’re just not the things I personally weight most heavily when I want my hands to look extraordinary for two weeks straight.
Quick Answers About Ombre Nails
Can I get a true seamless ombre at home, or does it always look DIY?
Honest answer: most people can get a convincing ombre at home with a cosmetic sponge, but truly seamless blending usually requires either a brush technique that takes real practice or a gel system with a lamp. The sponge method builds texture into the polish layers, which shows under direct light. It’s beautiful in its own way — just not identical to a salon finish.
How long do ombre nails typically last compared to a solid colour?
In my experience, DIY ombre chips faster than a solid colour because the layered sponge application creates uneven thickness across the nail. Salon gel ombre lasts about as long as any other gel — 10 to 14 days with proper aftercare. The multi-layer build is actually sealed more effectively in gel than regular polish, so durability improves rather than suffers.
Which colour combinations work best for ombre nails in 2026?
Right now I’m obsessed with terracotta-to-peach, cool lilac-to-white, and the classic nude-to-sheer pink that never really left. The moody end of the palette is having a moment — deep plum fading into dusty mauve is giving everything I want from an autumn nail. The rule I stick to: choose shades within the same colour family and keep the contrast gentle unless you want a very graphic effect.
Do I need a UV lamp to do ombre nails at home?
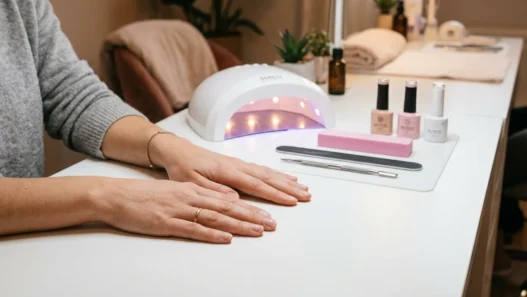
Only if you’re using gel polish, which gives you a much more durable result. Regular nail polish ombre works without a lamp — you just need patience and a good top coat. If you’re doing this regularly and want the longevity upgrade, a basic LED lamp is a worthwhile investment and they’ve come down significantly in price. Check that your lamp is rated for gel curing before you buy, because wattage matters more than most budget options advertise.
Whichever route you go — sponge at your kitchen table or reclining chair at your favourite salon — ombre is one of those looks that rewards the effort every single time. There’s something about that soft gradient that makes even the plainest outfit feel considered. I’ll be back with a sponge in one hand and a booking confirmation in the other, depending entirely on my mood and my schedule. That feels about right.