






I used to think three weeks was a myth. My dip powder manicures would look incredible on day one and then, somewhere around day five, I’d spot that first little chip near my thumbnail and feel the whole thing unraveling. I tried more expensive powders, fancier top coats, literally everything — until I realized the problem wasn’t the products at all. It was the process. This is the exact 8-step method I now follow every single time, and I haven’t had a premature chip in months.
Your Roadmap to a 3-Week Dip Mani
- What You’ll Need
- The Prep That Adds Days
- Step 1: Shape and File
- Step 2: Dehydrate and Prime
- Step 3: Apply Your Base Coat
- Step 4: Dip and Cap the Edge
- Step 5: Seal with Activator
- Step 6: Shape the Powder
- Step 7: Apply Top Coat in Thin Layers
- Step 8: Cure and Finish
- The Daily Habits That Protect the Mani
- The Touch-Ups That Save Day 10
- Questions I Get About This
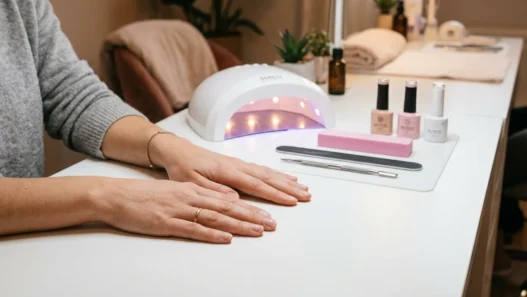
What You’ll Need
Nothing exotic here. But every single item on this list earns its place — I’ve tried skipping things and I always regret it.
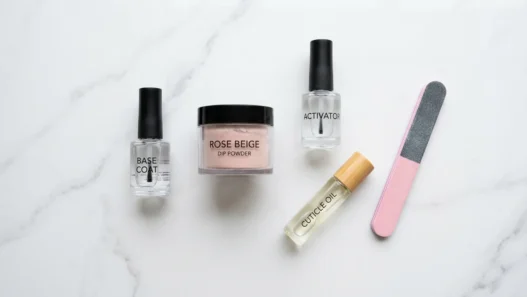
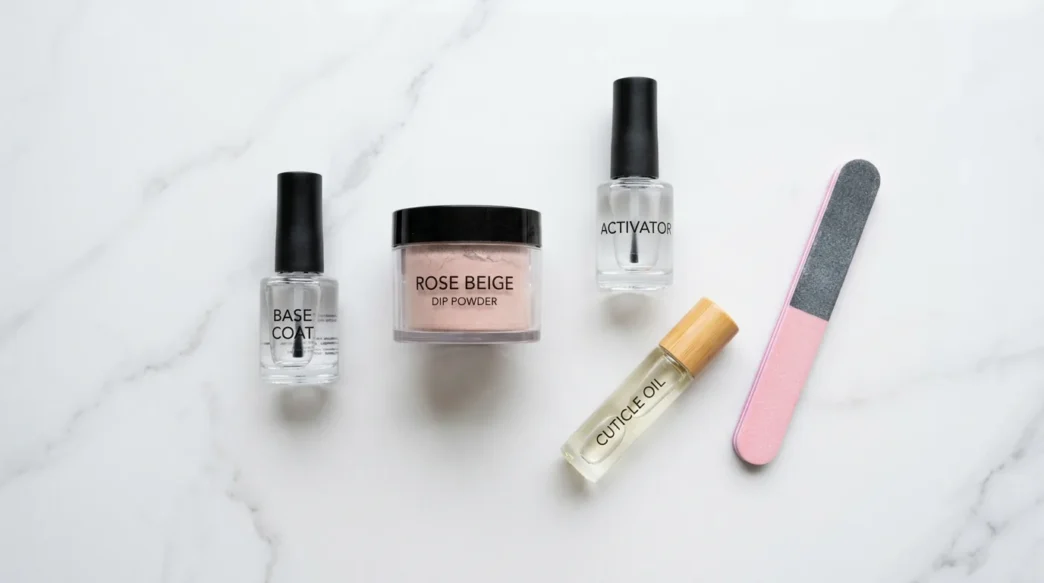
- A 100/180 grit nail file and a buffing block
- Nail dehydrator (this is non-negotiable — more on that in a moment)
- Acid-free dip powder primer
- Dip powder base coat (liquid adhesive)
- Your chosen dip powder color — I’m using a soft rose beige for this tutorial
- Dip powder activator liquid
- Dip powder top coat
- A small stiff brush for dust-off
- Cuticle oil (for after, and every night)
- A lint-free nail wipe and 99% isopropyl alcohol
That’s it. Honestly, the kit feels almost too simple for how good the result is. The dehydrator and primer are the two things I see most people skipping in budget kits, and they are the entire reason dip lifts early. Don’t skip them.
The Prep That Adds Days
I’m going to say something that sounds obvious but clearly isn’t: prep is where longevity is won or lost. Not the top coat. Not the brand of powder. Prep.
Every extra minute you spend on nail prep translates directly into extra days of wear. I’ve tested this obsessively. A rush job prep gives me about 10 days. A proper prep gives me 21 or more. The math is just too good to ignore. This section comes before the numbered steps because it’s the foundation the whole thing is built on — if you skip straight to Step 1 without reading this, you’re setting yourself up for lifting by day seven.
Step 1: Shape and File
Start with completely bare, clean nails. No lotion, no oil on the surface yet. Shape your nails to your desired length with the 100-grit side of your file — I’m keeping mine short and squoval for this tutorial because that shape is genuinely the most chip-resistant. Once the shape is set, flip to the 180-grit side and lightly buff the surface of each nail. You’re not trying to thin the nail plate; you’re just breaking the shine so the base coat has something to grip. Thirty seconds per nail, light pressure.
If you want to go deeper on nail shaping and what each shape means for durability, the beginner’s guide to free-hand nail art has a genuinely helpful breakdown of how nail shape affects the way products sit and wear. Push back your cuticles gently with a rubber-tipped pusher. Don’t cut them — just nudge them back so the nail plate is as exposed as possible. More surface area for adhesion means more days of wear.
Step 2: Dehydrate and Prime
This is the step that changed everything for me.
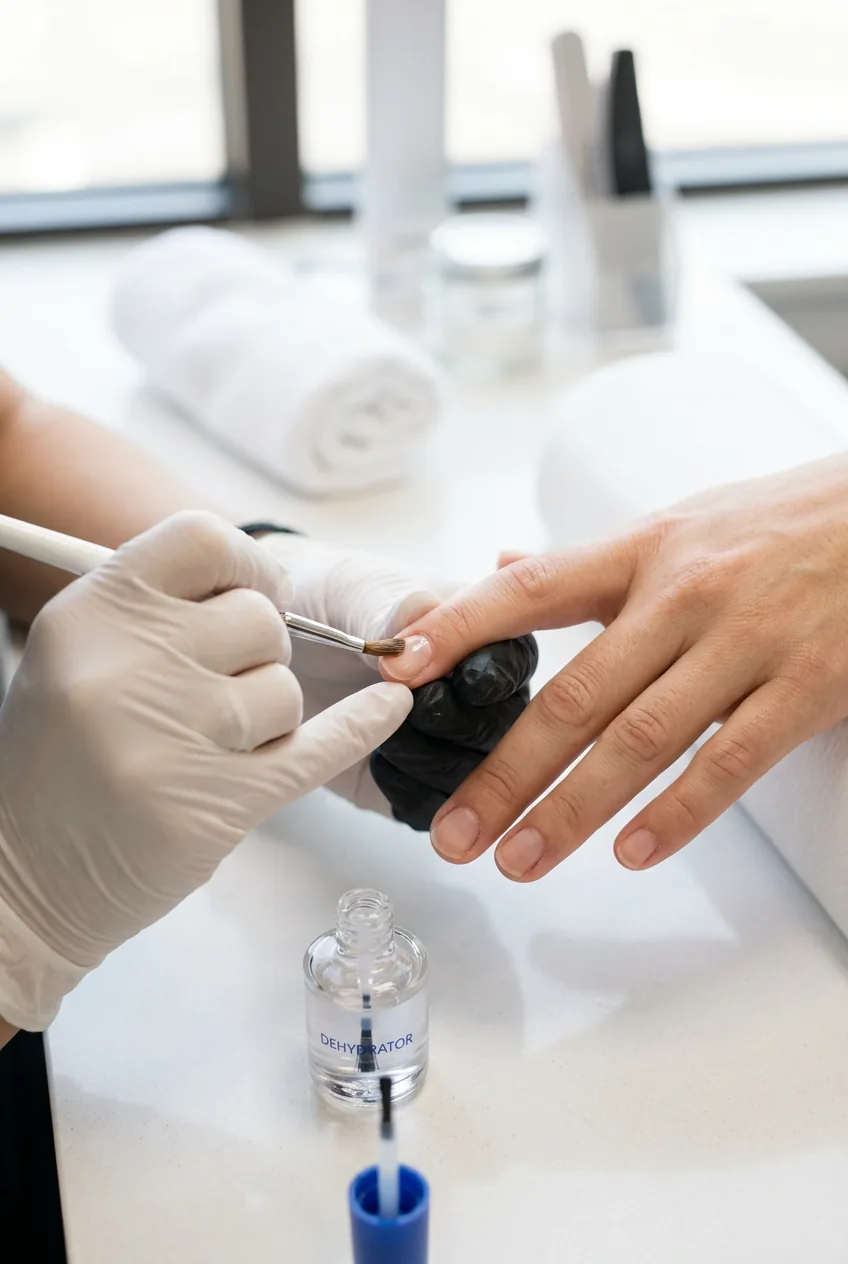
Take your nail dehydrator and swipe it across every nail. It evaporates in about 30 seconds and takes all the natural oils and moisture with it. Those oils are the enemy of dip adhesion — they sit between your nail and the base coat and cause lifting. Once the dehydrator has fully dried (don’t rush it — wait the full 30 seconds), apply one thin coat of your acid-free primer and let that dry completely. It should turn from slightly shiny to matte. That matte finish is your signal to move on.
I learned about the importance of nail dehydration the hard way. One lazy Sunday I thought, fine, I’ll skip it just this once, the nails look clean. By day four I had lifting on three fingers. Now I keep my dehydrator right at the front of my kit so I literally can’t miss it.
Mistake I made: I used to skip the primer when I was running low and tell myself the dehydrator was enough. It’s not. The dehydrator removes oils; the primer creates a chemical bond. They do different jobs. Skipping primer cost me at least three early liftings before I made the connection.
Step 3: Apply Your Base Coat
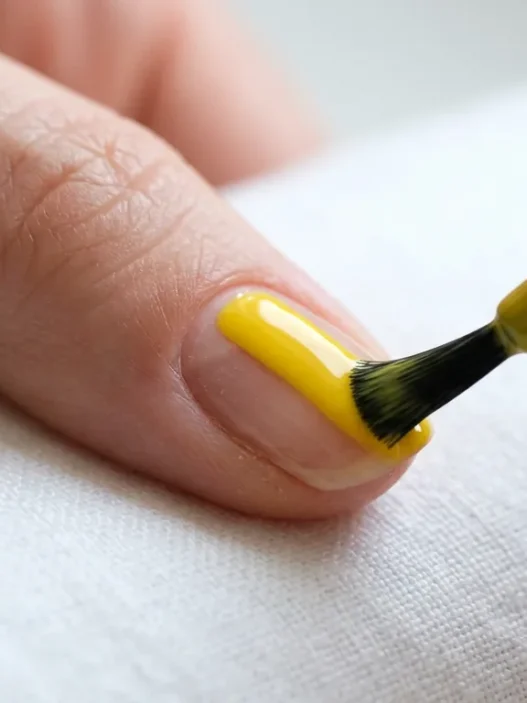
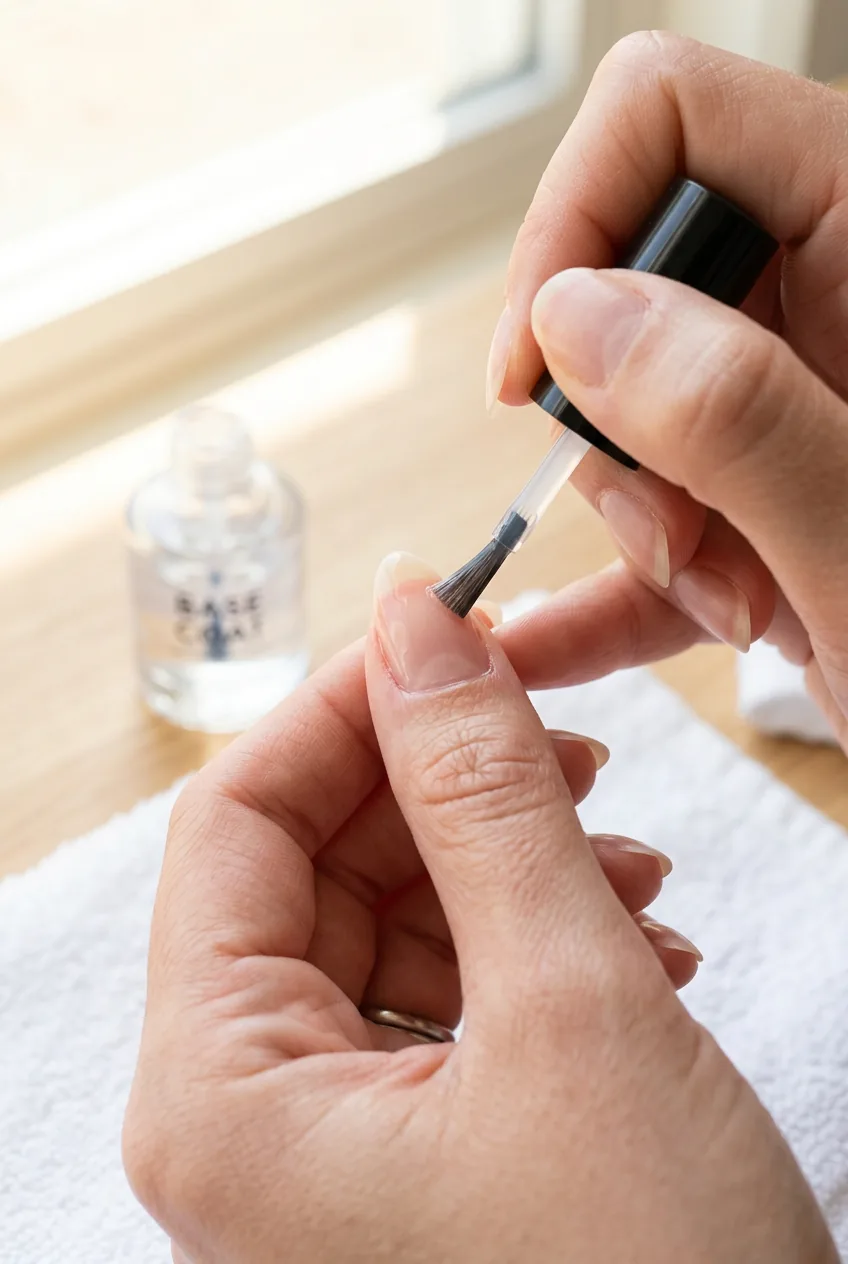
Now the base coat — this is the sticky liquid adhesive that the powder clings to. Apply it to one nail at a time, working quickly. The base coat starts to skin over fast, and if you dip into powder that’s partially set, you get uneven coverage. Brush on a thin, even layer from cuticle to free edge, staying about 1mm away from the cuticle and the sidewalls. Flooding the sidewalls is one of the main causes of lifting, so keep that brush controlled.
The coat should look wet and shiny, not thick and blobby. Thin coats are everything in dip — more on that in a moment. Do one nail at a time through the entire dipping process; don’t base-coat all ten fingers at once unless you have extremely fast hands and a very slow base coat formula.
Step 4: Dip and Cap the Edge
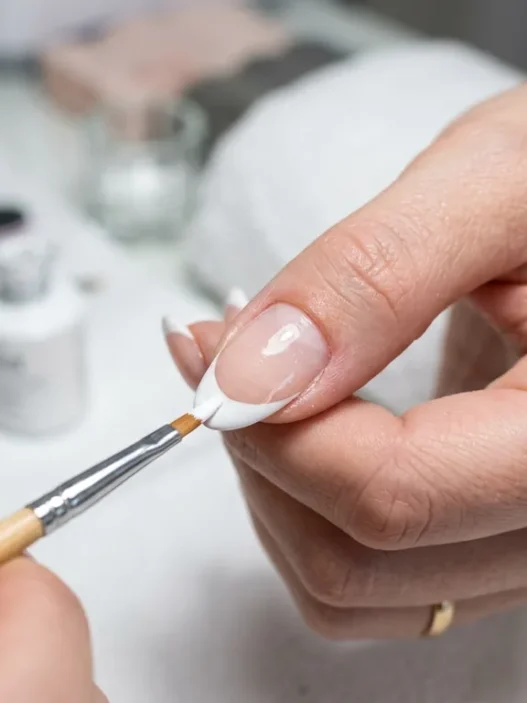
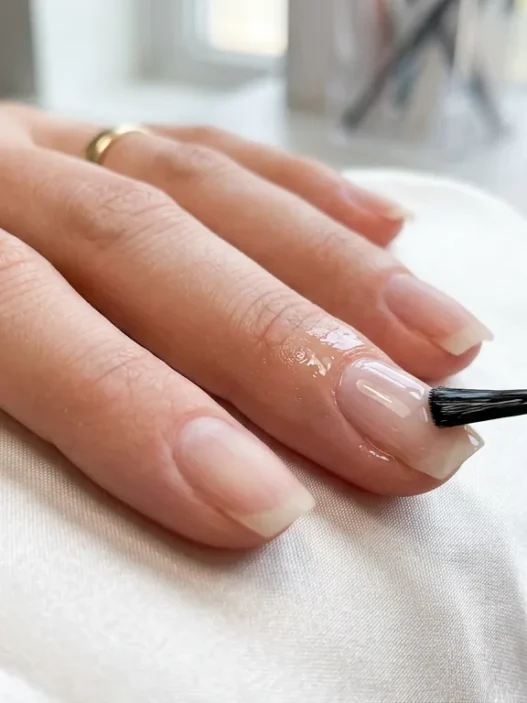
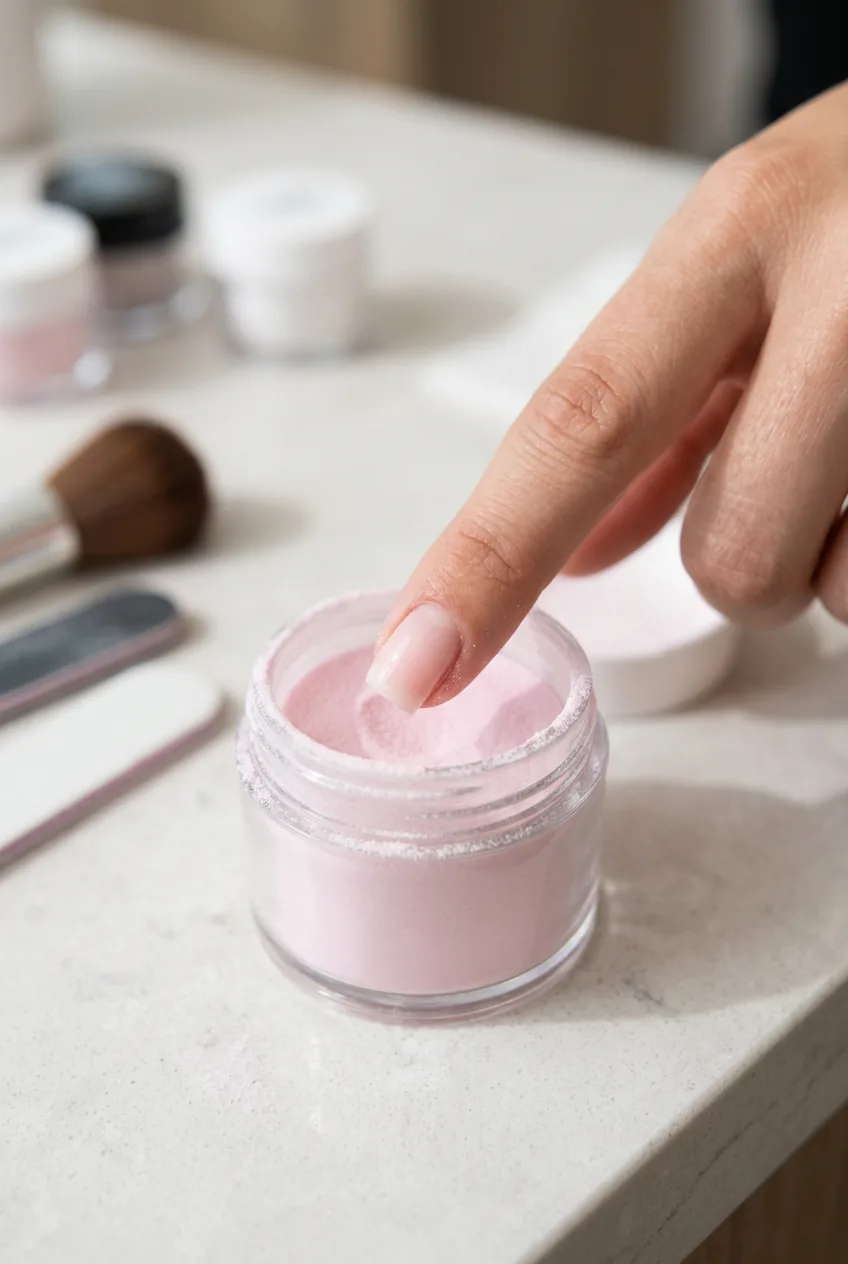
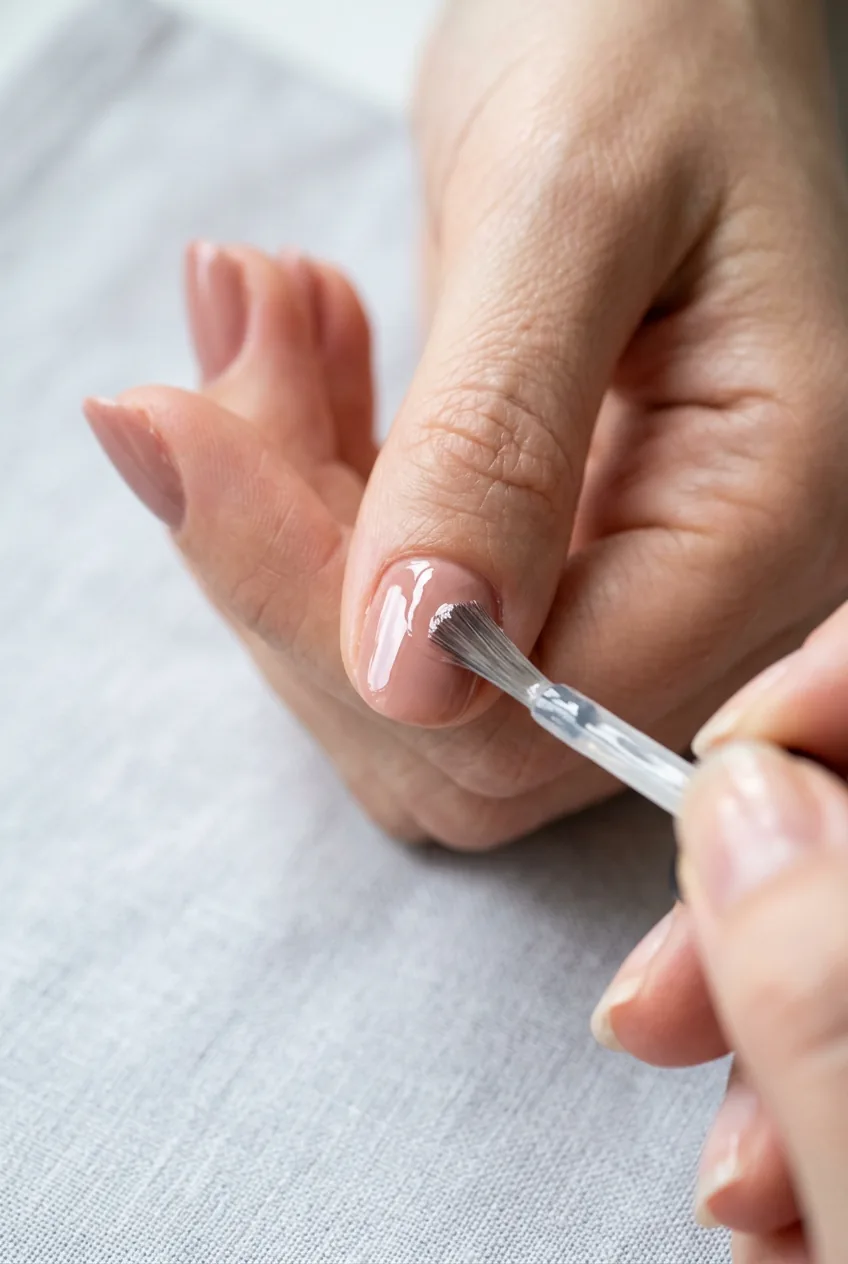
Here it is. The single most important thing I do differently now compared to when my manis kept chipping. After applying the base coat to one nail, dip the finger at a 45-degree angle into the powder jar, then tap off the excess. But before you do anything else — go back with your base coat brush and apply a thin stripe of base coat directly on the free edge of the nail, then dip the tip straight down into the powder jar to coat that edge.
This is called capping the edge, and it is the whole game. The free edge is where chips start. Every single time. Dip powder that ends at the tip without being wrapped underneath will peel from that edge inward. When you cap, you’re sealing the tip like a little protective envelope. Do this every single layer, every single nail. Look at how she’s dipping her finger in this photo — notice the angle and how the powder visibly coats the entire tip including the underside edge. That coverage is what you’re going for.
For color depth and longevity, I typically do two full dip-and-cap cycles per nail. Some powders are more pigmented and one pass is fine; others need three. Assess after each layer by tapping off the excess and checking coverage in natural light. You can also look at even dip powder application for extra guidance on layering technique if you’re working with a sheer powder.
See the Edge-Capping Technique Up Close
Step 5: Seal with Activator
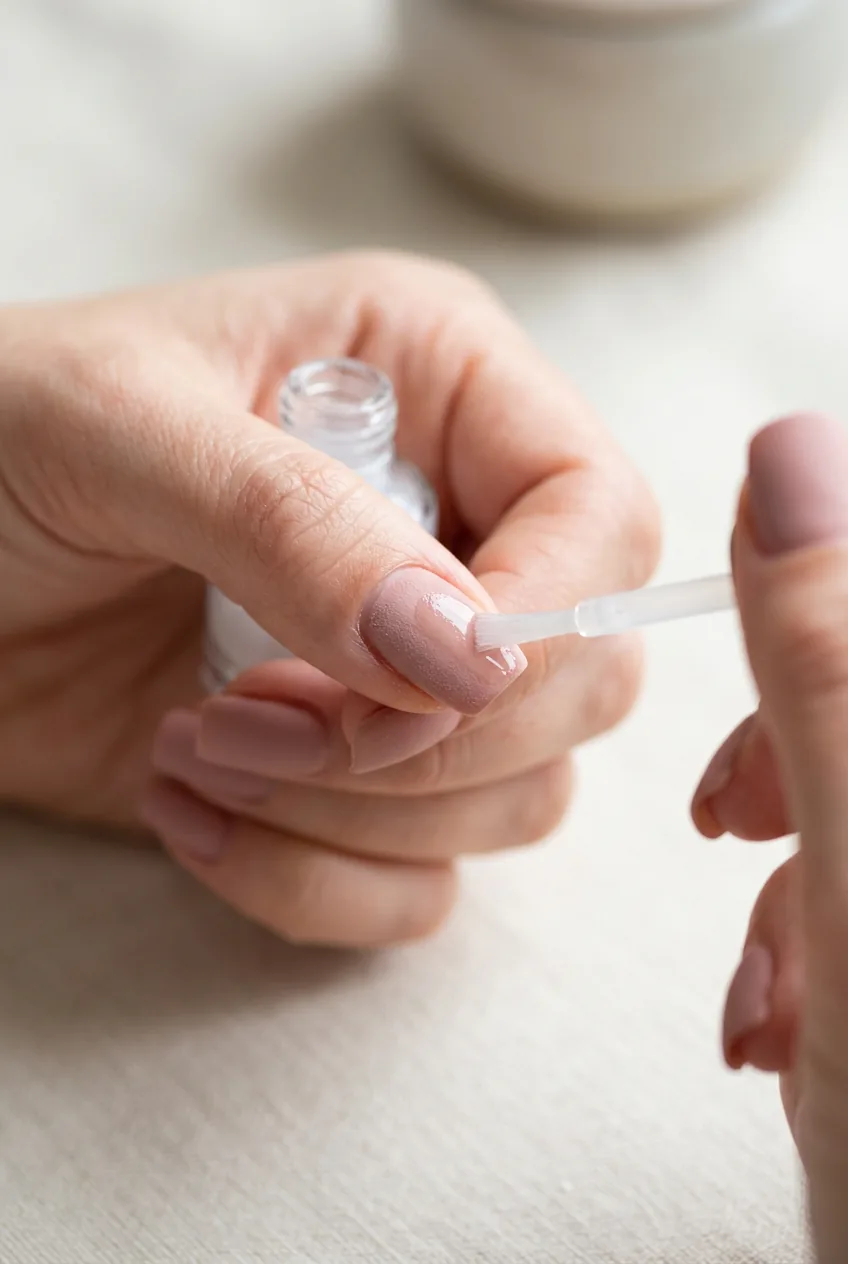
Once you’ve dipped all ten nails and are happy with the coverage, it’s activator time. This liquid is what transforms the powder from chalky and fragile to hard and durable. Brush it on in one thin coat across each nail — don’t scrub or go back and forth, just one smooth pass. It reacts with the base coat underneath and hardens everything almost instantly.
Wait a full two minutes. I know, I know. It feels like nothing is happening. But that cure time is real, and if you start filing too soon you’ll scratch the surface and create weak spots that crack later. Set a timer if you have to. I put mine on two minutes and scroll through Pinterest during the wait.
Mistake I made: Early on I applied activator in thick coats thinking more was better. What actually happens is the surface goes gummy and weird, and the top coat doesn’t bond evenly. One thin pass is all it needs — trust the chemistry.
Step 6: Shape the Powder
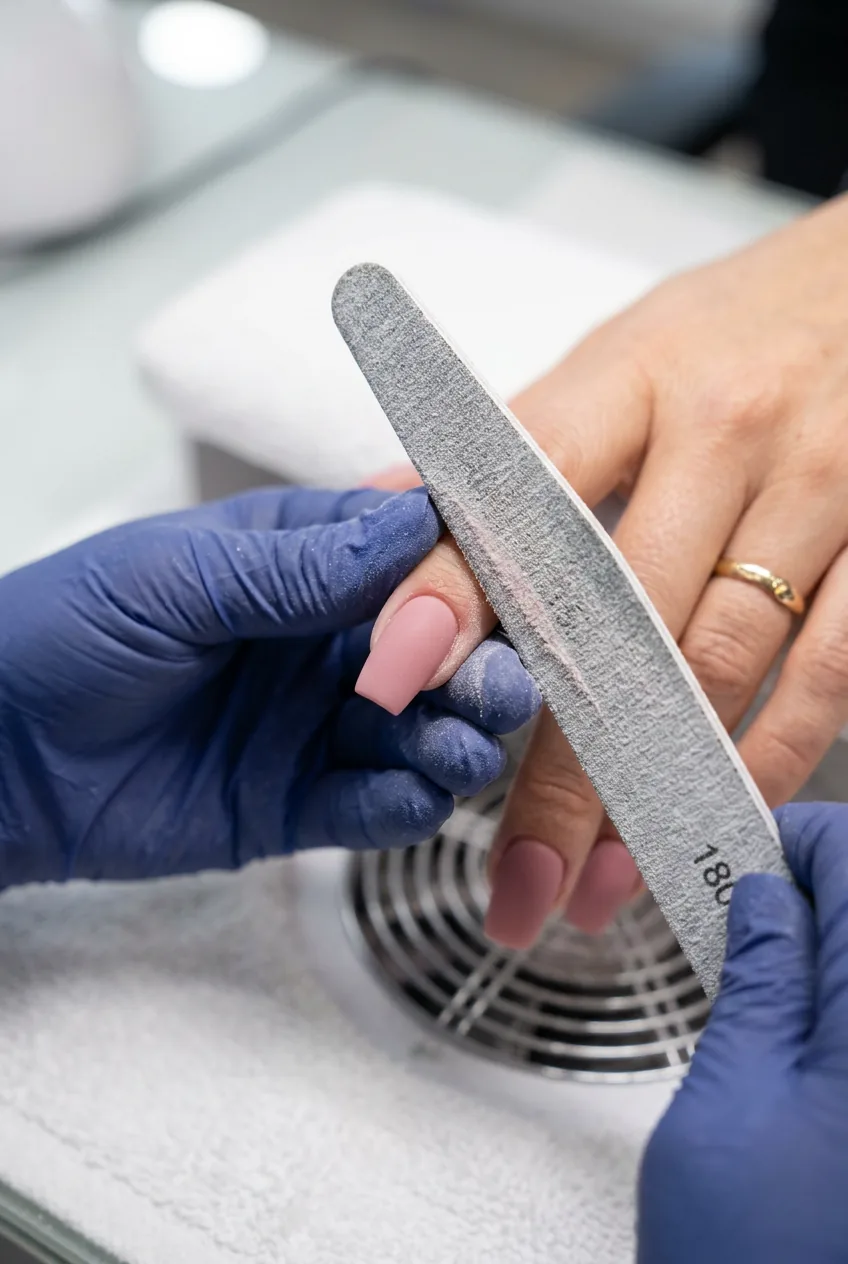
After the activator has fully set, it’s time to refine the shape. Use the 180-grit side of your file to smooth out any bumps, ridges, or uneven build-up. This is where your manicure goes from “DIY” to “did she go to a salon?” Work in one direction, filing gently. The powder should carve easily without crumbling — if it’s crumbling, give it another 30 seconds of activator cure time before you continue.
Pay special attention to the sidewall line and the cuticle area. A clean edge near the cuticle prevents lifting because there’s no rough edge for moisture to creep under. Wipe each nail with a lint-free wipe dampened with isopropyl alcohol once you’ve finished filing. This removes all the powder dust and gives the top coat a clean surface to bond to.
Step 7: Apply Top Coat in Thin Layers
Two thin top coat layers, not one thick one. I repeat this to myself every time because the temptation to glob it on for extra shine is real. Thick top coat shrinks unevenly as it dries and creates micro-cracks that let moisture in. Two thin layers, drying fully between each, give you a smoother, harder finish.
Cap the edge again on each top coat layer — yes, still. Every coat gets capped. Apply the first layer, let it dry for 60 seconds, then apply the second. If you want a gel-like gloss, some people do a third very thin layer and it honestly does look stunning. The same principle of thin-coat application applies to techniques like the ones I use for my milky nails tutorial manicure method — thin is always better than thick for longevity.
Step 8: Cure and Finish
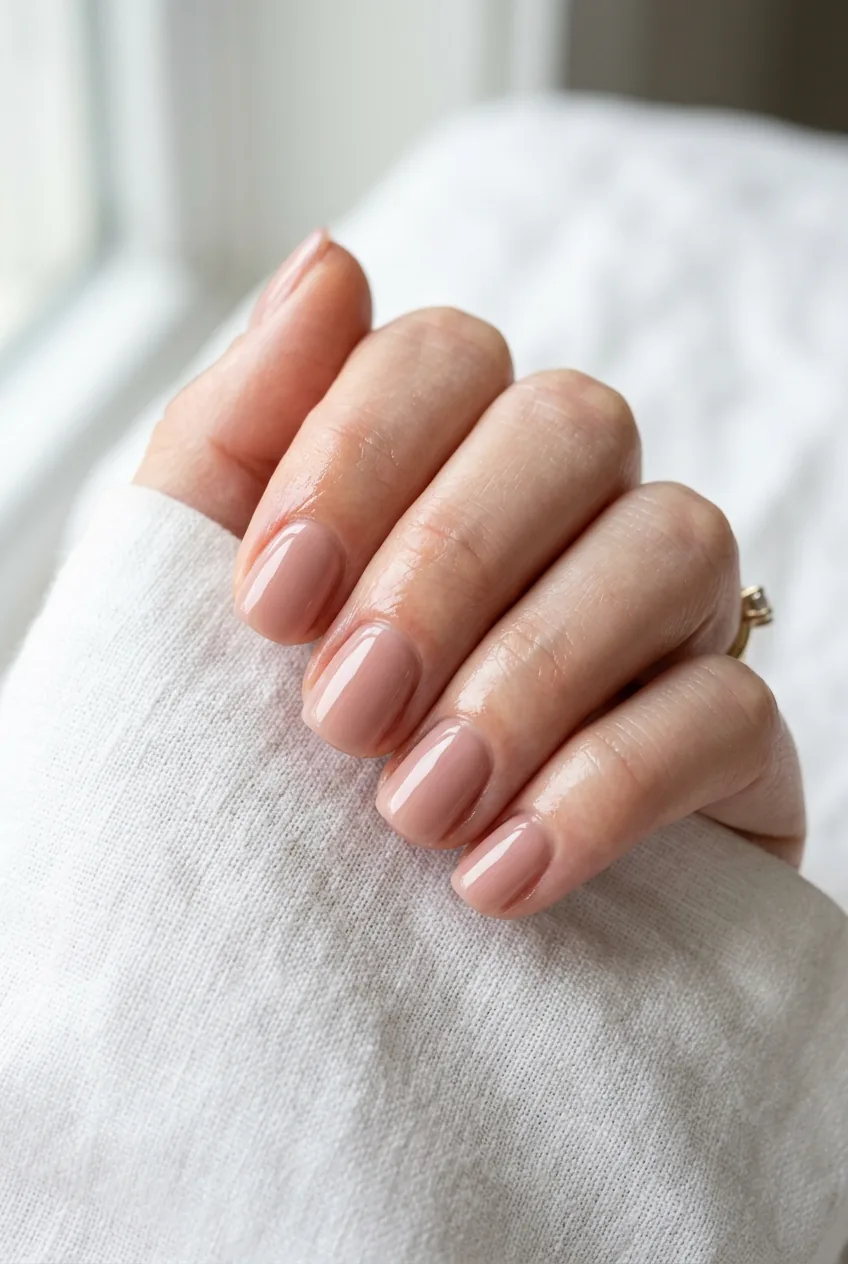
Let the final top coat cure for a full five minutes before you touch anything. I know, more waiting. But this is the finish line and it’s worth respecting. After five minutes, wash your hands with cool water to remove any remaining residue and then — this is the part that feels the most luxurious — apply cuticle oil generously around every nail. Work it in with your thumbs. The oil softens the surrounding skin and creates a flexible seal around the edge of the nail, which actually helps prevent the powder from cracking when your nails flex during normal use.
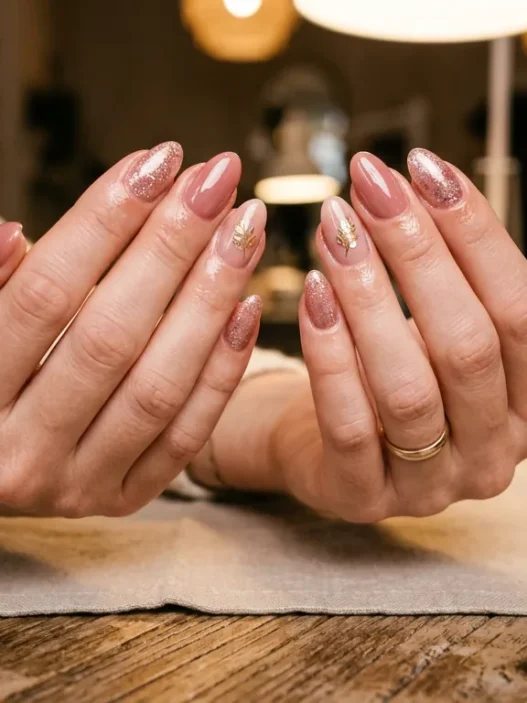
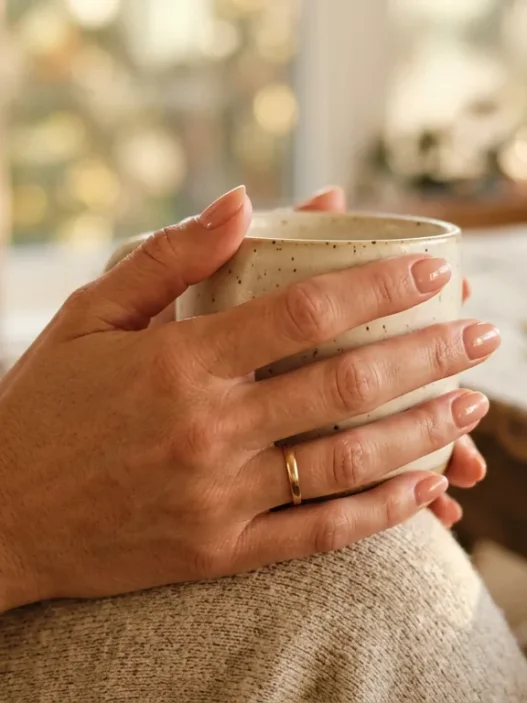
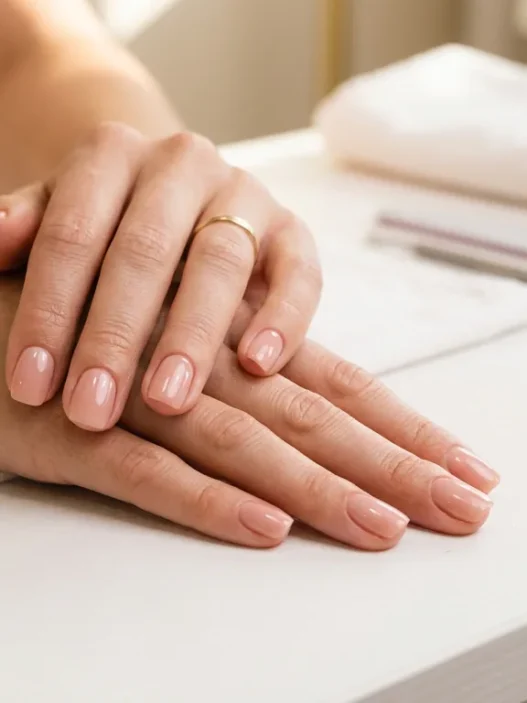
Look at the finished nails in this photo — she has that mirror-smooth finish that comes from capping every layer and filing correctly. The color is even, the edges are clean, and the cuticle line is perfect. That’s the goal.
The Daily Habits That Protect the Mani
Okay, the application is done. But here’s the honest truth: how long your dip lasts is also a function of what you do every day after you finish. These habits have become completely automatic for me now.
Gloves for dishes, always. Hot water is the number-one enemy of dip powder. It softens the base coat bond over repeated exposure and speeds up lifting dramatically. I keep a pair of rubber gloves hanging right next to my kitchen sink. It takes two seconds to put them on and it genuinely adds days to the wear.
Cuticle oil every single night. Flexible nails don’t crack, and cuticle oil keeps the nail plate hydrated and supple underneath the powder. I reach for nourishing cuticle oils before bed, and I’ve noticed my natural nails are actually in better condition than before I started doing dip. Apply around the cuticle line and gently massage in — it takes 30 seconds.
No using your nails as tools. I say this every time and yet. The moment I open a can of something with my thumbnail or try to peel a sticker with my pinkie, I remind myself that I’m risking a chip for something I can do with a spoon. Use the pad of your finger, not the tip.
These habits apply to basically any nail technique you invest time in — you’ll find the same advice in guides like this one on doing a step-by-step Christmas nails tutorial, because protective aftercare is universal.
The Touch-Ups That Save Day 10
Around day seven, I do a quick inspection. Most of the nails look perfect, but sometimes one or two have dulled or have a tiny area near the tip where the top coat has worn. This is totally normal and completely fixable without a full redo.
Wipe the nail with a lint-free pad and isopropyl alcohol. Apply one very thin layer of top coat, capping the edge as always. Let it cure. Done. That five-minute touch-up adds another week of life to the manicure and you’d never know it had been touched. I do this religiously and it’s the reason I consistently hit 21 days of wear instead of 12.
If you’re someone who likes to change the look slightly at the day-seven mark — maybe add a design element or try a different color accent — the honest tutorial for free-hand nail art nails has approachable techniques you can layer right over an existing dip mani without any damage. And if you’re feeling adventurous with color at that stage, check out the approach used in this DIY navy blue nails colour-mixing tutorial — mixing your own accent shade directly on top of a dip base is genuinely satisfying.
For stubborn lifting that started before day seven, press gently on the lifted edge and apply a tiny drop of dip base coat underneath it with a thin brush, then cap immediately with top coat. It re-bonds. Not forever, but it buys you a few more days while you decide whether to do a full soak-off. You can also read up on repairing dip powder lifting to understand when a repair makes sense versus when it’s time to start fresh.
Questions I Get About This
Can I do a dip powder manicure without a primer?
Technically yes, but you’ll sacrifice significant wear time. The dehydrator removes oils, but the primer creates a chemical bonding layer that the base coat adheres to far more aggressively. Skipping primer is the most common reason for lifting within the first week. If your kit didn’t include primer, it’s worth buying separately — it costs almost nothing and makes a huge difference.
How long does dip powder actually last?
With the technique in this guide — especially the dehydrator, primer, and edge-capping steps — I consistently get 18–23 days of chip-free wear. On shorter nails with good daily habits, some people report even longer. The limiting factor is usually nail growth making the gap visible rather than the powder itself failing.
Is dip powder safe for natural nails?
Used correctly with an acid-free primer and gentle removal (acetone soak, not peeling), dip powder is actually gentler than many people assume. The damage almost always comes from improper removal — specifically peeling the powder off rather than soaking. If you soak properly and keep up with cuticle oil, your natural nails can actually stay in great shape underneath.
Do I need a UV lamp for dip powder?
No, and this is one of the big appeals of dip over gel. The powder hardens through a chemical reaction with the activator liquid, not UV light. The activator does all the curing work, which is why getting the right amount of activator and giving it proper dry time matters so much. No lamp needed at all.
My nails right now, at day nineteen, still look like I had them done last weekend. No chips, no lifting, just a little gap at the cuticle from growth. This dip powder nail tutorial method took me a while to land on — mostly through a lot of seven-day disasters — but once it clicked, I haven’t gone back. The whole process takes me about an hour including dry time, and that hour buys me three weeks of hands I’m actually happy to look at. Worth every minute.