


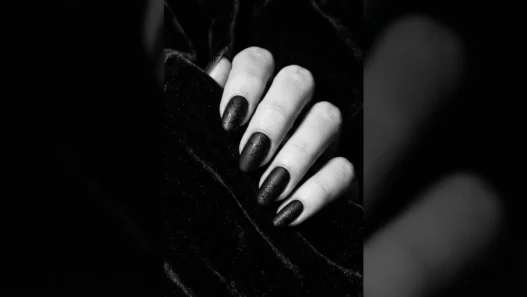


For years, I’d sit at my kitchen table with a perfect bottle of polish and dream of Instagram-worthy nails. Twenty minutes later, I’d have smudges on three fingers and a chip on my thumb from opening a can of sparkling water. I thought I was cursed with terrible nail genes until I realized the problem wasn’t my hands — it was my technique. After watching my nail tech work her magic one too many times, I finally cracked the code on what makes a manicure actually last.
What You’ll Need
Here’s what transformed my nail game from disaster to actually decent:
- Cuticle pusher (I use a metal one — the rubber ones never worked for me)
- Nail file (240/320 grit is my sweet spot)
- Base coat (this is where I was skimping before)
- Your favorite polish (obviously)
- Top coat that actually works
- Cuticle oil (I learned this matters more than I thought)
- Small brush for cleanup (old eyeliner brush works perfectly)
- Acetone or rubbing alcohol
I used to think half of this was optional. Spoiler alert: it’s not.
Starting With Real Prep
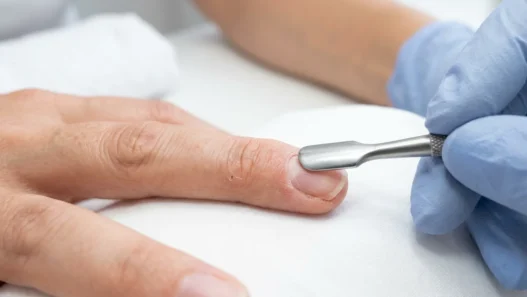
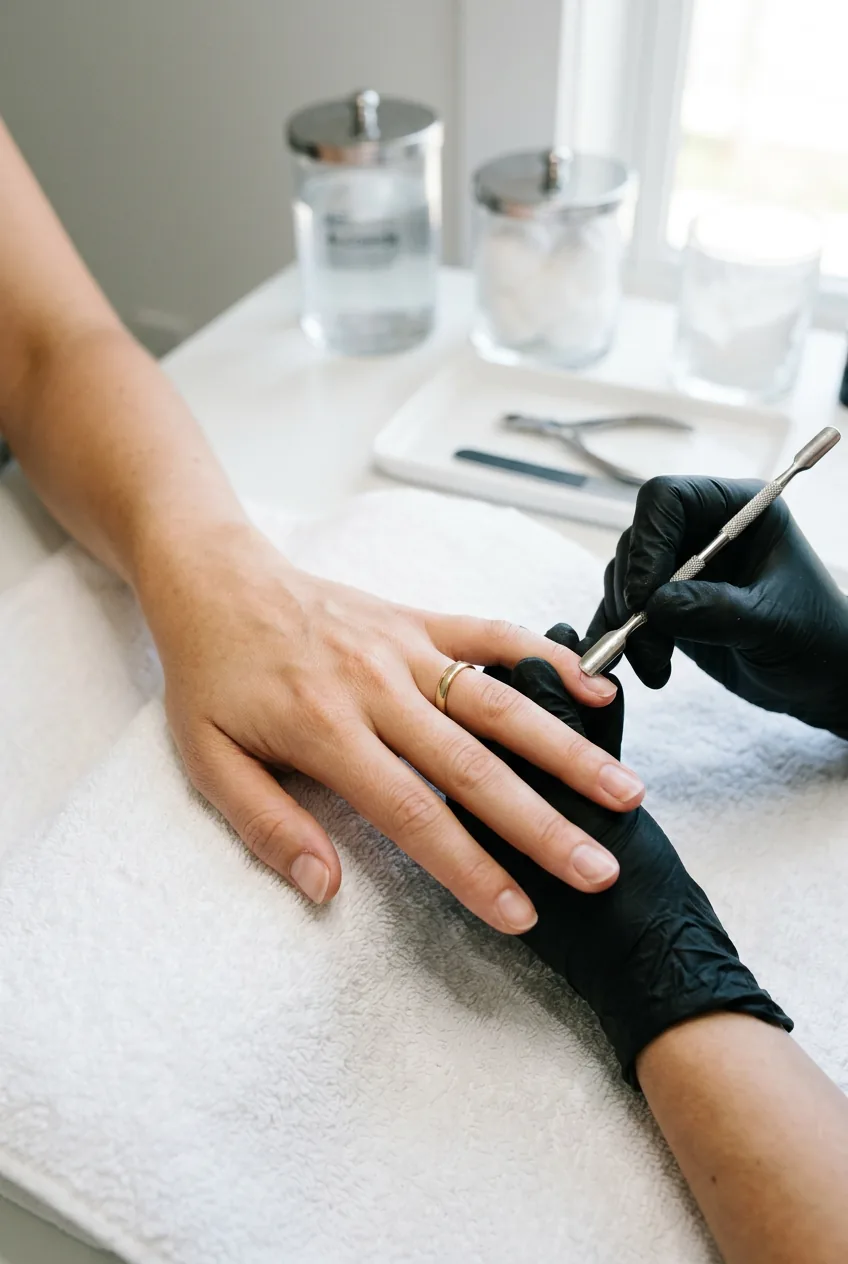
The biggest lie I told myself for years was that nail prep didn’t matter. I’d swipe some polish remover over clean nails and call it done. But here’s what I discovered watching my nail tech work: she spent more time prepping than painting.
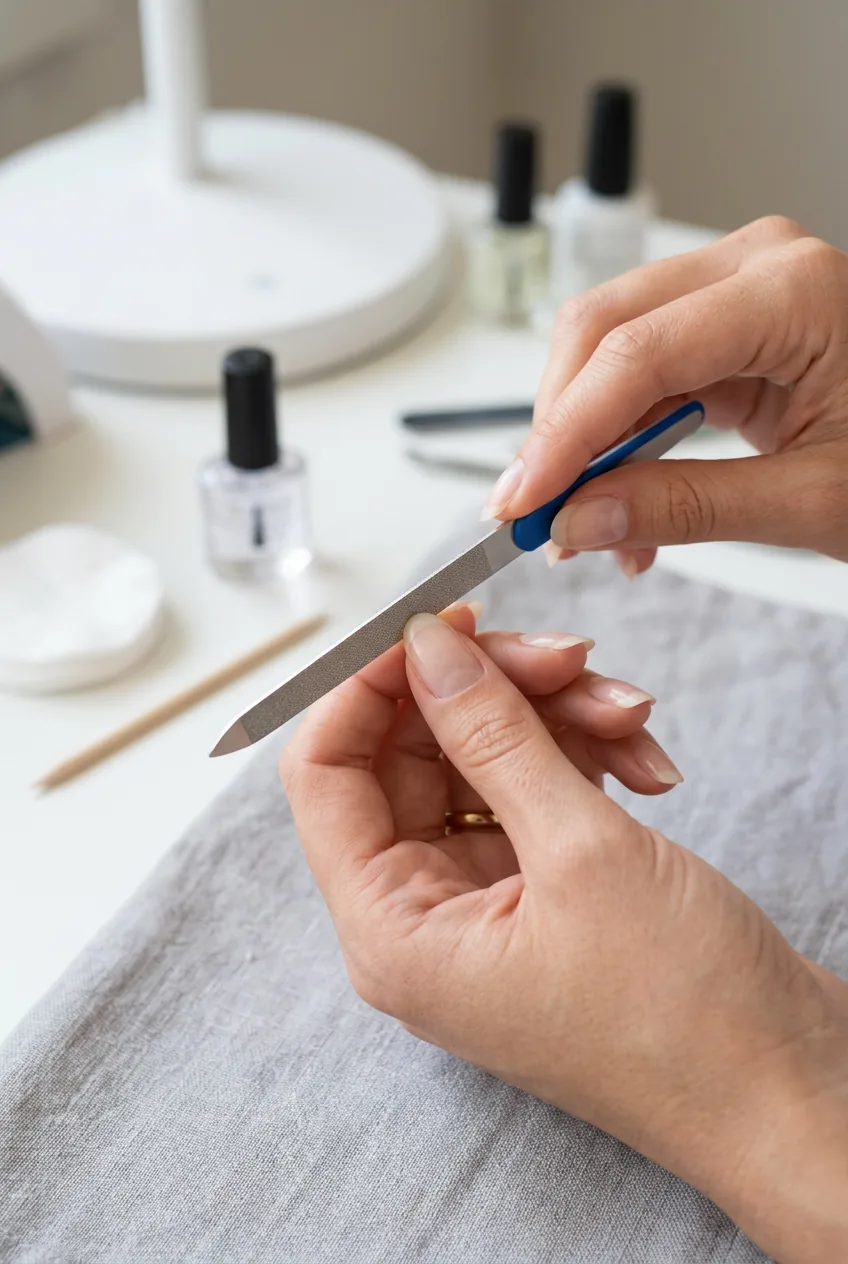
First, I push back my cuticles properly now. Not aggressively — just enough to create clean lines. The metal pusher glides along the nail bed, and I can see the actual nail shape emerging. Before this, my polish would puddle around overgrown cuticles and look messy within hours.
Then comes the filing. I used to hack away with whatever emery board was lying around, but switching to a proper 240/320 grit file changed everything. The nail edge feels smooth instead of raggedy, and I swear this alone prevents half the chips I used to get.
The final prep step nobody talks about? Wiping nails with rubbing alcohol. This removes every trace of oil, lotion, and invisible residue that makes polish slide off. I dampen a cotton pad and swipe each nail twice. The difference in polish adhesion is honestly dramatic.
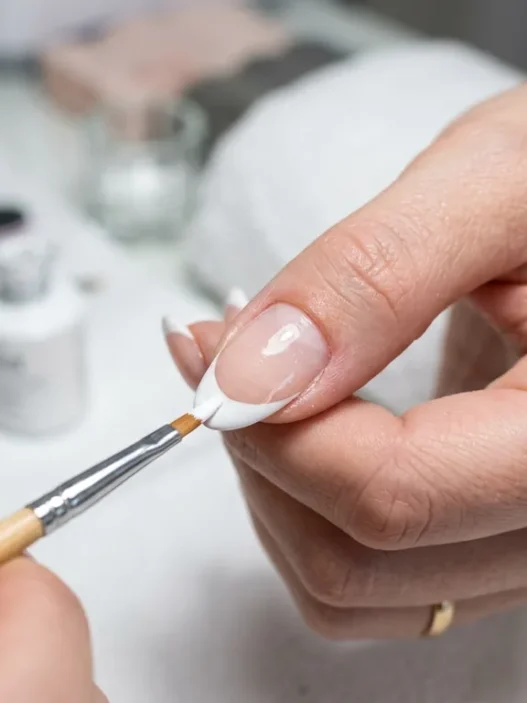
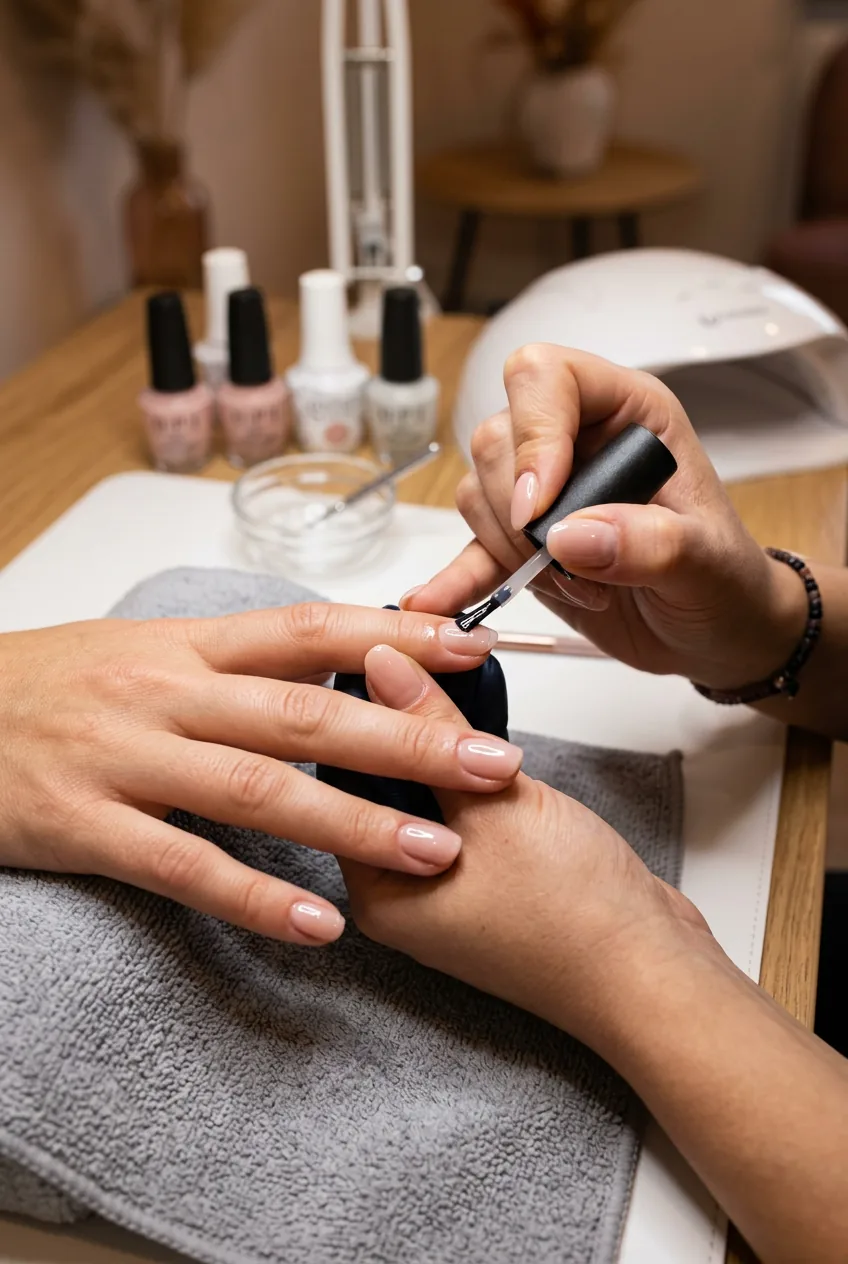
The Brush Trick Nobody Talks About
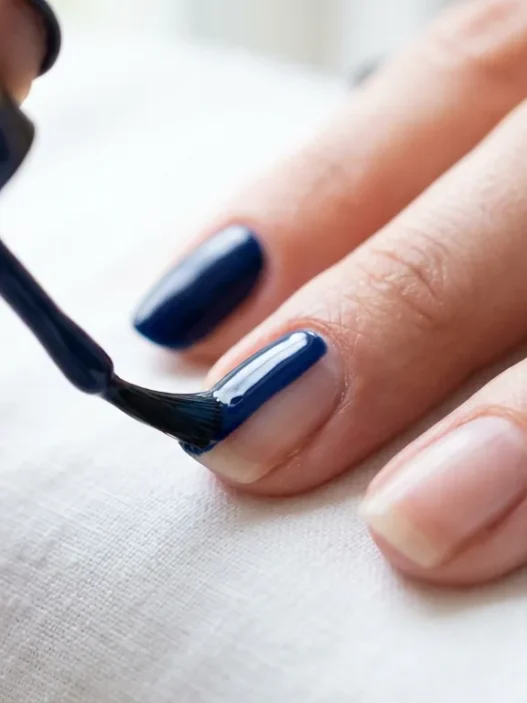
Here’s where I was going completely wrong: brush technique. I used to drag the brush across my nail like I was painting a fence, creating streaks and bubbles. But watching professionals work, I noticed they barely touch the nail surface.
The trick is letting the polish flow off the brush rather than pressing it down. I dip the brush, wipe one side on the bottle rim, then gently touch it to the center of my nail near the cuticle. The polish spreads on its own when I draw the brush toward the tip.
Three strokes per nail: center, left side, right side. That’s it. No going back over areas that look thin — that creates texture issues. If the coverage isn’t perfect, I fix it with the second coat, not by overworking the first one.
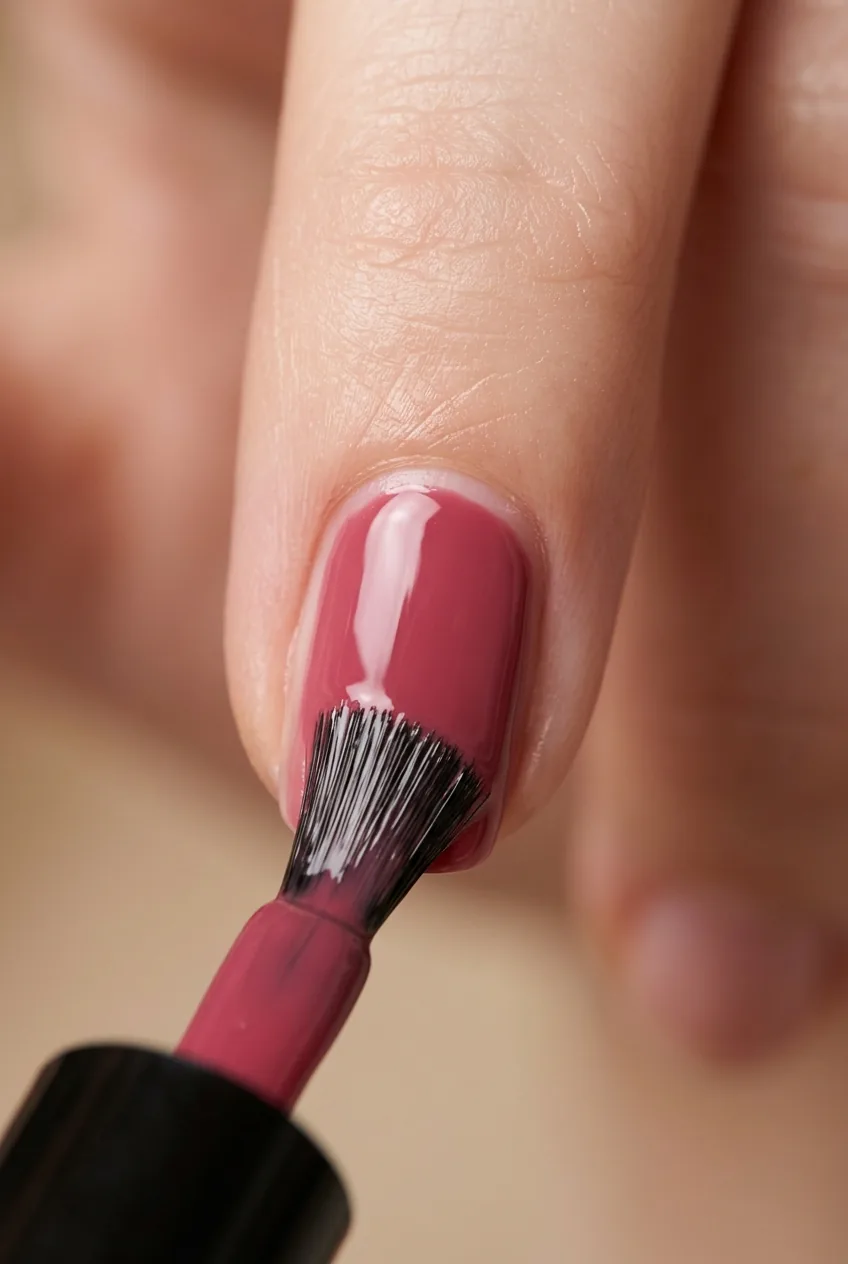
I used to think more brush pressure meant better coverage. Turns out, it just meant more problems. Light strokes were the game-changer I didn’t know I needed.
Watch This Technique in Action
Where Most Manicures Fall Apart
The base coat situation was my biggest blind spot. I’d either skip it entirely or use some ancient bottle that had turned into glue. But base coat isn’t just primer — it’s actually protection for your nails and the foundation that makes everything else stick.
A good base coat goes on smooth and dries to a slightly tacky finish. That tackiness is what grabs the color coat. When I started using proper base coats, my manicures went from lasting three days to nearly two weeks.
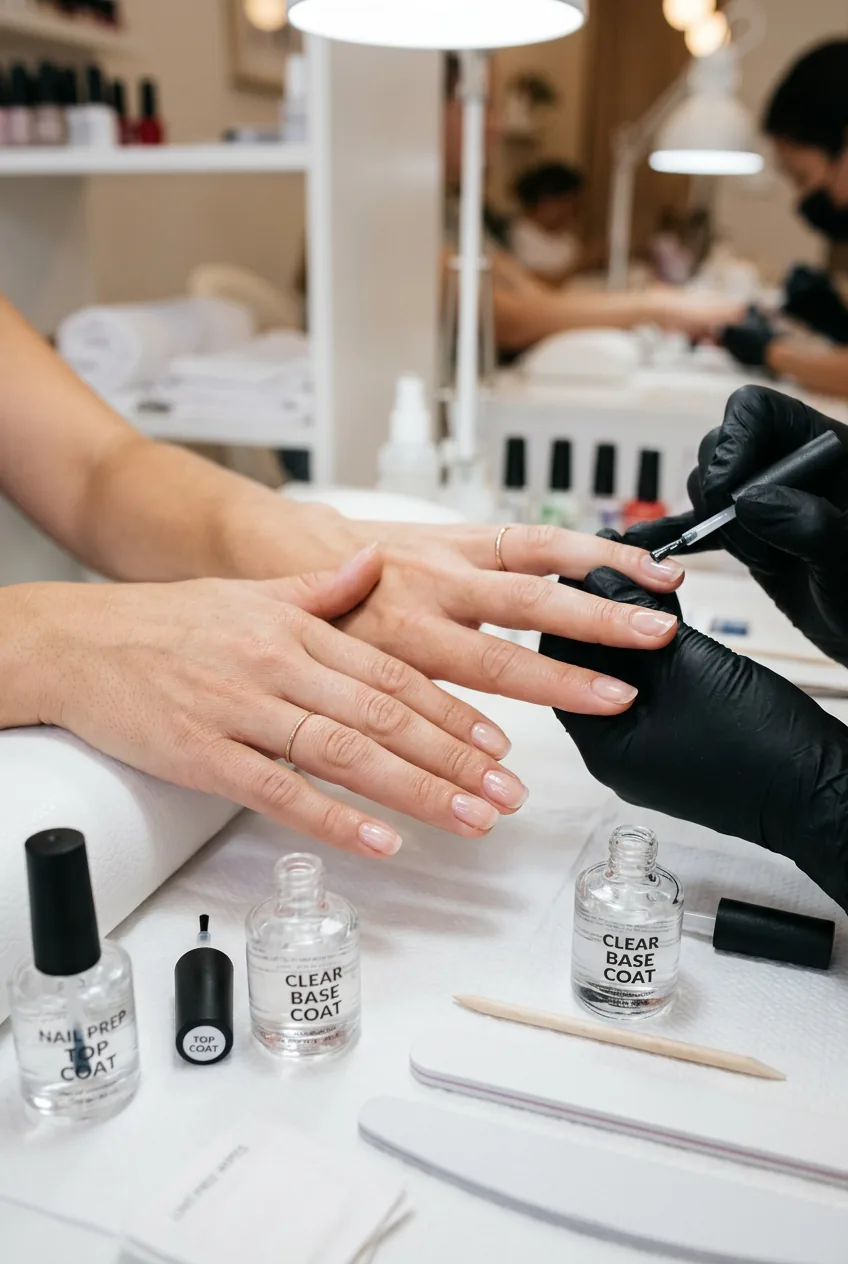
The waiting game between coats used to kill me. I’d apply the second coat while the first was still wet, creating a gummy mess that never properly dried. Now I wait until each layer feels completely dry to the touch — usually about 3-4 minutes depending on the polish formula.
And those tiny bubbles that would appear hours later? They come from rushing. Air gets trapped between wet layers and eventually works its way to the surface. Patience isn’t my strong suit, but it’s non-negotiable for smooth nails.
How I Finally Got the Finish Right
Top coat was another area where I was cutting corners. I’d use whatever clear polish was handy, not realizing that top coats are formulated differently than regular polish. They’re designed to bond with color coats and create a protective seal.
The application technique for top coat is slightly different too. I use a bit more product than I do for color, and I make sure to seal the nail tip by running the brush along the edge. This prevents water from getting underneath and causing the whole manicure to lift.
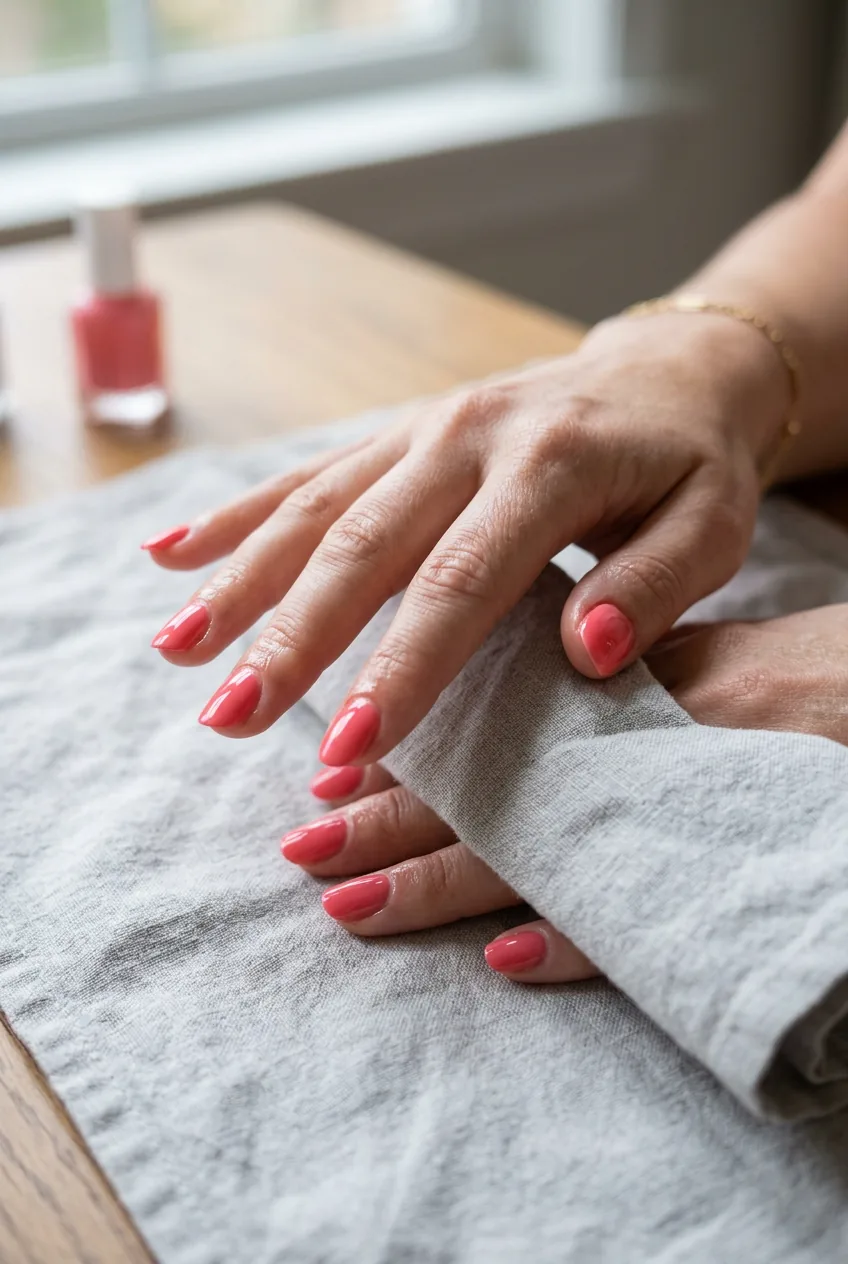
Clean up used to be an afterthought, but it’s actually what makes a home manicure look professional. I dip a small brush in acetone and trace around my cuticles to remove any polish that wandered off my nails. The lines look crisp, and suddenly my DIY job doesn’t scream “I did this at my kitchen table.”
For more detailed information about nail care routines, check out Thenaildrop.Com — they have comprehensive guides that helped me understand the science behind what makes polish actually stick.
What Actually Makes Polish Last
The longevity secrets I learned aren’t complicated, but they’re specific. Thin coats always beat thick ones. Two thin layers of color create a more flexible, durable finish than one thick glob that takes forever to dry.
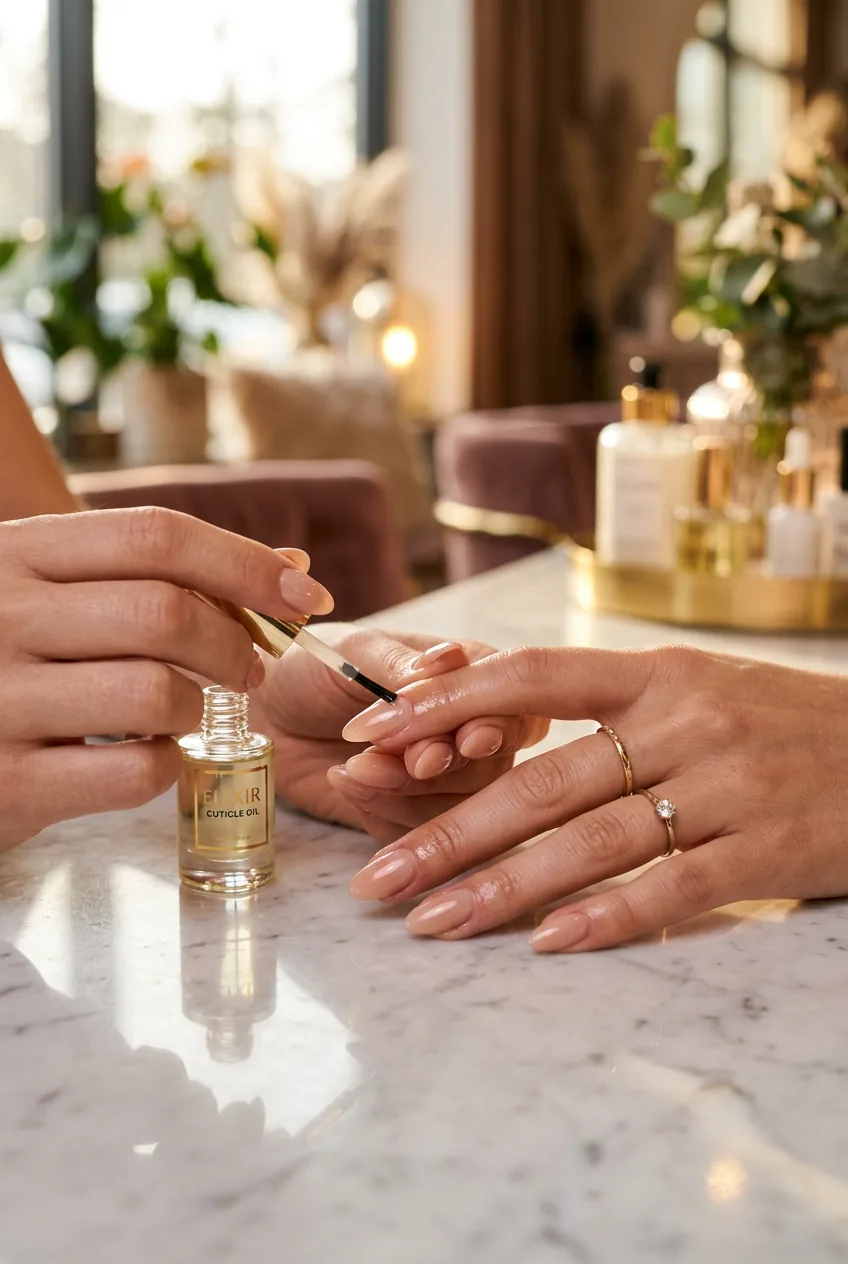
Cuticle oil became my secret weapon, but not how you’d think. I apply it after my manicure is completely dry — usually before bed the same day. It keeps the skin around my nails moisturized, which prevents the polish edges from catching and peeling.
I also learned about nail strengtheners that help prevent breaks and chips from the inside out. When my natural nails are healthier, the polish has a better foundation to stick to.
The biggest mindset shift was realizing that nail polish isn’t bulletproof. I wear gloves for cleaning now, and I’ve stopped using my nails as tools. These habits extend my manicure life more than any fancy top coat ever could.
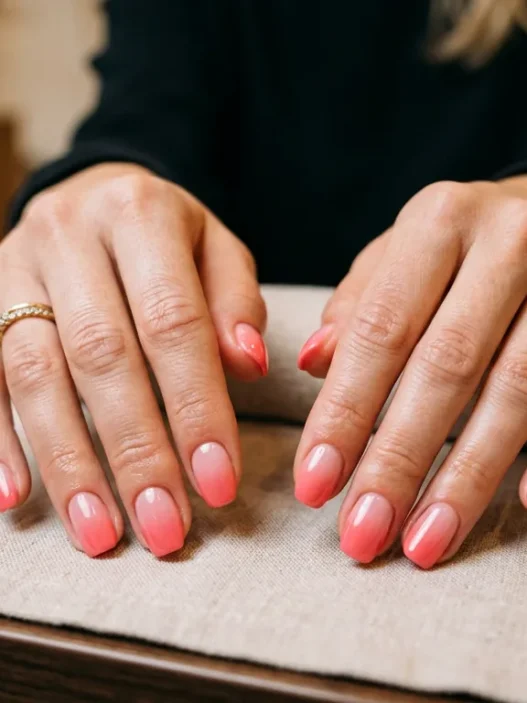
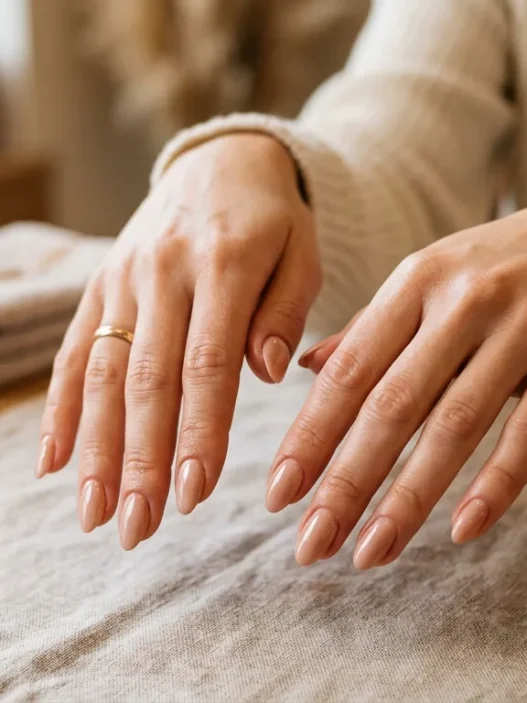
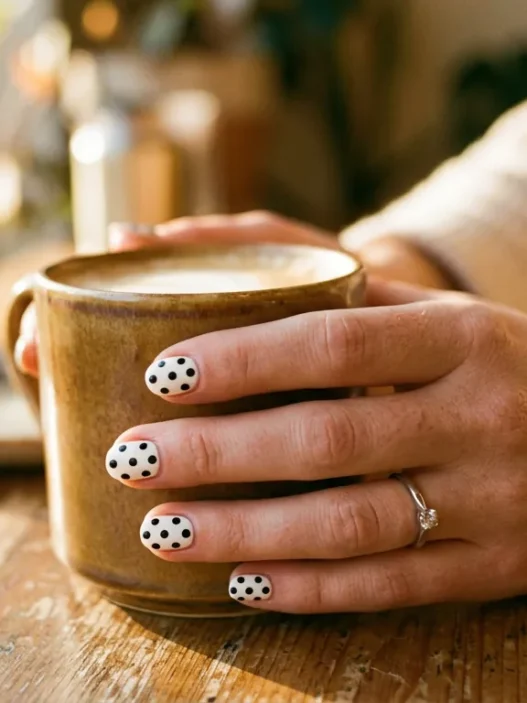
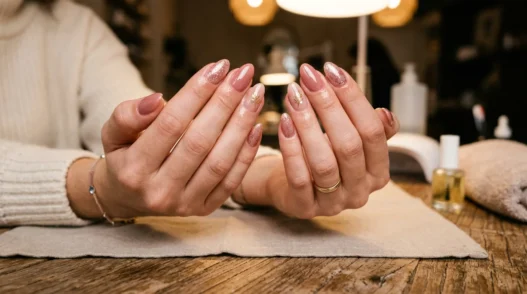
My nails aren’t perfect, and my technique still has room for improvement. But they’re glossy, they last, and I actually look forward to painting them now instead of dreading the inevitable smudges. Sometimes the best beauty tricks are just patience and proper technique wrapped up in a prettier package.
Questions I Get About This
How long should I wait between coats?
I wait until each layer feels completely dry to the touch, usually 3-4 minutes. Rushing this step is what used to ruin my manicures with bubbles and gummy texture.
Can I use regular clear polish as a top coat?
Not really — top coats are formulated to bond with color polish and provide protection. Regular clear polish doesn’t have the same staying power or durability.
Why do my nails still chip after following all these steps?
Usually it’s either skipping the base coat, applying coats too thick, or not sealing the nail tips with top coat. Also check that your products aren’t expired — old polish never cooperates.
How often should I do a full manicure?
I do mine every 10-14 days now that my technique improved. Before, I was repainting every 3-4 days because everything chipped so quickly.
For comprehensive guides on nail care and techniques, visit our About section to learn more about our nail expertise and philosophy.