


I spent way too many evenings hunched over my nails, trying to paint perfect flowers and ending up with what looked like abstract blobs. My free-hand nail art always looked shaky and uneven — until I realized I was skipping the foundational steps that actually matter. The tutorials I found online assumed I already knew how to hold a brush steady and control paint flow, which honestly, I didn’t.
What You’ll Need
Before we start painting, let’s talk tools. I used to think any small brush would work, but that’s where I went wrong:
- Thin liner brush (size 0 or 00 — this is non-negotiable)
- Dotting tools in two sizes (small and medium)
- Regular printer paper for practice
- Cotton swabs and acetone for cleanup
- Base coat and top coat
- Two contrasting nail polish colors
- Small cup of water for cleaning brushes
- Good lighting (seriously, this matters more than you think)
Step 1: The Brush That Changes Everything
The difference between a wobbly mess and clean lines comes down to your brush. I tried using the tiny brushes that come with nail art kits, and they’re honestly terrible. The bristles are too stiff, and they hold way too much polish.
Get a proper liner brush from an art supply store. Size 0 or 00 works perfectly for nail art. The bristles should be synthetic and flexible — when you load it with polish, it should come to a sharp point naturally. Test this by dipping the brush in polish and watching how it behaves. A good brush will hold just enough product and release it evenly.
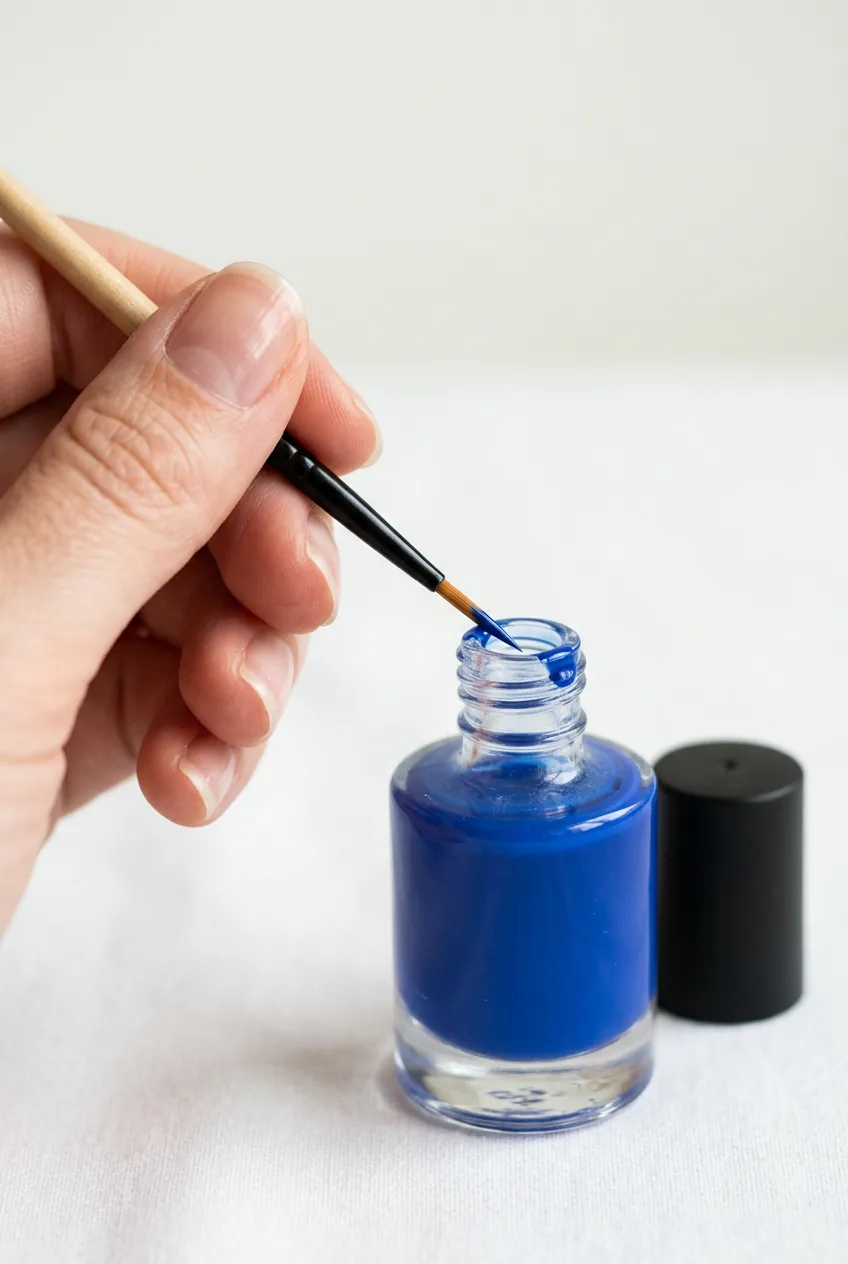
Here’s the technique that changed everything for me: load the brush by rolling it gently in the polish bottle neck. Don’t dip and drag — that creates globs. Roll the brush against the bottle edge to remove excess polish. You want the bristles coated but not dripping.
Step 2: How to Stabilise Your Painting Hand
This is where most people struggle, and honestly, I wish someone had taught me this from day one. Your painting hand needs an anchor point — you can’t just hover it in mid-air and expect precision.
Rest your painting hand’s wrist on a flat surface. I use my desk, but a steady table works too. Your non-painting hand should hold your finger steady — grip it gently but firmly near the base, not the tip. This creates two stable points of contact.
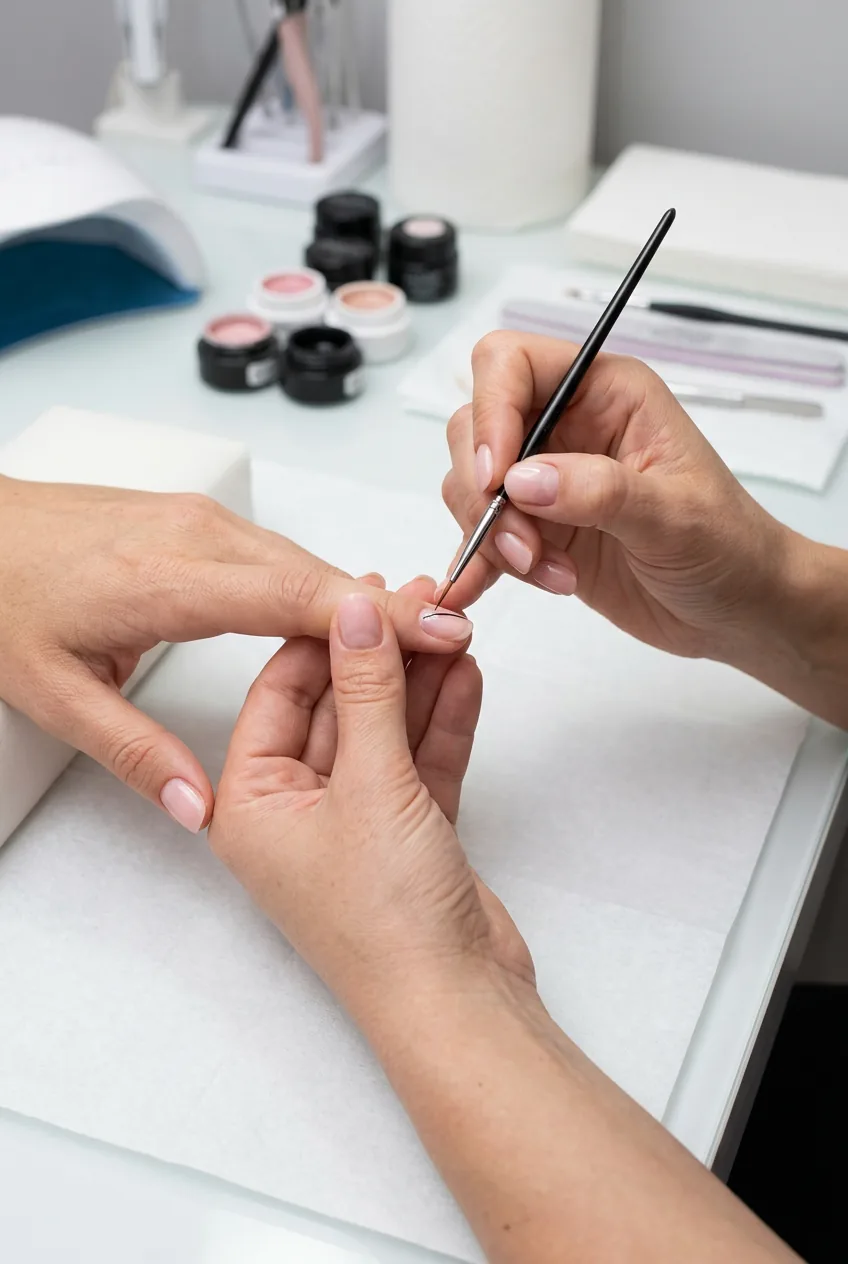
The mistake I made for months was trying to paint while both hands were floating free. My lines looked like I’d painted them during an earthquake. Once I started anchoring both hands, my control improved overnight.
Practice this positioning without any polish first. Hold an imaginary brush and trace shapes in the air while maintaining your anchor points. It feels weird at first, but muscle memory builds quickly.
Step 3: Practising on Paper First
I know, I know — you want to jump straight to your nails. But practicing on paper first isn’t just helpful, it’s essential. Paper gives you immediate feedback without the pressure of messing up your manicure.
Draw nail shapes on regular printer paper — about the size of your actual nails. Practice your designs inside these outlines. Start with basic shapes: straight lines, curved lines, dots, and simple leaves. The goal isn’t to create masterpieces; it’s to train your hand to move steadily and predictably.
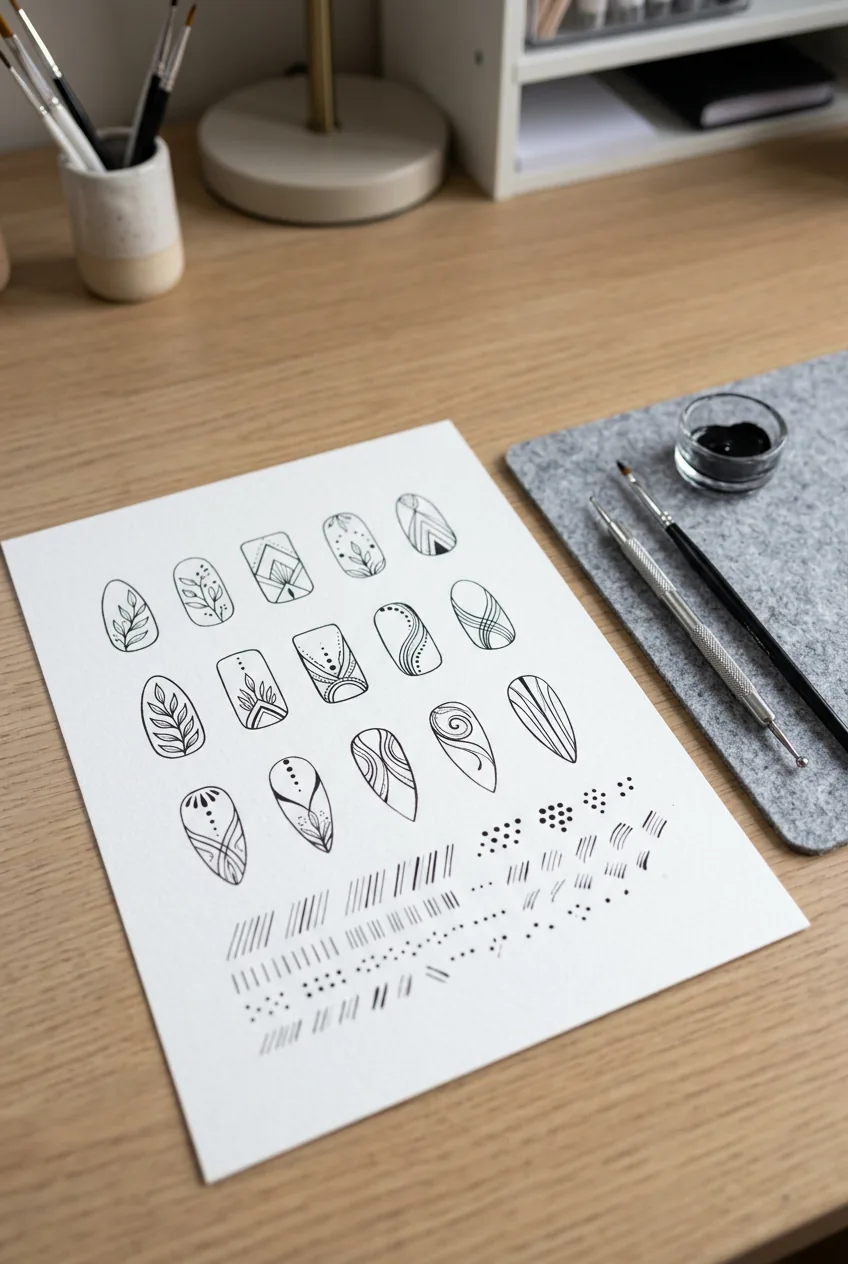
Spend at least 15 minutes on paper before moving to your nails. I still do this when I’m learning a new design. Professional brush control techniques can take time to develop, so don’t rush this step.
Watch This Brush Control Demo
Step 4: The Simplest Three Designs to Start With
After months of trial and error, I’ve narrowed down the three designs that every beginner should master first. These build on each other and teach you fundamental skills you’ll use in more complex designs later.
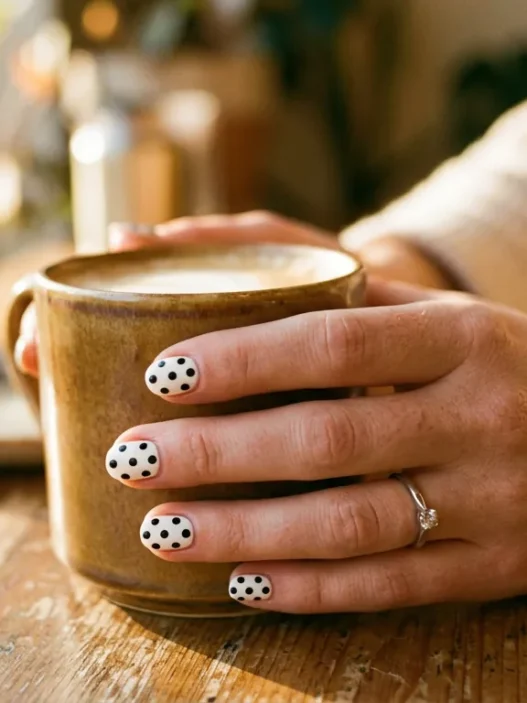
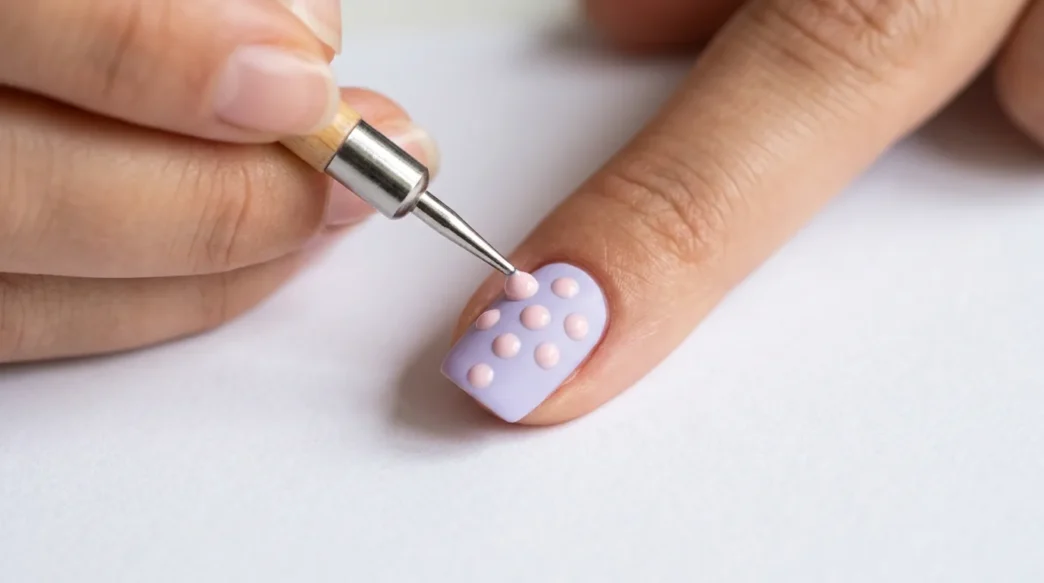
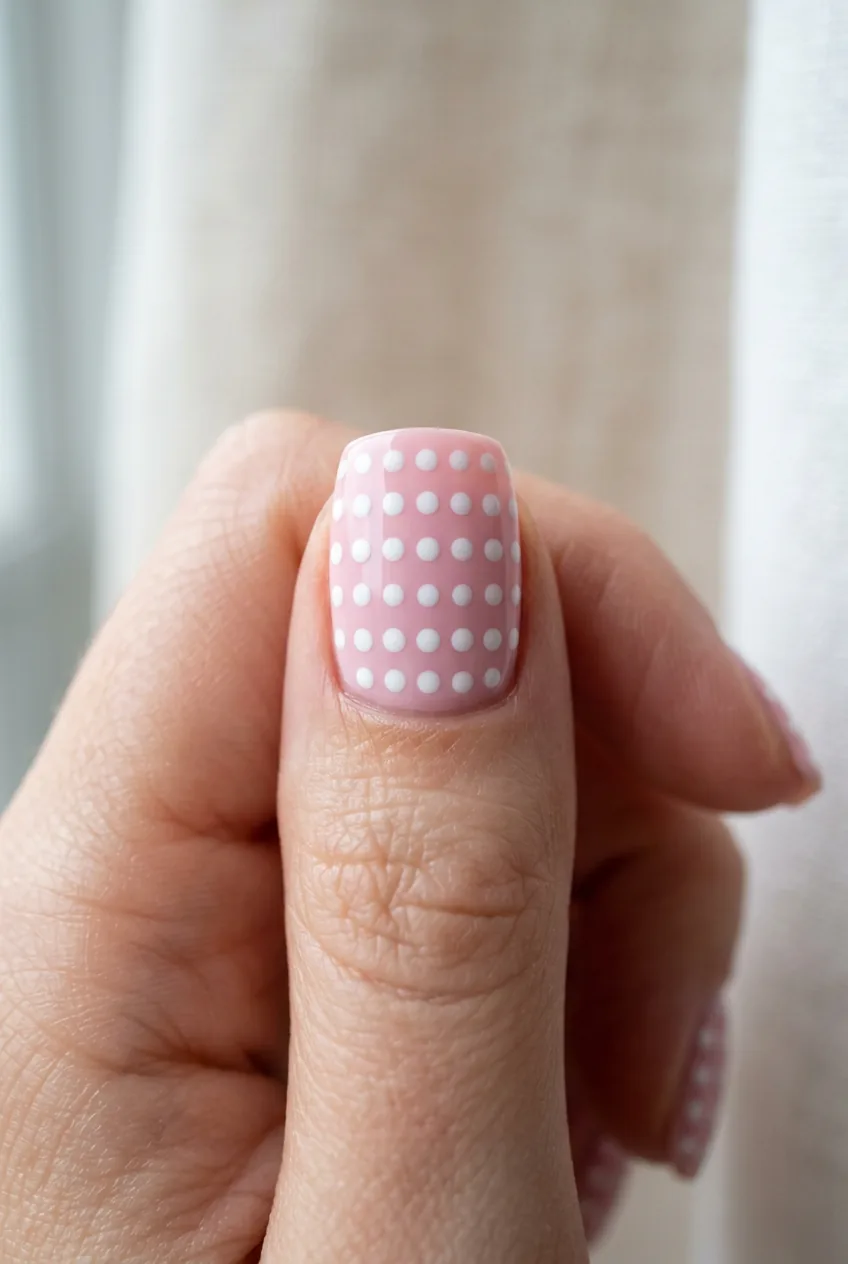
Design 1: The Perfect Dot
Use your dotting tool to create evenly-spaced dots across your nail. This teaches pressure control and spacing. Start with three dots in a line, then expand to patterns.
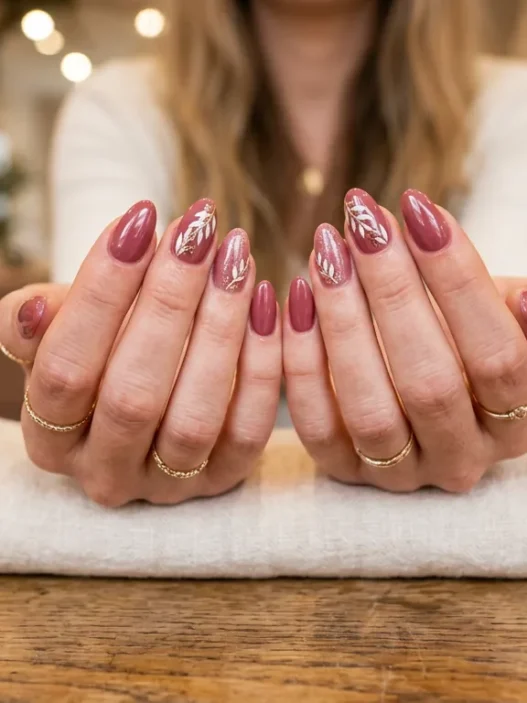
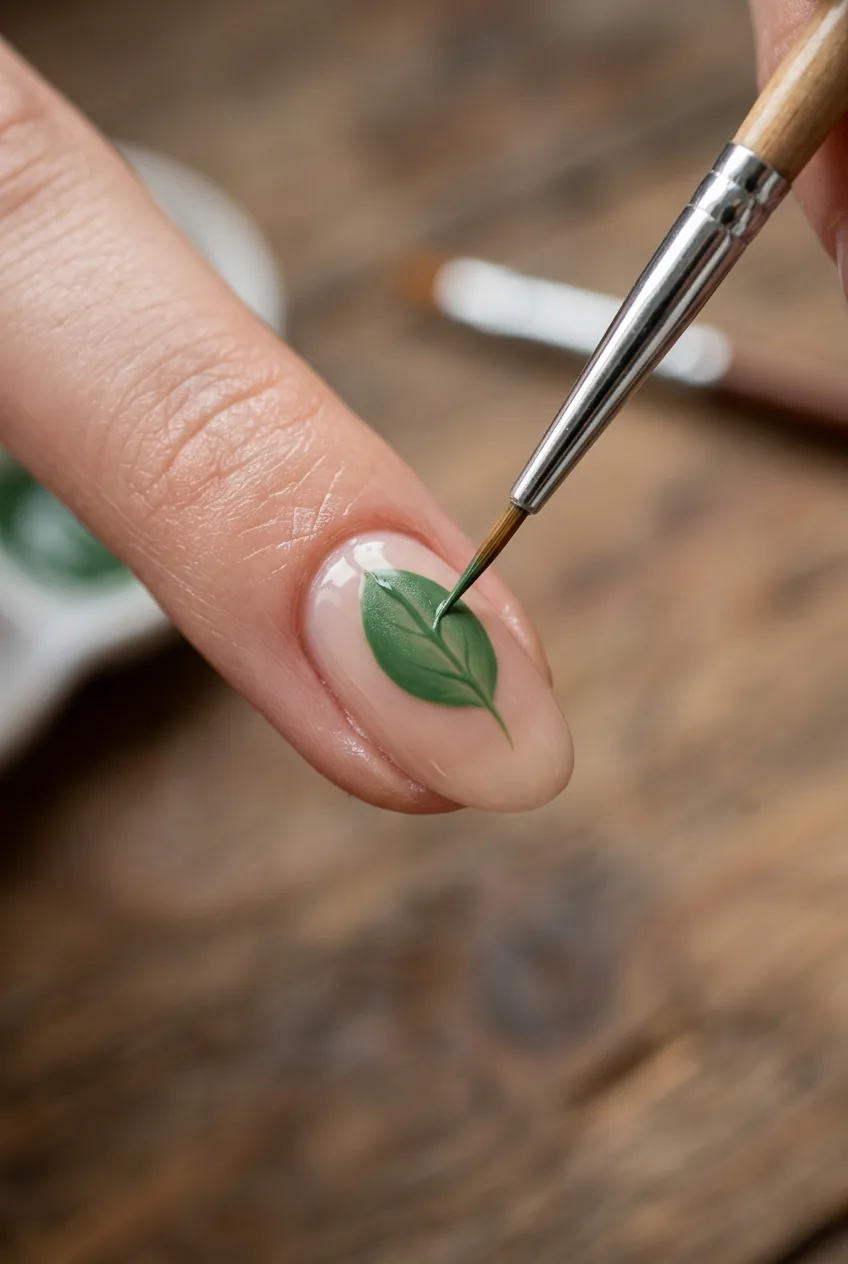
Design 2: Simple Leaves
Using your liner brush, paint small oval shapes and add a center line through each one. This teaches brush control and introduces the concept of layering strokes.
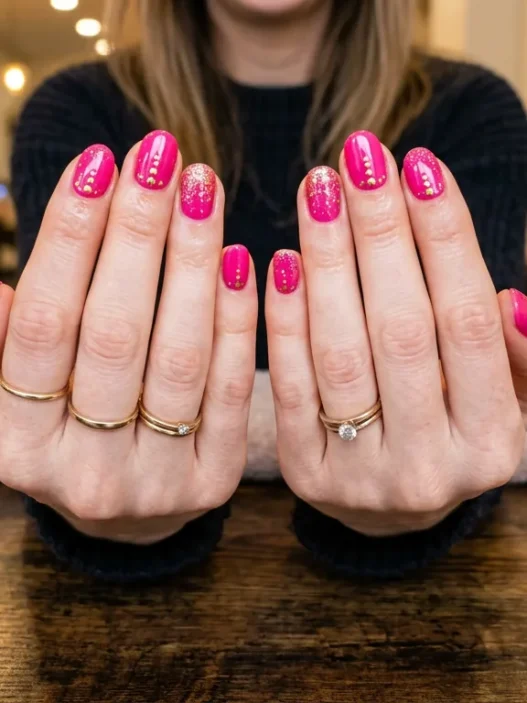
Design 3: Gradient Lines
Paint thin lines of varying thickness using different pressure on your brush. This teaches you how brush pressure affects line weight — a skill you’ll use constantly.
Master these three before moving to anything more complex. I spent two weeks just perfecting dots because they appear in so many other designs. It’s boring, but it works.
Step 5: Building Your Confidence on Real Nails
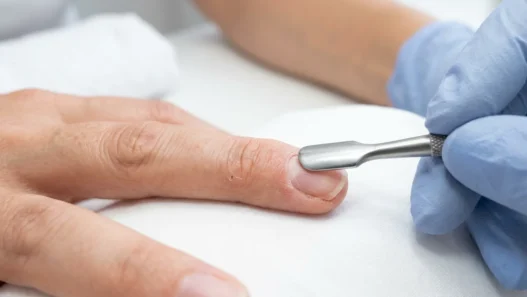
Now comes the moment of truth — painting on your actual nails. Start with your non-dominant hand because it’s easier to paint. Apply your base coat and let it dry completely. Wet polish and free-hand art don’t mix well.
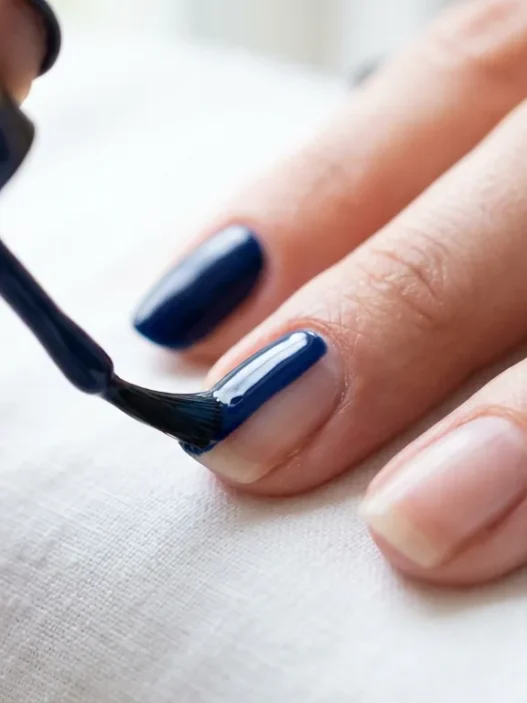
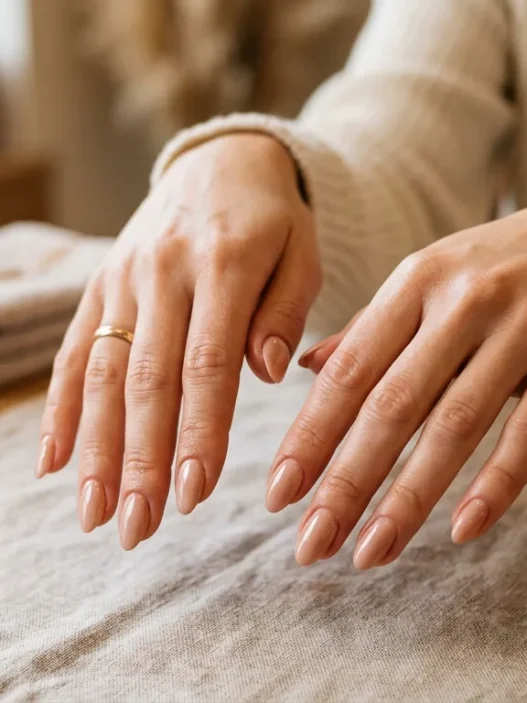
Begin with just one accent nail. I always choose my ring finger because if I mess up, it’s less noticeable than the thumb or index finger. Paint your design slowly — there’s no rush. If you make a mistake, clean it up immediately with a small brush dipped in acetone.
Here’s something that took me ages to learn: work in thin layers. It’s tempting to try to get full opacity in one stroke, but multiple thin layers look so much cleaner. Let each layer dry before adding the next one.
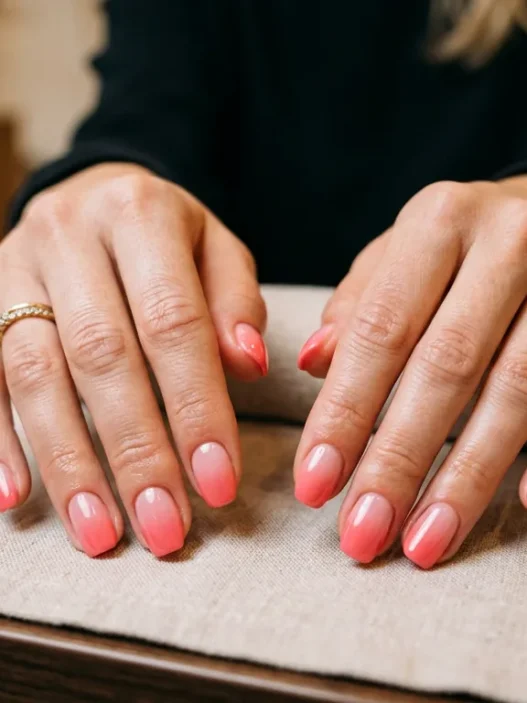
Don’t forget to check out some stunning nail inspiration for your next design once you’ve mastered these basics. And remember — proper nail care creates the perfect canvas for your art.
Quick Answers to Get You Started
How long should I practice on paper before trying real nails?
I recommend at least a week of daily 15-minute practice sessions. Your hand needs time to develop muscle memory, and rushing to your nails too early just leads to frustration.
Can I use regular acrylic paint instead of nail polish for practice?
Yes, and I actually prefer it for paper practice. Acrylic paint flows more smoothly and dries faster, so you can practice more designs in less time.
What’s the biggest mistake beginners make with free-hand nail art?
Trying to paint complex designs before mastering basic brush control. I see people attempting roses and butterflies when they haven’t even perfected a straight line yet.
How do I fix mistakes without ruining my whole nail?
Keep a small flat brush and acetone handy. Dip the brush in acetone and gently erase just the mistake area. Work quickly before the acetone affects your base color.
After three months of following this method, my free-hand nail art actually looks intentional instead of accidental. I’m not saying I’m creating museum-worthy masterpieces, but my lines are steady, my dots are round, and most importantly — I actually enjoy the process now instead of dreading it.