


Every September I get the same nail crisis. I want those gorgeous fall manicures flooding my Instagram feed, but honestly? Half of them look impossible. I’ve learned the hard way that attempting advanced nail art without the right skills just leads to frustration and wasted polish. So I did what any practical person would do — I sorted my favorite fall designs by difficulty level.
Fall Nail Designs by Skill Level
Beginner-Friendly (Try First)
These designs look expensive but require zero artistic skill. Perfect for when you want autumn nails but your hands shake when you hold a nail brush.
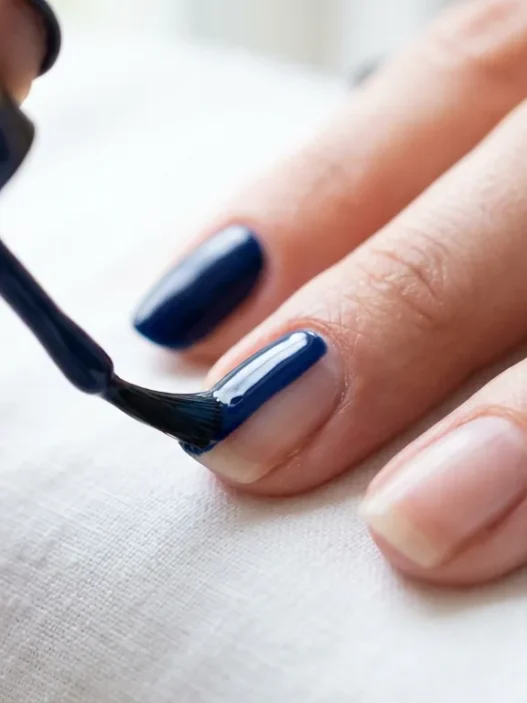
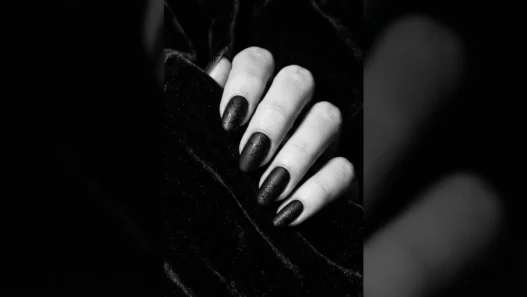
1. Deep Burgundy Solid
The most foolproof fall nail ever. I reach for this when I need something gorgeous but can’t mess up. Rich burgundy works on every skin tone and hides minor application mistakes beautifully.
What makes it easy: Just two coats of color. No precision required. Even if your cuticle cleanup isn’t perfect, the deep color camouflages everything.
Tools needed: Base coat, burgundy polish, top coat. That’s it.
Expected outcome: You’ll nail this on the first try. The only way to mess up is flooding your cuticles, and even that’s fixable with cleanup.
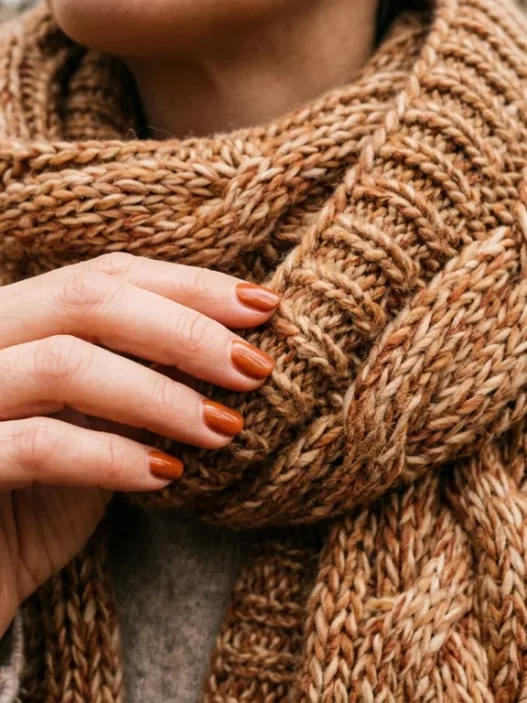
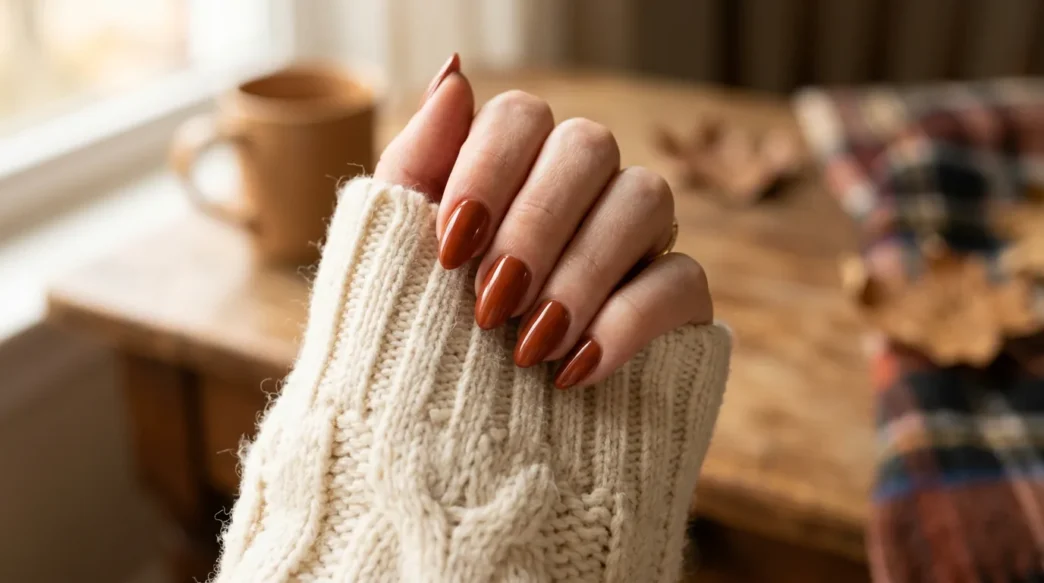
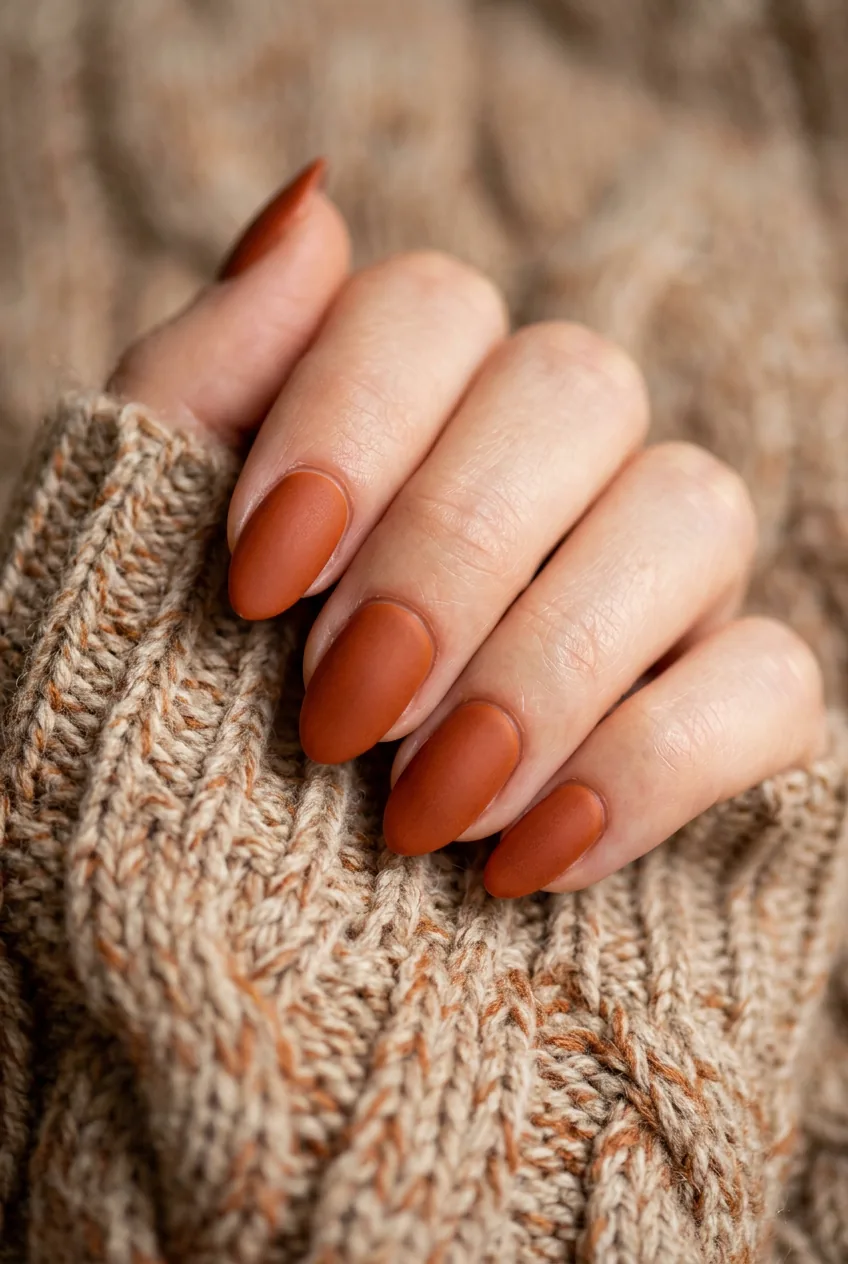
2. Matte Burnt Orange
Take your basic orange polish and finish with matte top coat. Suddenly you look like you planned something sophisticated instead of just painting your nails orange.
What makes it easy: The matte finish hides brush strokes and minor imperfections. Plus burnt orange is forgiving — slight unevenness looks intentional and textured.
Tools needed: Base coat, burnt orange polish, matte top coat.
Expected outcome: Instagram-worthy nails in 15 minutes. You might actually get compliments asking where you got them done.
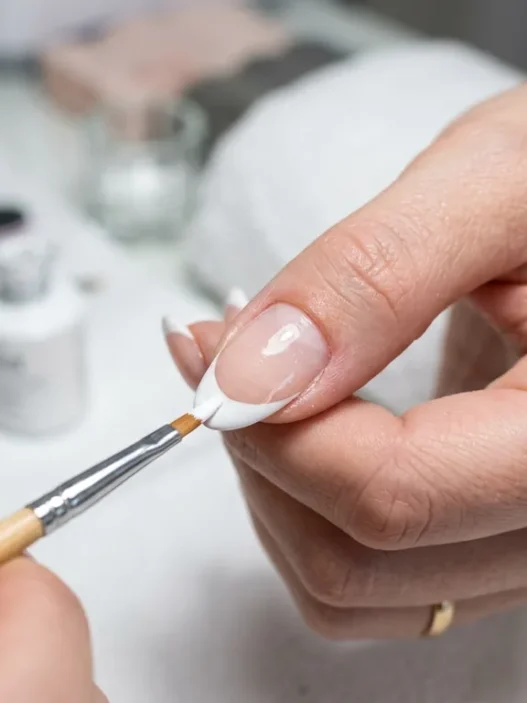
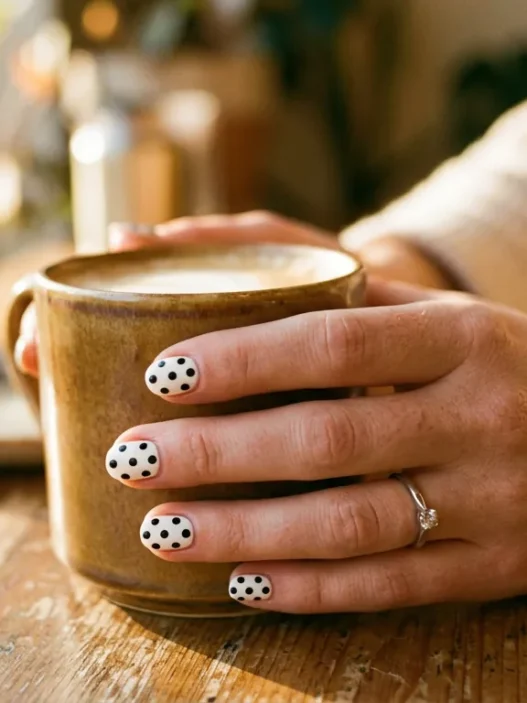
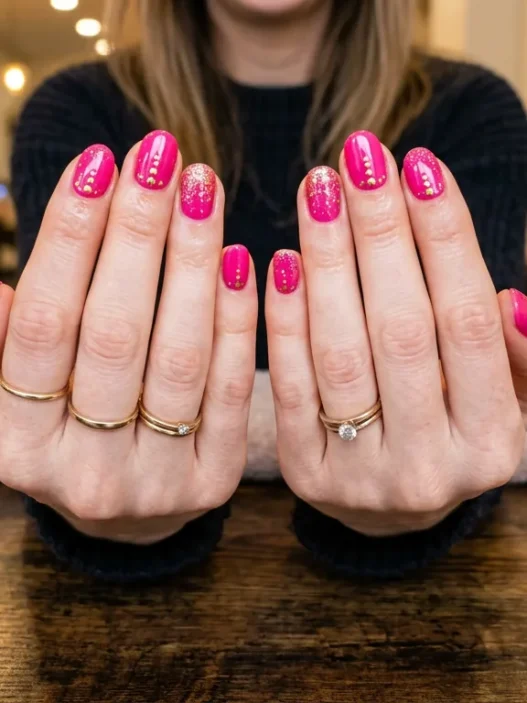
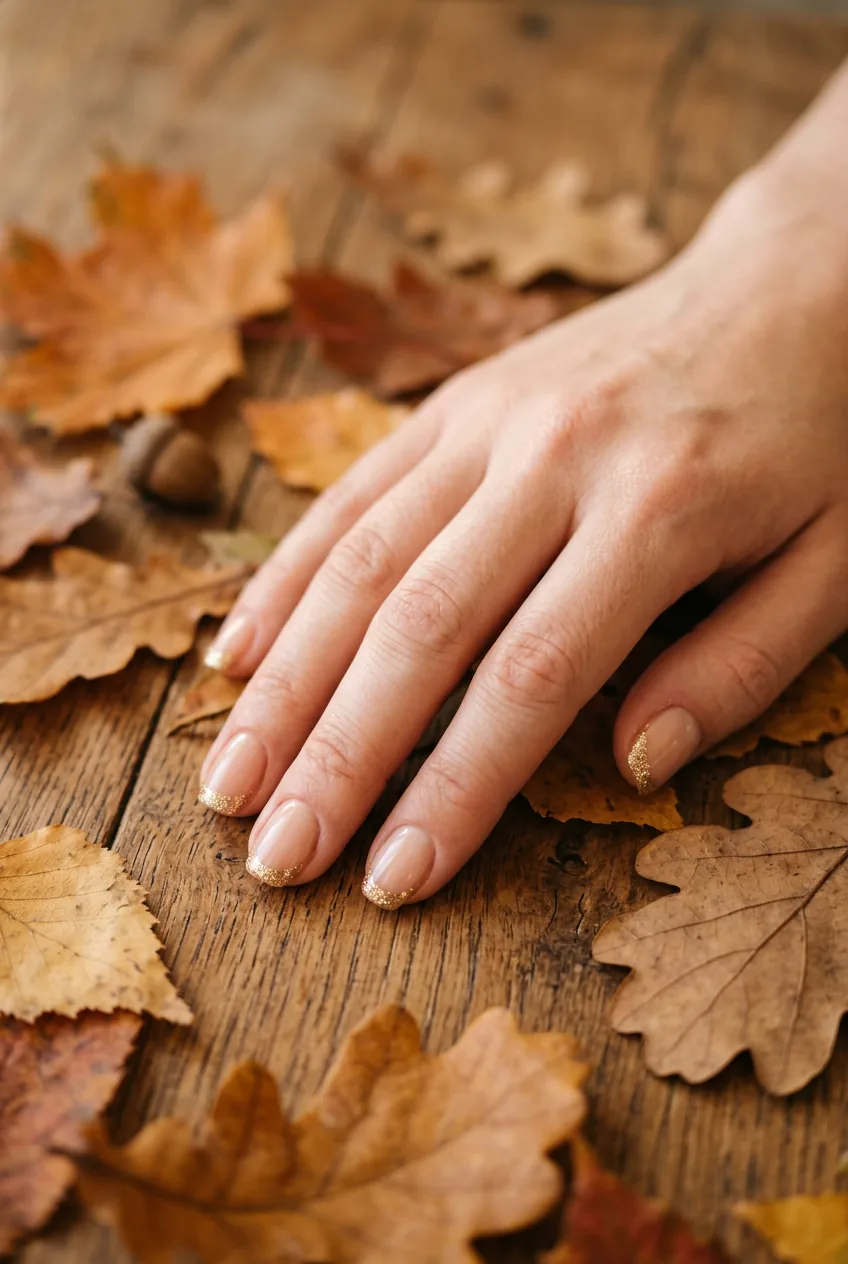
3. Nude Base with Gold Glitter Tips
French tips but make it fall. I love this because it’s classic enough for work but sparkly enough for dinner out. The nude base means your application doesn’t have to be perfect.
What makes it easy: Gold glitter is incredibly forgiving. It covers up wobbly lines and doesn’t require precise placement. Just dab it on the tips and call it a day.
Tools needed: Nude base, gold glitter polish, small brush for tips (or just use the bottle brush).
Expected outcome: Pretty French-inspired nails that look way more complicated than they were. The glitter does all the work for you.
Intermediate (You’ll Want a Steady Hand)
Ready to level up? These designs require some patience and a steadier hand, but they’re totally doable if you take your time.
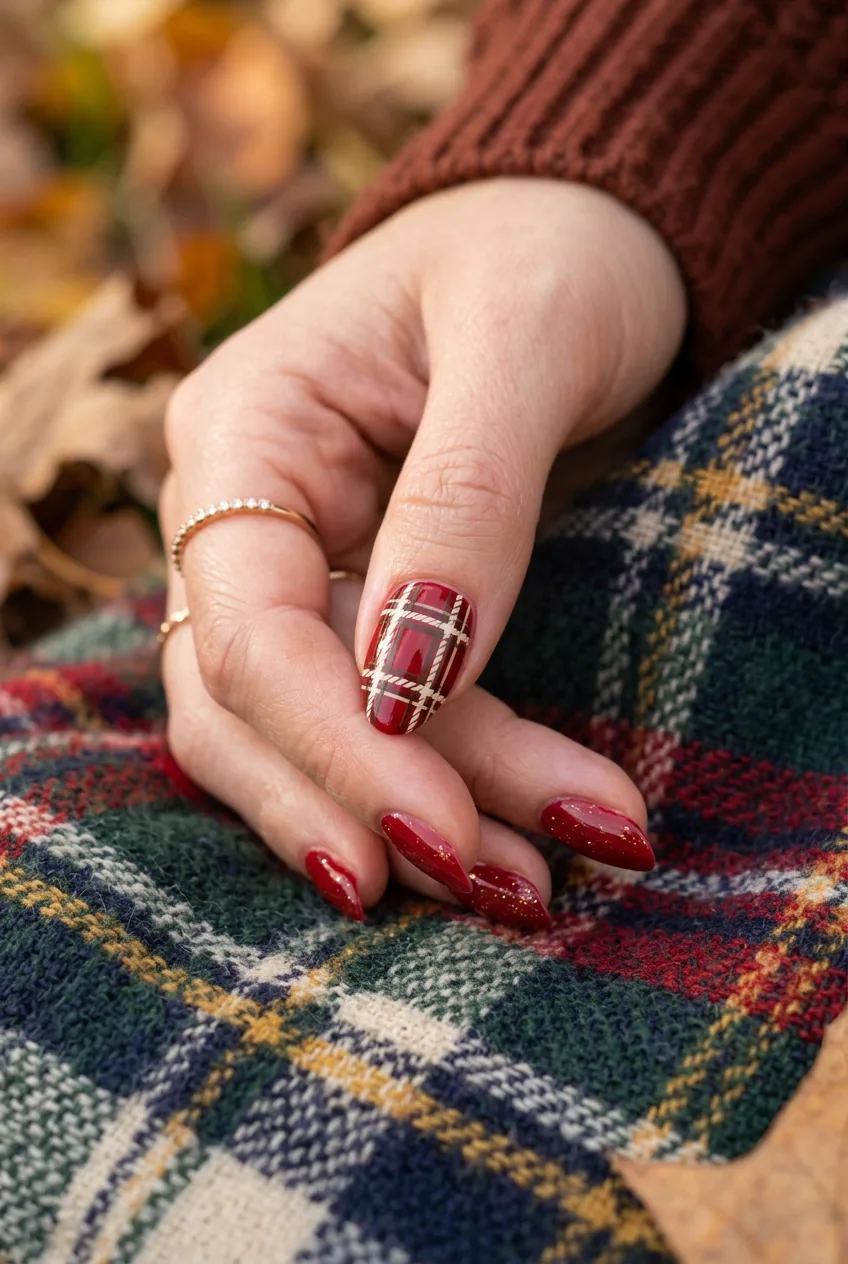
4. Plaid Accent Nail
Four solid nails in deep red, one plaid accent on the ring finger. This was my gateway drug to nail art. The trick is using nail striping tape to get clean lines.
What makes it intermediate: You need steady hands for the tape placement and patience to let each layer dry completely. But the tape does most of the precision work for you.
Tools needed: Red base, cream and brown polishes for plaid lines, nail striping tape, tweezers for tape removal.
Expected outcome: Your first attempt might have slightly messy intersections, but it’ll still look intentional. By the third try, you’ll have it down.
5. Simple Pumpkin Art
Not realistic pumpkins — just orange ovals with a tiny green stem. I do these on just two accent nails because honestly, ten tiny pumpkins would drive me insane.
What makes it intermediate: Drawing consistent oval shapes takes practice. The green stems require a steady hand and a detail brush.
Tools needed: Orange polish, green polish, small detail brush, base and top coats.
Expected outcome: Your pumpkins might look more like blobs the first time, but that’s actually kind of cute. Real pumpkins aren’t perfect either.

My personal pick from this whole list? The matte burnt orange. I’ve done it at least fifteen times this year and it never gets old. There’s something about that velvety finish that makes basic orange polish look expensive and intentional.
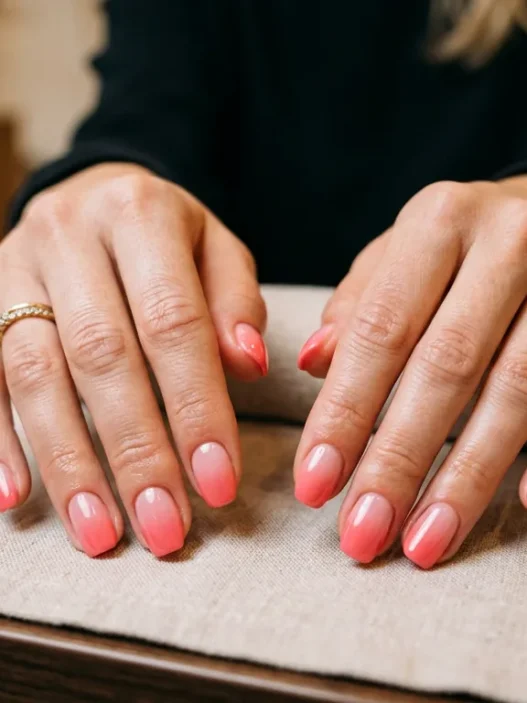
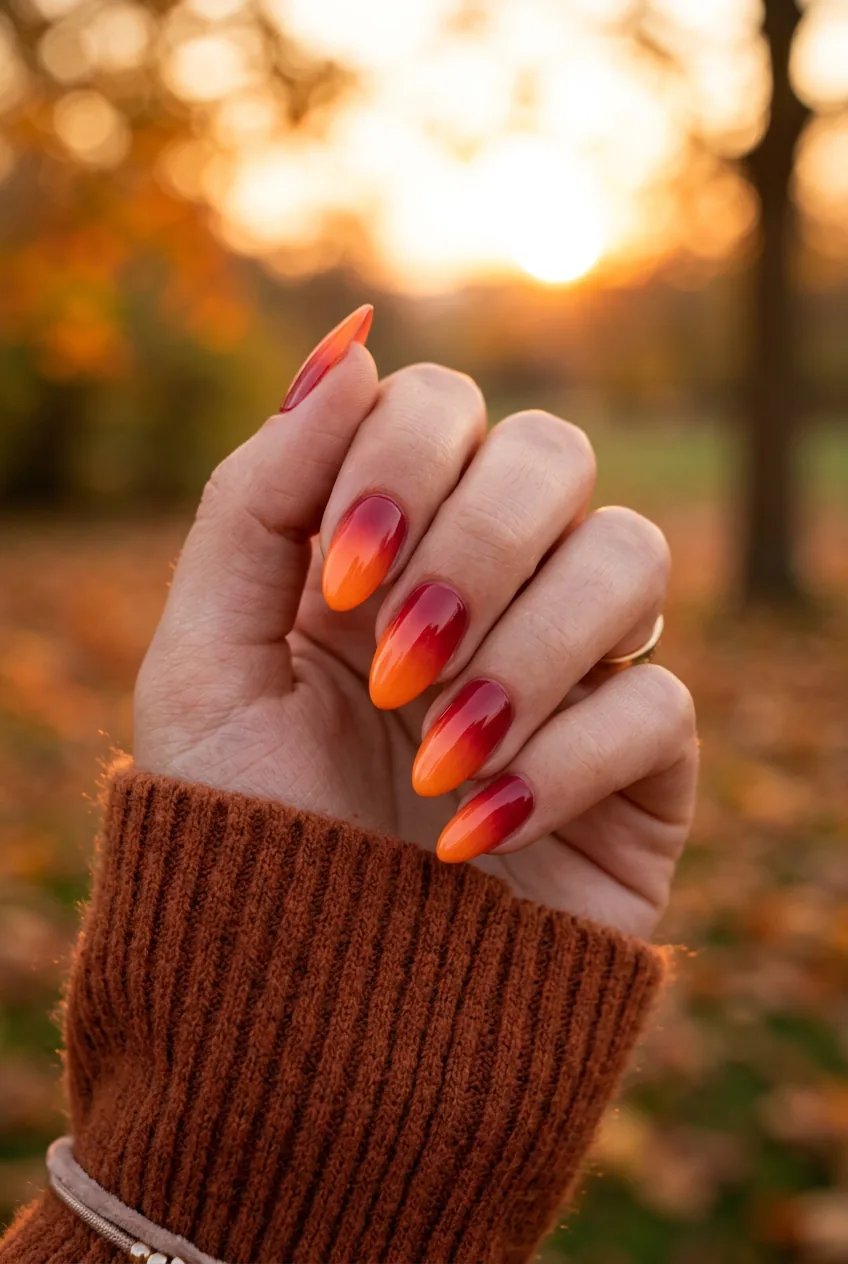
6. Gradient Sunset
Orange at the base fading to deep red at the tips. Sounds complicated but it’s just sponging technique. I usually do this on a weekend when I have time to play around.
What makes it intermediate: The sponging technique takes practice to get smooth. You need to work quickly before the polish dries, and blending three colors evenly requires patience.
Tools needed: Orange, red-orange, and deep red polishes, makeup sponge, base and top coat.
Expected outcome: Your first gradient will probably be a bit choppy, but the sunset effect will still be gorgeous. Color combinations can help you pick the perfect shades.
Watch This Plaid Technique
Advanced (Maybe Save for a Pro)
These are the designs that make my nail tech friends laugh when I say I want to try them at home. Beautiful? Absolutely. Realistic for most of us? Probably not.
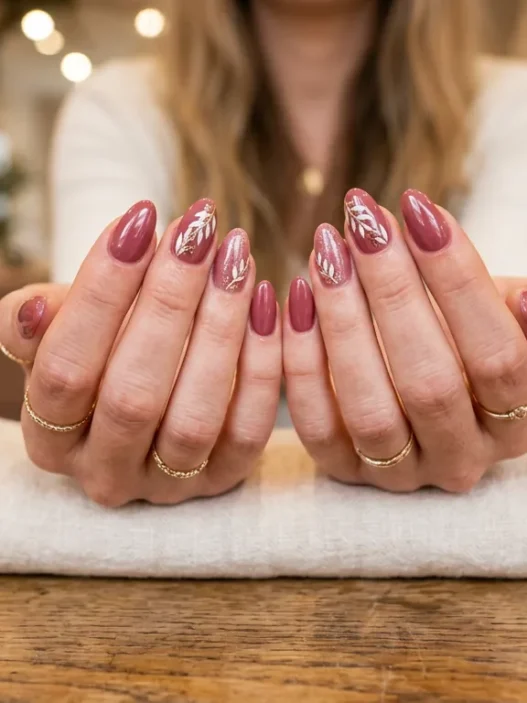
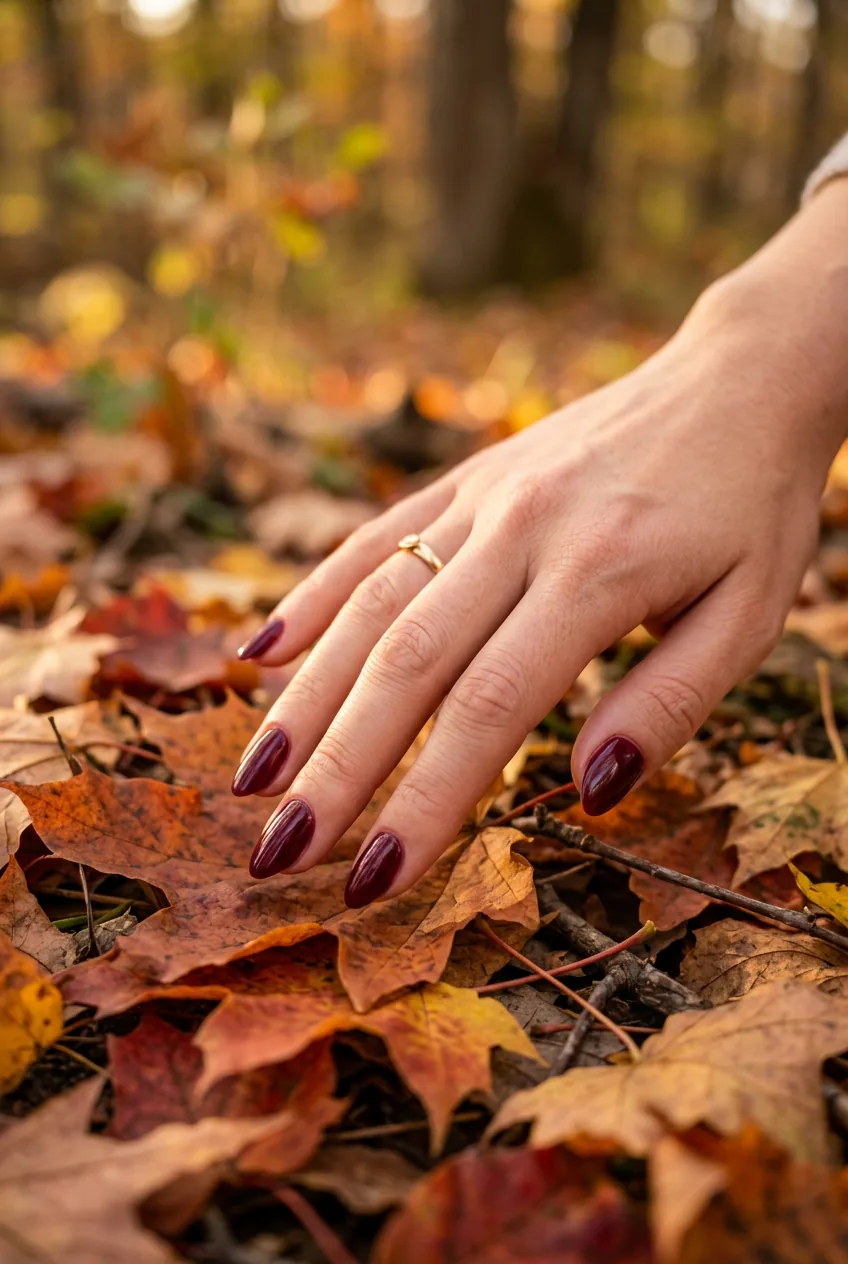
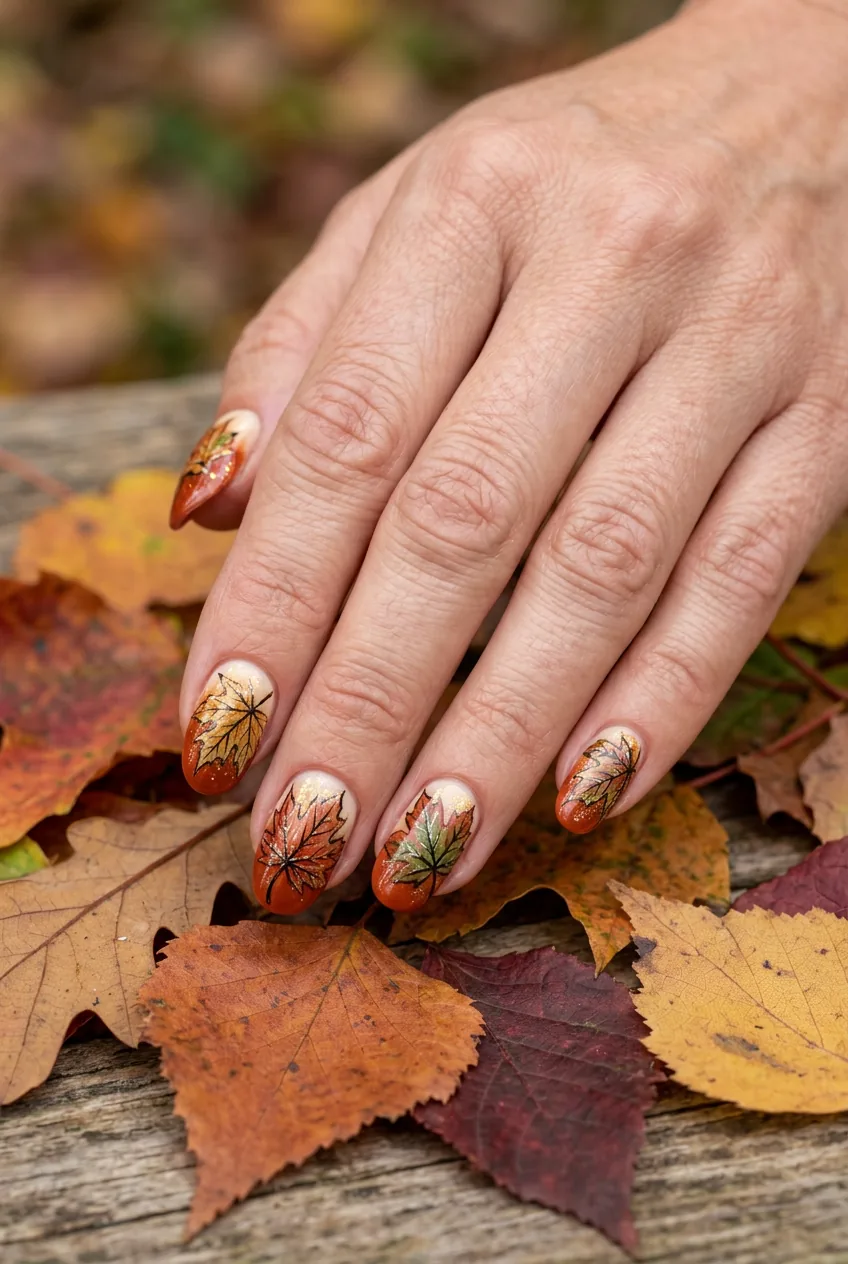
7. Detailed Leaf Art
Hand-painted maple leaves with individual vein details and color variations. I attempted this once and ended up with what looked like brown smudges. Turns out there’s a reason nail artists charge extra for this.
What makes it advanced: Requires multiple brush sizes, color-mixing skills, and the ability to paint fine details on a curved surface. Each leaf needs shading and highlighting for realism.
Tools needed: Multiple brown/orange/red shades, detail brushes in various sizes, steady hands, about two hours, and serious patience.
Expected outcome: Unless you’re already skilled at miniature painting, expect abstract leaf-like shapes rather than Instagram-worthy art. But hey, abstract can be beautiful too.
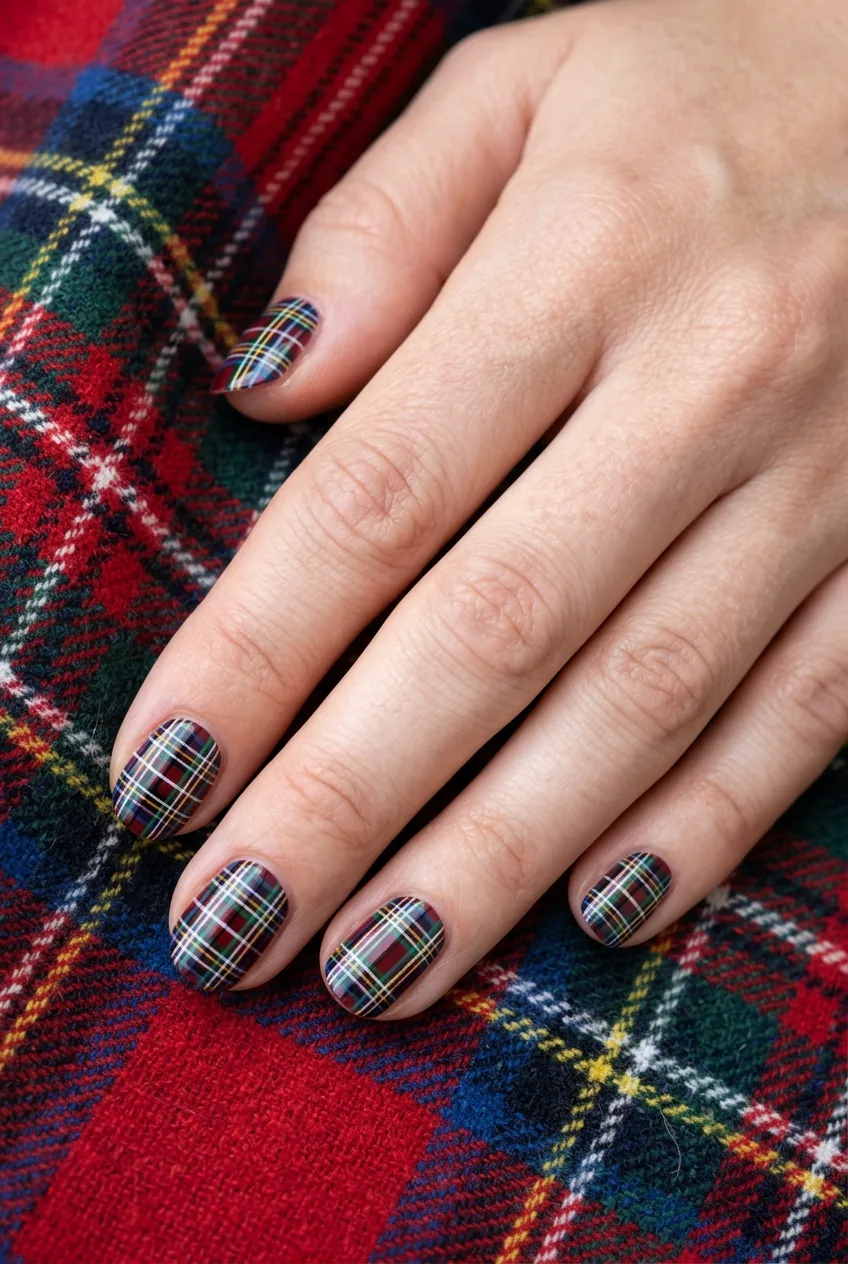
8. Intricate Plaid Pattern
Not simple stripes — full tartan plaid with overlapping colors and varying line weights. This is what happens when someone takes the beginner plaid accent and says “hold my pumpkin spice latte.”
What makes it advanced: Multiple thin coats in precise patterns, color-mixing where lines overlap, and keeping everything lined up across all ten nails. One mistake and the whole pattern looks off.
Tools needed: Three to four coordinating colors, ultra-fine brushes, striping tape, magnifying glass (seriously), and the patience of a monk.
Expected outcome: Even nail artists practice this pattern on wheels before attempting it on clients. Your first try will probably look more like plaid-inspired abstract art.
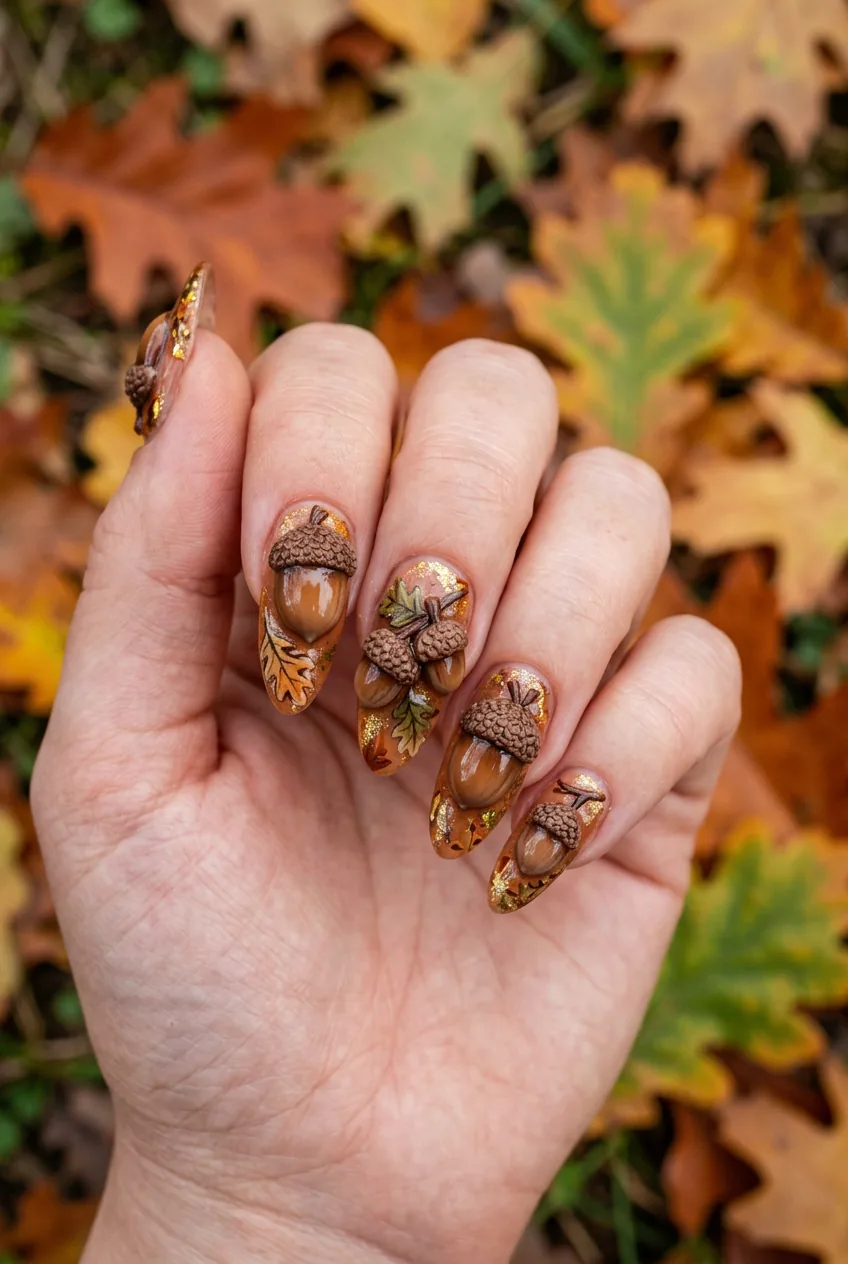
9. 3D Acorn Sculptures
Tiny three-dimensional acorns built up with gel or acrylic, complete with textured caps and glossy nuts. I include this because it shows up on Pinterest constantly, but honestly? This isn’t nail art — this is miniature sculpture.
What makes it advanced: Requires 3D building skills, specialized tools, curing equipment for gel work, and honestly some basic sculpting knowledge. This is nail tech territory.
Tools needed: Gel or acrylic building medium, sculpting tools, UV/LED lamp, brown and tan polishes, texture brushes, and realistic expectations about your skill level.
Expected outcome: Unless you’re already experienced with nail extensions or have done 3D art before, save your sanity and book an appointment. Some things are worth paying for.
Your Level-Up Path
Start with those solid colors and work your way up. Master the burgundy, then try the matte finish. Once you’re comfortable with color application, add the gold tips. From there, experiment with tape techniques for simple plaid.
I spent last fall working through this exact progression. By October, I was confidently doing gradient sunsets. By December, I was brave enough to attempt simple leaf shapes (though I still can’t manage those detailed veins). The key is building confidence with easier techniques before jumping to advanced designs.
And honestly? Sometimes I still just do solid burgundy because it looks expensive and takes five minutes. There’s no shame in sticking with what works.
If you’re just getting into nail art, check out how I finally figured out nails after years of smudging — it might save you some of the frustration I went through. And remember, even professional nail artists started with shaky hands and uneven coats. The only difference between them and us is practice time.