


I used to wear the same berry pink polish year-round until I realized how dated it looked come March. The deep, vampy shade that felt perfect in December suddenly seemed too heavy against spring’s lighter energy. Last year, I finally figured out how to adapt my favorite pink manicures for different seasons, and honestly? It’s been a game-changer for how put-together my hands look all year.
What You’ll Need
Before we dive into the seasonal shifts, let me share what I keep on hand for transitioning my pink manicures. You probably have most of this already:
- Your favorite pink base polish (whatever shade family you love)
- A lighter pink or coral shade for spring mixing
- Clear topcoat and matte topcoat
- Fine nail art brush or dotting tool
- Cuticle oil (spring air is drying)
- Base coat with strengthening properties
- Cotton swabs for cleanup
What Changes With the Weather
Spring does weird things to how colors look on our skin. The same pink that looked sophisticated in winter suddenly feels too intense under brighter natural light. I learned this the hard way when I showed up to an outdoor brunch looking like I’d dipped my nails in Pepto Bismol.
The key is understanding that spring light is cooler and more diffused than summer’s harsh brightness, but way more intense than winter’s muted glow. This means your pink needs to be fresh enough to handle the increased light, but not so pale that it washes out completely.
I also noticed that spring humidity affects how polish dries and wears. Those crisp winter manicures that lasted two weeks? In spring, they might start chipping by day five because your nails are adjusting to temperature changes too.
Colour Swaps That Make It Seasonal
Here’s where the magic happens. Instead of completely abandoning your winter pink, you’re going to shift it just enough to feel seasonal. Think of it like adjusting the temperature on your phone screen — same basic idea, different warmth.
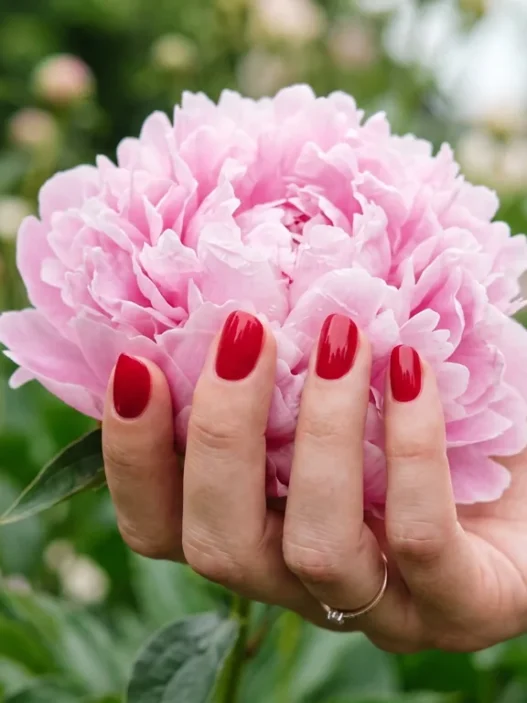
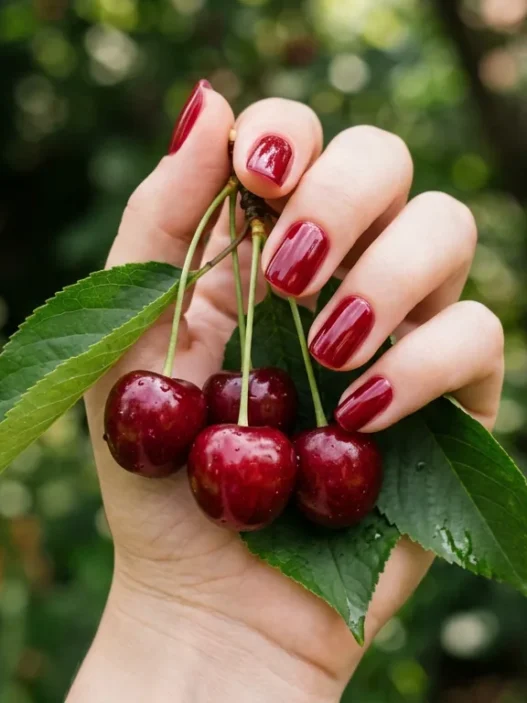
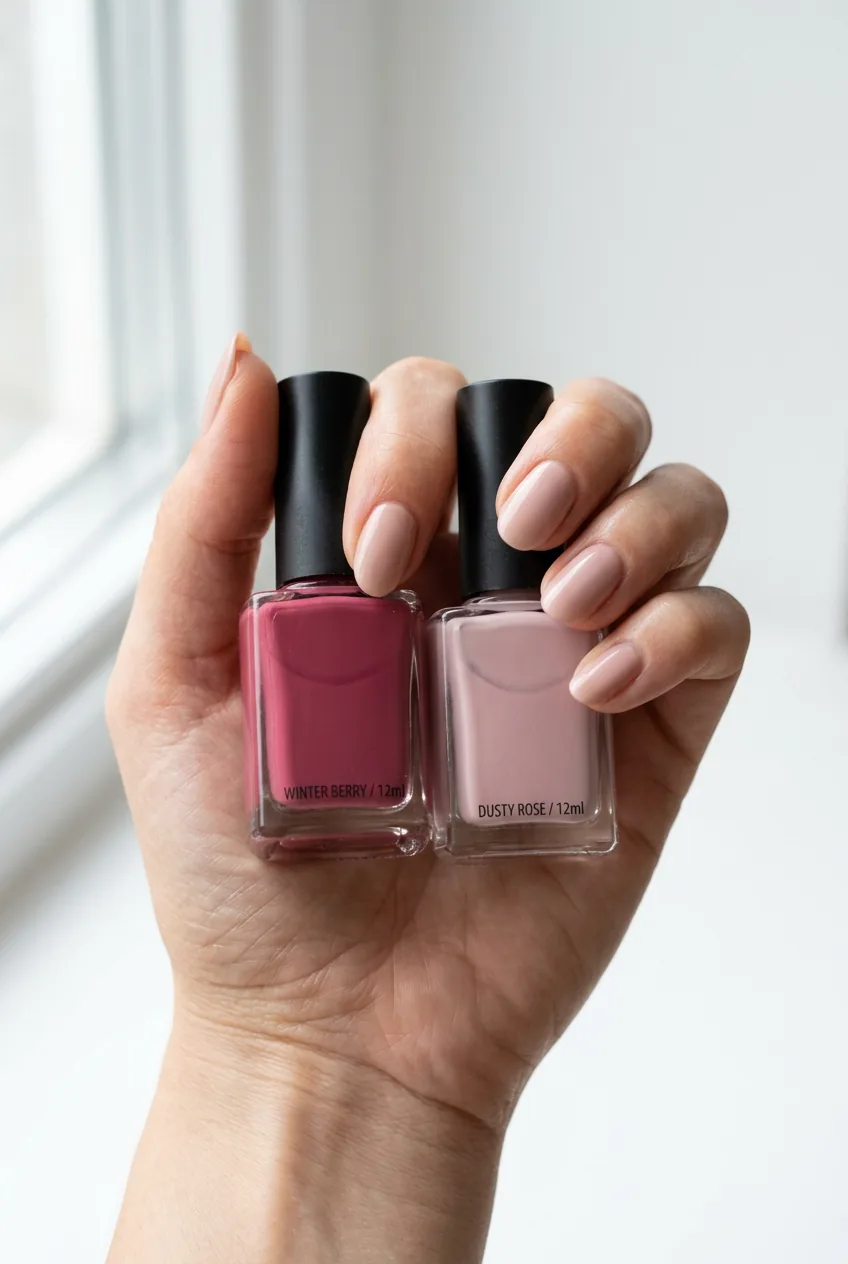
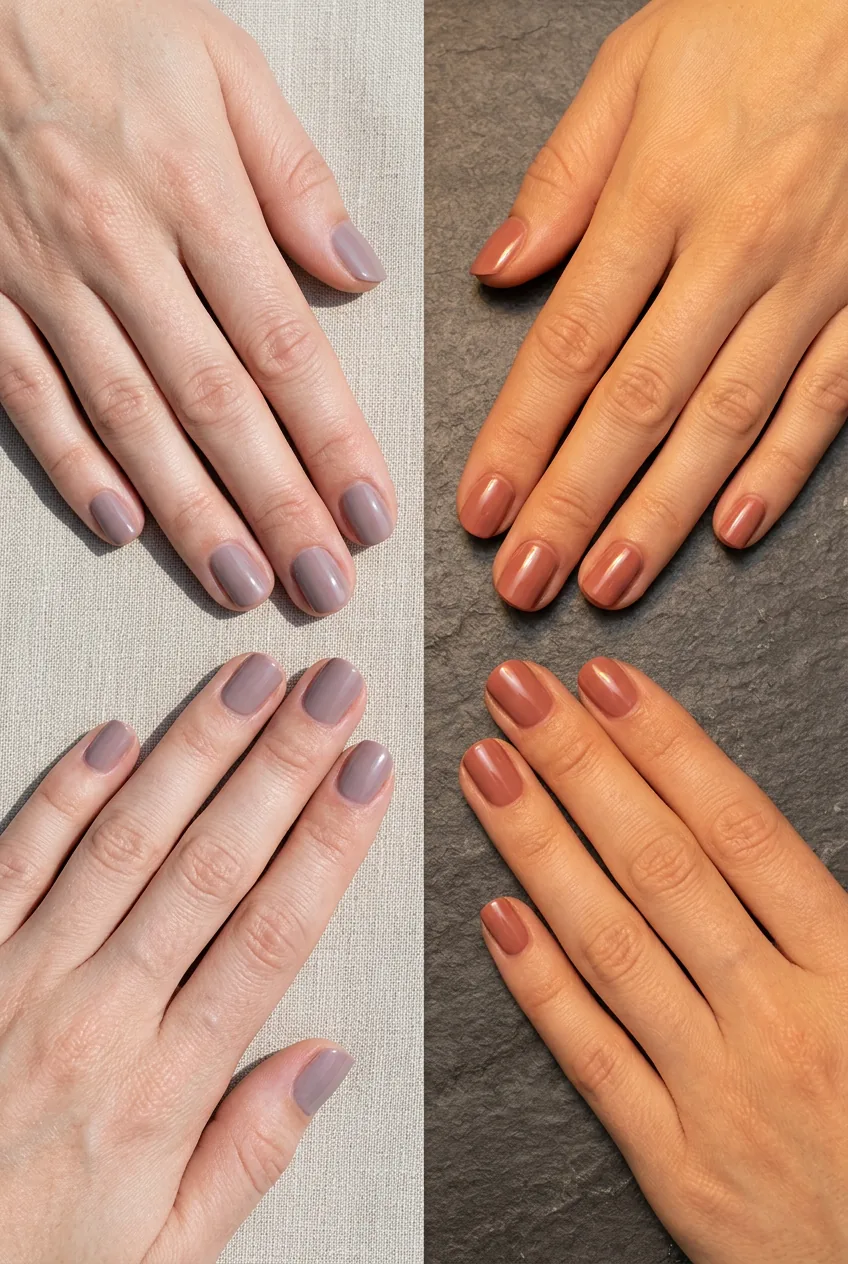
If you were wearing deep rose or berry pinks in winter, move toward dusty roses or mauve-pinks for spring. The undertones stay similar, but you’re lifting the overall intensity. I love mixing a tiny drop of coral into my winter berry shade — it warms it up without making it look completely different.
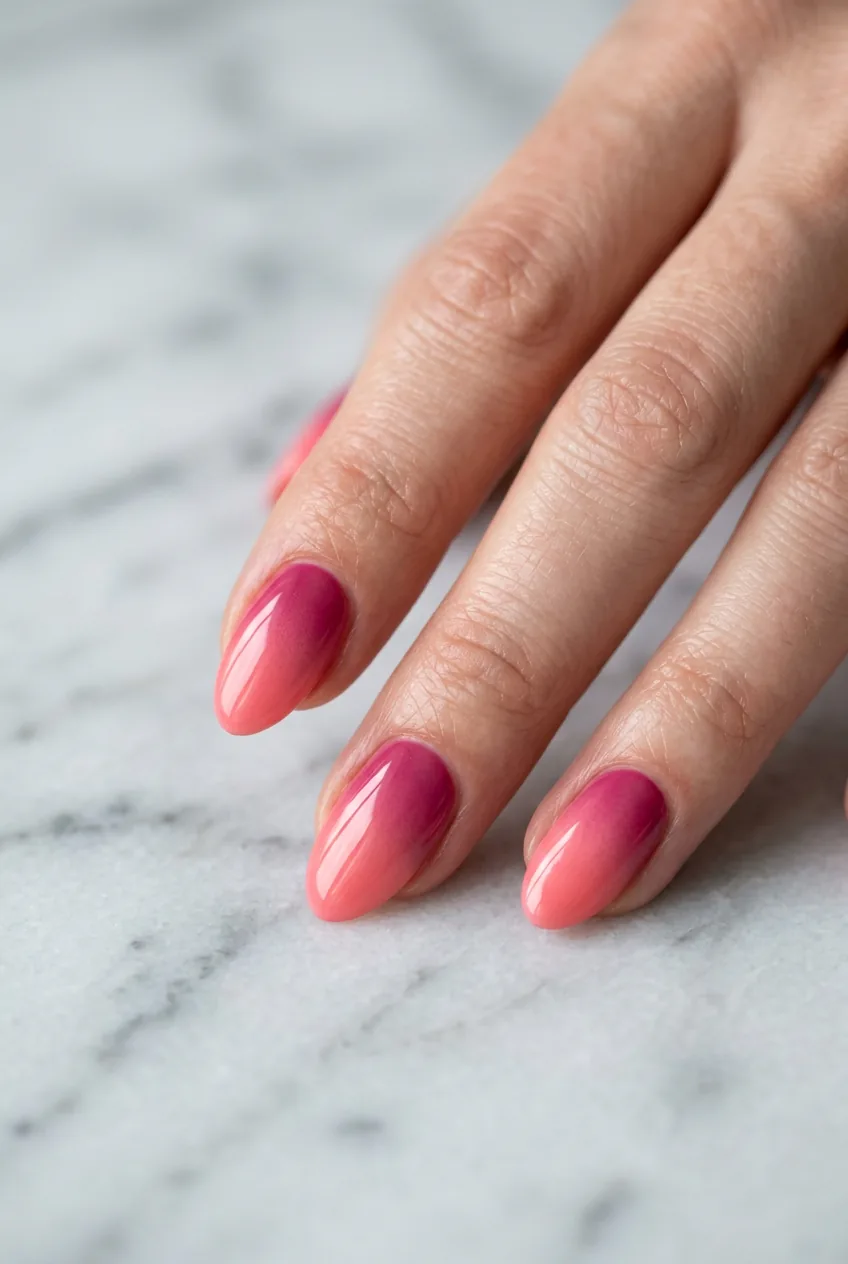
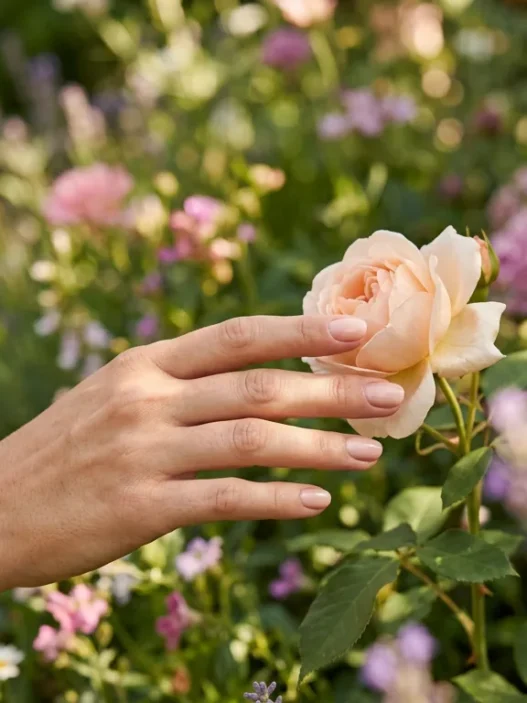
For those who lived in true pink territory all winter, try adding peachy or coral undertones. A classic pink with just a hint of peach becomes instantly more spring-appropriate. The latest spring colors are all about these warmer pink families anyway.
I made the mistake of going too light too fast one year and ended up with nails that looked invisible against my skin tone. The trick is gradual shifts, not dramatic overhauls.
Texture and Finish Shifts
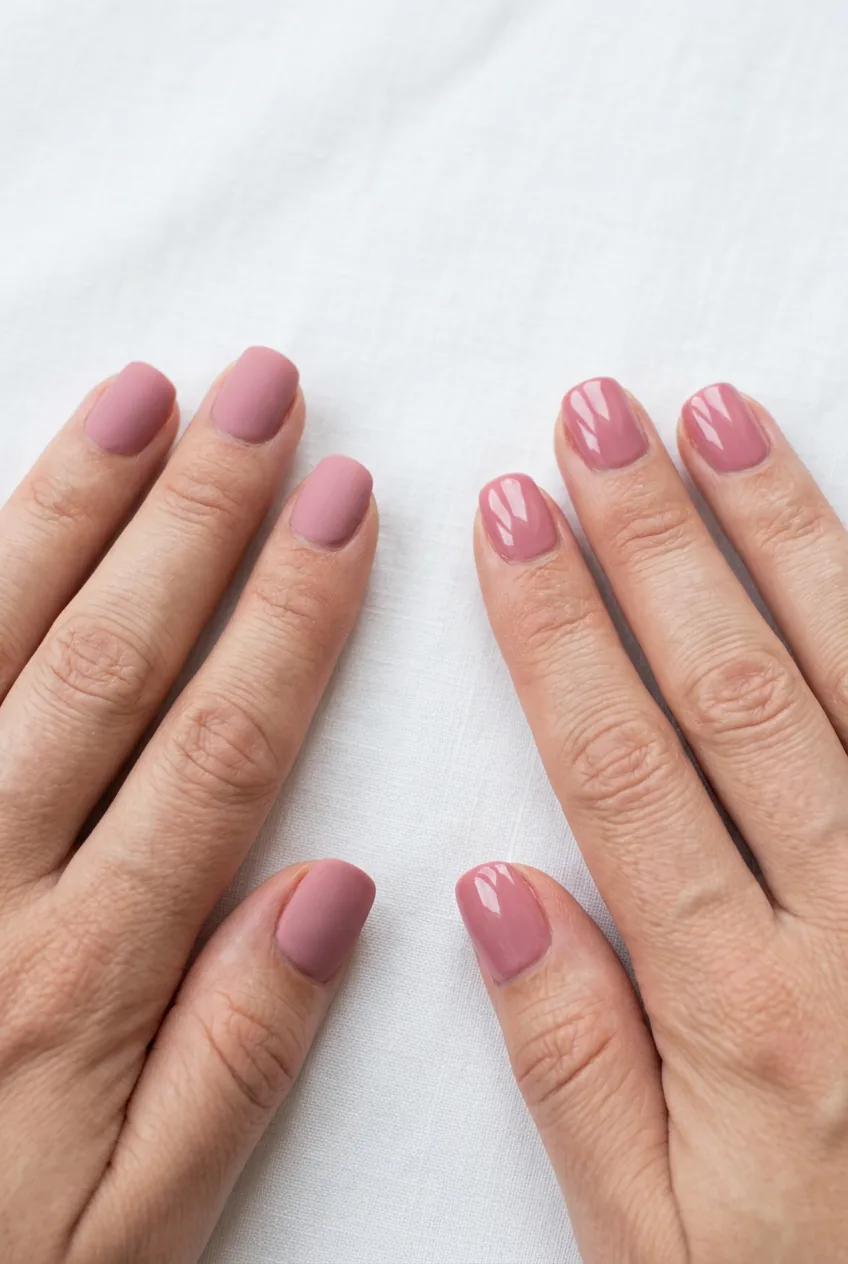
This is honestly my favorite part of seasonal nail adaptation. The same pink polish can feel completely different with a finish change, and spring is all about that dewy, fresh-faced glow.
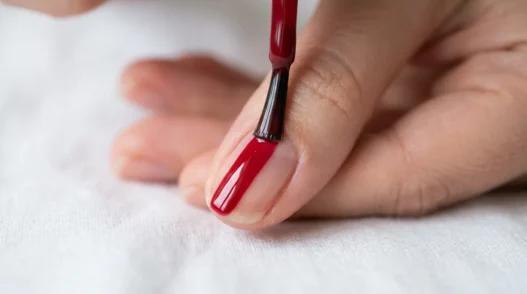
Swap your winter matte finish for high gloss. I know, I know — matte feels so chic. But spring light makes glossy nails look healthy and hydrated, like you just got back from a spa weekend. The shine also makes lighter pink tones pop more against your skin.
If you’re feeling adventurous, try a subtle shimmer. Not full-on glitter — just enough pearl or micro-glitter to catch the light. It mimics that natural glow everyone’s chasing in their makeup routine.
Another texture trick I love: layer a sheer pink over your base color instead of going straight opaque. It creates this soft, blurred effect that feels very now. Like your nails are wearing a Instagram filter.

See the Finish Transform Everything
The Same Design, Four Seasons
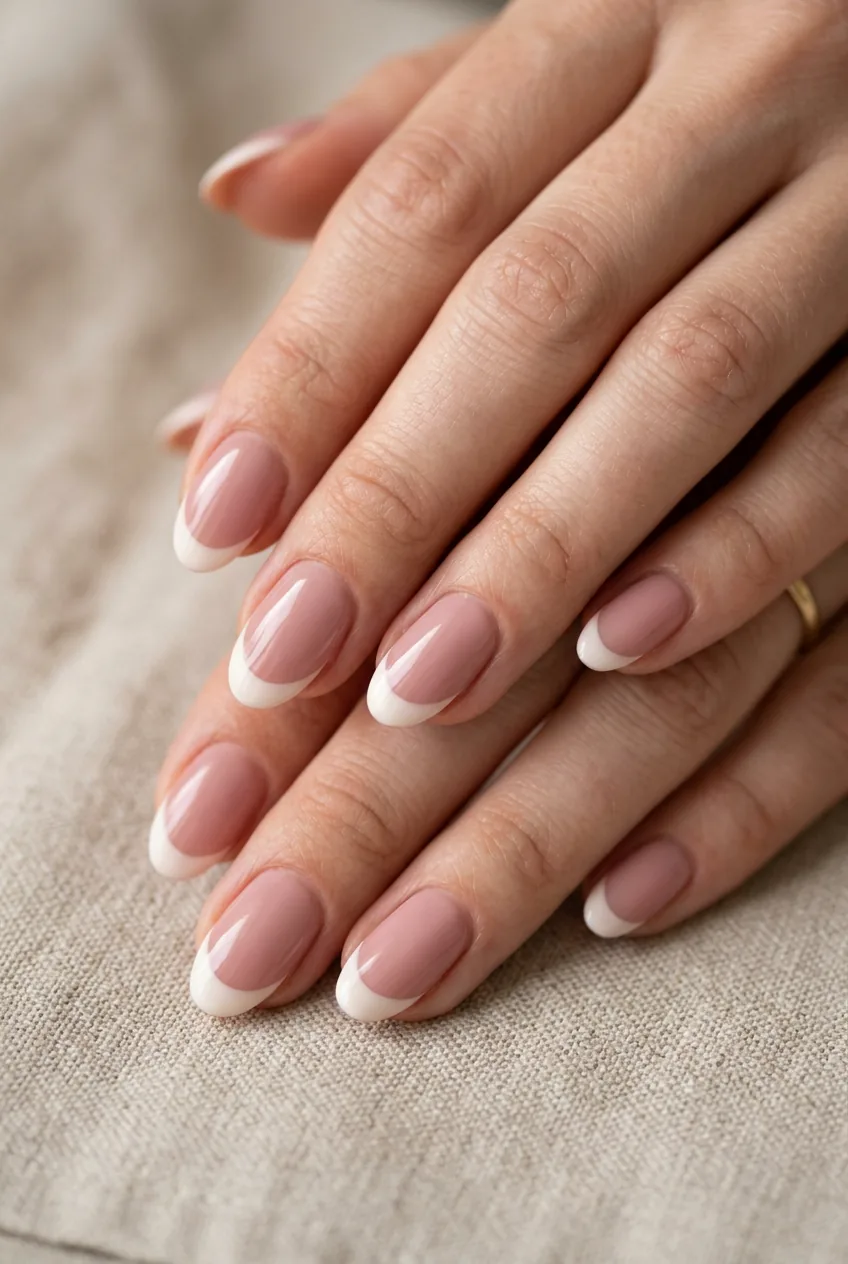
Want to see how powerful these seasonal shifts really are? Let me walk you through adapting one simple design across all four seasons. I’ll use a classic pink french manicure because it’s something everyone can relate to.
Winter version: Deep berry base with stark white tips, matte finish. Very graphic and clean.
Spring adaptation: Switch to a dusty rose base, keep the white tips but make them slightly softer (not perfectly straight), add high gloss. Suddenly it’s romantic instead of severe.
Summer would take it even lighter — maybe a coral-pink base with cream tips. Fall would deepen it to a true rose with slightly gray undertones. Same basic design, four completely different moods.
This works with any design you love. Polka dots, stripes, geometric shapes — just adjust the color intensity and finish to match the season’s energy.
Nail Care Adjustments for Spring
Spring weather is schizophrenic, and your nails feel every temperature swing. One day it’s 70 degrees, the next it’s snowing. This constant change makes nails more brittle and prone to breakage.
I started using a strengthening base coat specifically in spring after losing two nails in one week during a particularly dramatic weather shift. The extra protein support makes a huge difference when your nails are stressed.
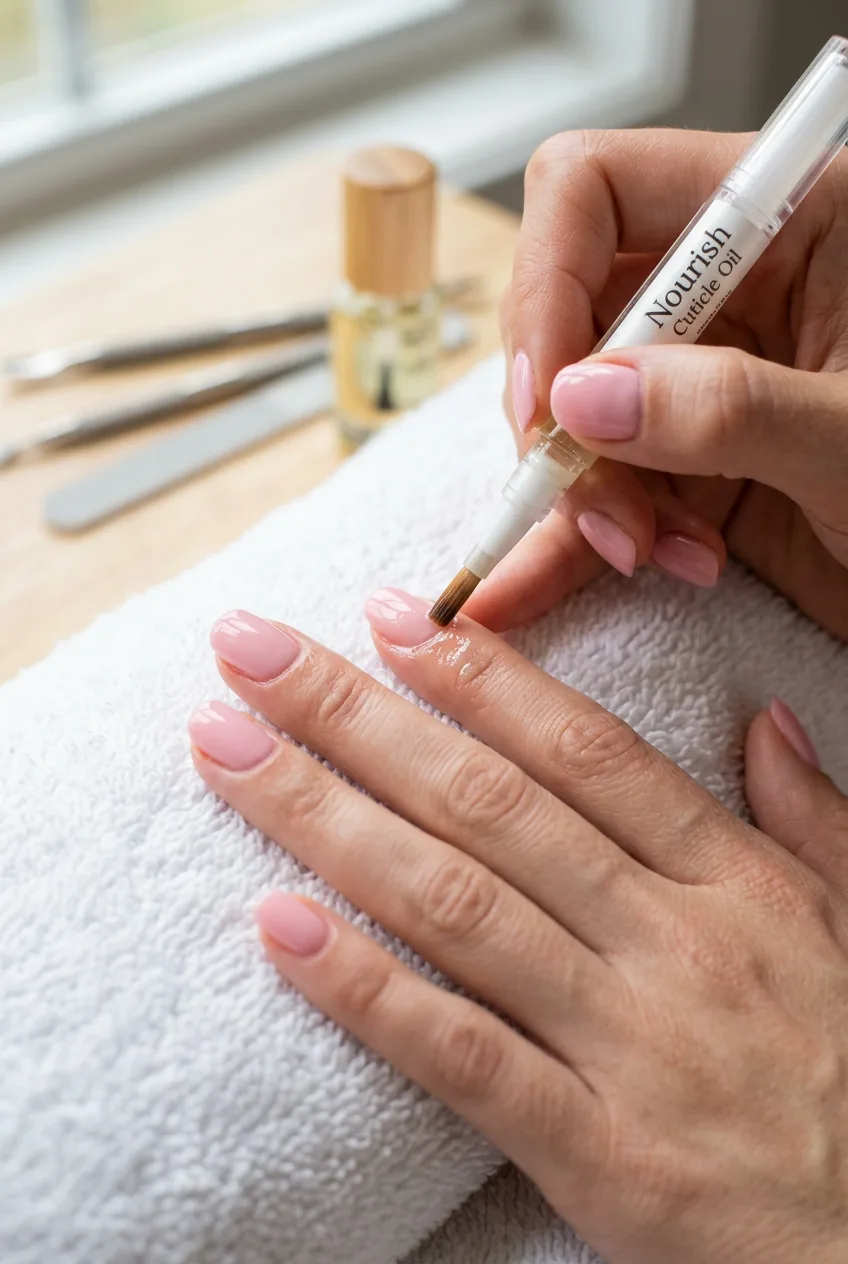
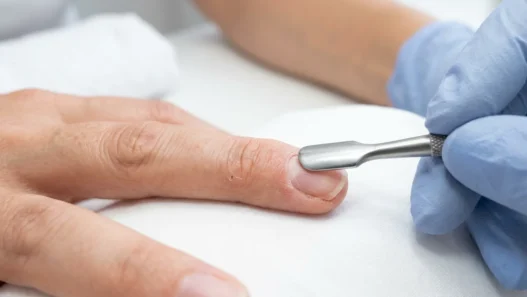
Cuticle care becomes crucial too. Spring air is drying, but not consistently like winter. Your cuticles get confused and either overproduce oil or dry out completely. I oil them every other day instead of daily — just enough to keep them happy without making polish application messy.
Filing technique matters more in transitional seasons. I file in one direction only and use a glass file instead of traditional emery boards. The smoother edge prevents catches and tears when your nails are dealing with humidity changes.
Making It Last Through Season Changes
Here’s what nobody tells you about seasonal manicures: they need to be built to handle weather inconsistency. A manicure that looks perfect on a 65-degree day might look completely wrong when it hits 80 the next week.
I’ve learned to choose colors that look good in multiple light situations. Dusty roses and mauve-pinks are magic for this — they read as sophisticated in cool light and warm in bright light. Avoid colors that are too pure or bright; they’ll look wrong half the time.
Application technique matters too. Thin layers dry more evenly when humidity keeps changing. I do three thin coats instead of two thick ones, waiting longer between each layer. It takes more time upfront but prevents the frustration of a manicure that looks perfect for two days then falls apart.
The final trick is having a backup plan. Keep a quick-dry topcoat and your adjusted spring shade handy for touch-ups. Sometimes you just need to refresh the color or add an extra layer of shine to make it feel current again.
Questions I Always Get About This
Can I use the same technique for other nail colors?
Absolutely. This seasonal adaptation method works for any color family. The key is adjusting intensity and undertones rather than completely changing colors. Reds get brighter for spring, blues add coral undertones, neutrals warm up slightly.
How long should I wait between seasonal transitions?
I usually transition my nail colors about 2-3 weeks after I start noticing the weather consistently changing. Don’t rush it — wearing winter colors on the first warm day is fine. But once you’re consistently in spring weather, it’s time to adapt.
What if my winter pink already looks good in spring?
Then you chose well! Some pink shades are naturally versatile. But even perfect colors can benefit from a finish change — maybe just switch from matte to glossy, or add a subtle shimmer topcoat to refresh the look.
Do I need professional products for this?
Not at all. Drugstore polishes work perfectly for seasonal adaptations. The technique matters more than the brand. Focus on getting the right undertones and finish rather than expensive bottles.
Now when I look at my nails in March, they feel fresh and intentional instead of like a leftover from another season. The best part? People notice without being able to put their finger on exactly what changed. That’s the sign of a successful seasonal adaptation — it just looks right.