


I avoided yellow polish for years because every time I tried it, my nails looked like I’d dipped them in mustard or — worse — like I was suffering from some kind of vitamin deficiency. Then I watched a friend get the most gorgeous butter yellow manicure at a salon, and I knew I had to crack the code. After countless failed attempts and way too much money spent on different yellow polishes, I finally figured out why mine always looked wrong and hers looked perfect.
What You’ll Need
Before we dive into technique, let’s talk tools and timing. I learned the hard way that not all yellow polishes are created equal, and your base coat choice actually matters more than I ever realized.
- A warm-toned base coat (I swear by ones with slight peach undertones)
- Your main butter yellow polish — look for creamy formulas, avoid anything too neon
- A pale yellow or cream polish for layering
- High-quality synthetic brushes for cleanup
- Fast-dry top coat with good thickness
- Cuticle oil and cotton swabs
- Good lighting — this is crucial for yellow
Timing-wise, block out about 90 minutes. Yellow requires patience, and rushing this process is why most people end up with that chalky, unflattering finish.
Phase 1: Foundation and Colour Theory
Here’s what nobody tells you about yellow polish: it’s the most unforgiving color on the spectrum. Any undertone mistakes get amplified, and your natural nail color shows through more than with any other shade.
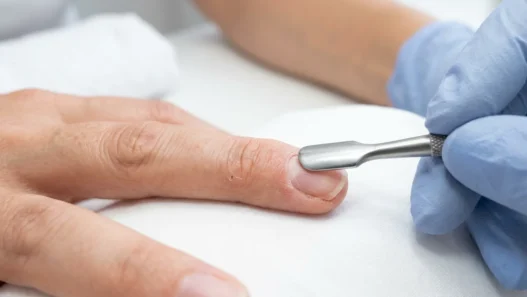
Start with clean, properly shaped nails. I push back cuticles gently and do a light buff — nothing aggressive. Yellow shows every imperfection, so take your time here.
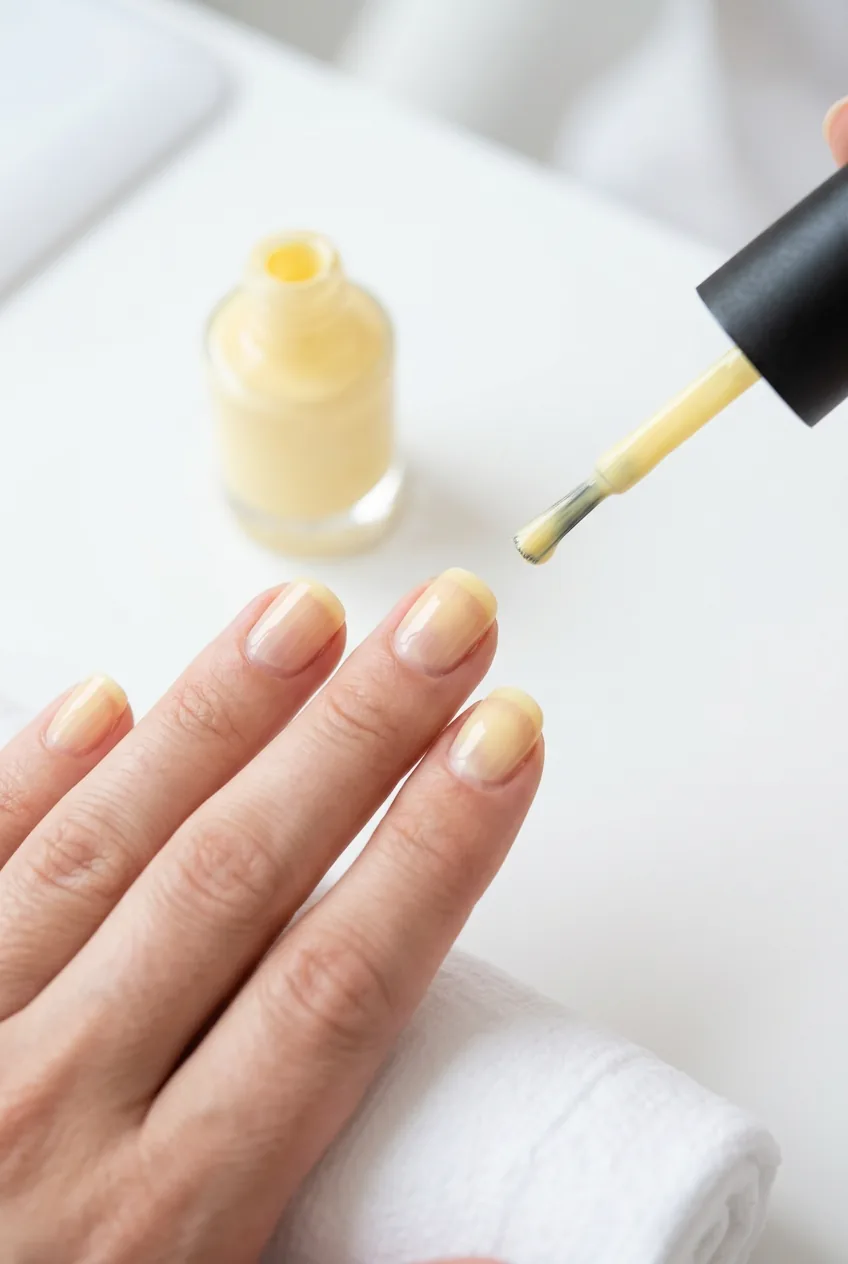
The base coat is where most people go wrong. They grab whatever clear base they have lying around, but yellow needs warmth underneath to prevent that sickly look. I use a base coat with just a hint of peach or coral undertone. It sounds counterintuitive, but that tiny bit of warmth makes the difference between looking jaundiced and looking radiant.
Apply your base coat in thin, even strokes. Let it dry completely — and I mean completely. Yellow polish is notorious for pulling and dragging if the base isn’t fully set.
Phase 2: Building That Perfect Yellow
This is where patience becomes your best friend. Most people try to get full coverage in one or two coats, which is exactly why their yellow looks streaky and uneven.
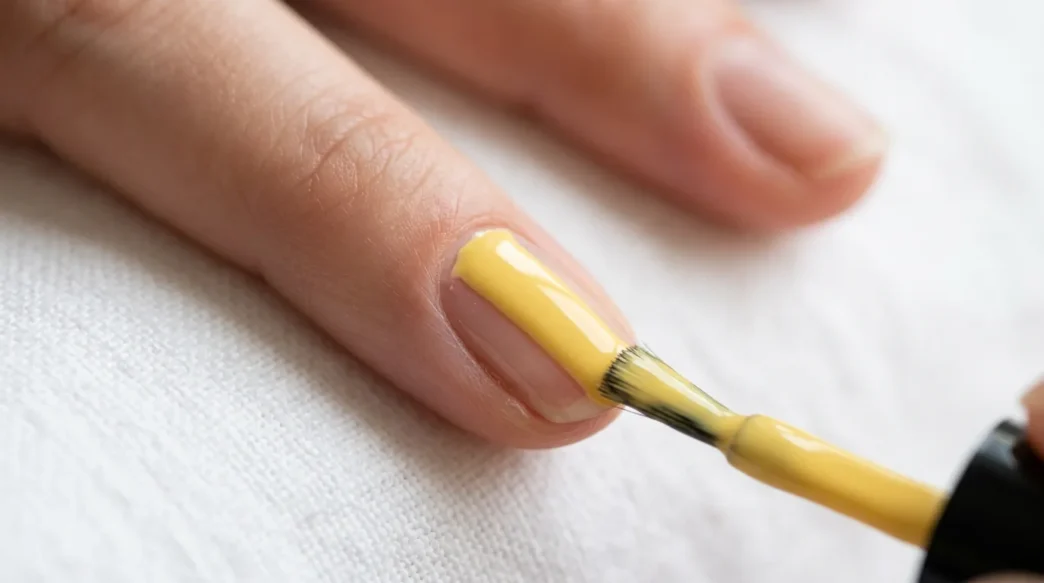
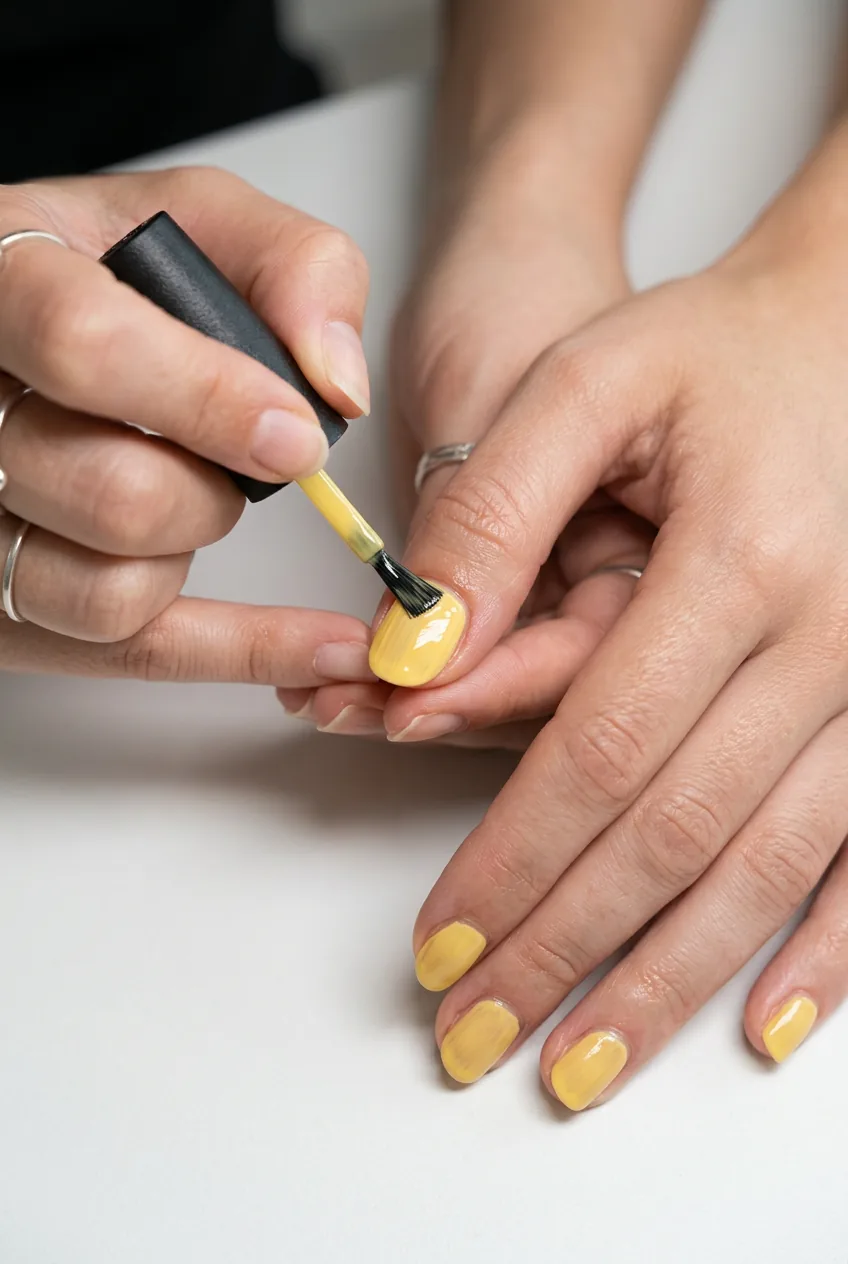
Start with the palest coat you can manage. I’m talking whisper-thin. The goal isn’t coverage yet — it’s creating an even foundation. Your first coat should look almost translucent.
The mistake I made for months was trying to build coverage too quickly. I’d load up the brush and go for opacity in coat two, which always resulted in those dreaded streaks that show every brush mark. Thin layers are everything with yellow.
Let that first coat dry for at least 10 minutes. Yellow takes longer to set than most colors, and if you rush this step, everything that follows will look muddy.
Second coat: still thin, but you can be slightly more generous. You should start seeing more opacity now, but don’t worry if it’s not even yet. That’s normal and expected.
Third coat is where the magic starts happening. This is when you can see the color really coming together. Some nail artists stop here, but I always do a fourth coat for that perfect butter richness.
Phase 3: Creating the Butter Effect
The “butter” part of butter yellow isn’t just about the color — it’s about the finish. That slightly creamy, not-quite-matte but definitely-not-glossy texture that makes the shade look expensive and intentional.
After your final color coat is completely dry, here’s my secret step: I mix a tiny drop of my yellow polish with an equal amount of a high-quality ridge-filling base coat. This creates a slightly thicker mixture that I use as my final color layer.
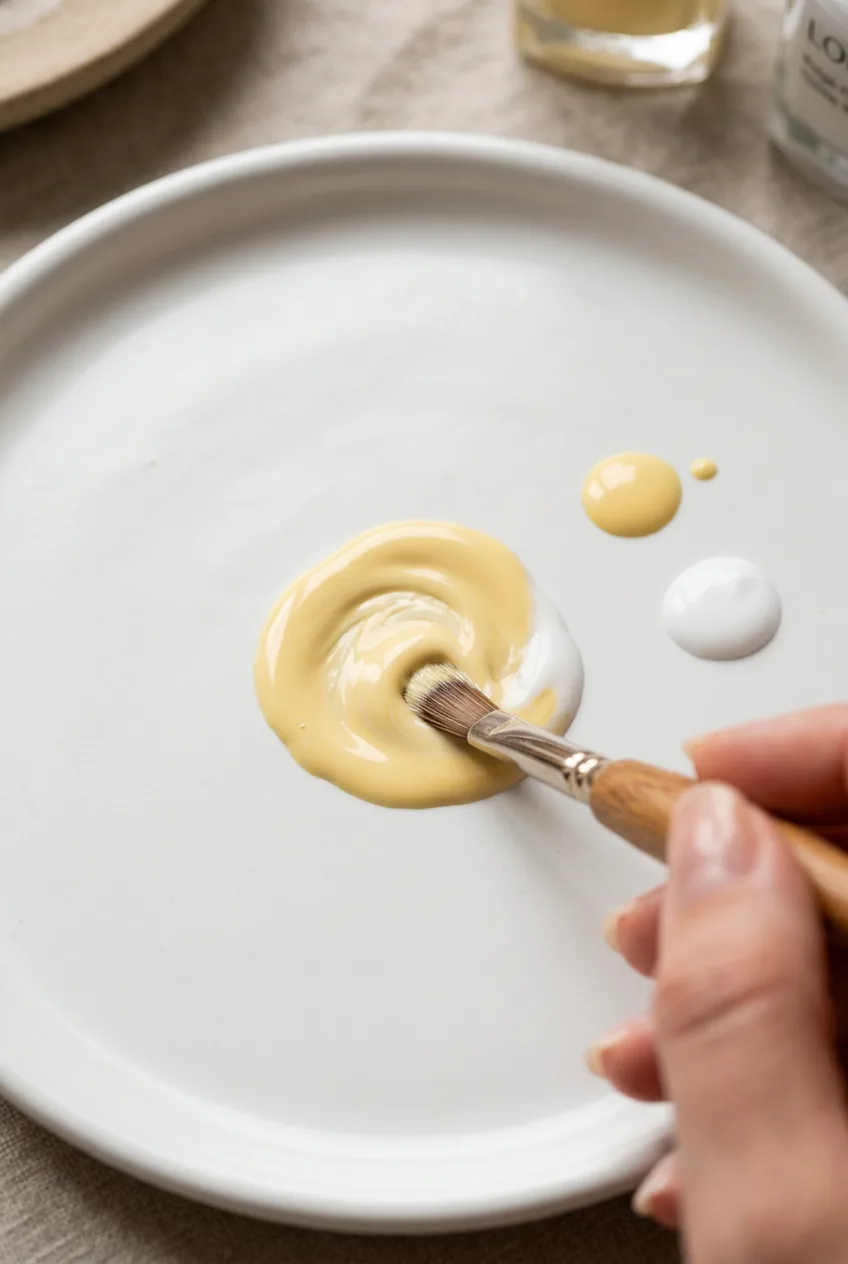
Apply this mixture in one smooth stroke down the center of each nail, then gently blend outward. The extra thickness fills in any minor imperfections and creates that signature butter-like depth.
Don’t skip the cleanup step. Yellow shows every mistake around the cuticle area. I use a small synthetic brush dipped in acetone to clean up any spots where the polish wandered onto skin.
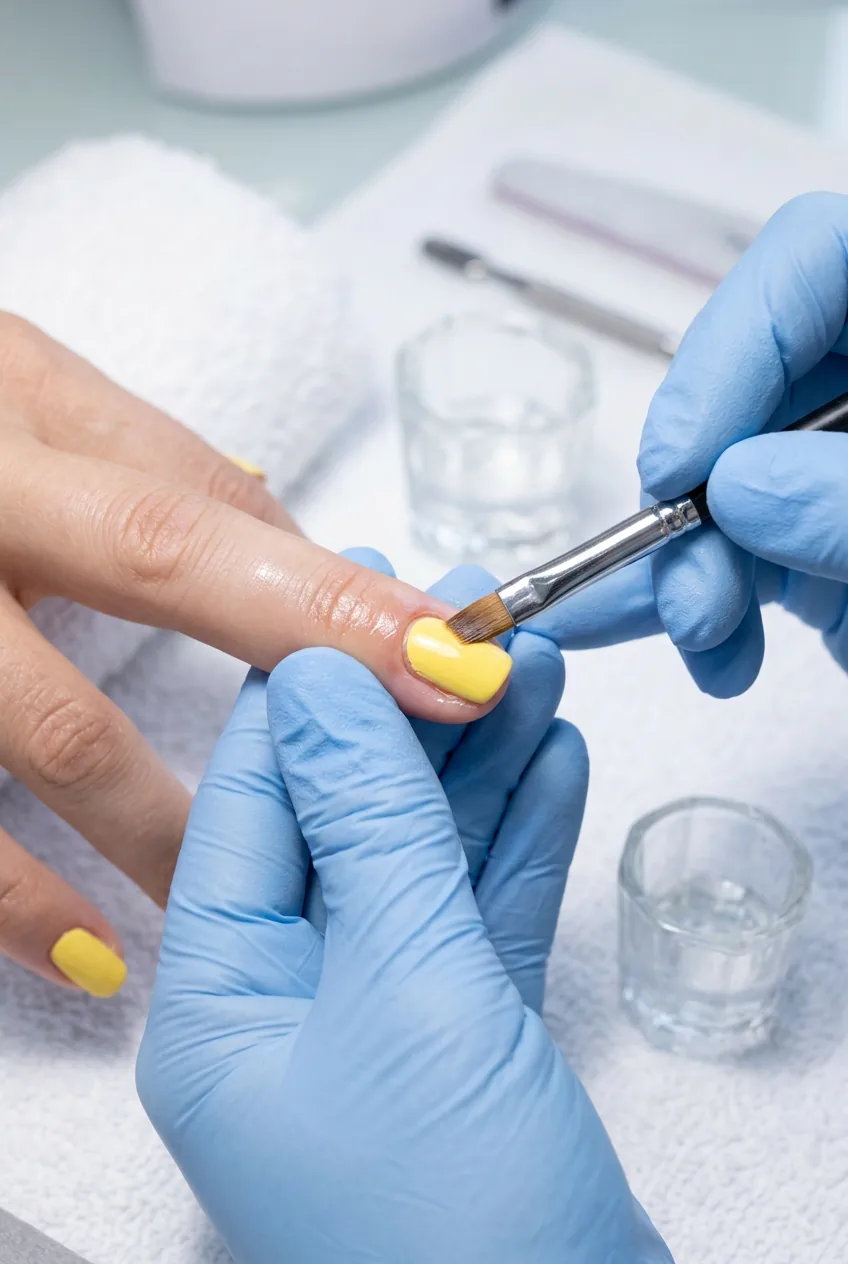
The key to that perfect butter finish is in how you handle the final smoothing. After the mixed layer is applied but before it’s fully set, I very lightly drag the brush — barely touching the surface — from cuticle to tip. This evens out any texture and creates that seamless look.
Watch This Technique in Real Time
Phase 4: Sealing for Longevity
Yellow polish has a reputation for chipping quickly, but that’s usually because people rush the sealing process or choose the wrong top coat.
Wait at least 15 minutes after your final color application before applying top coat. I know it’s tempting to rush this, especially when your nails look so good already, but yellow needs time to fully cure before you seal it.
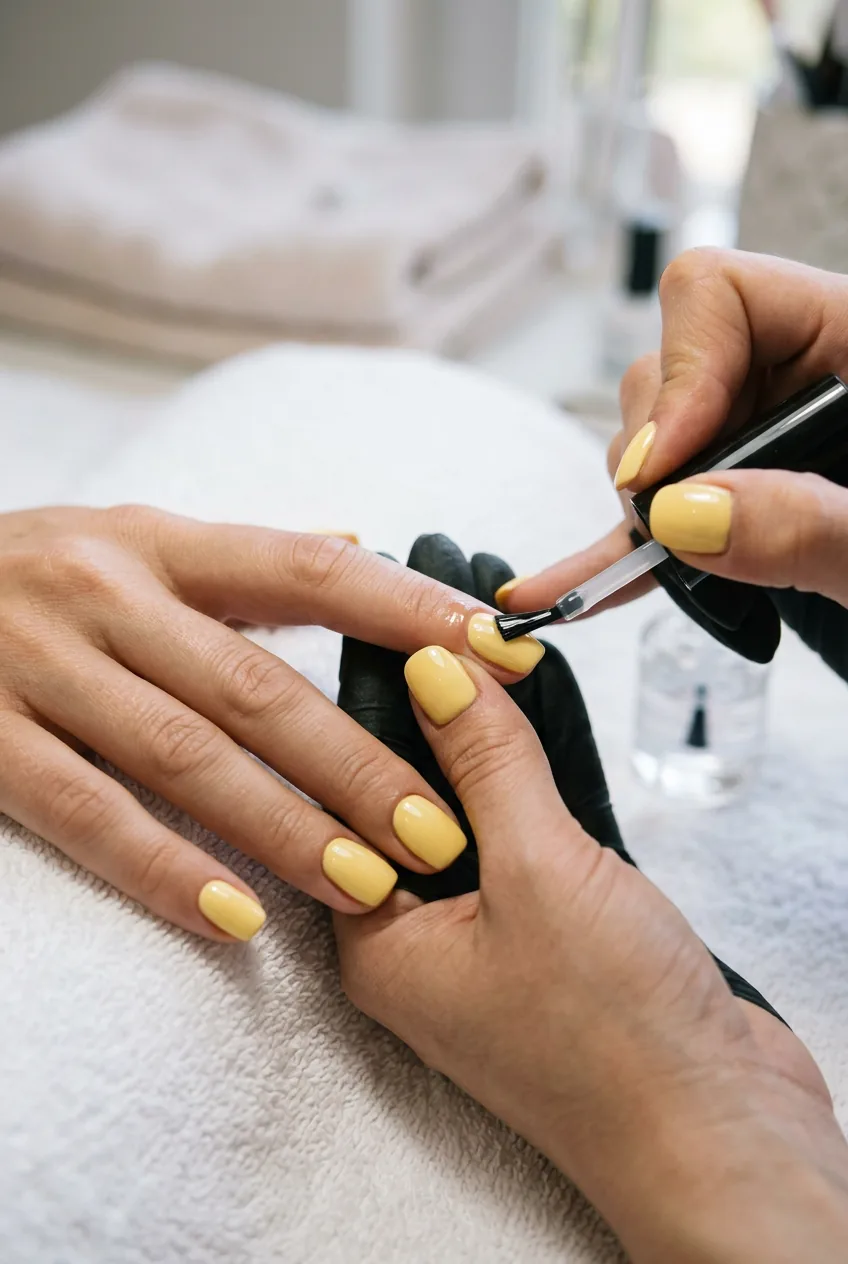
For top coat, I use something with body — not those super-thin quick-dry formulas that work great on reds and pinks. Yellow needs a top coat that will add some substance and protection. I apply it in slightly thicker strokes than I would with other colors.
Here’s something I learned from a nail tech friend: figured out nails after years of smudging issues by adding a second thin layer of top coat about an hour after the first one. This creates an almost lacquer-like finish that’s incredibly durable.
The final step is oil. Once everything is completely dry — and I’m talking 2-3 hours later — I massage cuticle oil into the surrounding skin. This prevents the yellow from looking harsh against your skin tone and adds to that overall polished, expensive look.
For maintenance, I add a fresh layer of strengthening treatment every few days. Yellow shows wear faster than darker colors, so this extra protection is worth it.
Questions I Get About Butter Yellow Nails
Does butter yellow work on all skin tones?
It’s one of the more universally flattering yellows, but the key is getting the undertones right. Cooler skin tones need that warm base coat I mentioned even more than warm-toned skin. If you’re very fair, consider a slightly more muted butter shade rather than bright lemon yellow.
How long does this process actually take?
Active time is about 45 minutes, but with proper drying between coats, plan on 90 minutes total. Yellow just can’t be rushed — those thin layers need time to properly set or you’ll end up with a mess.
Can I do this with any yellow polish?
Not really. Neon yellows and very cool-toned yellows won’t give you that butter effect no matter how you apply them. Look for descriptions like “creamy,” “mustard,” or “vintage yellow” rather than “electric” or “bright.”
What if I mess up the application?
Don’t try to fix mistakes while the polish is wet — you’ll make it worse. Let everything dry completely, then file off any bumps or uneven areas and start over with just that nail. Yellow is forgiving once it’s dry, but impossible to fix when wet.
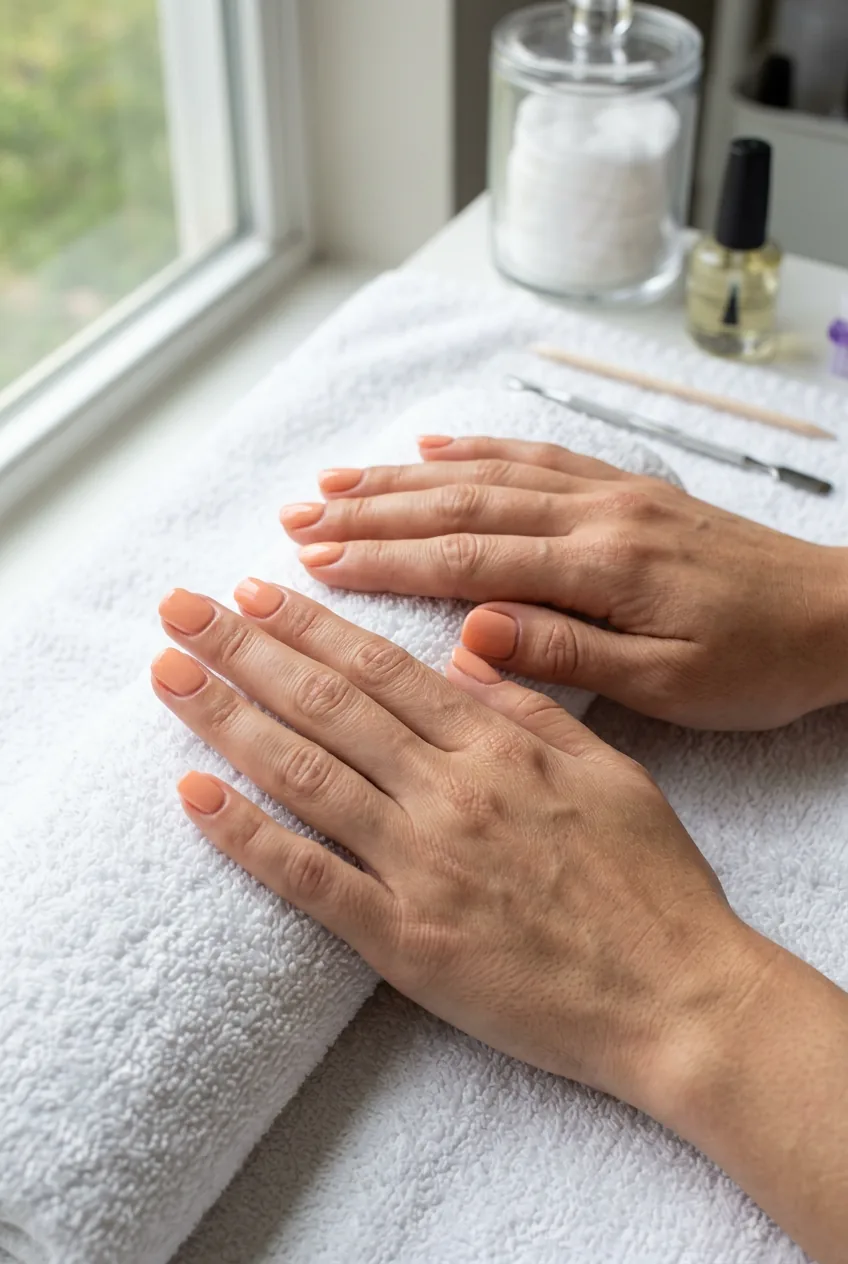
The result? Nails that look like they belong in a vintage fashion editorial — creamy, rich, and sophisticated instead of that bright yellow that screams “nail art practice gone wrong.” I finally get compliments instead of concerned looks when I wear yellow polish, and honestly, it’s become one of my signature colors. The technique takes practice, but once you get it down, you’ll understand why some nail artists charge extra for perfect yellow applications.