






I put off doing a real monochrome manicure for months because I assumed my nails were too far gone to bother. They were peeling at the tips, faintly yellow from an old gel I’d let grow out too long, and the surface texture was so ridged that polish would just slide off in chunks by day three. Not exactly the canvas you imagine when you picture a flawless chrome look. But I got fed up one rainy Sunday afternoon and decided to just try it anyway — worst case, I’d have gel remover on my hands and a ruined episode of whatever I was half-watching.
What happened over those two hours genuinely surprised me. And now I’m writing it all down so you can skip the three attempts it took me to get the order right.
Your Chrome Transformation Roadmap
- Where My Nails Started
- What You’ll Need
- Step 1: Strip Everything Back
- Step 2: Shape and Buff the Nail Plate
- Step 3: Apply a Strengthening Base Coat
- Step 4: Lay Down the Monochrome Base Color
- Step 5: Apply the No-Wipe Top Coat
- Step 6: Buff in the Chrome Powder
- Step 7: Seal It All In
- The Step Most People Skip
- Where I Am Now
- Quick Answers
Where My Nails Started
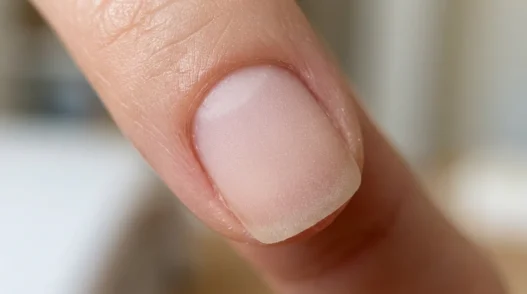
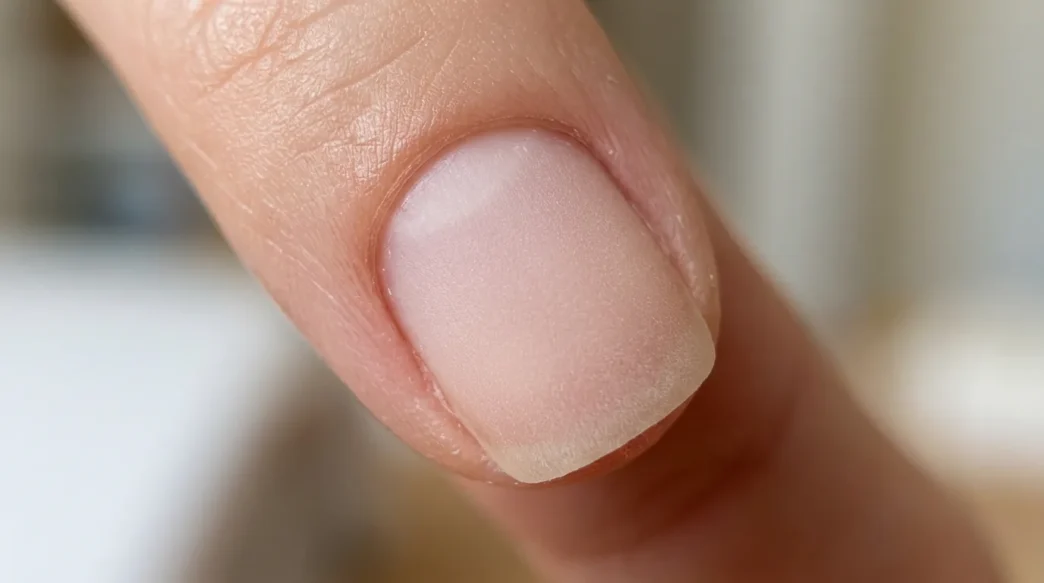
Honestly? Bad. Not catastrophically damaged, but the kind of neglected that happens when you’ve been relying on back-to-back gel sets without giving your nails a proper break. There was visible dehydration along the sides, a slightly powdery texture across the middle of each nail, and my right thumbnail had a horizontal ridge running across it that caught on everything. I’d also been using a dark burgundy gel that stained the free edge a faint brownish-yellow. So the base I was working with was ridged, slightly porous, and lightly stained. Not the stuff of Instagram tutorials.
I’d been reading about minimalist simple nail designs and how a single-color approach could actually make imperfect nails look more polished rather than less — the idea being that a clean, unified tone draws the eye to the overall shape rather than the surface texture. That reframe is what finally got me to try chrome in a monochrome format rather than layering art on top of damage.
What You’ll Need
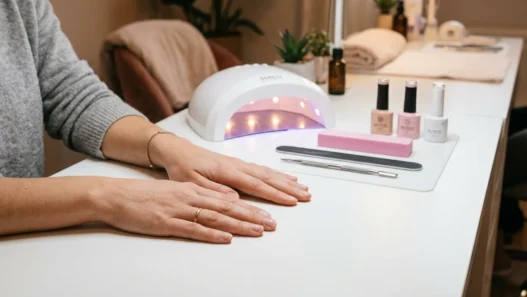
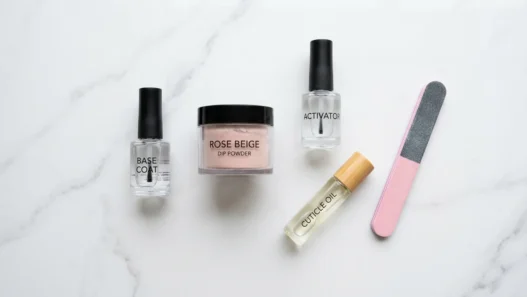
Nothing exotic here — this is a gel-lamp setup, but it’s the kind of thing you can build out for under fifty dollars if you don’t already have it. Here’s the full list:
- Acetone and cotton rounds (or foil wraps) for removing old product
- A 180-grit file for shaping and a 220-grit buffer for surface prep
- Cuticle pusher and nippers
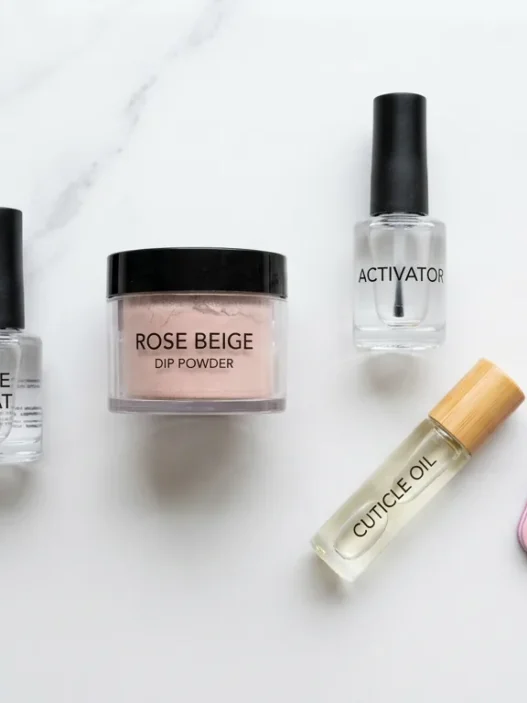
- A nail dehydrator and acid-free primer
- A strengthening base coat (I use a gel formula)
- A true-black or deep charcoal gel polish — whichever shade you’re committing to for the monochrome
- A no-wipe gel top coat (this is non-negotiable — a regular top coat will not work for chrome)
- Silver or gunmetal chrome powder
- A small eyeshadow applicator or silicone chrome brush
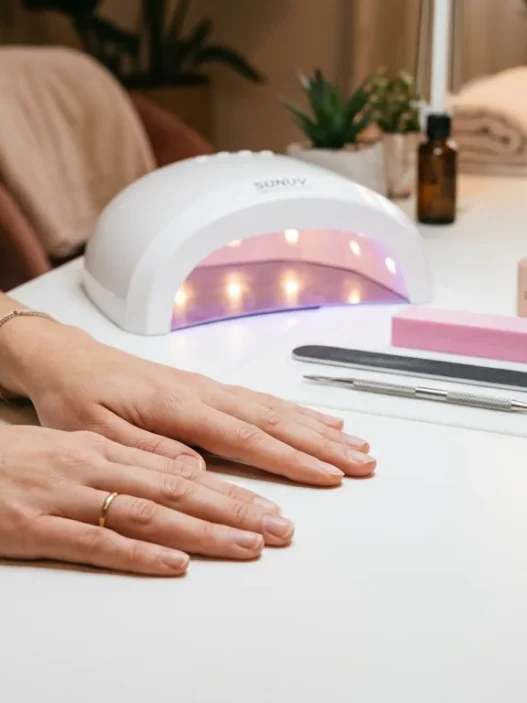
- A UV/LED lamp
- Cuticle oil for finishing
A quick note on the chrome powder shade: I went with a cool-toned silver to keep the whole look in the same grey-black family, which is what makes it feel truly monochrome rather than two different looks fighting each other. You want everything in the same temperature family. Warm-toned gold chrome over a cool-black base reads as two separate statements, not one cohesive one.
Step 1: Strip Everything Back
Start with a completely bare nail. If you have existing gel or regular polish, remove it fully — no shortcuts, no “good enough.” I soaked acetone-saturated cotton into foil wraps on each nail for a full twelve minutes before I even tried to scrape. Anything less and you’re just smearing product around.
Once everything was off, I did a light pass with the 180-grit file just to knock down any leftover texture from the old gel. Not aggressive — I wasn’t trying to thin the nail, just remove the last stubborn film. Then I wiped each nail with a lint-free wipe and let them sit for two minutes before touching them again. Your nails need a moment to breathe and dry fully, especially if they’ve been wrapped.
Step 2: Shape and Buff the Nail Plate
This step is where most people rush and regret it later. I shaped my nails into a soft squoval — if you’re exploring shapes and want to understand the options better, the deep dive on square and squoval nails really helped me understand why that shape works so well for shorter nails trying to look longer. File in one direction only, never sawing back and forth, and take your time on the corners so both hands match.
Then buff the entire nail surface with the 220-grit buffer. You want a uniform, dull matte finish across every nail. No shiny patches, no missed edges. This is what creates adhesion for everything that comes after. My thumbnails always try to stay glossy longer than the other nails — if yours do too, just spend an extra ten seconds on them.
Push back your cuticles gently after buffing and use your nippers just on the dead skin, not the live cuticle. Then dust off any filing debris with a clean brush and wipe with a lint-free pad.
Step 3: Apply a Strengthening Base Coat
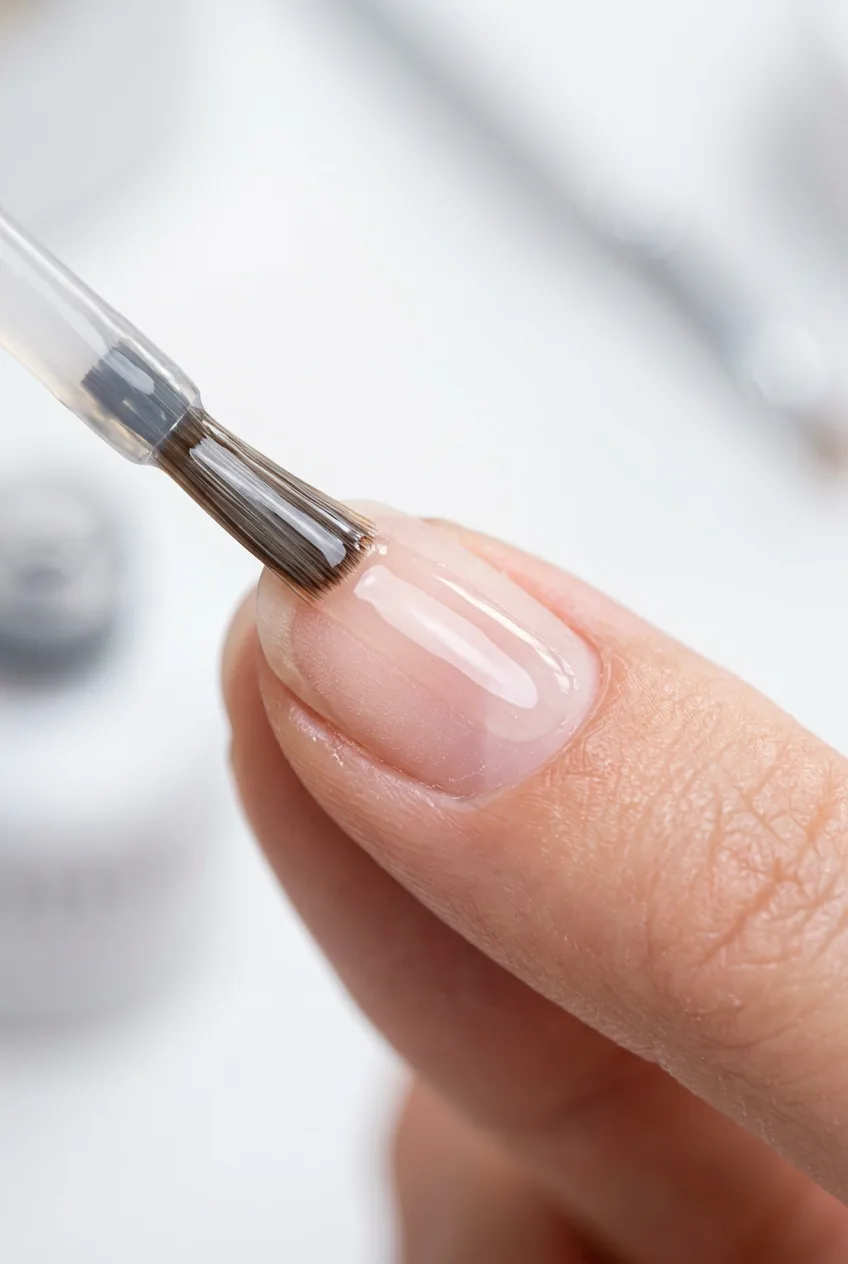
Before base coat, apply your dehydrator — a thin swipe across each nail plate, let it flash off for thirty seconds, then a thin layer of acid-free primer. Let that dry, too. Neither of these products get cured under the lamp; they just sit and prep the surface chemically. Don’t skip this pairing if your nails are on the dehydrated side.
Now apply your strengthening gel base coat in a thin, even layer. Cap the free edge — drag the brush along the very tip of the nail to seal that edge. Cure for sixty seconds under your LED lamp. If your lamp runs hotter, some people get a heat spike here; just pull your hand out briefly and reinsert if that happens. One thin coat is enough. More base coat doesn’t mean better adhesion — it just means more product that can peel.
Step 4: Lay Down the Monochrome Base Color
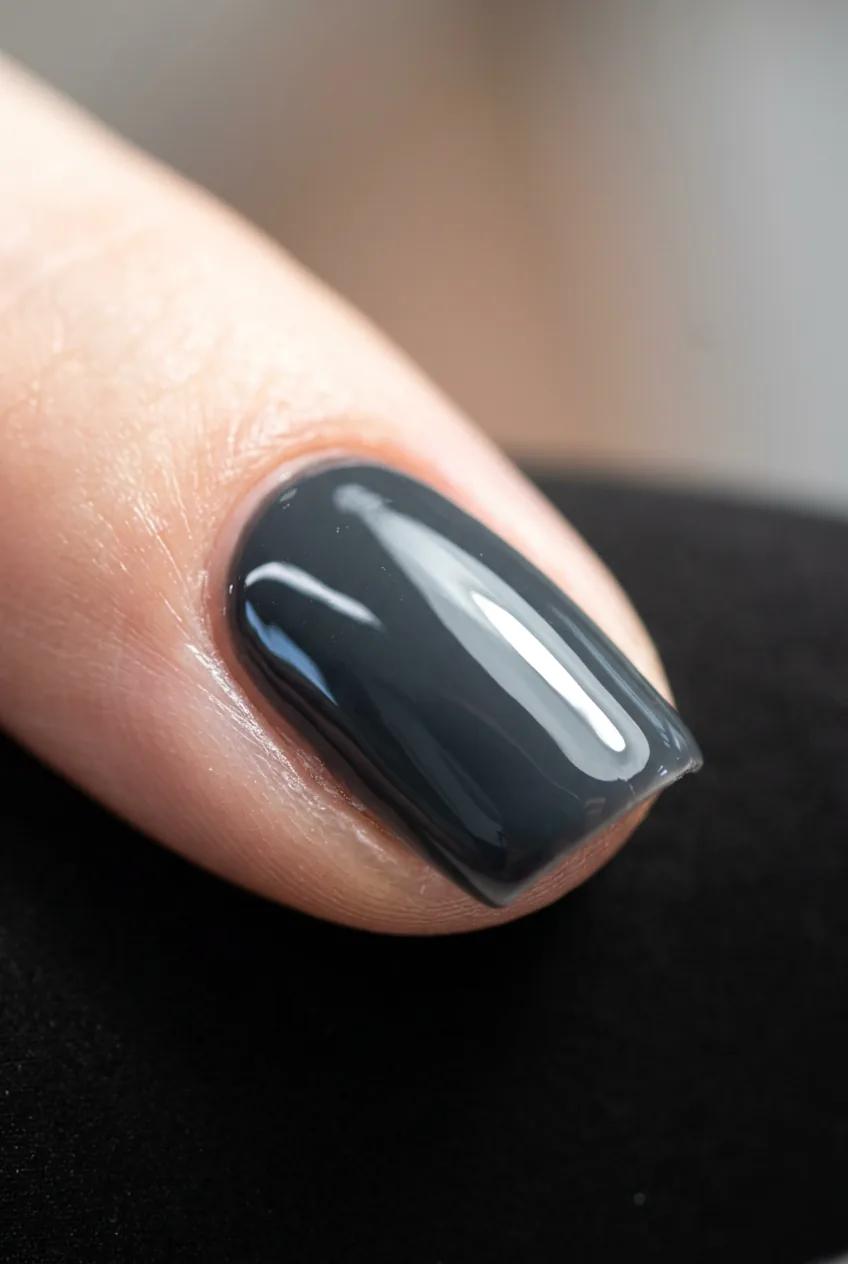
This is the heart of the whole look. For a true monochrome nail, the base color should be in the same family as your chrome — I went with a deep, near-black charcoal grey rather than a pure black, because it lets the silver chrome read as a continuation of the base rather than a contrast on top of it. Pure black with silver chrome can look more goth-glam; charcoal with silver chrome reads more editorial and minimal.
Apply your first coat of gel polish thin and even. Cure. Apply a second coat slightly more generously to get full opacity, but still avoid flooding the cuticle. Cure again. Two coats is usually enough for deep shades, but if your color looks patchy in the light, add a third thin one. Always cap the free edge on your final color coat. Cure fully — under-cured color will wrinkle when you apply the top coat, and no amount of chrome powder will save that.
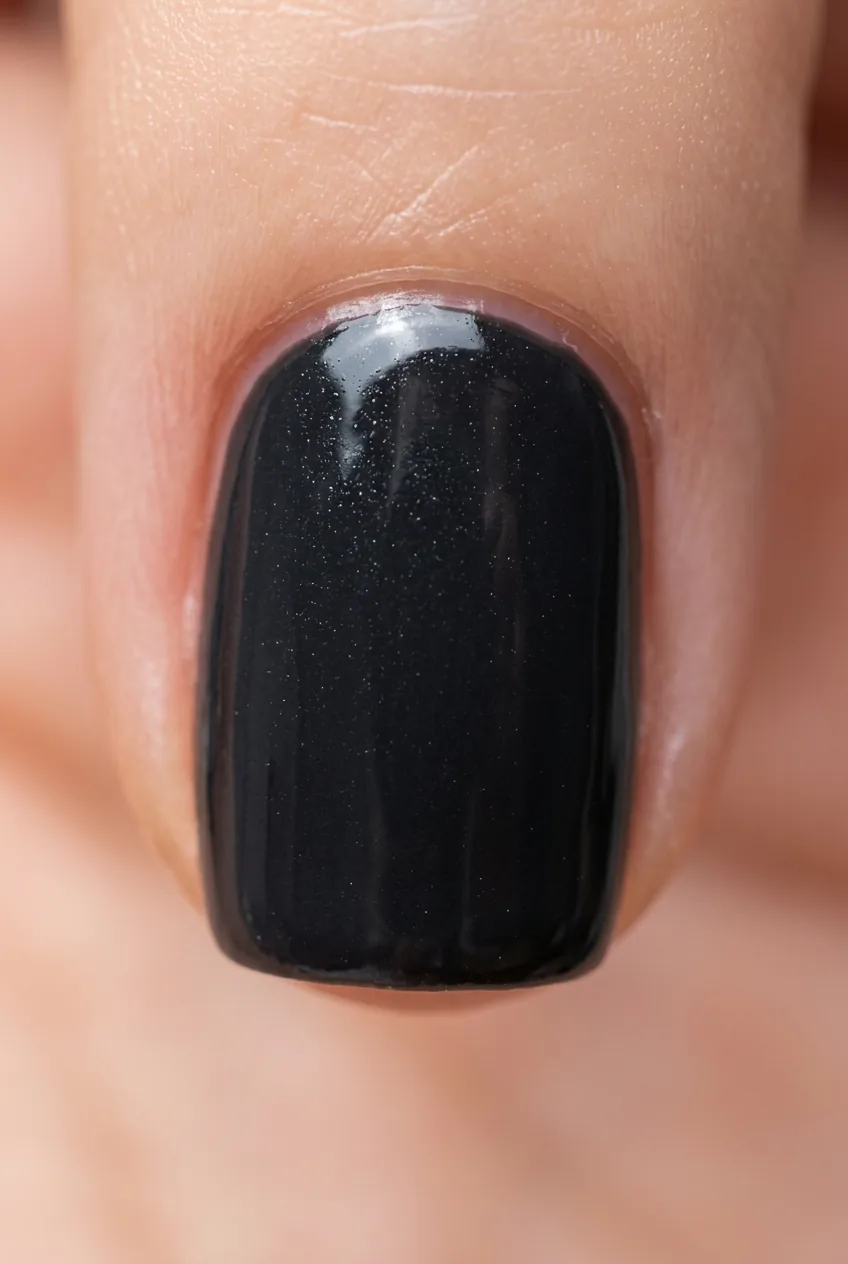
While this step sounds simple, getting a streak-free, fully opaque base in a dark shade takes a little patience. Don’t rush the cure times. I used to pull my nails out of the lamp early to “check” them, which is exactly why my color used to wrinkle. Just leave them in for the full count.
Step 5: Apply the No-Wipe Top Coat
Here’s where chrome manicures differ completely from a standard polish finish. You need a no-wipe gel top coat — not a regular top coat, not a quick-dry polish top coat. A no-wipe formula cures to a tacky-free finish that leaves the exact right surface texture for chrome powder to bond to. A regular wipe-off top coat leaves an inhibition layer that you’d normally remove with a cleanser. Don’t remove it. That tackiness is what the chrome powder grabs onto.
Apply a thin layer of no-wipe top coat, making sure you get the entire surface including just inside the cuticle line. Cure for sixty seconds. The nail will come out looking slightly tacky to the eye — that’s correct. Do not touch the surface, do not wipe it, do not let it collect dust. Move immediately to the next step. The clock is running on that tacky surface.
Step 6: Buff in the Chrome Powder
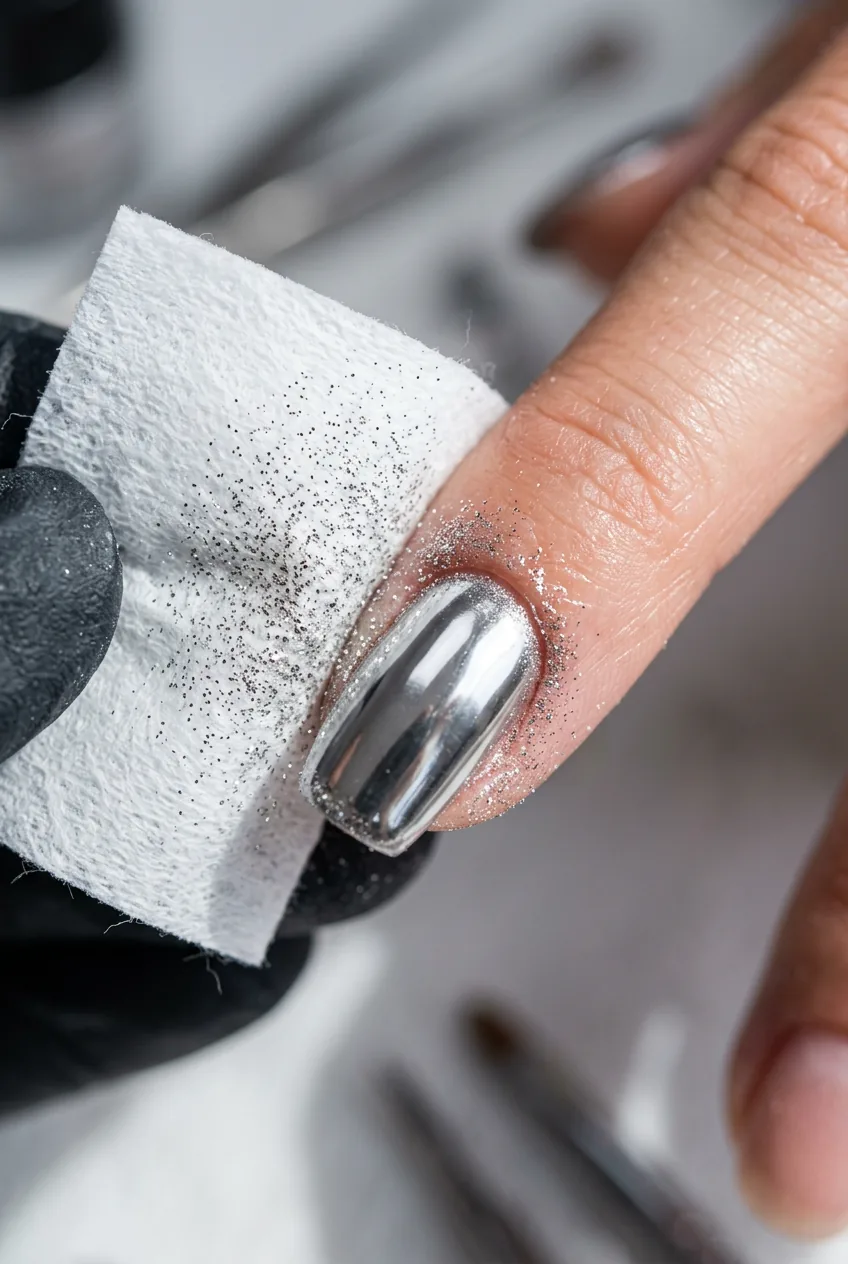
This is the satisfying part. Take a pinch of chrome powder on your eyeshadow applicator — not a brush, not your finger, a dense foam or silicone applicator — and begin buffing it onto the tacky top coat using small, firm circular motions. Start in the center of the nail and work outward. You’ll see the metallic mirror finish develop almost immediately.
Look at how she’s applying hers in the photo — that small, controlled circular motion is exactly what you’re aiming for. It’s not a swipe, it’s a buff. The difference between a patchy chrome and a mirror chrome comes down almost entirely to the pressure and motion you use here. Too light and you get a streaky shimmer. Too heavy and you press the powder into the edges unevenly. Medium firm, consistent circles, working from the center out.
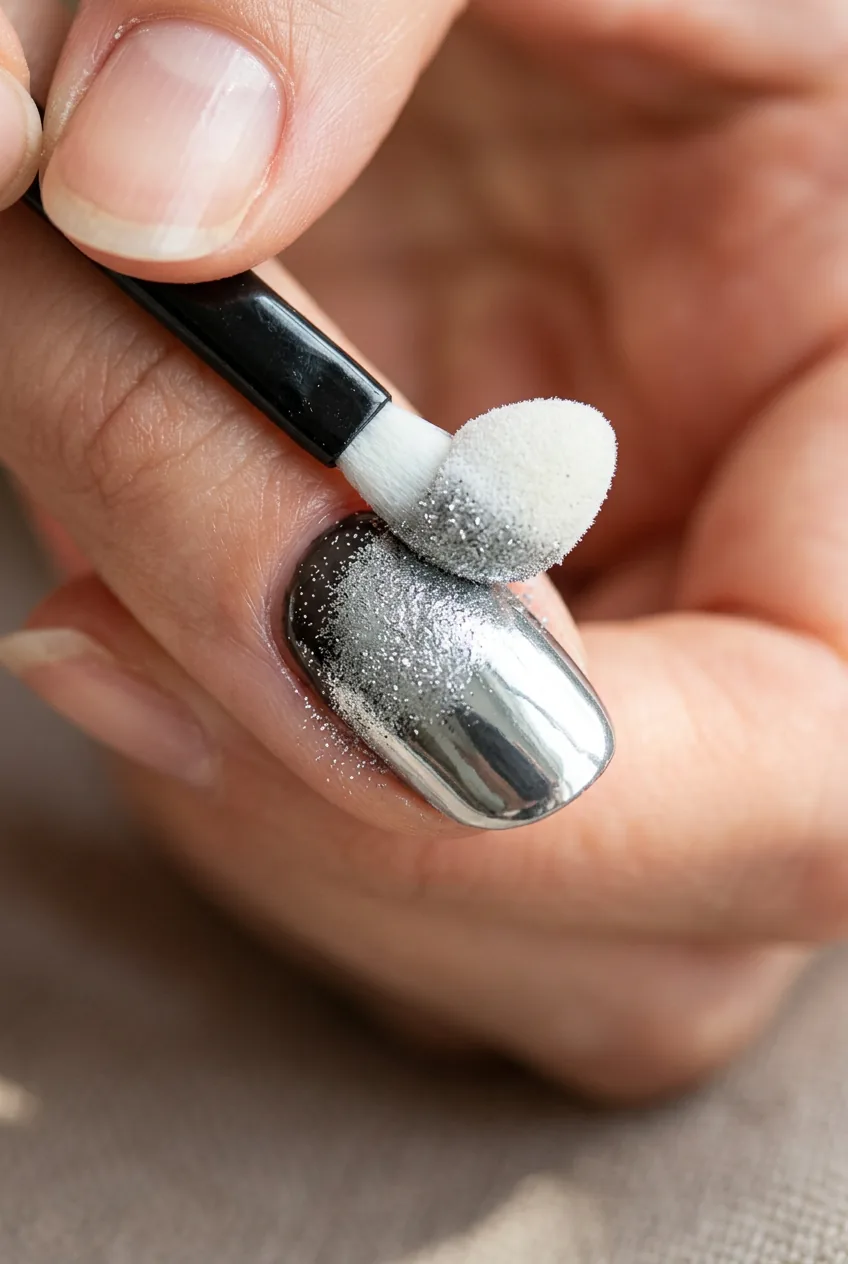
Once the first nail looks mirror-like, use a clean lint-free wipe (dry, no acetone) to gently dust away any loose powder around the edges and cuticle before moving to the next nail. Loose powder will end up sealed under the final top coat and look gritty if you don’t remove it now. Do all ten nails in this step before moving on.
See the Chrome Buffing Technique in Real Time
Step 7: Seal It All In
Apply one final layer of your no-wipe top coat over the chrome. This seals the powder, protects the finish, and adds depth to the mirror effect. Cure for sixty seconds minimum — I always go ninety on the final top coat. The chrome will intensify slightly once sealed, which is genuinely exciting to watch happen under the lamp.
Once cured, apply a generous drop of cuticle oil to each nail and massage it in. Your cuticles have been through a lot in the last hour or two, and the oil also adds a subtle glow around the nail edge that makes the whole manicure look more expensive. I use a jojoba-based oil, but anything will work. The oil does not affect the gel seal.
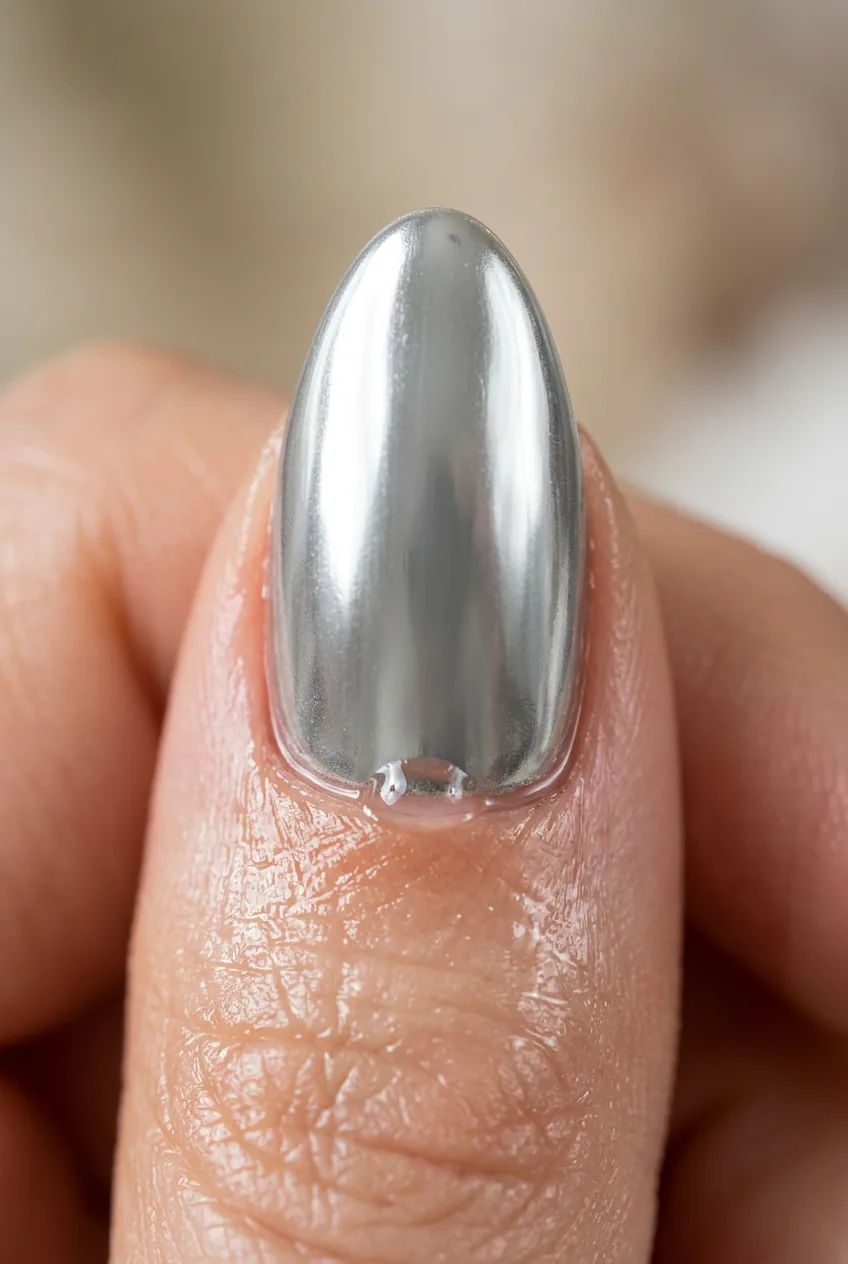
If you want a fully effortless minimalist nails manicure routine going forward, this sealed chrome finish is genuinely low maintenance — no chips showing the way a regular polish chips, and the monochrome design means there’s no multi-color contrast to betray any regrowth for the first couple of weeks.
The Step Most People Skip
If you read nothing else in this post, read this section. The single most common reason chrome manicures fail at home isn’t the chrome powder application — it’s the cure time on the base color before the no-wipe top coat goes on.
My first attempt at chrome nails failed because I applied the no-wipe top coat over base color that wasn’t fully cured. The color had a slightly soft layer underneath, and when I buffed the chrome powder in, it literally moved the top coat around and created ripples. The whole nail looked like crumpled foil. I had to soak off and start over. Cure your base color fully — every coat, every nail, no exceptions. That’s the lesson.
There’s another step people rush: the dusting-off stage between chrome application and final top coat. Loose powder that gets sealed under the top coat creates a grainy texture that you can feel with your fingernail and see in certain light angles. It ruins the mirror effect. Spend the extra thirty seconds dusting each nail before you seal.
I also want to mention cuticle prep as an honourable mention for most-skipped. You can learn about proper cuticle care before you start — clean, pushed-back cuticles mean your top coat applies closer to the skin line, which gives that professional salon finish. Ragged cuticles show up more in monochrome looks because there’s nothing else to distract the eye.
Where I Am Now
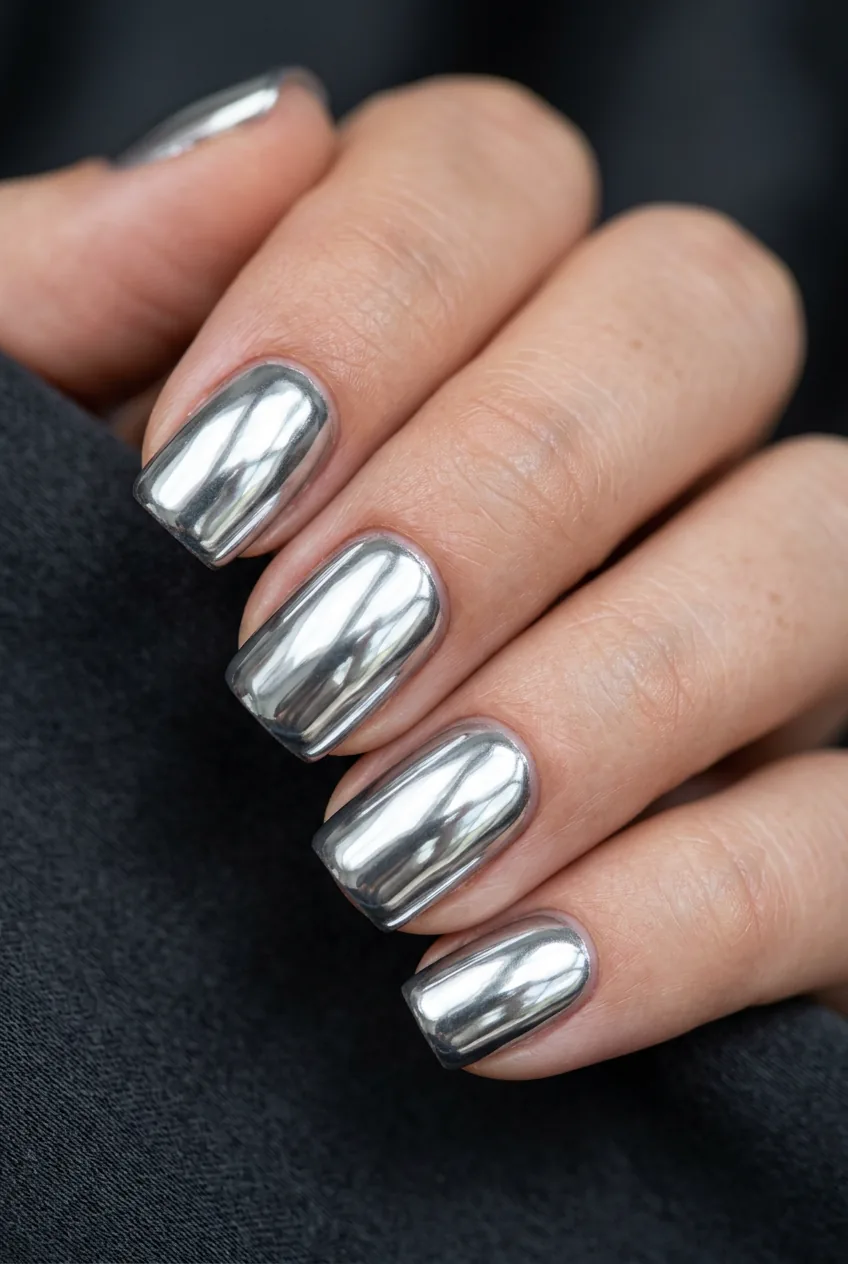
Two weeks after that Sunday experiment, my nails looked better than they had in over a year. The chrome held without a single chip. The monochrome base color — that deep charcoal — disappeared under the silver chrome in a way that made the whole nail look like a single piece of liquid metal rather than a polish layered on top of a nail. The ridges I was so worried about? Almost invisible under a smooth sealed chrome surface. The staining on my free edge? Covered completely by the deep base.
I’ve repeated this method three times since and each time takes me about ninety minutes, which is honestly not bad for a result that looks like a full salon visit. This is also a look I reach for when I want something that feels sleek for winter — it genuinely belongs in any winter nails rotation because the cool-toned chrome reads almost icy. And if you want to explore where this sits philosophically in the world of nail design, the nail designs manicure project for a two-hour window is a great companion read — this chrome method fits almost exactly in that time bracket.
The before was peeling, stained, and ridged. The after was mirror-flat, high-gloss, and completely monochrome. That turnaround in a single session is what made me want to write this down. You don’t need perfect nails to start. You just need to follow the steps in order and not skip the curing.
For anyone curious about how chrome powder bonds to gel — the chemistry of why the no-wipe top coat works is genuinely interesting and worth understanding before you buy your supplies, because not all top coats are created equal for this purpose.
Quick Answers
Can I do chrome powder over regular nail polish instead of gel?
Technically yes, but the results are significantly less mirror-like. Regular polish doesn’t create the same tacky surface as a no-wipe gel top coat, so the chrome powder doesn’t bond the same way. You’d get a shimmer effect rather than a true chrome mirror finish. For the look shown here, gel is the way.
How long does a chrome gel manicure last?
With proper prep and a full seal coat, mine typically lasts two to three weeks without chipping. The chrome finish itself stays mirror-like for the full duration — it doesn’t dull the way glitter does. The main thing that shortens longevity is skimping on the base prep, especially the dehydrator and primer step.
Does the chrome color have to match the base color exactly?
For a true monochrome effect, yes — keep everything in the same tonal family. A cool-toned black or charcoal base pairs with silver or gunmetal chrome. A warm nude base pairs with gold or rose gold chrome. Mixing temperature families (cool base, warm chrome) creates contrast rather than a unified monochrome finish.
Do I need an expensive LED lamp for this to work?
No — I use a mid-range 36-watt LED lamp that cost me around $25. What matters more than price is wattage and cure time consistency. Just follow the cure time guidelines on your specific gel products rather than guessing. Under-curing is the villain here, not the lamp brand.
Will chrome powder work on short nails?
Absolutely — in fact, I’d argue it looks even more striking on shorter nails because the mirror finish makes each nail look like a tiny jewel rather than a statement length. The squoval shape I mentioned in Step 2 is especially flattering on shorter nails with chrome. Don’t let length hold you back.