


I used to panic every time someone’s birthday was coming up and I wanted my nails to match the celebration vibe. Would they look too extra? Would I mess them up? Would people think I was trying too hard? Then I realized something — birthday nails are supposed to be fun, not stressful. After way too many failed attempts at complicated designs I found on Pinterest, I created this foolproof method that works even if you’ve never done nail art before.
Your Birthday Nail Journey Starts Here
- It’s Okay If You’ve Never Done This Before
- The Only Tools You Actually Need
- Step 1: Prep Like It’s No Big Deal
- Step 2: Create Your Birthday Base
- Step 3: Add the Celebration Elements
- Step 4: Layer in the Fun Details
- Step 5: Seal Everything Perfectly
- Step 6: Clean Up Like a Pro
- Where Beginners Usually Mess Up (And It’s Fine)
- How to Know You’re Doing It Right
It’s Okay If You’ve Never Done This Before
Birthday nails aren’t about being perfect. They’re about celebrating and having fun with color. I spent years thinking I needed steady hands like a surgeon to pull off anything festive. Wrong.
The beauty of birthday nail designs is that they’re supposed to be a little over-the-top. Glitter that’s slightly messy? That’s festive energy. Colors that don’t match perfectly? That’s party spirit. Your first attempt doesn’t need to look like it belongs in a nail magazine.
I’m going to walk you through creating birthday nails that celebrate without overwhelming you. This method works whether it’s your own birthday, your best friend’s, or you just want to add some joy to a random Tuesday.
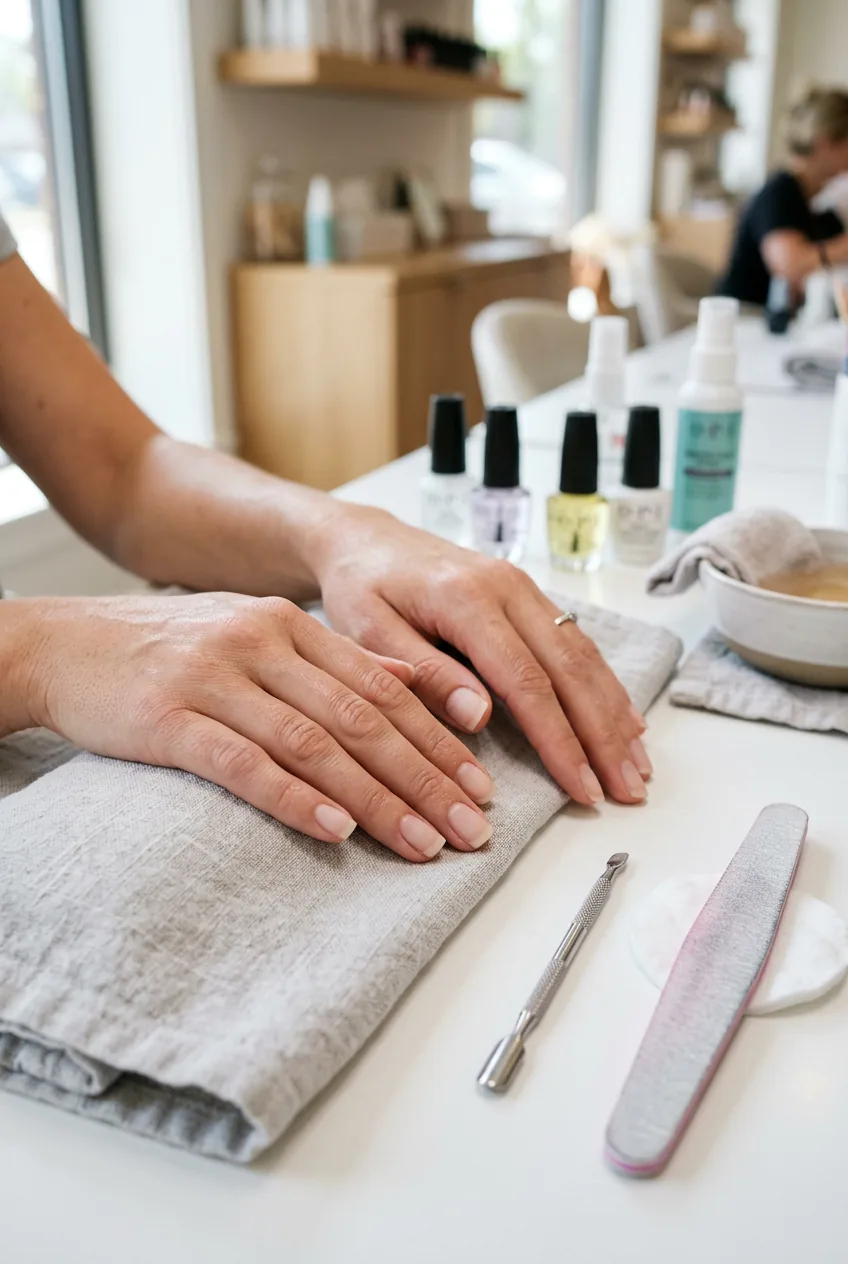
The Only Tools You Actually Need
Forget the intimidating nail art kit with forty different brushes. Here’s what actually matters:
- Base coat (any drugstore brand works)
- Two coordinating nail polish colors (I love a bright pink and a complementary gold)
- Fine glitter polish or loose glitter
- Top coat (this is where you don’t want to cheap out)
- Small dotting tool or the end of a bobby pin
- Thin nail art brush OR a regular small paintbrush
- Nail file and buffer
- Cuticle pusher
- Cotton swabs
- Nail polish remover
That’s it. No fancy lamp required. No gel system. Just regular polish and some creativity.
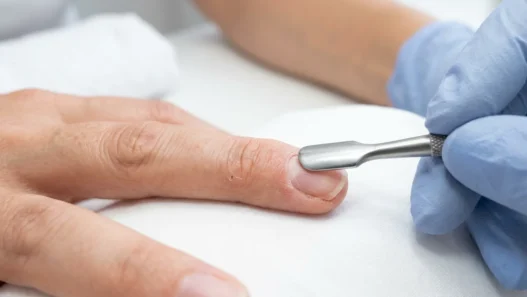
Step 1: Prep Like It’s No Big Deal
Remove any old polish completely. Don’t try to paint over chips — it never works how you think it will. Push back your cuticles gently. File your nails into your preferred shape. I go for rounded because they’re the most forgiving for beginners.
Buff the surface lightly to remove any ridges. Your nails don’t need to be perfect, but they should be smooth enough that polish won’t catch on bumps.
Clean each nail with a cotton swab dipped in nail polish remover. This removes oils that can make polish chip faster. Apply your base coat to all ten nails and let it dry completely. And I mean completely — rushing this step ruins everything that comes after.
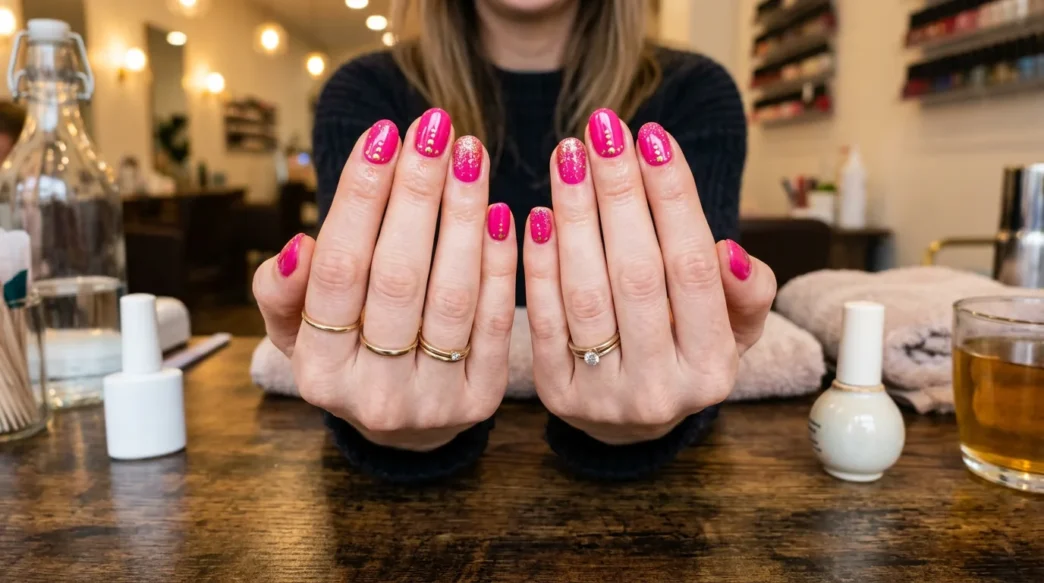
Step 2: Create Your Birthday Base
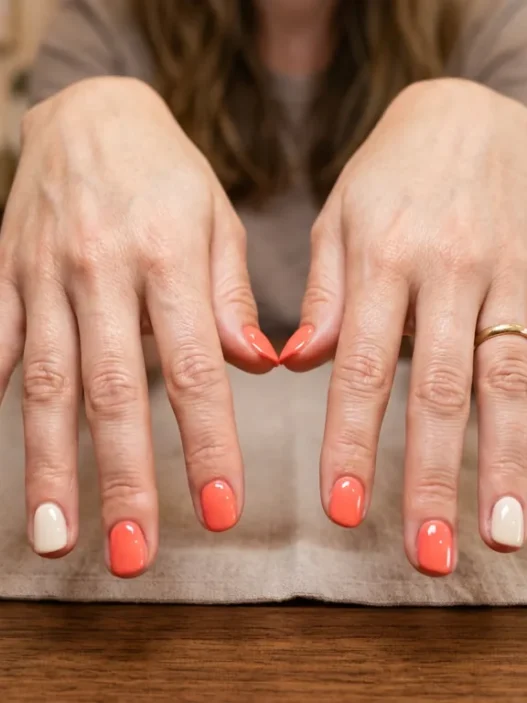
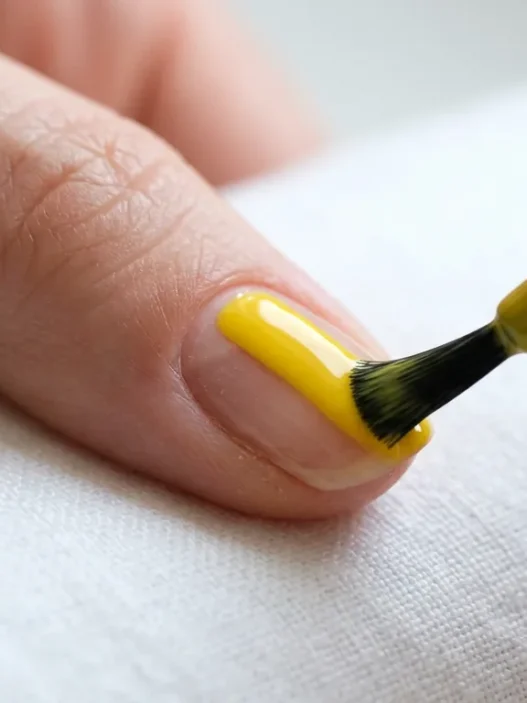
Choose your main birthday color. For me, it’s usually a bright, happy shade — think hot pink, coral, or a cheerful purple. Apply two thin coats rather than one thick coat. Thick coats take forever to dry and get bumpy.
Let the first coat dry until it’s no longer tacky to the touch, then apply the second. This creates the perfect base for your celebration elements. The color should be opaque and even.
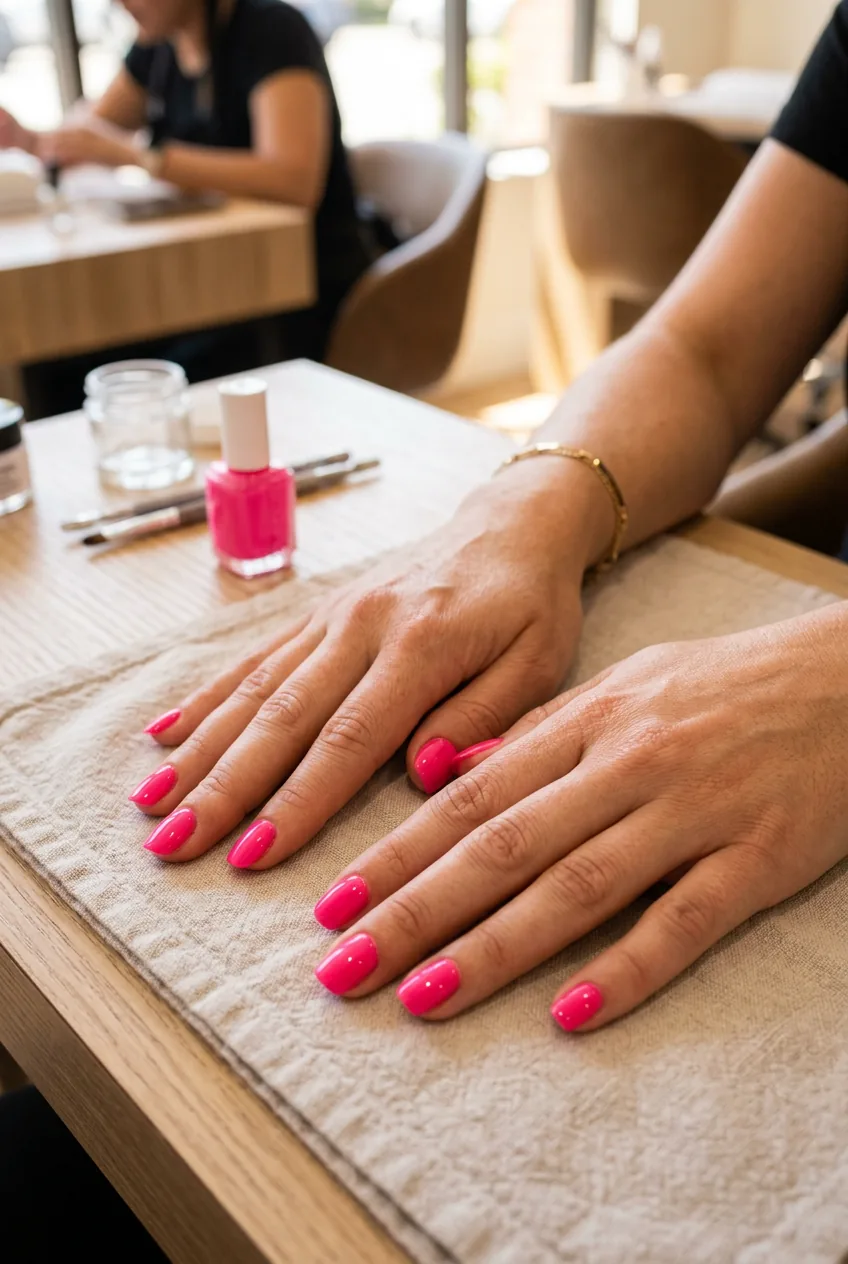
Don’t panic if the polish isn’t perfect right to the cuticle. We’ll clean that up later. Right now, focus on getting good coverage on the nail itself.
Step 3: Add the Celebration Elements
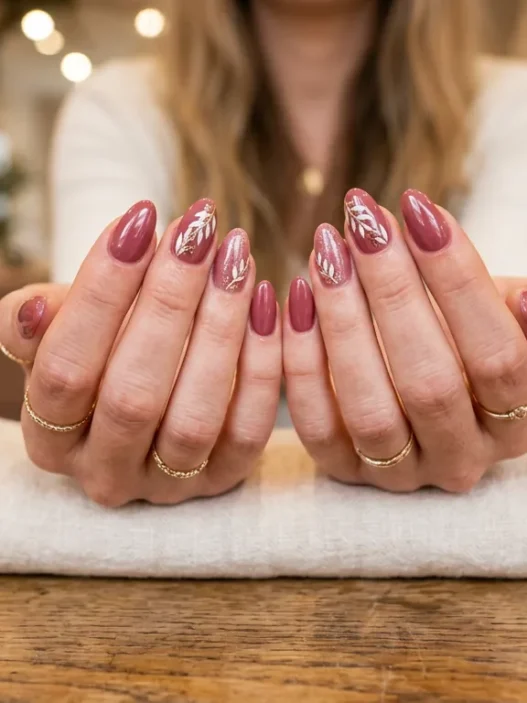
Here’s where birthday nails get fun. Take your second color (I usually go with gold or silver for contrast) and create simple dots using your dotting tool. Don’t try to make them perfectly round or evenly spaced. Birthdays are about joy, not precision.
Make dots in different sizes. Some big, some small. Cluster a few together on some nails, scatter them randomly on others. This creates visual interest without requiring advanced skills.
If dots feel too basic, try tiny lines or dashes instead. Use the thin brush to draw short, random strokes that look like confetti. The key is keeping it loose and playful.
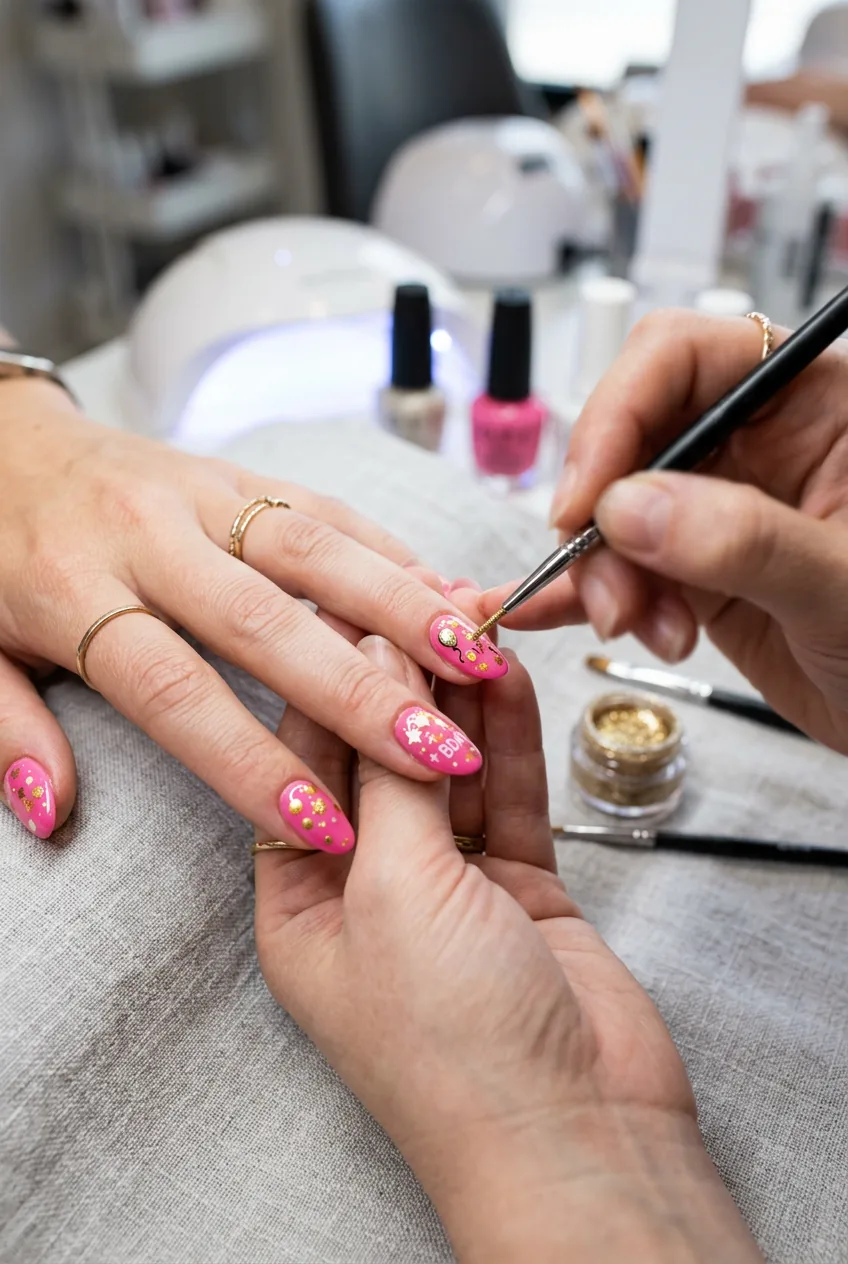
Step 4: Layer in the Fun Details
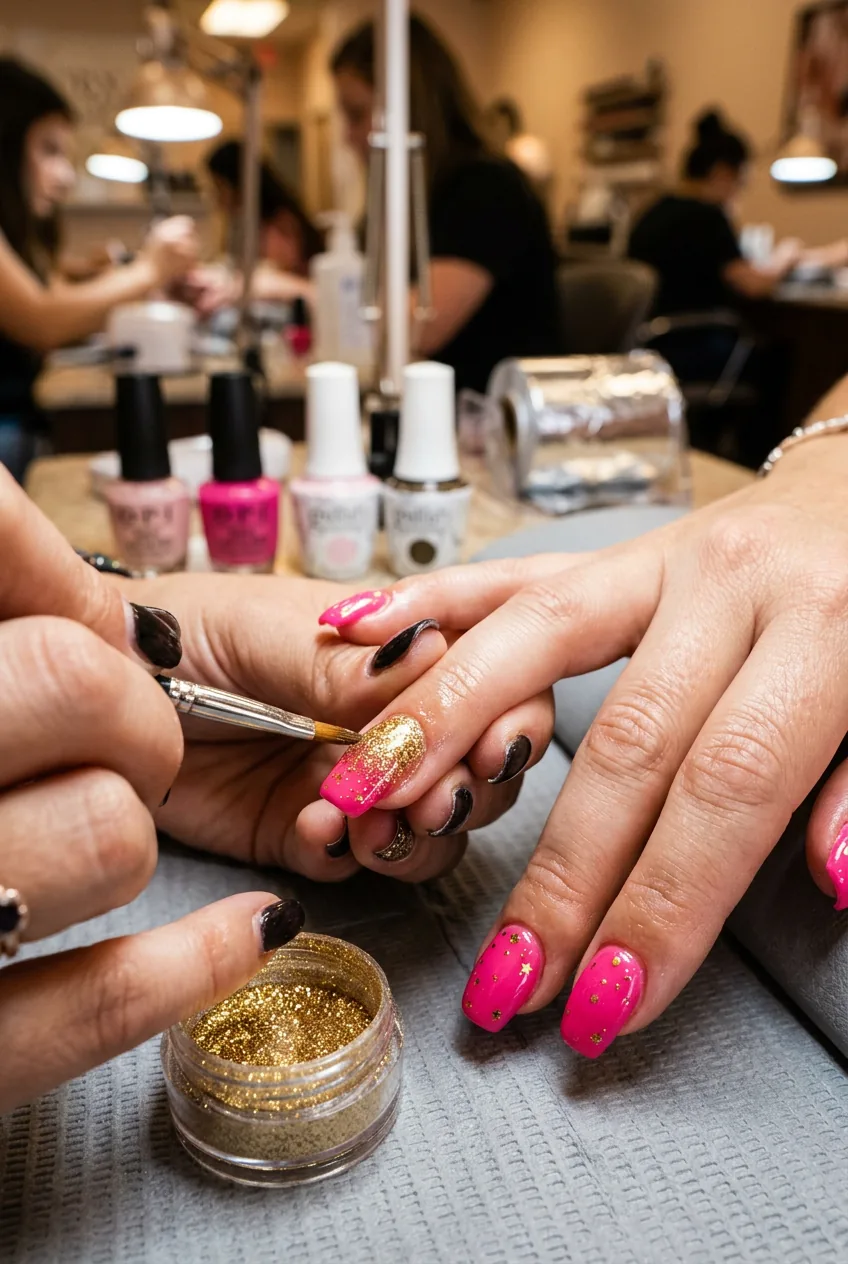
This is where everything comes together. Add your glitter — but strategically, not everywhere. I like to concentrate glitter near the cuticle area on accent nails, or create a glitter gradient that fades toward the tip.
If you’re using loose glitter, apply it while your dots or design elements are still slightly wet. It’ll stick better that way. If you’re using glitter polish, dab it on with the brush rather than painting strokes.
Consider making one nail different from the others. Maybe add extra dots, more glitter, or even attempt a simple design like a tiny balloon shape. This accent nail approach takes pressure off making every nail identical.
I used to try making every nail exactly the same and would get so frustrated when they didn’t match. Then I realized that birthday parties aren’t uniform — they’re wonderfully chaotic. Once I embraced the slightly mismatched look, my birthday nails actually started looking intentional instead of sloppy.
Watch This Glitter Technique
Step 5: Seal Everything Perfectly
Let all your design elements dry completely before applying top coat. This is crucial — wet glitter or polish underneath will smear and ruin everything you just created.
Apply top coat in thin, even strokes. Start in the middle of the nail and work outward. Don’t go back over areas you’ve already painted — this can cause streaking or pull up your design.
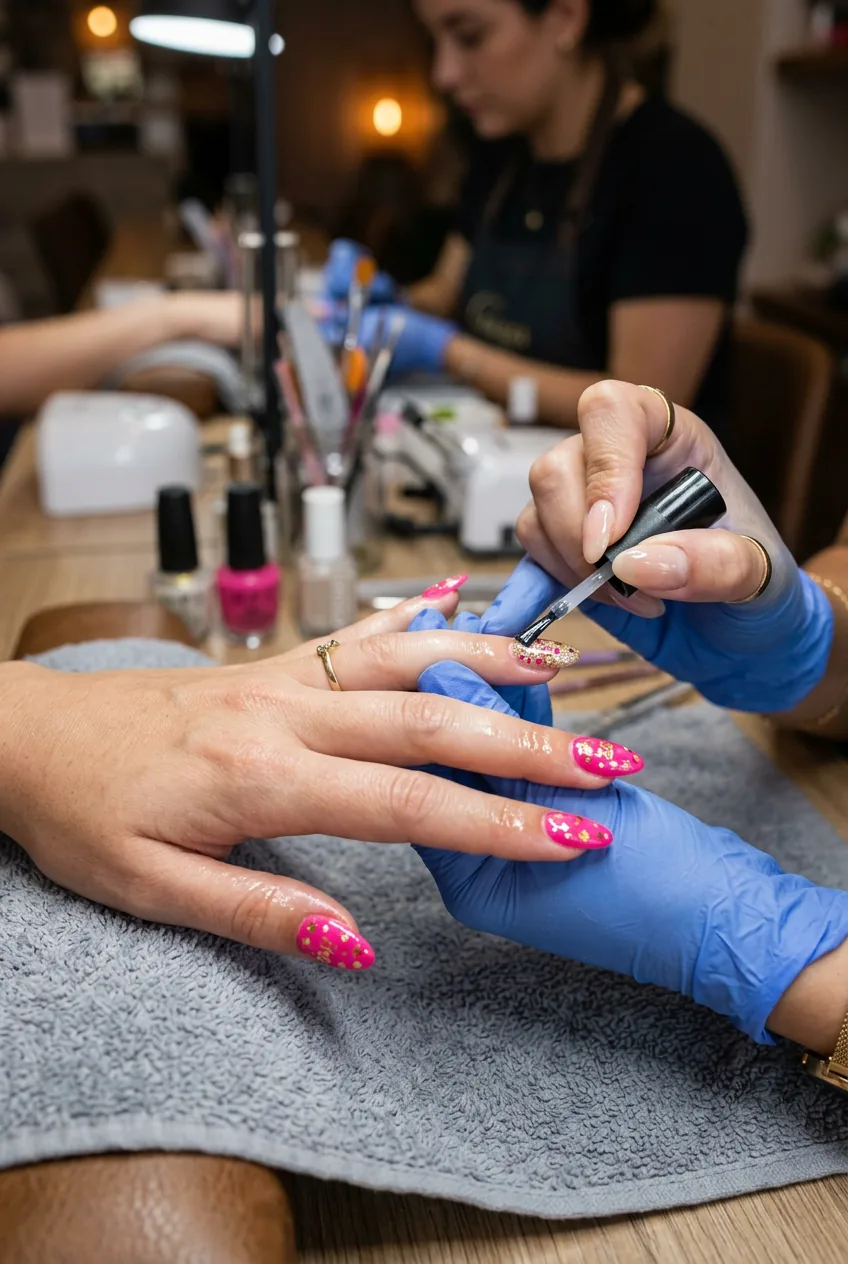
The top coat should seal everything and create a smooth, glossy finish. This step makes the difference between nails that look homemade and nails that look professionally done.
Step 6: Clean Up Like a Pro
Once everything is completely dry, it’s cleanup time. Dip a cotton swab in nail polish remover and carefully clean around the cuticle area and sides of each nail. Work slowly — you don’t want to accidentally remove part of your design.
For stubborn spots, use the cotton swab to gently scrub. If you accidentally remove some polish from the nail itself, don’t panic. Just touch up with your base color and re-seal with top coat.
Apply cuticle oil around each nail when you’re finished. This makes your hands look polished and professional, plus it feels amazing.
Where Beginners Usually Mess Up (And It’s Fine)
The most common mistake? Rushing the drying time between steps. I get it — you’re excited to see the final result. But wet polish is your enemy. Each layer needs to be completely dry before you add the next one.
Another thing I see beginners do is try to fix mistakes while the polish is still wet. Stop. Let it dry, then fix it with remover and a clean brush. Trying to fix wet polish just spreads the problem around.
And here’s the thing about nail care health that nobody talks about — your first attempt won’t be perfect. That’s completely normal. The goal is to have fun and celebrate, not to win a nail art competition.
How to Know You’re Doing It Right
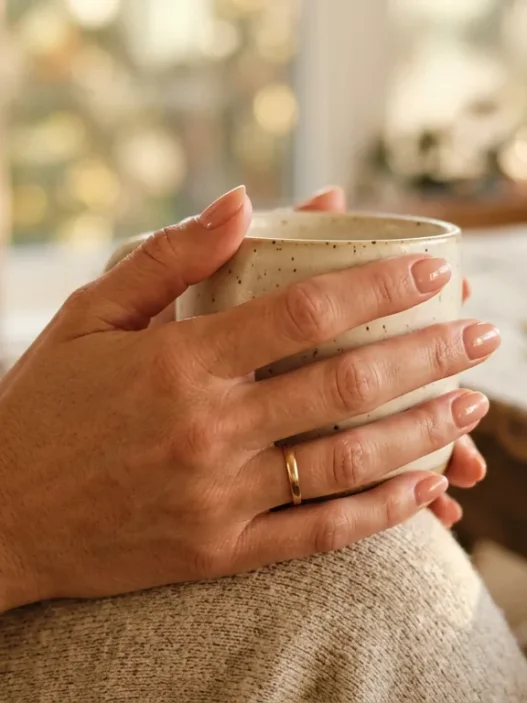
Good-enough birthday nails look festive and fun, even if they’re not technically perfect. The colors should be bright and celebratory. The design elements should add interest without overwhelming the base color. Everything should be sealed smoothly under top coat.
Most importantly, they should make you smile when you look at your hands. Birthday nails are about capturing that excited, happy feeling you get when you’re celebrating something special.
If you’re thinking about seasonal options beyond birthdays, those same spring nail trends can work beautifully for celebrations too. And honestly, mastering this basic celebration technique will give you confidence for other spring nails designs down the road.
Quick Questions About Birthday Nails
How long should I expect this to take?
Plan for about 90 minutes total, including drying time between steps. The actual painting takes maybe 30 minutes, but you need patience for proper drying.
Can I do this without any nail art experience?
Absolutely. This method was specifically designed for complete beginners. The “imperfect” look is actually part of the charm with birthday nails.
What if I don’t have a dotting tool?
Use the round end of a bobby pin, the tip of a pencil eraser, or even a toothpick. You don’t need special tools for simple dots.
How long will birthday nails last?
With proper base and top coat, expect 5-7 days before you see significant chipping. The glitter elements actually help hide minor chips longer than solid colors.
Should I practice before the actual birthday?
If it’s for a really important celebration, yes. But remember — birthday nails are supposed to be spontaneous and fun, not stressful. Even a “practice round” counts as celebration.
My first attempt at birthday nails was for my own birthday three years ago. They were definitely amateur-level, but they made me feel special and festive all week. That’s exactly what birthday nails should do — celebrate you, imperfections and all. Simple techniques like these build confidence for trying more complex designs later, but honestly? Sometimes the simple celebration approach is exactly what you need.