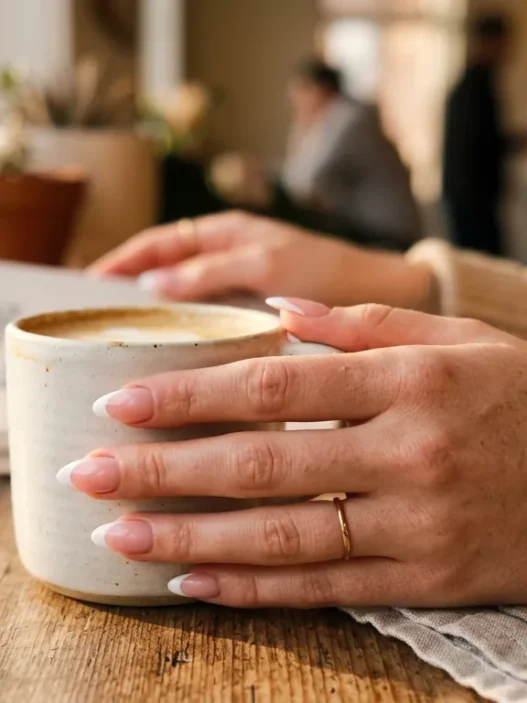


I used to scroll through Instagram watching girls flip their hair with those perfect, fierce baddie nails and honestly? I was jealous. My nails were a disaster — short, uneven, and basically screaming “I gave up on myself.” But after one particularly bad nail-biting episode during finals week, I decided enough was enough. I booked myself a full afternoon and committed to the complete baddie nail transformation.
What You’ll Need
Before we dive in, let me tell you what saved my transformation. I learned the hard way that trying to do this with drugstore basics just doesn’t work for the baddie nail look we’re after:
- Press-on nails or nail forms (I swear by coffin shape)
- Nail glue and nail bond primer
- Nail file (180/240 grit works perfectly)
- Buffer blocks
- Cuticle pusher and nippers
- Base coat, color polish, and glossy top coat
- Cuticle oil
- Acetone and cotton pads
- Small detail brush for cleanup
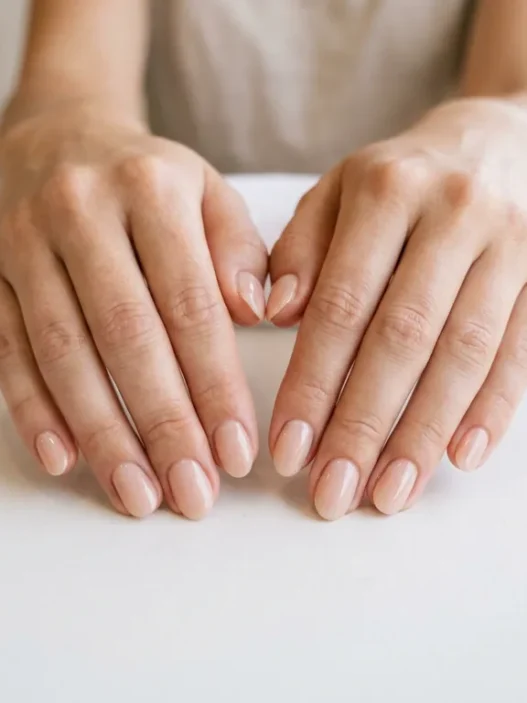
Where My Nails Started
Let me paint you the real picture of where I was starting from. My natural nails were basically nonexistent — I’d been stress-biting them for months, and what was left looked more like stubby little half-moons than actual nails. The cuticles were ragged and pushed down so far they were practically living under my nail beds.
The nail beds themselves were stained from old polish that I’d peeled off (bad habit, I know), and there were these weird ridges running vertically that made any polish look bumpy and unprofessional. Honestly, I was embarrassed to even show my hands in public. Every time I’d see girls with those gorgeous, long baddie nails, I’d automatically hide my hands.
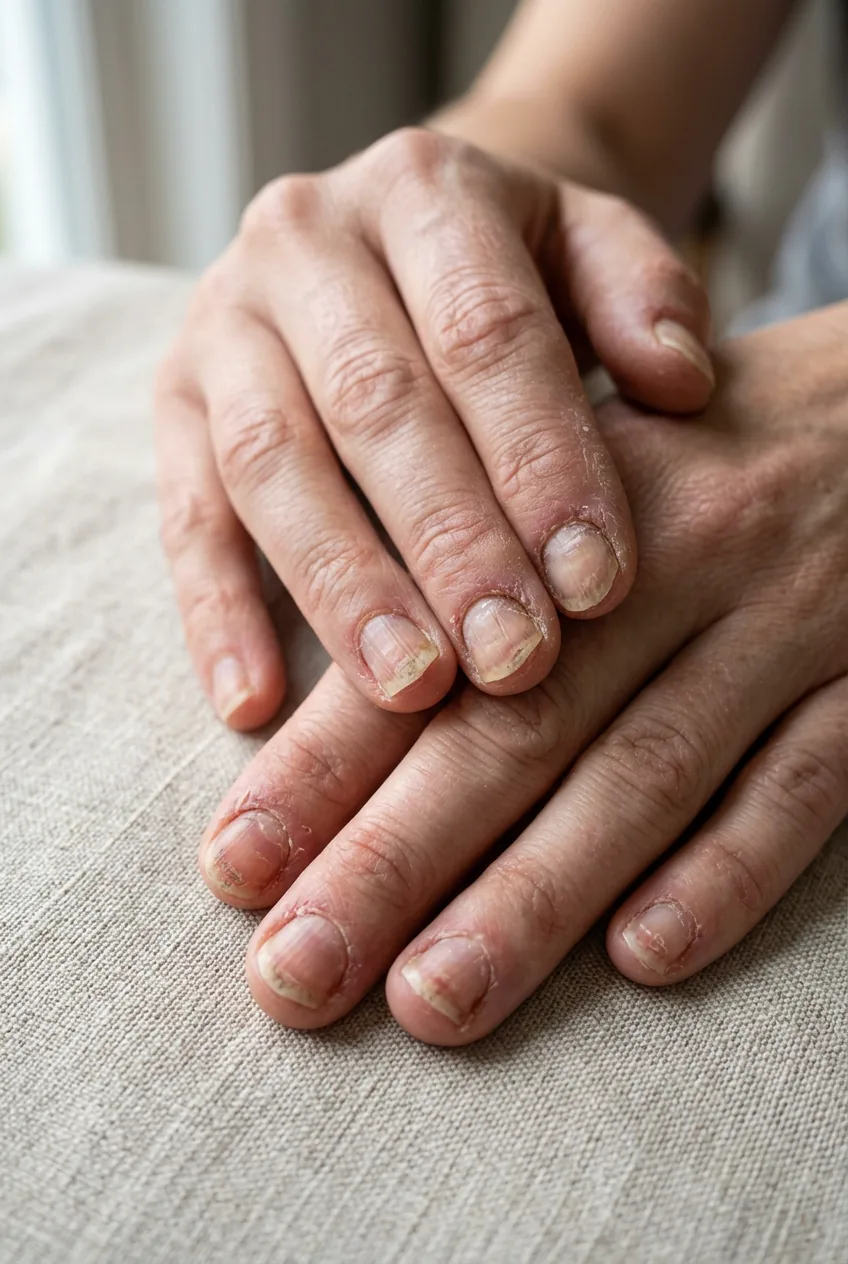
But here’s what I realized — baddie nails aren’t just about length. They’re about that whole fierce, polished attitude. And you can’t fake that with just polish over damaged nails. You need the full transformation.
The Prep That Makes Everything Possible
The prep work is honestly where most people mess up their baddie nail transformation. I used to think I could skip straight to the fun color part, but that’s exactly how you end up with nails that look DIY in the worst way.
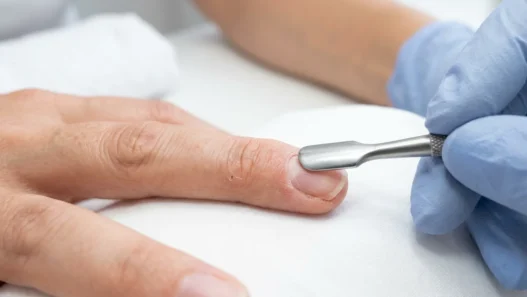
First, I soaked my hands in warm soapy water for about ten minutes. This isn’t just about cleanliness — it softens everything so the cuticle work actually goes smoothly. Then I gently pushed back each cuticle using the flat end of my cuticle pusher. The key word here is gently. I learned from watching too many detailed manicure routines that aggressive cuticle work just leads to bleeding and infection.
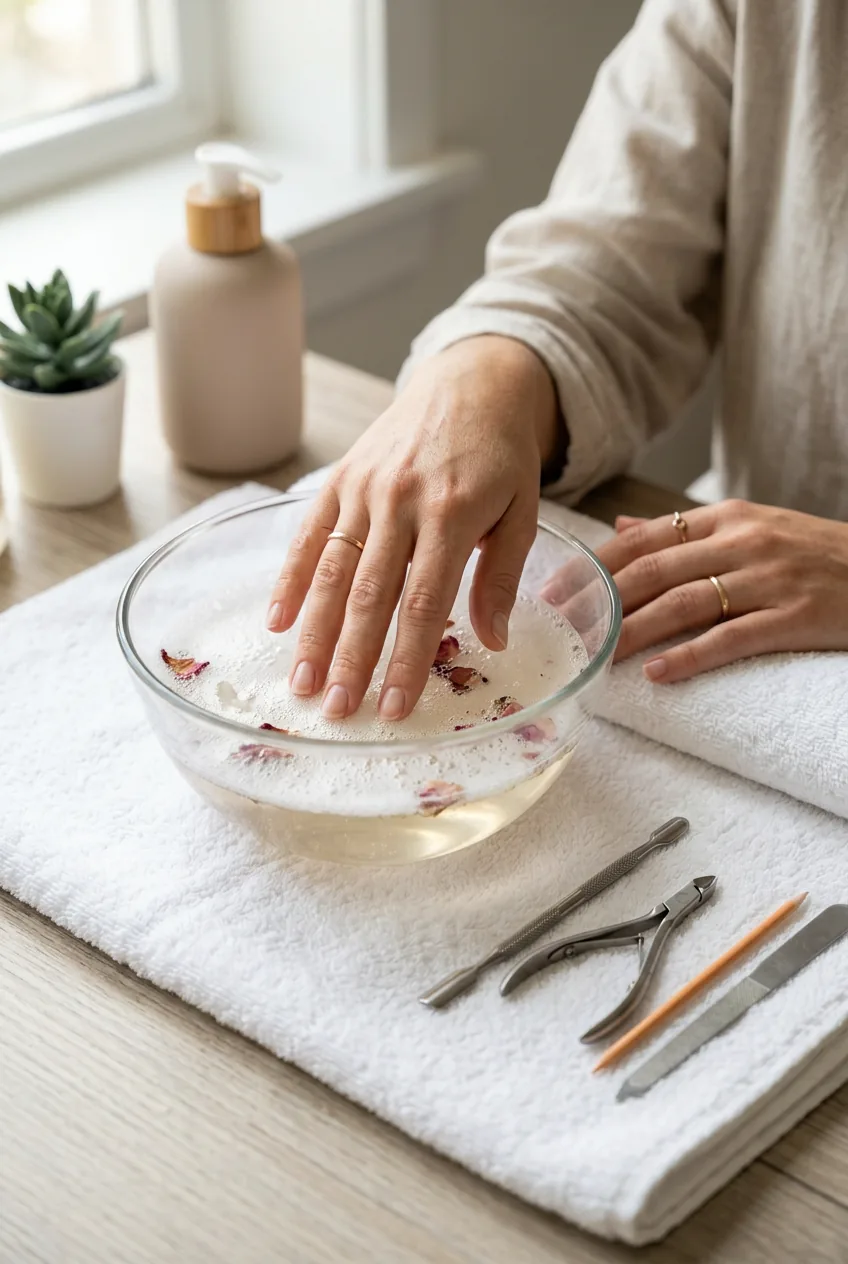
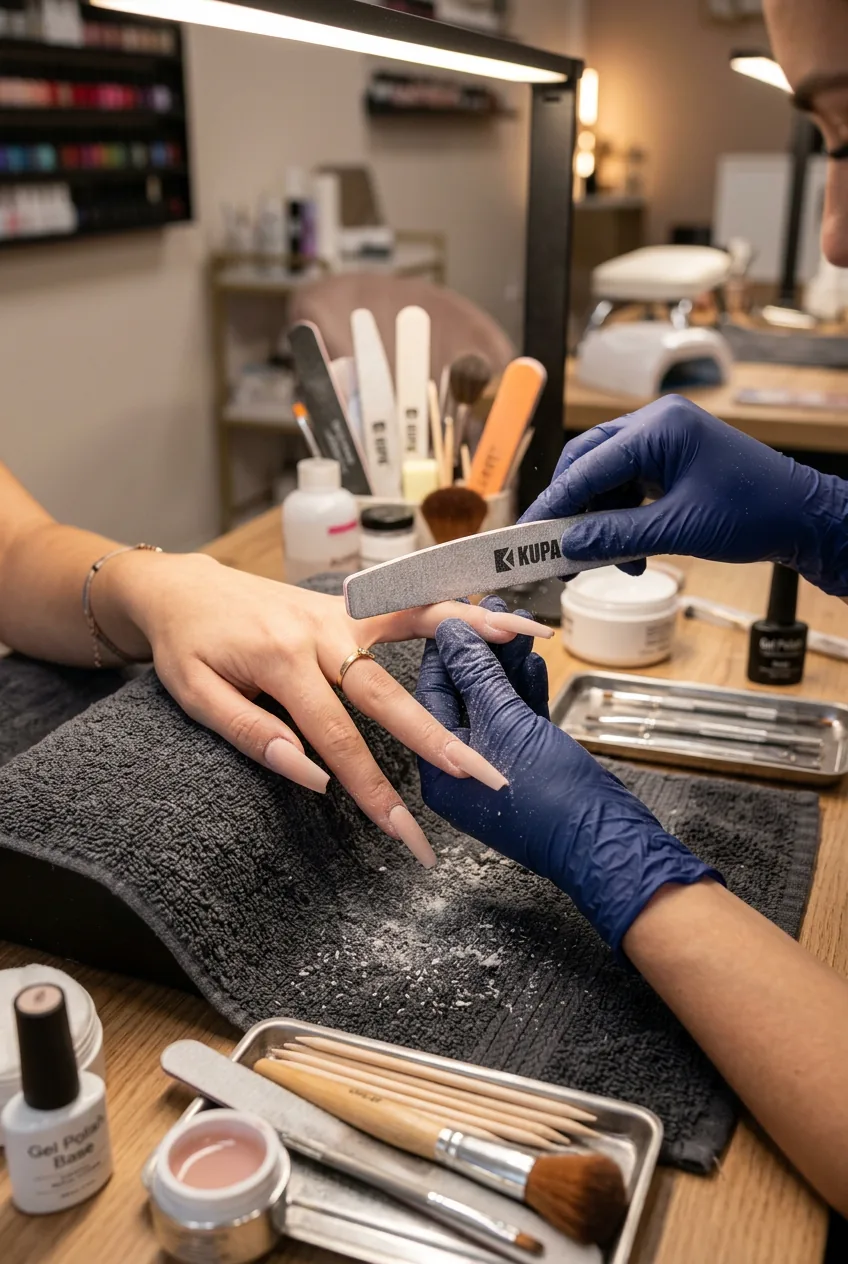
Next came the nail surface prep, which is absolutely critical for baddie nails. I filed what little natural nail I had into a uniform shape, then buffed the surface to remove those ridges and stains. The goal isn’t to thin out the nail — it’s to create a smooth, even canvas that will hold extensions properly.
I made the mistake of over-buffing my first attempt and ended up with paper-thin nails that couldn’t hold extensions. Less is definitely more when it comes to buffing — you just want to smooth the surface, not sand it down to nothing.
Creating the Perfect Base Canvas
This is where the magic starts happening. After wiping my nails with acetone to remove any oils, I applied a thin layer of nail bond primer. This stuff is like insurance for your baddie nails — it creates the grip that keeps everything locked in place.
Then comes the base coat, and this is not the time to be stingy. I used a strengthening base coat that goes on thick and glossy. The trick is to apply it in thin layers, letting each one dry completely. I did three thin coats total, which gave me that smooth, professional foundation.
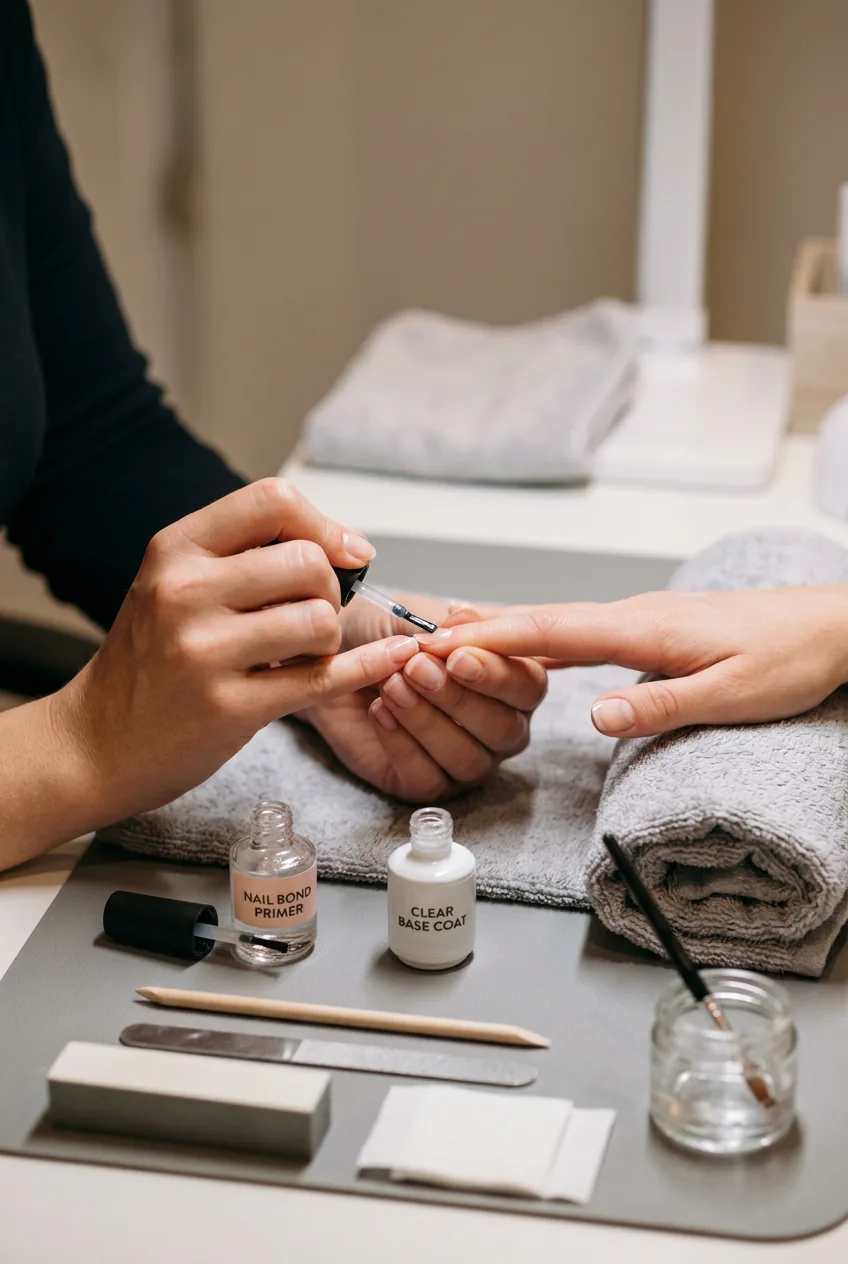
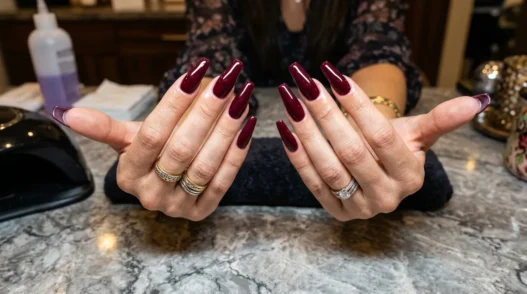
While the base dried, I prepped my press-on nails. I went with coffin shape because it screams baddie energy, but you could absolutely do this with stiletto or long square shapes too. The important thing is sizing each nail perfectly to your nail bed — too big and they’ll lift, too small and they’ll look obvious.
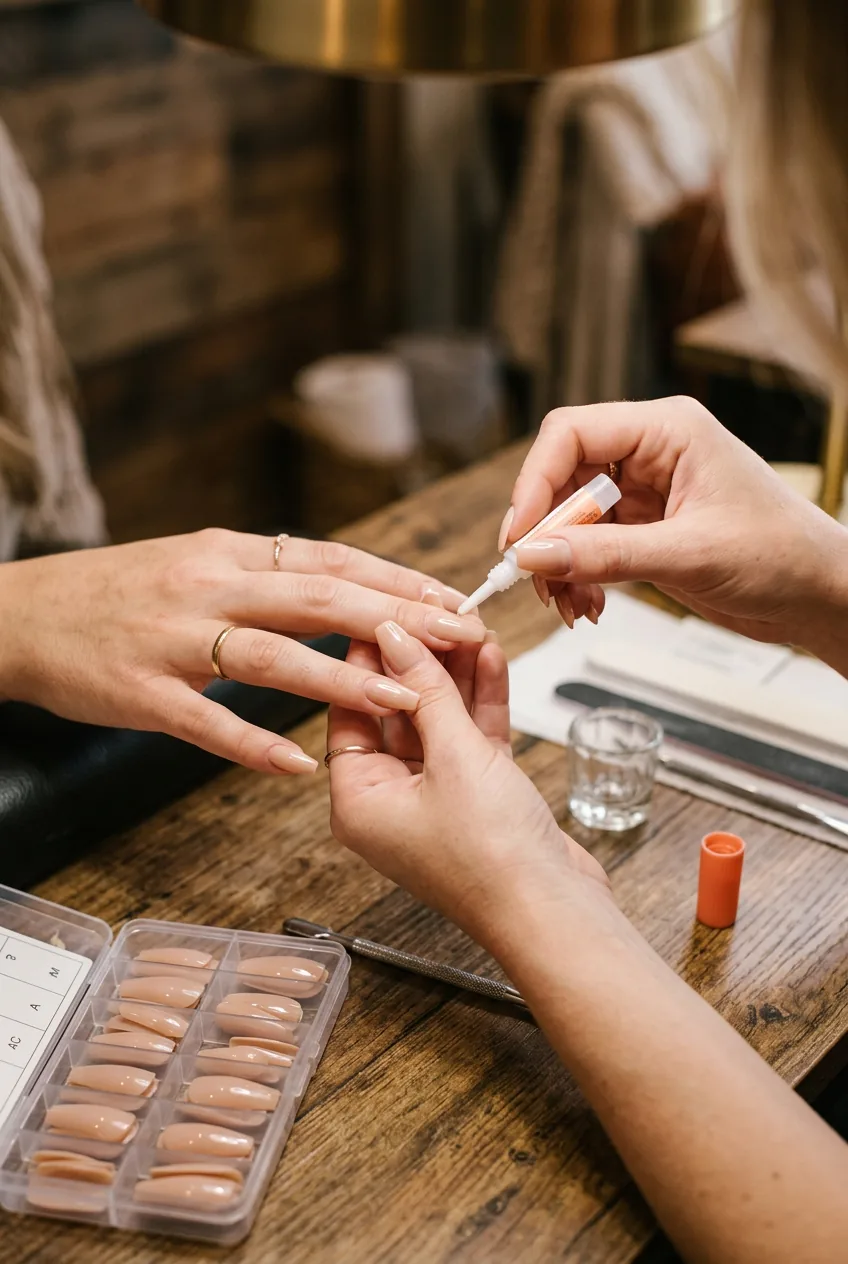
Building That Fierce Length
Here’s where your patience really gets tested, but this step makes or breaks the whole baddie nail look. I applied a small drop of nail glue to both the press-on nail and my prepared natural nail, then pressed them together at a 45-degree angle and slowly lowered to flat.
The key is holding each nail firmly for at least 30 seconds — longer if you want to be safe. I worked on one hand completely before starting the other, because trying to do them simultaneously just leads to messy mistakes.
Once all the nails were attached, I filed them to perfect the shape and blend the seam where the press-on meets my natural nail. This is the step that separates amateur from professional-looking results. I used a 180-grit file and worked in one direction only — back and forth filing creates heat that can weaken the bond.
Then I buffed the entire nail surface to eliminate any ridges or bumps where the press-on attached. The goal is a completely smooth surface that feels like one continuous nail. Professional extension methods really helped me understand the blending process.
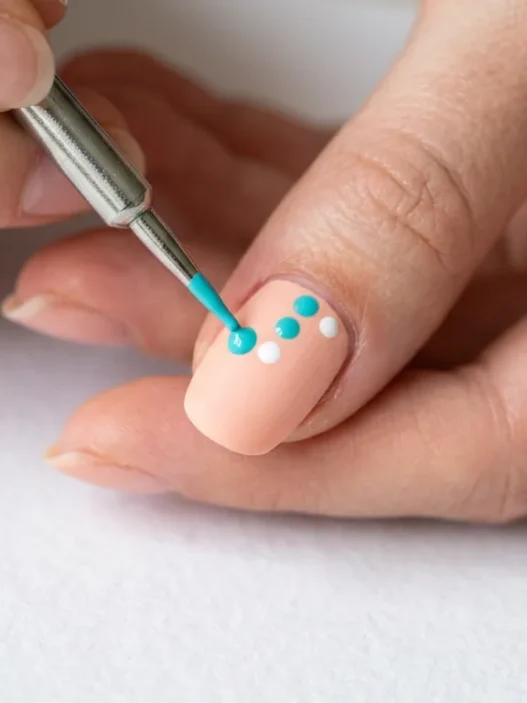
Watch the Extension Technique Live
The Color That Commands Attention
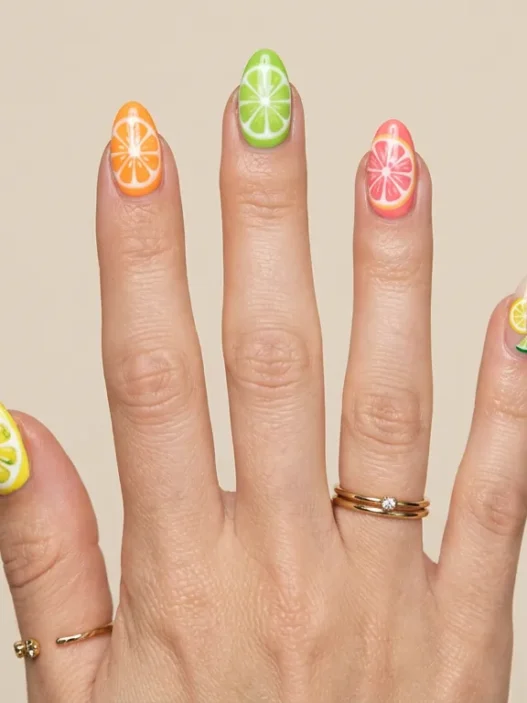
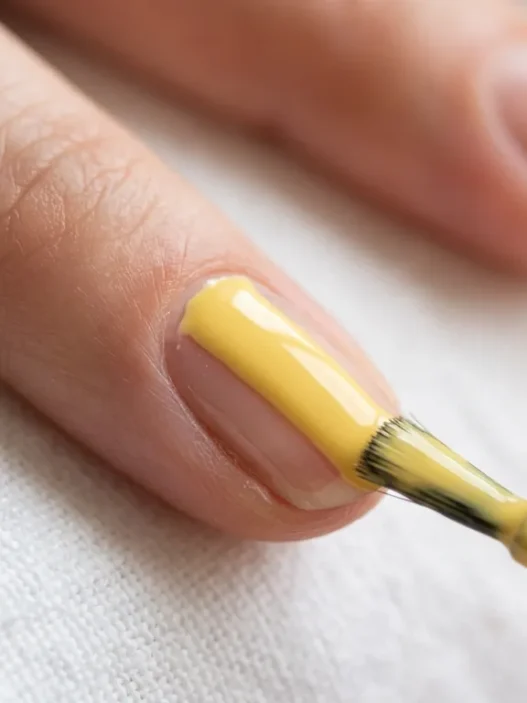
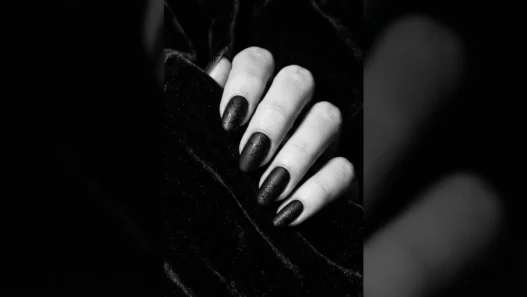
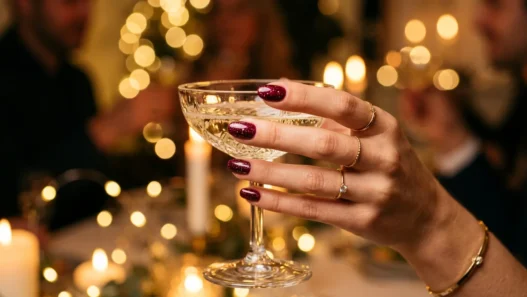
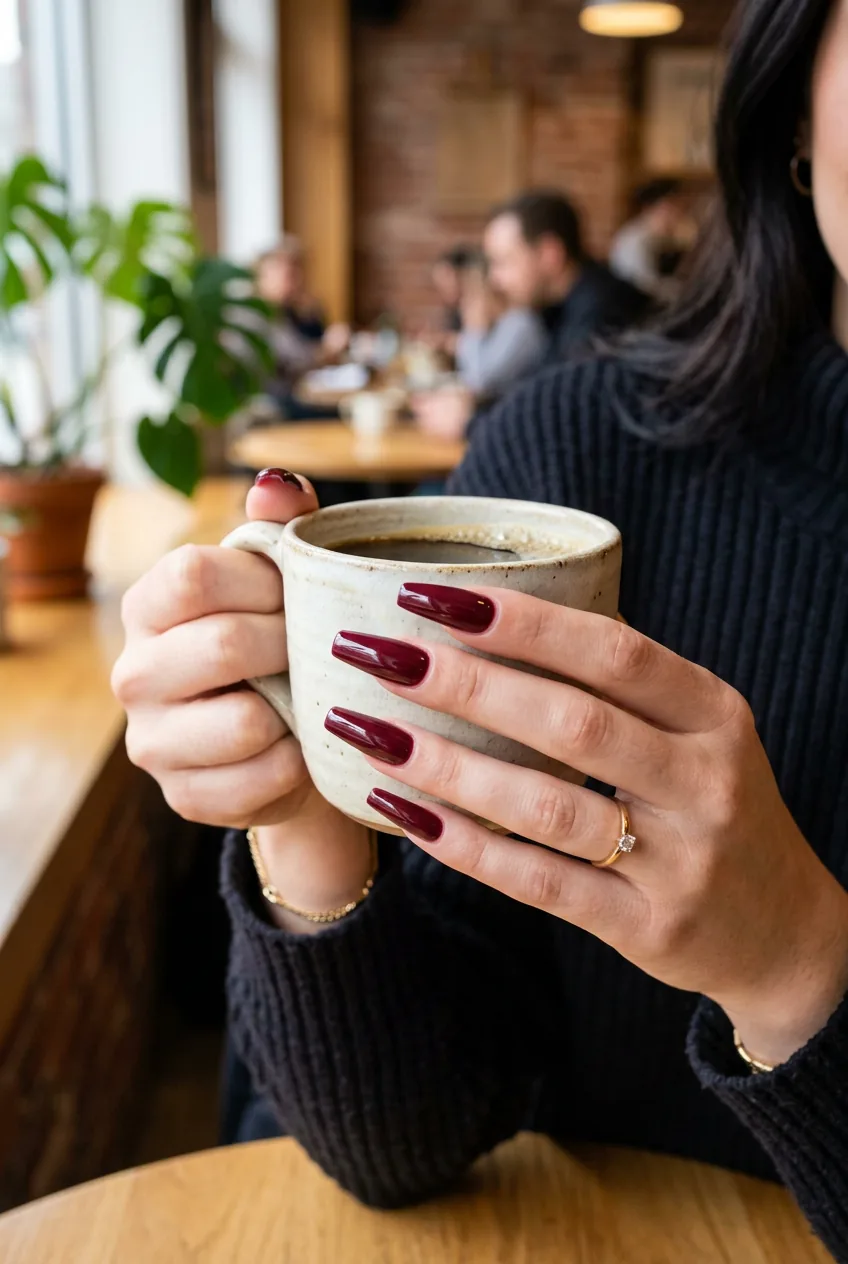
Baddie nails demand color with attitude. I went with a deep burgundy that’s almost black in low light but flashes red in the sun — that’s the kind of complexity that makes people stop and stare. But honestly, the color choice matters less than the application technique.
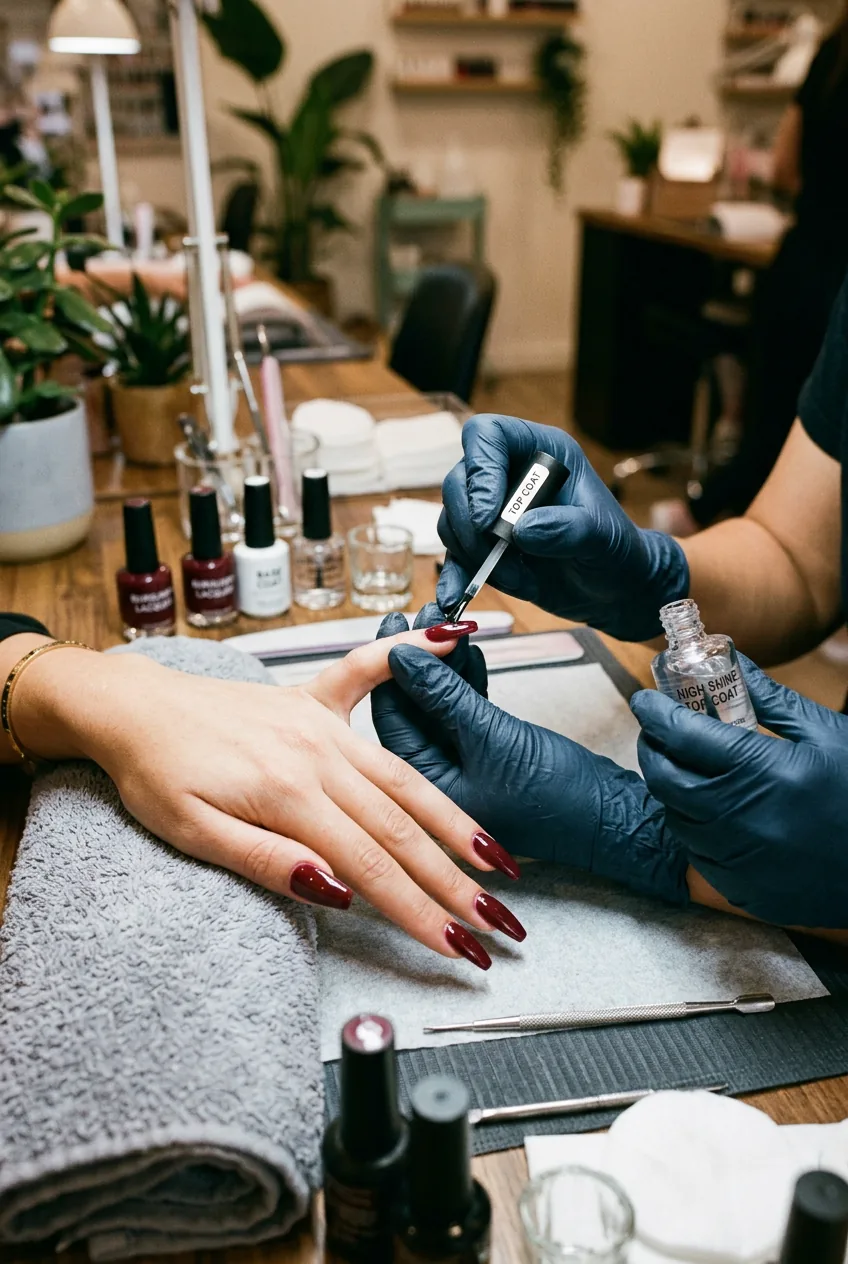
I applied the first coat super thin, just barely covering the nail. This prevents bubbling and gives you a base to build on. The second coat went on thicker, and I made sure to cap the tips — running the brush along the very edge of the nail to seal everything in.

The third coat is where the magic happens. This is when the color reaches that rich, opaque depth that screams expensive salon work. I took my time with this coat, making sure every stroke was perfect because this is what people will actually see.
Finally, the top coat — and not just any top coat, but a thick, glossy formula that adds depth and mirror shine. I applied it generously, making sure to cap the tips again. This creates that glass-like finish that catches light from every angle.
Where I Am Now
Four hours later, I had the baddie nails I’d been dreaming about. But more than that, I had this incredible confidence boost that I wasn’t expecting. There’s something about having fierce nails that makes you carry yourself differently — I found myself gesturing more when I talked, taking photos of my hands, basically becoming the girl I used to be jealous of.
The nails lasted three weeks before I needed a fill, which is honestly better than some salon work I’ve had. The key was that thorough prep work and taking time with each step rather than rushing through.
Now I do this transformation monthly, and it’s become this ritual that I actually look forward to. It’s like meditation, but with a fierce result that makes me feel unstoppable. If you’ve been intimidating yourself out of trying baddie nails, stop. Your hands deserve this level of attention, and you deserve to feel as confident as these nails will make you.
Quick Questions About Baddie Nails
How long do press-on baddie nails actually last?
With proper prep and application, they’ll last 2-3 weeks easily. I’ve had sets go four weeks, but that’s pushing it — you’ll start seeing lifting around the cuticles by then.
Can I do this if I’m a nail biter?
Absolutely — I was a chronic nail biter when I started. The extensions actually helped me break the habit because I didn’t want to ruin the work I’d put in. Just make sure to prep whatever natural nail you have thoroughly.
What’s the biggest mistake beginners make?
Rushing the prep work and trying to skip steps. The baddie nail look is all about that flawless finish, and you can’t achieve that without proper foundation work.
Do I need special tools for removal?
You’ll want acetone and some patience. Soak them off slowly rather than forcing them — your natural nails will thank you. I learned this from too many nail care mistakes in my early days.
The transformation is worth every minute you put into it. Your confidence will thank you.