


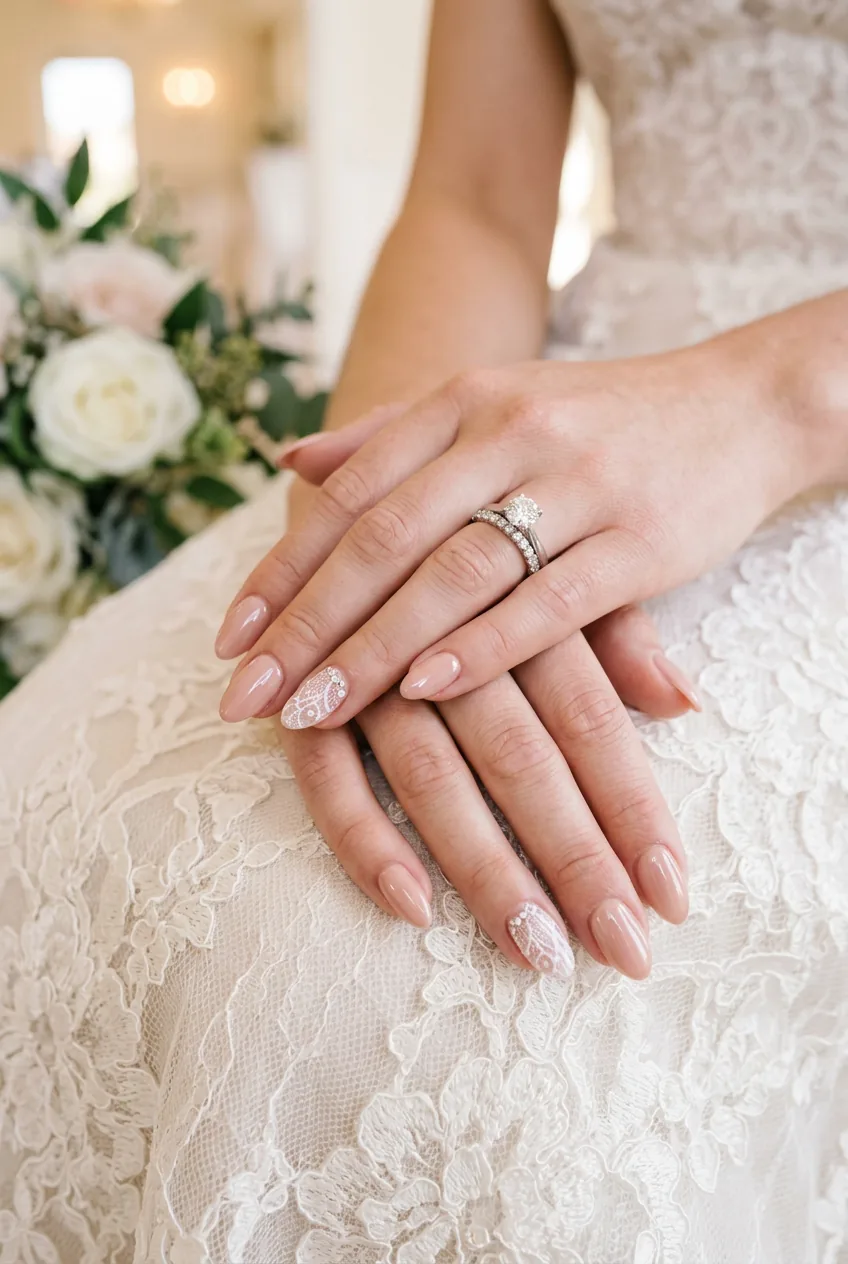
I learned this the hard way when my cousin’s destination wedding turned into a nail nightmare. Three days before flying to Hawaii, I tried a brand new gel system and had the worst allergic reaction of my life. My fingers were so swollen I couldn’t even get my engagement ring off. That’s when I realized vacation nails — especially for weddings — need serious advance planning.
Now I swear by this timeline method. It’s saved me from disasters in Cabo, the Bahamas, and most recently at my sister’s beach wedding in Charleston.
What You’ll Need
Here’s what I keep in my vacation nail prep kit:
- Cuticle oil (I’m obsessed with jojoba)
- Nail strengthener (protein-based, not formaldehyde)
- Your usual base coat, color, and top coat
- Nail file and buffer
- Cuticle pusher
- Hand cream (something rich)
- Backup polish in the same color family
- Nail repair glue (trust me on this)
Four Weeks Out: Set the Foundation
This is where most people skip ahead, and honestly, I used to do the same thing. But four weeks of prep work makes the difference between nails that chip on day two of your honeymoon and ones that look salon-fresh in every beach photo.
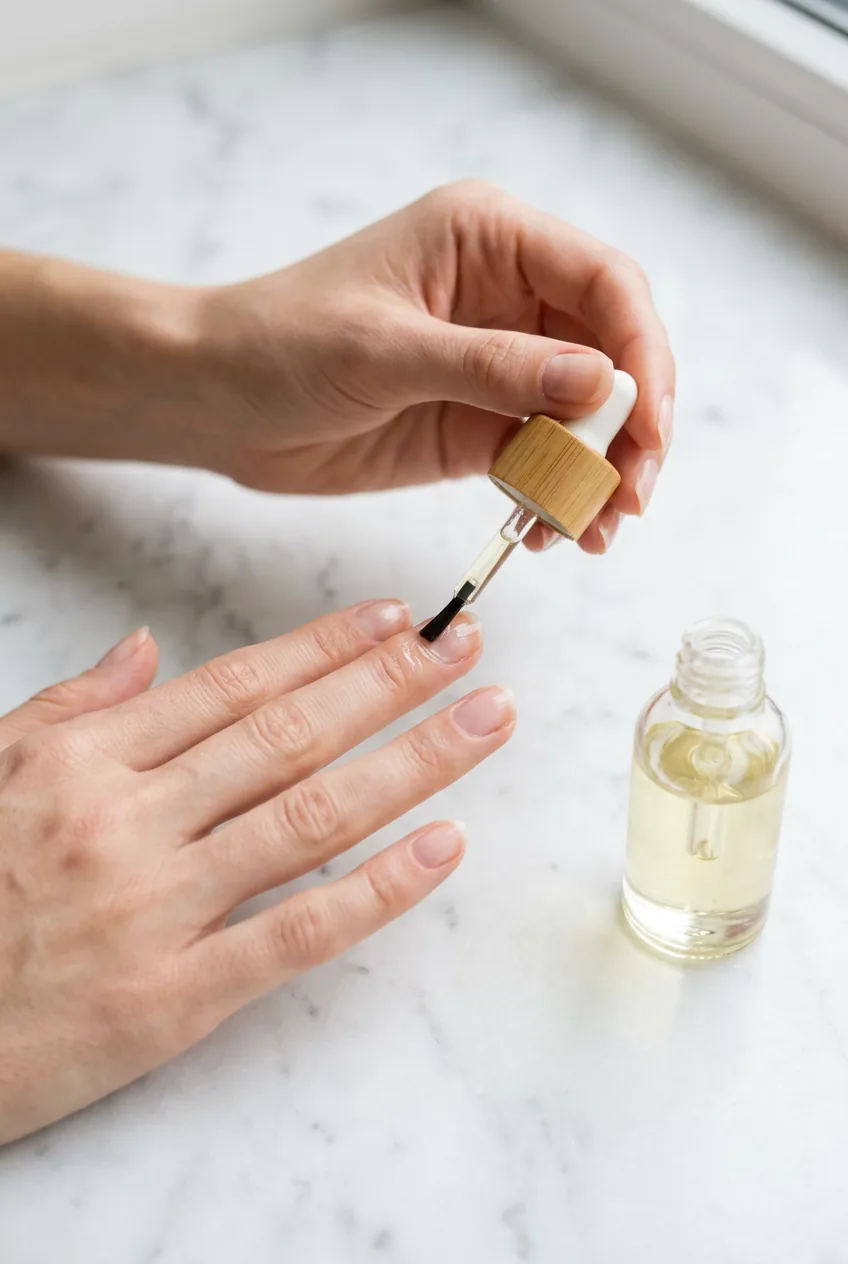
Start with daily cuticle oil. I mean daily. Set a phone reminder if you have to. Your cuticles are going to be front and center in every ring photo, every champagne toast, every hand-holding moment. Dry, raggedy cuticles ruin even the most expensive manicure.
Begin a strengthening routine if your nails are on the weaker side. I use a protein treatment every other day — not daily, because that can make nails brittle. Think of it like working out before a big event. You wouldn’t wait until the week before to start getting in shape.
And here’s something I wish someone had told me: start drinking more water now. Seriously. Your nails reflect your overall hydration, and vacation stress, travel, and different climates can dehydrate you faster than you think.
Three Weeks Out: Shape and Length Strategy
Time to get strategic about shape and length. This isn’t the week for dramatic changes — save those experiments for regular months. Vacation nails need to be practical above all else.
Consider your actual vacation activities. Beach volleyball? Maybe not the time for stiletto nails. Lots of swimming? Short natural nails might be your best friend. Rock climbing honeymoon? (Hey, I don’t judge.) Keep them really short.
I typically go slightly shorter than I normally would and stick to shapes I know work on my hands. My go-to vacation shape is a rounded square — it’s strong enough for activities but feminine enough for photos.
File them to your target length this week, then focus on maintaining that exact length until wedding day. No “oh, maybe I’ll grow them out a little more” thoughts. Consistency is key.
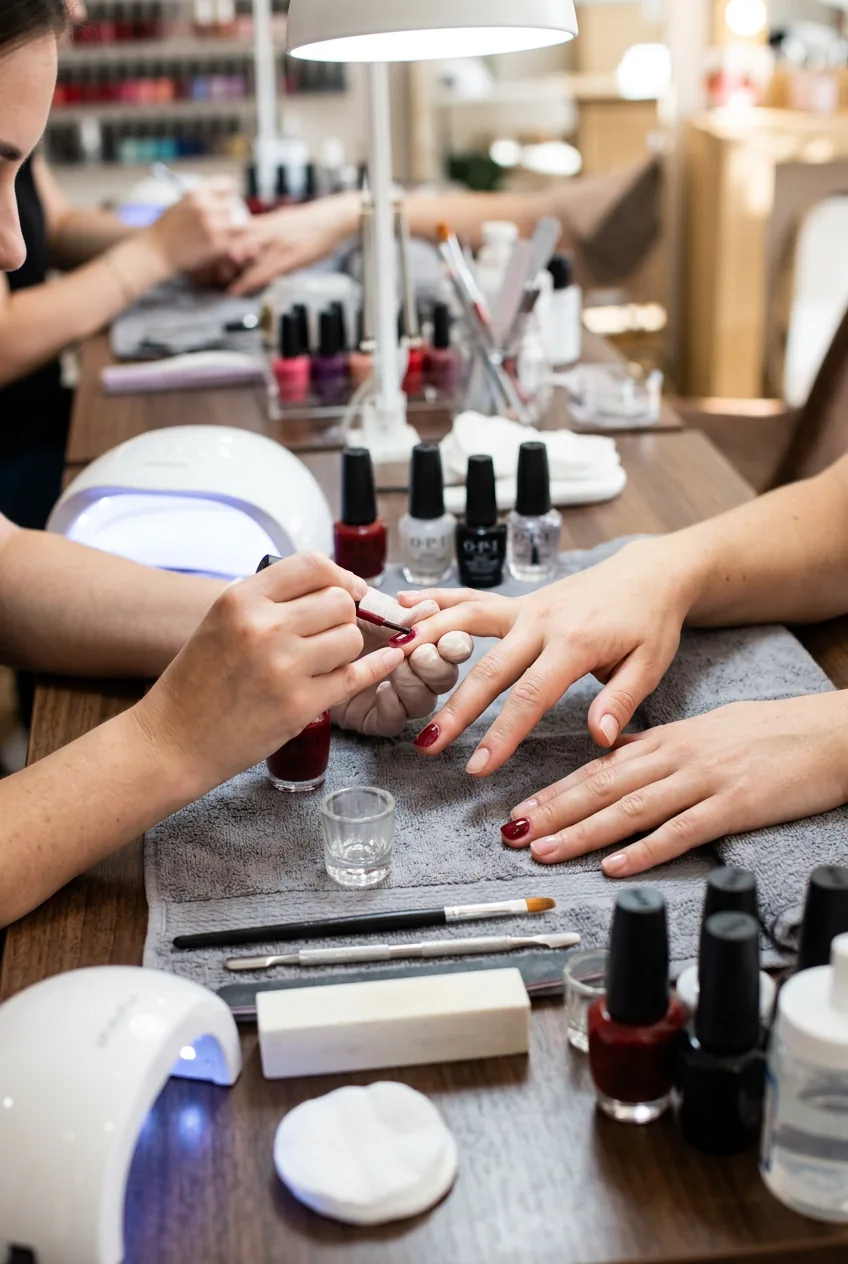
Two Weeks Out: Practice Run
This is the most crucial step, and it’s where I made my biggest mistake before that Hawaiian disaster. Two weeks out is practice run time — the exact same products, same technique, same everything you plan to do the day before your wedding.
Book an appointment with your nail tech if you’re going professional, or set aside a full evening if you’re doing them yourself. Use the exact polish combination you’ve chosen. The same base coat, the same color, the same top coat.
I thought I was being smart trying out that new gel system just two weeks before my sister’s wedding. Within hours, my cuticles were inflamed and angry. I spent the entire practice run week dealing with allergic reactions instead of perfecting my technique. Never again.
Pay attention to everything during this practice run. How long does the polish take to fully cure? Does the color look different in different lighting? How’s the chip resistance after a few days of normal activities?
Take photos of your nails in different lighting conditions. Hotel lighting is notoriously awful, and what looks perfect in your bathroom might look completely different under fluorescent resort lights.
This is also when you troubleshoot any issues. If the color isn’t quite right, you have time to exchange it. If your usual top coat isn’t holding up, you can try alternatives.
See the Practice Method in Action
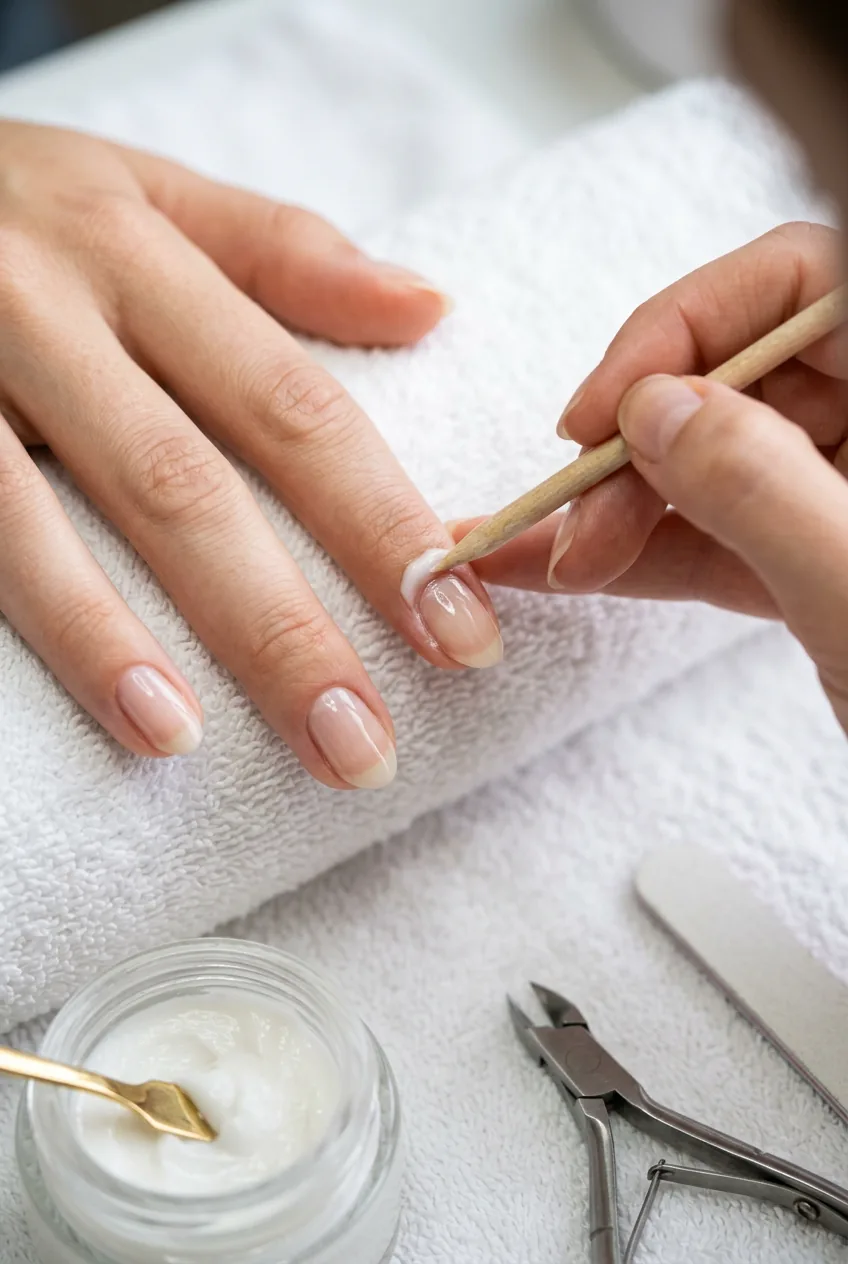
One Week Out: The Final Shape and Length Lock-In
One week out is maintenance mode only. No changes, no experiments, no “maybe I should try something different” thoughts. This week is about getting your nails in perfect condition for the final manicure.
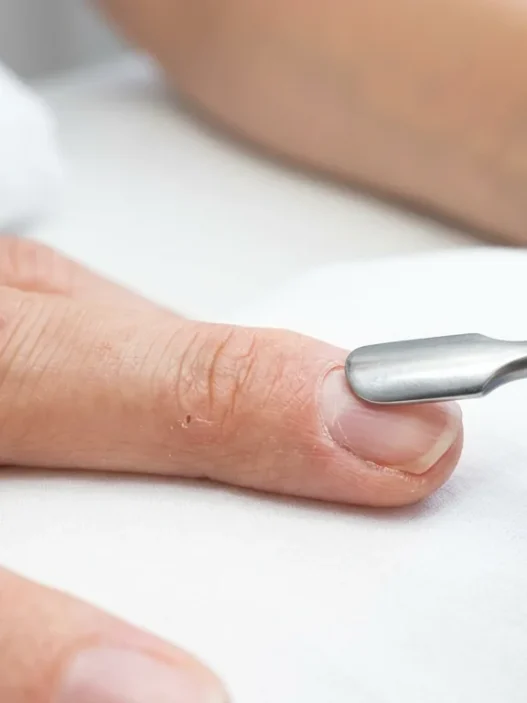
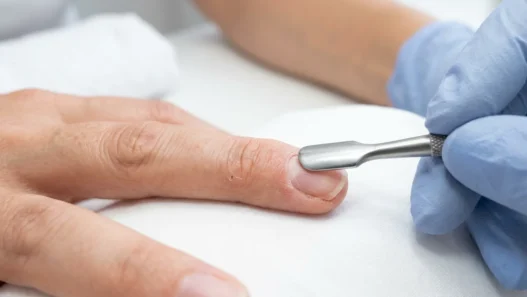
Give yourself a thorough cuticle treatment. Push them back gently, clean up any loose skin, and apply a heavy-duty cuticle cream. I like to do this the night before washing my hair so the steam from the shower helps everything absorb.
Check your length one more time and file if needed. After this week, no more filing. You want your nail beds to be completely settled and any microscopic damage from filing to heal.
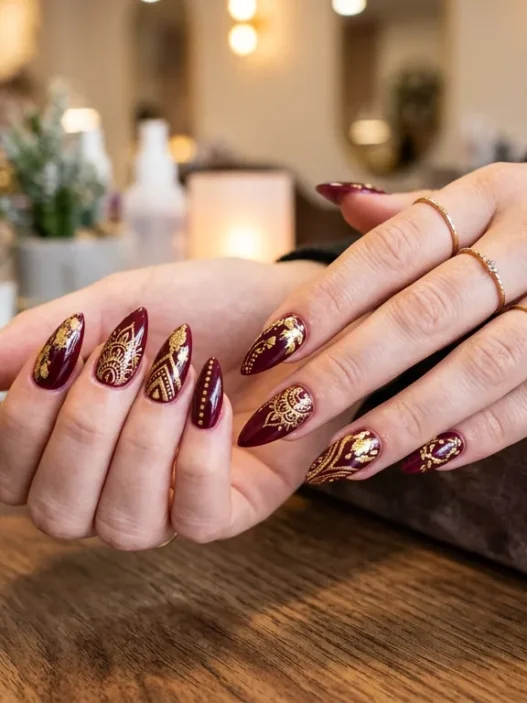
Do a final test of any nail art you’re planning. If you’re doing something intricate, practice on fake nails first. Wedding nail art can be stunning, but only if you’re confident in your execution.
Stock up on your chosen products this week. Buy backups of everything — polish, base coat, top coat, tools. Hotel gift shops don’t carry OPI, and airport nail salons are hit or miss.
Day Of: The Manicure
Finally — manicure day. I always do mine the day before travel, never the day of. Flying with wet nails is asking for smudges, and you want at least 12 hours for everything to fully cure before you start handling luggage.
Start with perfectly clean, oil-free nails. I use rubbing alcohol on a cotton pad to remove any residual oils from my cuticle treatments. This step makes base coat adhesion so much better.
Apply your base coat in thin layers. I know it’s tempting to speed through this part since you’re excited about the color, but base coat is what makes or breaks longevity. Let each coat dry completely.

For the color, I always do three thin coats rather than two thick ones. Thin coats dry faster, cure harder, and chip less. Wait between coats — I usually do my hair or makeup between nail coats to kill time.
Top coat is where you can make or break the whole look. I use a high-shine formula that promises extended wear. Apply it all the way to the tip of your nail and slightly under the edge if you can manage it without making a mess.
The final step that most people skip: cuticle oil one more time, but only after everything is completely dry. It gives your whole hand a healthy, just-left-the-salon glow.
Pack your touch-up kit in your carry-on. A small bottle of your exact color, a tiny brush for fixes, and some cuticle oil. I learned this after a baggage delay left me without my nail supplies for three days.
Quick Answers
What if I have an allergic reaction during the practice run?
Stop immediately and switch to products you’ve used before without issues. Two weeks gives you time to heal and try a different approach. Always patch test new products on your inner arm first.
Can I get gel nails instead of regular polish for vacation?
Absolutely, but do your practice run with gel too. Some people react differently to gel systems, and you want to know that well in advance. Gel definitely lasts longer for beach vacations.
How short should I keep my nails for beach activities?
I keep mine just past my fingertips — long enough to look polished in photos but short enough that sand won’t collect underneath them. Any longer and you’ll be dealing with chips from beach volleyball or swimming.
Should I bring nail polish remover on vacation?
Yes, but buy it when you arrive. TSA liquid limits make it impractical to travel with, and most destinations sell basic acetone remover. Pack cotton pads though — those are harder to find.
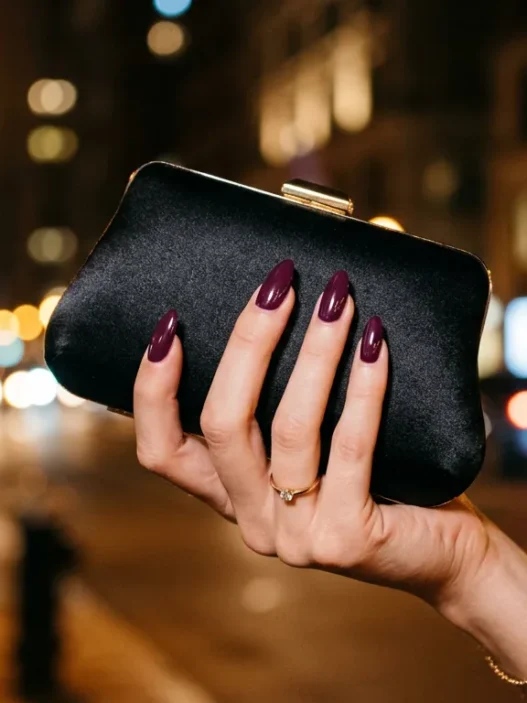
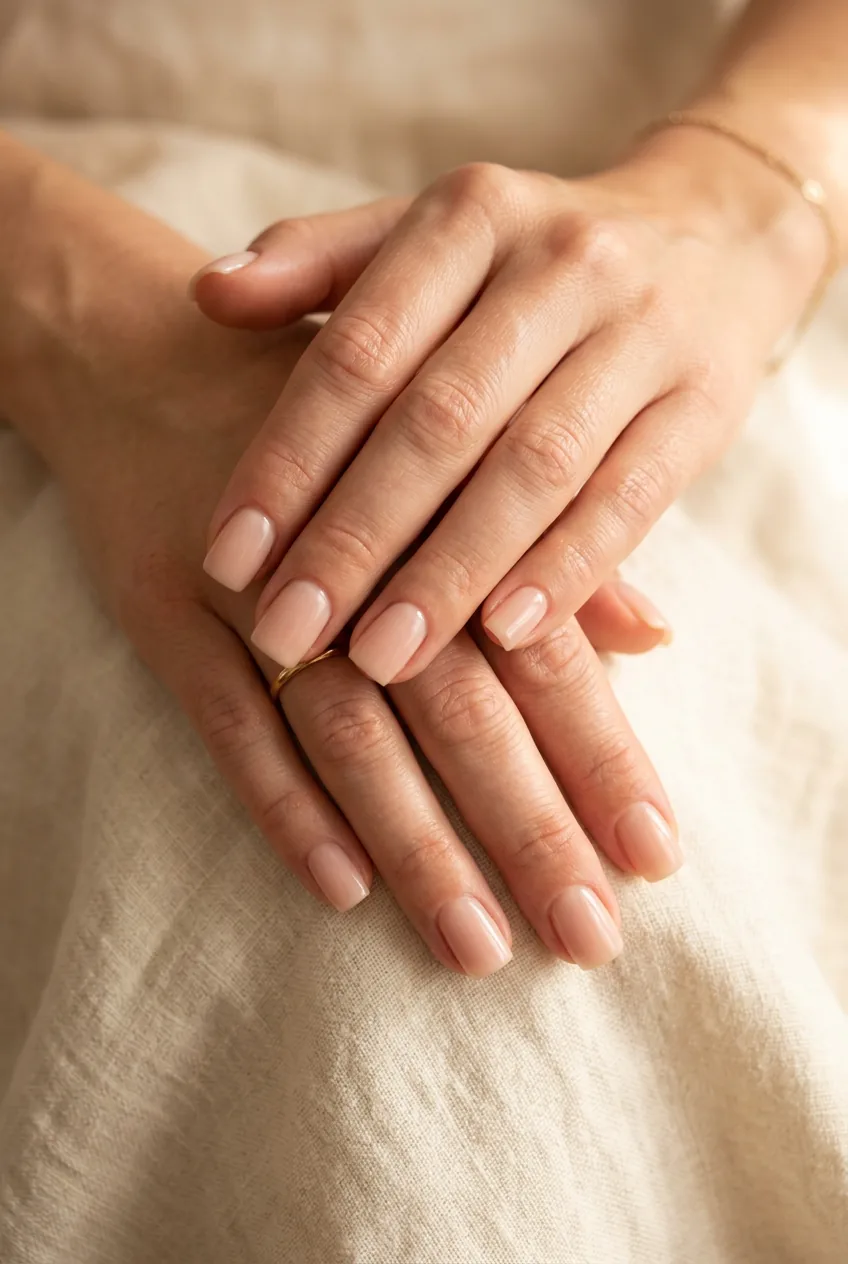
Following this timeline saved my nails at my sister’s Charleston wedding. While other bridesmaids were dealing with chips by day two, mine looked fresh through the entire long weekend. The photos are gorgeous, and I felt confident holding my bouquet knowing my nails looked perfect. That’s exactly the peace of mind you want when you’re supposed to be relaxing on vacation.