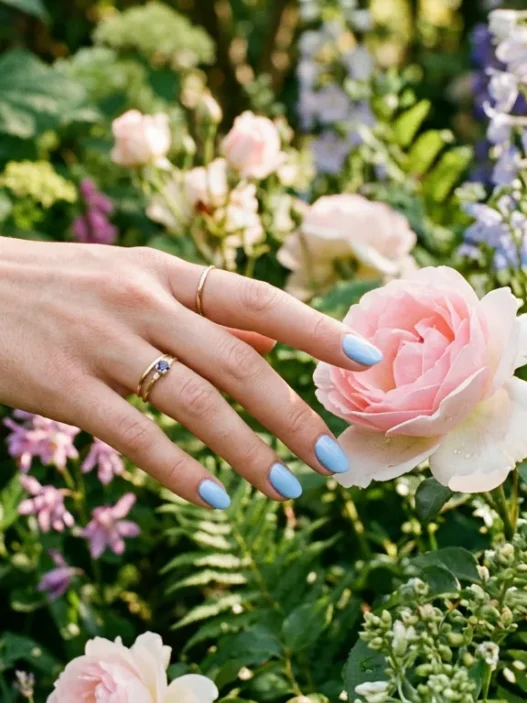


I was digging through my polish collection last month, desperately trying to recreate this gorgeous navy I saw on Instagram. You know the feeling — you have fifteen blue polishes but none of them are quite right. Too bright, too purple, too basic. That’s when I realized I could stop buying new bottles and start mixing what I already had.
What You’ll Need
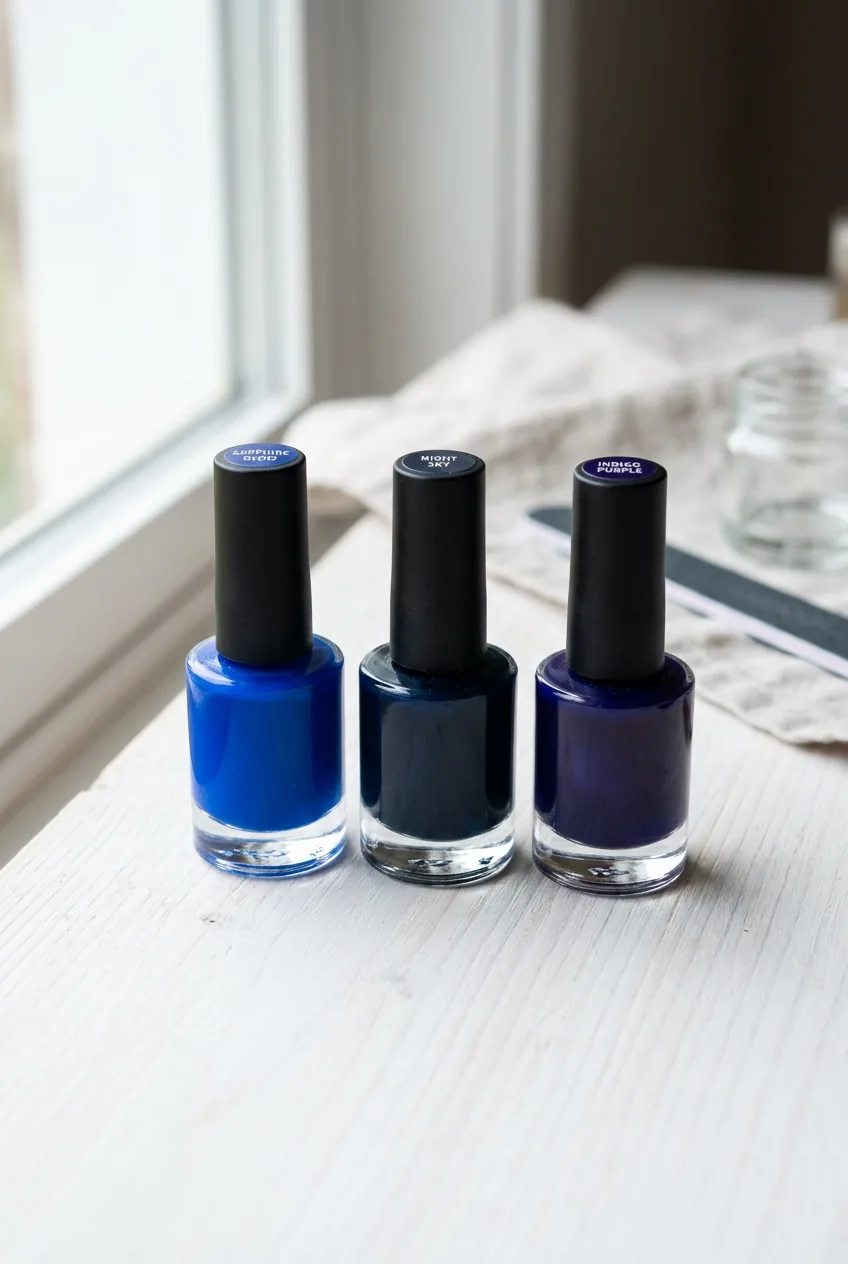
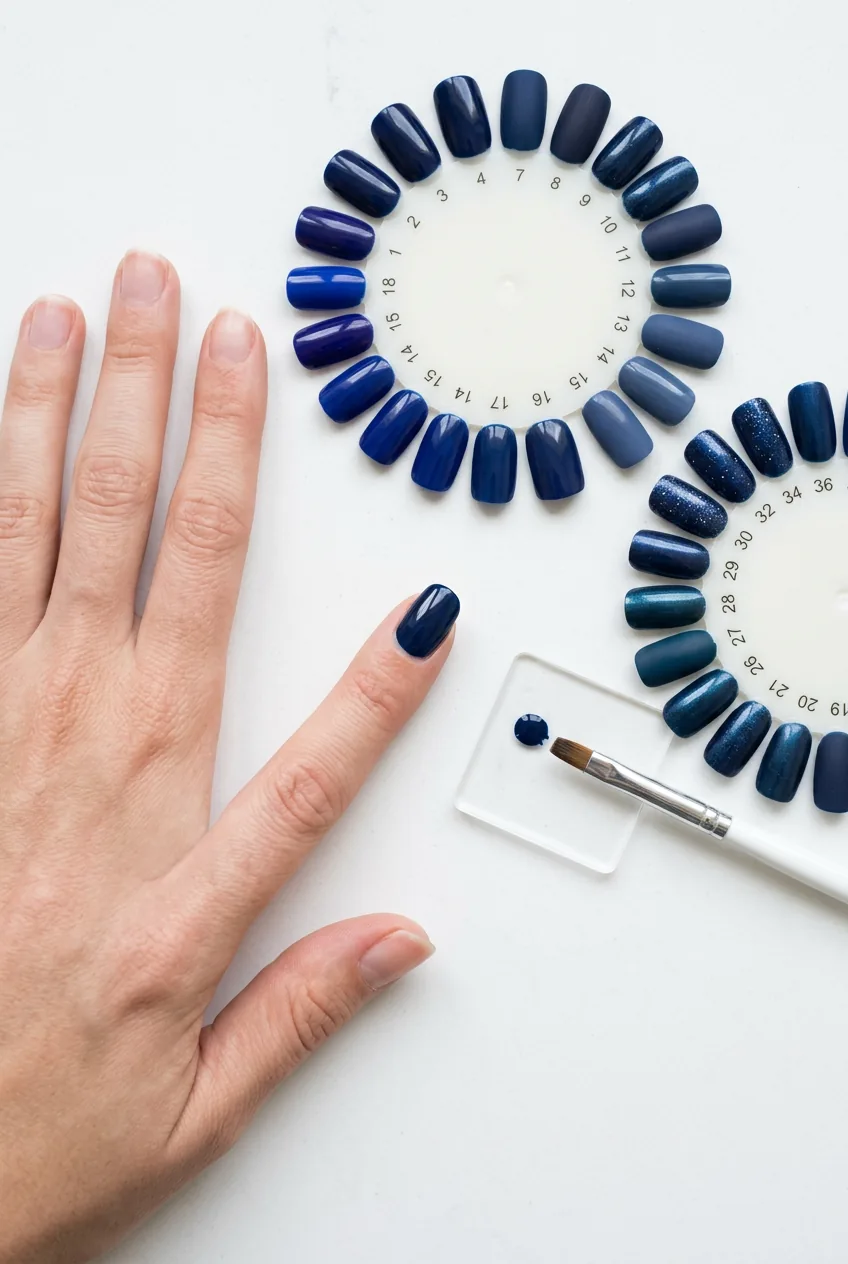
Here’s what I keep on my mixing station:
- A deep blue base (I love using midnight or royal blue)
- Black polish for deepening
- Navy or dark blue (if you have one)
- Purple polish for undertone tweaking
- White for lightening tests
- Clear topcoat
- Small mixing palette or old business card
- Dotting tool or toothpick
- Practice nail wheels or fake nails
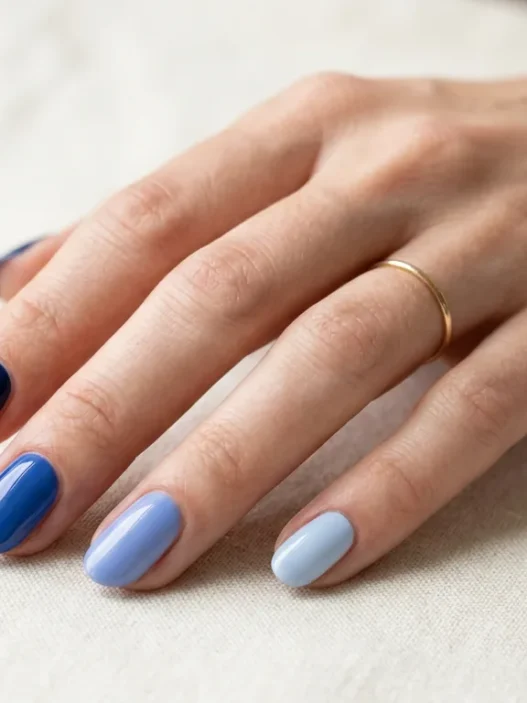
Understanding Navy’s Undertones Before You Mix
Navy isn’t just “dark blue.” It has personality. Some lean purple, others go almost black, and the really gorgeous ones have this subtle green whisper that makes them look expensive.
I learned this the hard way when I mixed what I thought was perfect navy, only to have it look completely different under office fluorescents. The undertone is everything. Cool navies pull purple-ish, warm ones lean slightly green, and neutral navies hit that sweet spot in between.
Start by looking at your base blue in different lights. Hold it near a window, then under your desk lamp. See how it shifts? That tells you which direction to push it when mixing.
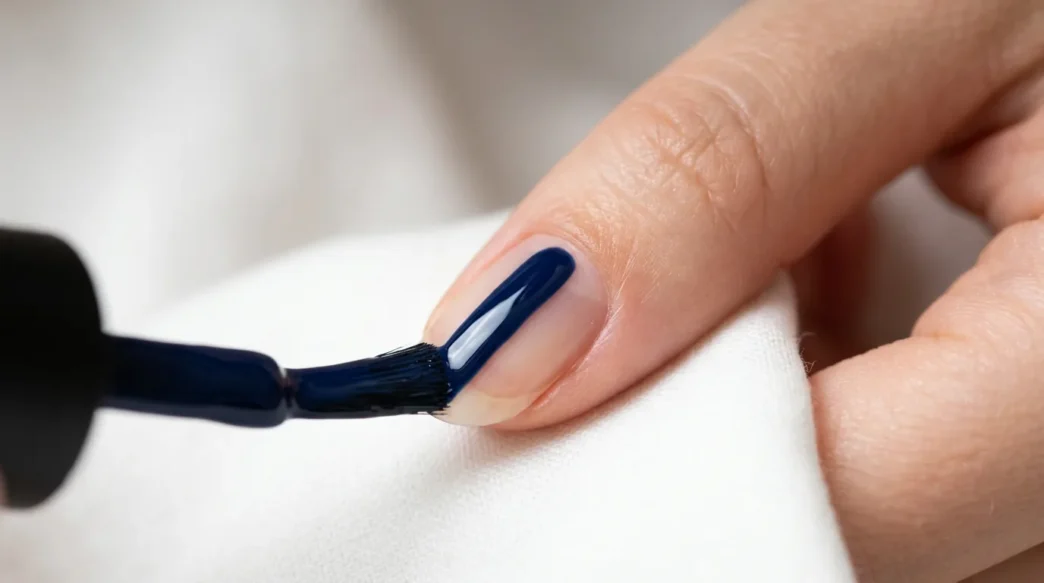
The Base + Top Layer Method That Never Fails
This is my foolproof system. Instead of mixing everything together and hoping for the best, I layer strategically.
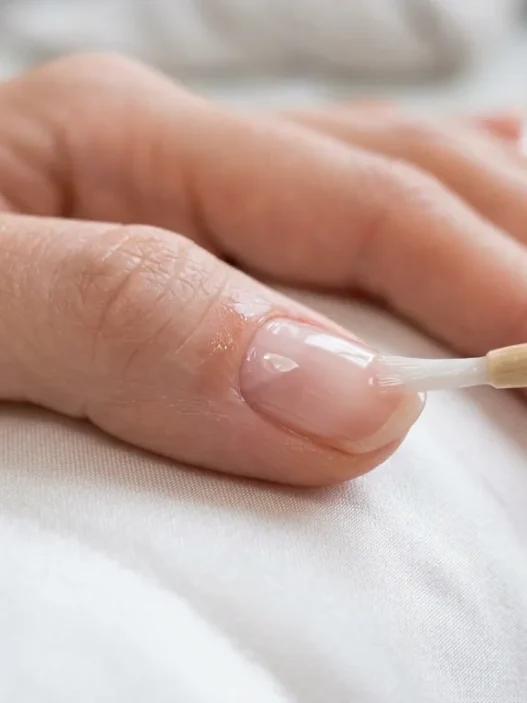
Start with two coats of your blue base. Let it dry completely — and I mean completely. Then add your modifier as a sheer third coat. Want it deeper? Use black mixed with a tiny drop of your base. Want it more purple-navy? Mix purple with clear topcoat.
Mistake I made early on: I mixed everything on the nail wet-on-wet and ended up with muddy colors that looked nothing like what I wanted. The layering method gives you control.
The beauty of this method? You can build gradually. One sheer layer might not be enough, but two or three create this gorgeous depth that looks like expensive custom purple-navy blends.
Watch the Layering Technique Live
How Sheers Change Everything About Depth
Sheer polishes are magic for color mixing. They’re like Instagram filters for your nails — they shift the whole mood without covering up the base completely.
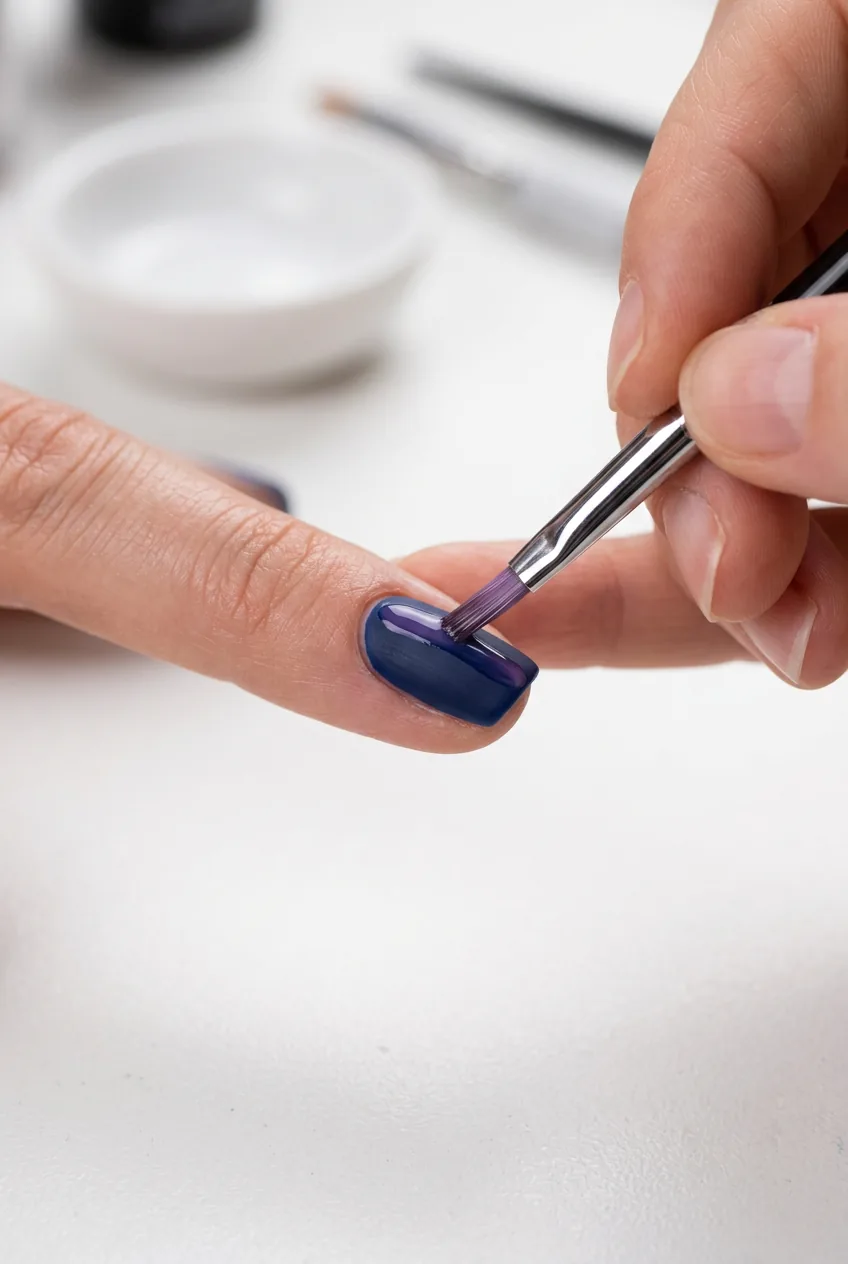
My go-to trick: mix one part colored polish with three parts clear topcoat. This creates a wash of color that transforms whatever’s underneath. A sheer purple wash over blue base creates the most gorgeous navy with depth.
The key is thinking in transparent layers. Each one adds complexity without muddying the color. I’ve gotten compliments on “custom” navies that were just a blue base with a sheer black-purple mix on top.
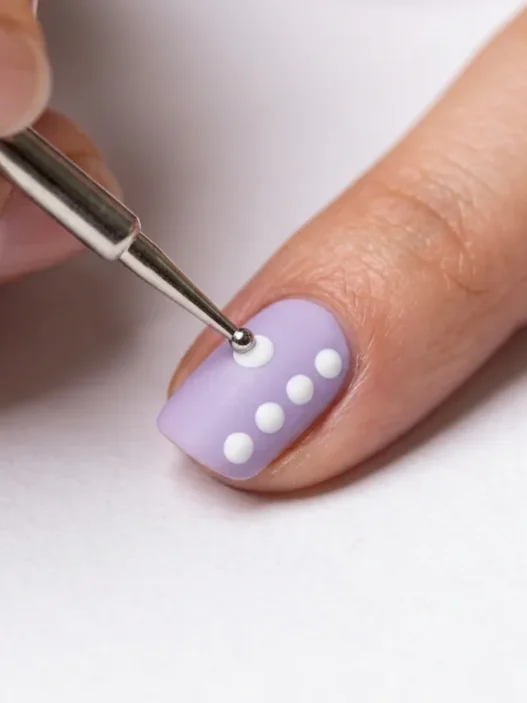
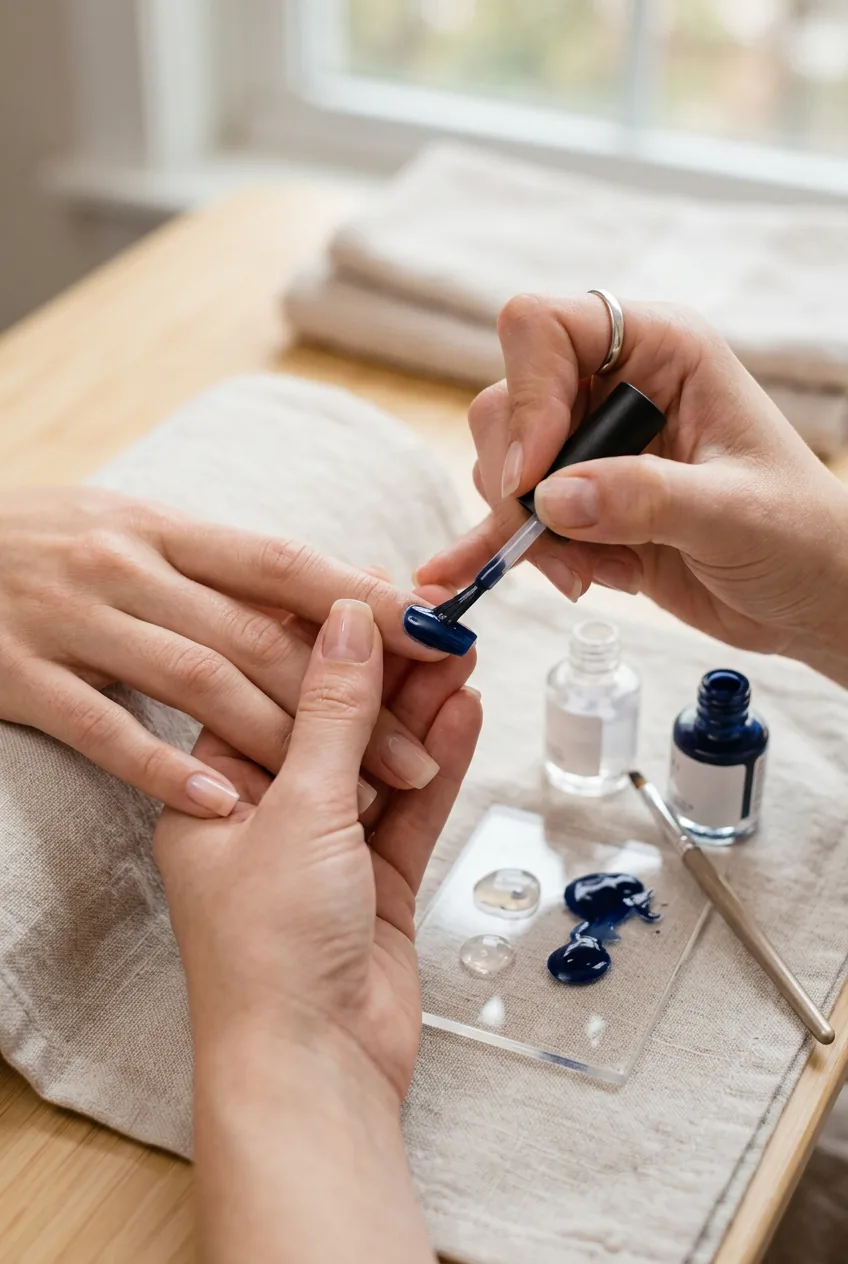
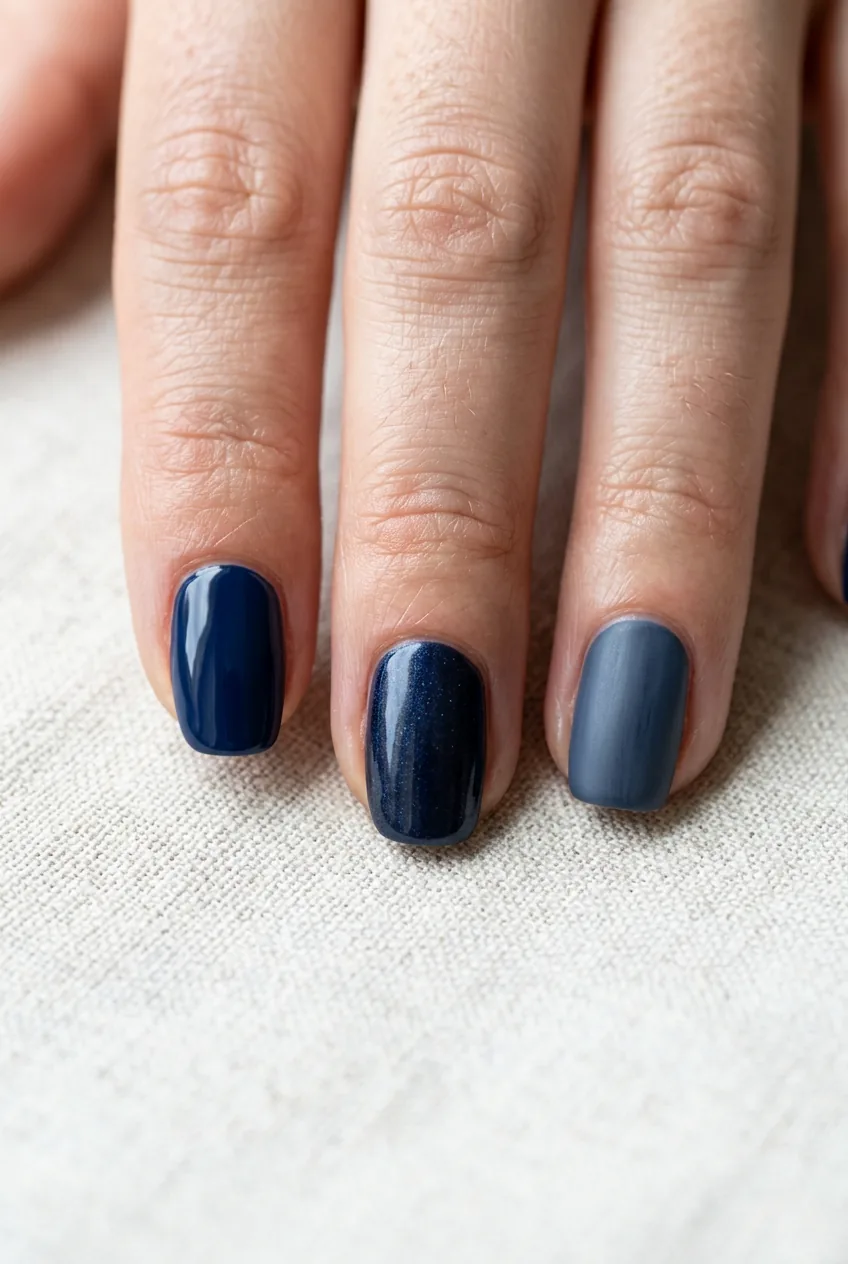
Testing Before Committing to All Ten Nails
Never, ever mix directly on all your nails first. I learned this lesson at 11 PM before an important meeting, frantically trying to fix a navy that looked more like bruise-purple.
Test on your ring fingernail first. It’s less noticeable if you mess up, and you can compare it directly to your other fingers. Or better yet, use practice wheels. I bought a pack of fake nails specifically for color testing, and it’s saved me so much heartache.
Take photos of your tests. Colors look different in pictures than in person, and you’ll want to remember exactly how you mixed that perfect shade. I keep notes in my phone: “Royal blue base + 1 drop black + 1 drop purple, sheer layer.”
Also test in different lighting. That navy that looks perfect by your window might look completely wrong under restaurant lighting. Trust me on this one.
Three Combos That Always Work
After months of experimenting, these three formulas never let me down:
Classic Navy: Royal blue base + tiny amount of black + microscopic drop of purple. The purple prevents it from going flat.
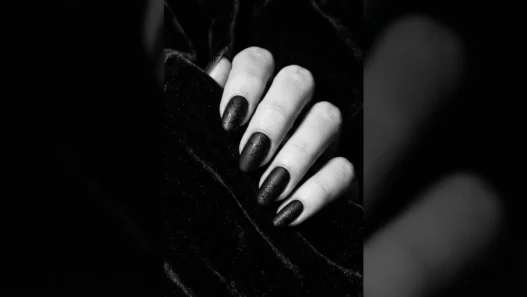
Sophisticated Navy: Dark blue base + sheer black layer + sheer purple layer. This creates incredible depth and looks expensive as hell.
Modern Navy: Blue base + green undertone (mix blue with tiniest drop of green) + black sheer layer. This one photographs beautifully and has this subtle complexity that makes people ask what polish you’re wearing.
These combinations work because they respect color theory while being forgiving to mix. The ratios don’t have to be perfect — close enough gets you gorgeous results.
When to Add Shimmer vs Stay Matte
Finish makes or breaks a custom navy. I’ve mixed the same exact color and made it look completely different just by changing the topcoat.
Matte navy looks sophisticated and modern. It’s perfect for short professional nails or when you want something understated. The color looks richer and more saturated without shine competing for attention.
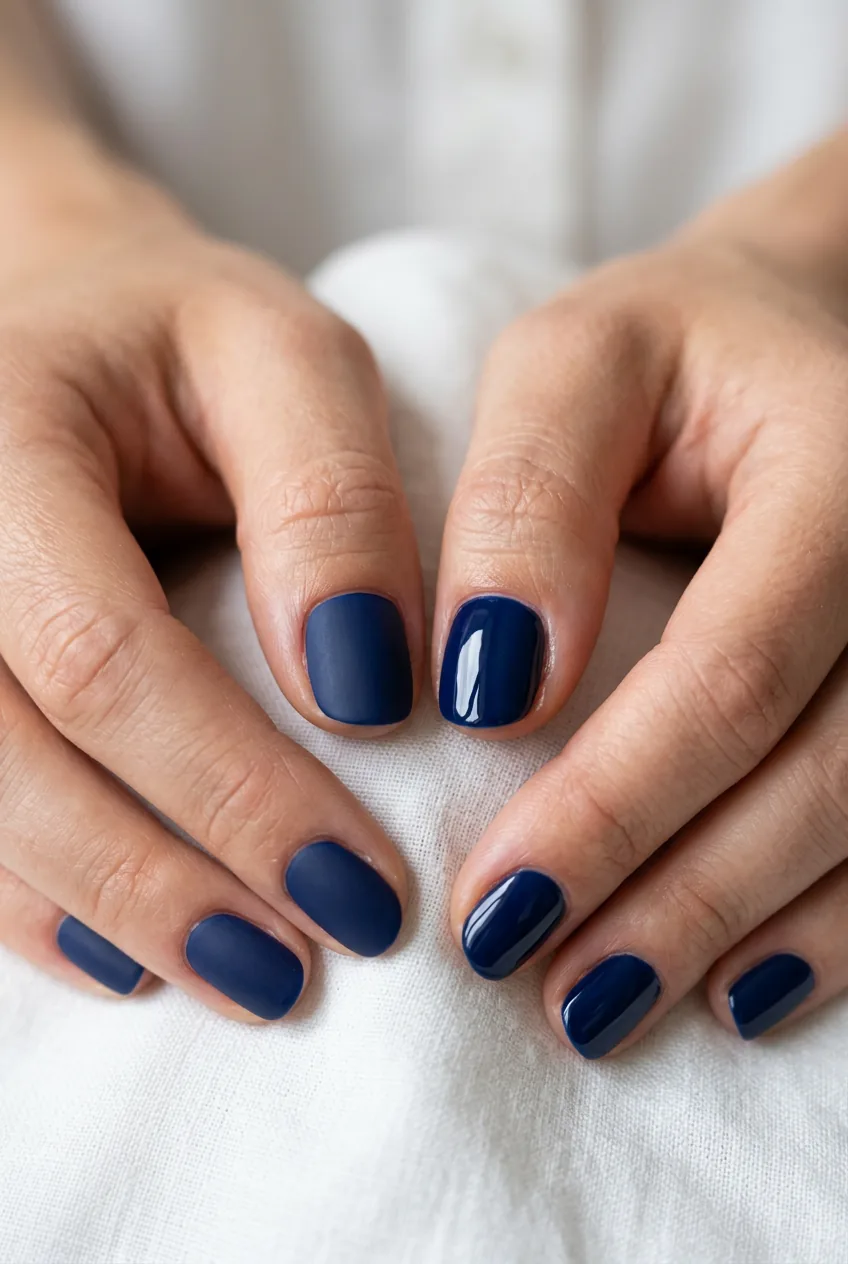
Glossy navy is classic and versatile. It works for everything from casual to formal. The shine adds depth and makes the color look more expensive.
Shimmer is where it gets fun. A fine silver shimmer mixed into navy creates this gorgeous night-sky effect. But be careful — too much shimmer overwhelms the color and you lose that rich navy depth.
My rule: if the navy has complex undertones from mixing, keep the finish simple. If it’s a straightforward navy, that’s when you can play with interesting finishes.
Questions I Get About Custom Navy Mixing
How long do custom mixed shades last?
Just as long as regular polish! The layering method I use doesn’t affect wear time at all. If anything, those extra thin layers sometimes make my manicure last longer because there’s more protection.
Can I mix gel polishes the same way?
Yes, but cure each layer completely before adding the next. The principles are identical — base color, then sheer modifying layers. Just remember that gel colors can shift slightly when cured, so always test first.
What if my navy turns out too dark?
Add a sheer layer of your original blue base mixed with clear topcoat. This lightens without changing the undertone. If it’s way too dark, sometimes it’s better to start over — trying to fix a very dark navy usually creates muddy colors.
How do I recreate the exact same shade later?
Take detailed notes! I photograph each step and write down exactly which polishes I used and in what order. Even with notes, hand-mixed colors are never 100% identical, but you’ll get close enough that no one else notices the difference.
Now I have this whole collection of custom navies, each with slightly different personalities. The best part? No one else has these exact shades. When people ask about my nail color, I get to say “I mixed it myself” — and honestly, that feels pretty fantastic.