






I bought my first foil transfer kit two years ago and honestly? It sat in my drawer for months because I could never get it to work. The foil would either transfer in sad, patchy bits or not stick at all. After watching my friend nail it perfectly at a sleepover, I realized I was missing some crucial steps that nobody talks about in those pretty Instagram tutorials.
What You’ll Learn in This Guide
What You’ll Need
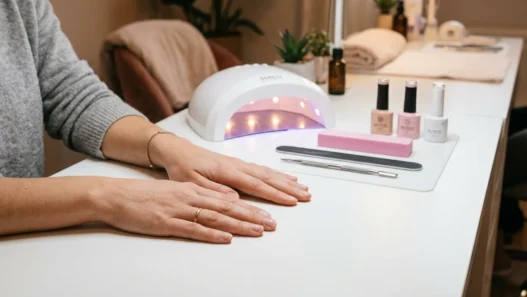
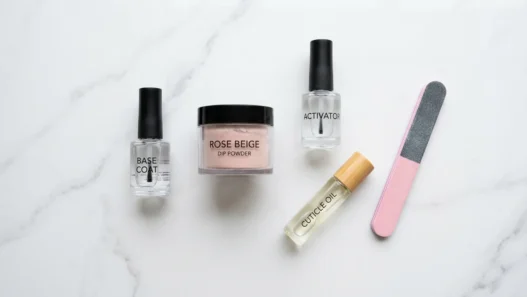
Here’s everything I keep in my foil transfer setup:
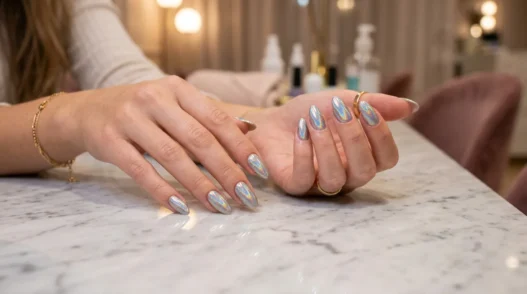
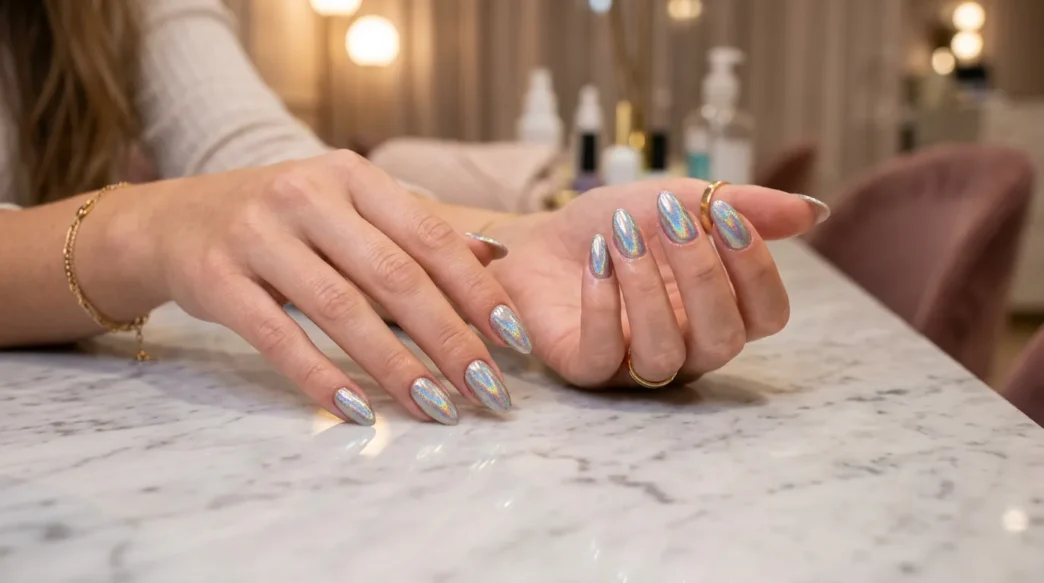
- Foil transfer sheets (I love the holographic ones for elegant nails)
- Transfer adhesive or foil glue
- A silicone tool or old credit card
- Cuticle pusher
- Base coat and top coat
- Acetone or rubbing alcohol
- Cotton pads
- A timer (seriously, timing matters)
Step 1: The Tool Setup
Before you even think about touching that foil, you need your workspace dialed in. I learned this the hard way after ruining three sets because I was scrambling for tools mid-application.
Cut your foil sheets into nail-sized pieces first. Make them slightly larger than your actual nails — you can always trim excess, but you can’t add more once you’re committed. I cut about ten pieces at once so I’m not fumbling with scissors later.
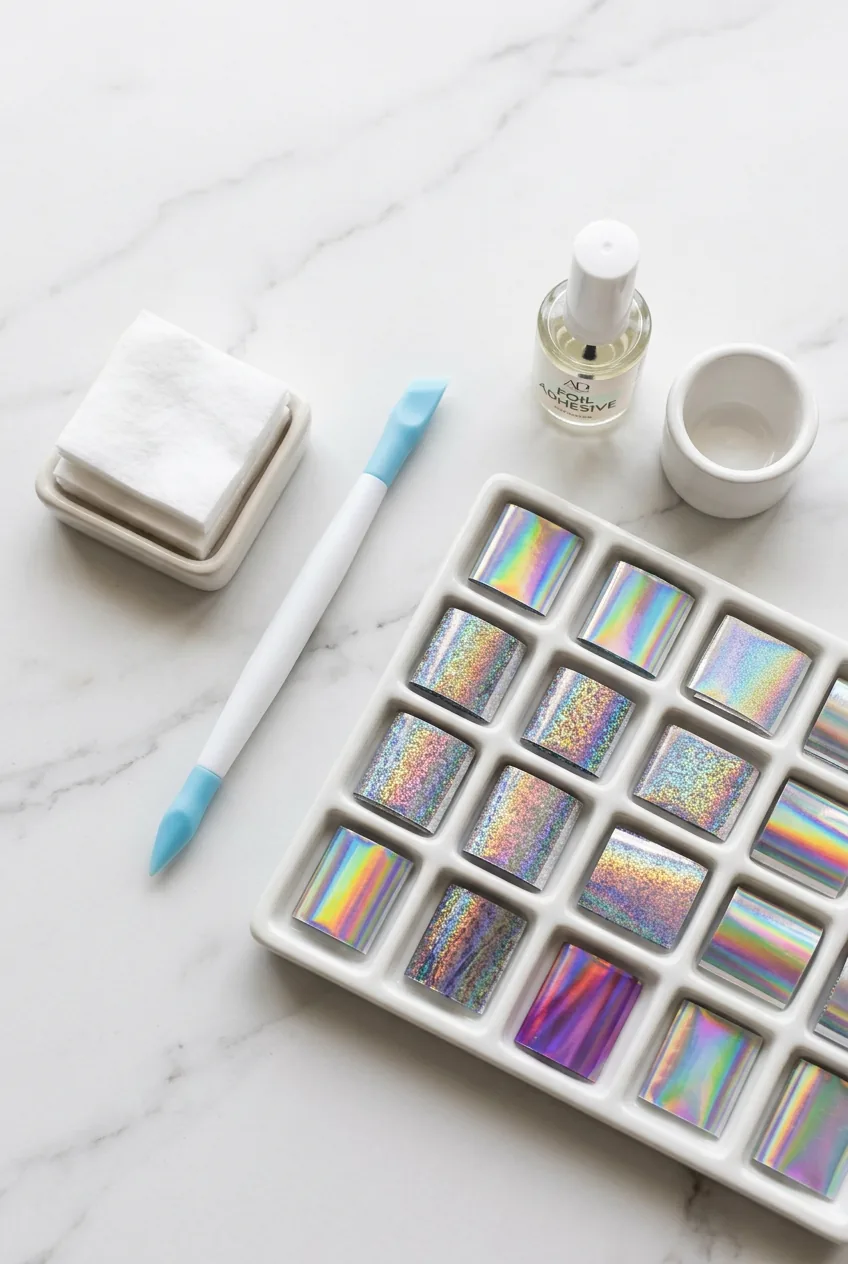
Your silicone tool or credit card needs to be completely clean. Any oils or residue will create gaps in your transfer. I wipe mine down with rubbing alcohol and let it air dry while I prep my nails.
Step 2: The Surface-Prep Move That Decides Everything
This is where most people mess up, and honestly, it’s the step that separates okay foil nails from gorgeous ones. Your nail surface has to be perfectly clean and slightly textured.
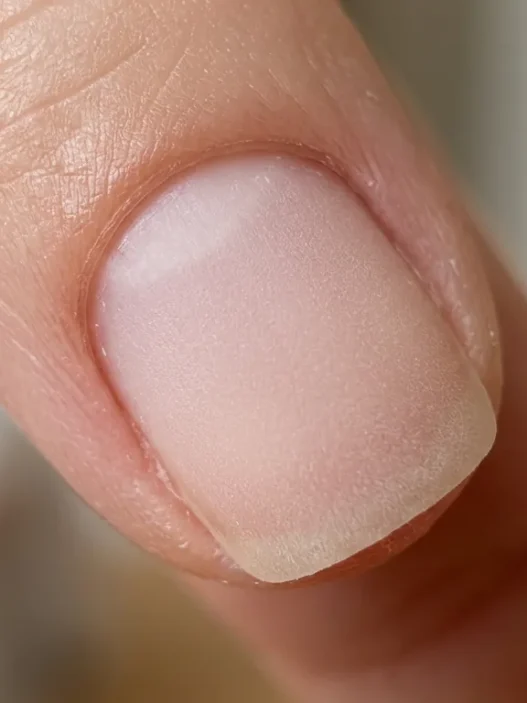
Start by gently buffing your nails with a fine-grit buffer. You’re not trying to thin them out — just create microscopic scratches that help the adhesive grip. Then comes the crucial part: dehydrate those nails completely.
I use acetone on a cotton pad and swipe each nail twice. Wait for them to look completely matte — no shine whatsoever. This usually takes about two minutes. If your nails still look glossy, they’re not ready.
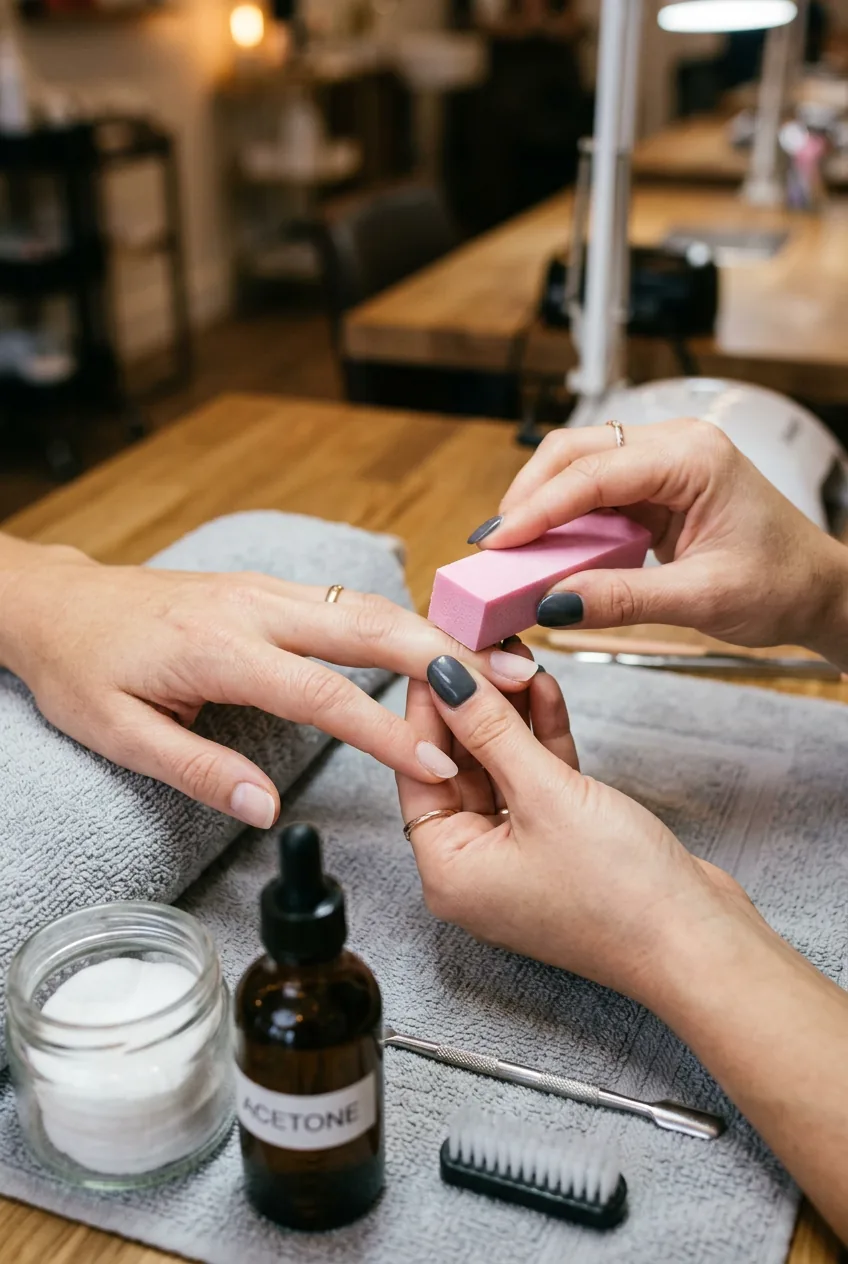
Apply your base coat now, but here’s the key: let it get tacky, not fully dry. Most people either apply foil to wet polish (disaster) or completely dry polish (also disaster). You want that sweet spot where the base coat feels slightly sticky when you gently tap it.
Step 3: The Application Pressure
Now we’re getting to the satisfying part. Place your foil piece shiny-side up over the nail. This always feels backwards to me, but trust it — the color transfers from the back.
Here’s where technique makes all the difference. Don’t just press down randomly. Start from the center of the nail and work outward with firm, smooth strokes. I use my silicone tool and apply consistent pressure — not so light that it doesn’t transfer, but not so hard that I wrinkle the foil.
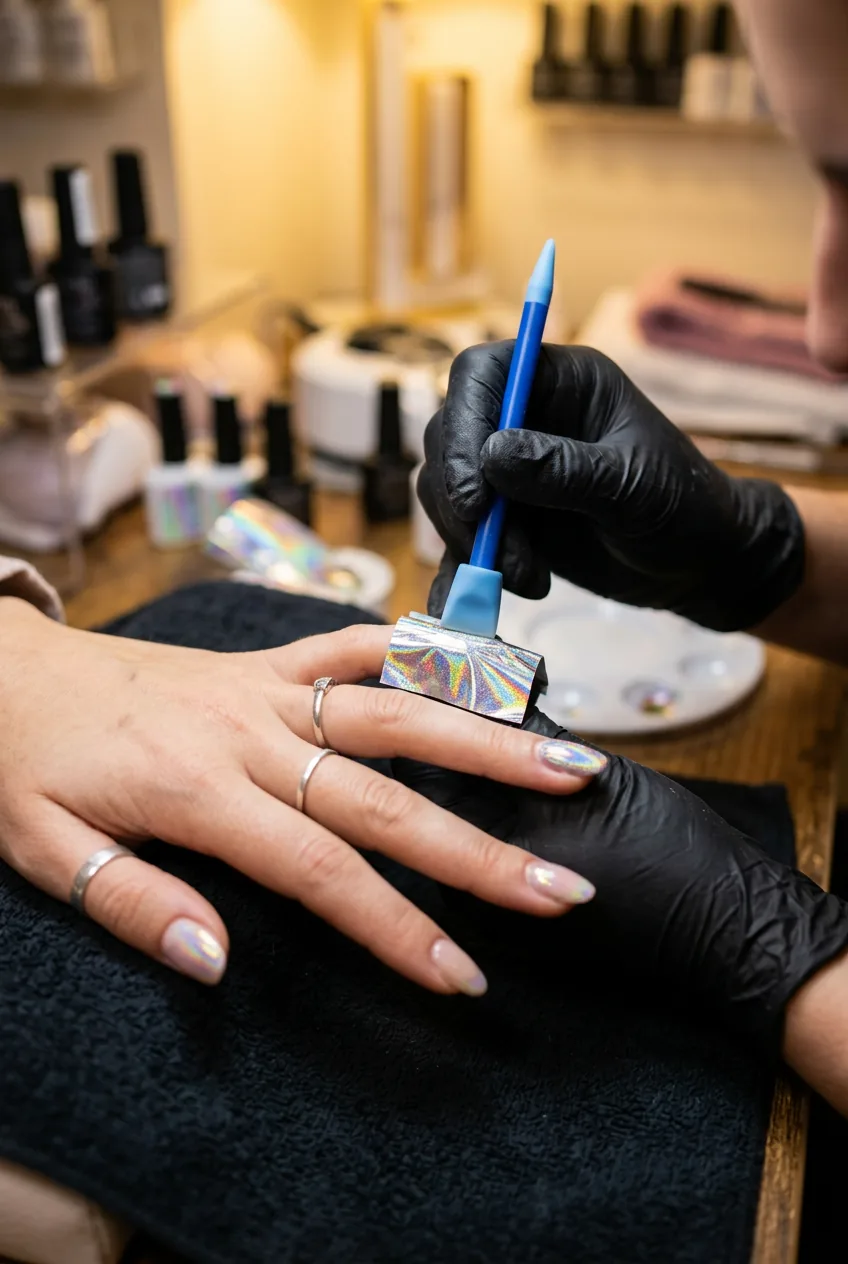
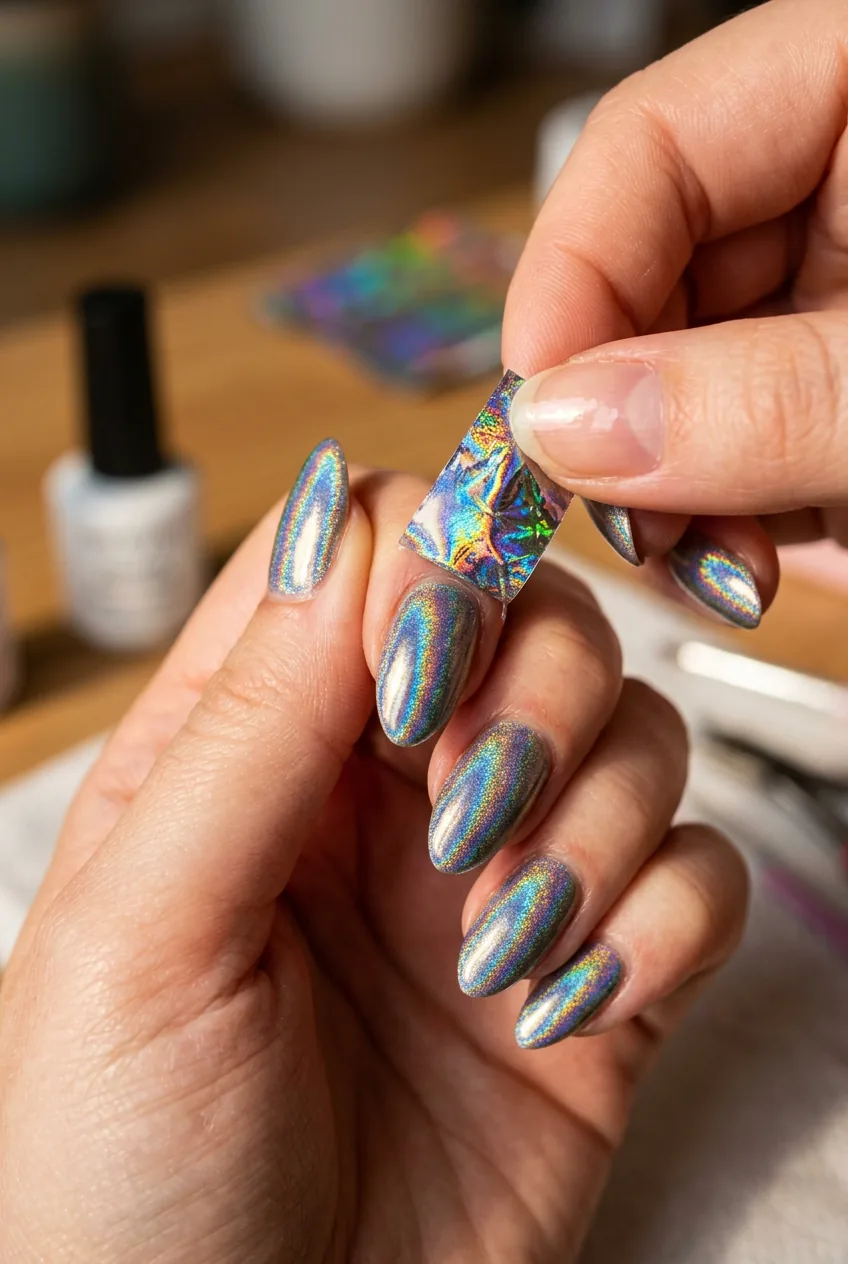
The magic happens in about 10-15 seconds of steady pressure. You’ll actually feel when it’s working — the foil starts to feel like it’s “grabbing” the nail underneath. When I peel it off, I do it in one smooth motion from one corner to the opposite.
I used to peel the foil off super slowly, thinking I was being careful. Wrong move. Fast, confident removal actually gives cleaner transfers because the foil doesn’t have time to stick back down in places you’ve already lifted.
Watch This Pressure Technique Live
Step 4: The Seal-It-In Step
This step is what keeps your summer classy nails looking pristine for more than two days. Foil is delicate, and without proper sealing, it’ll start lifting at the edges or chipping off in flakes.
Wait at least five minutes before applying top coat. I know it’s tempting to rush, but the foil needs time to fully adhere. When you do apply top coat, use thin layers and avoid dragging the brush back and forth over the same spot.
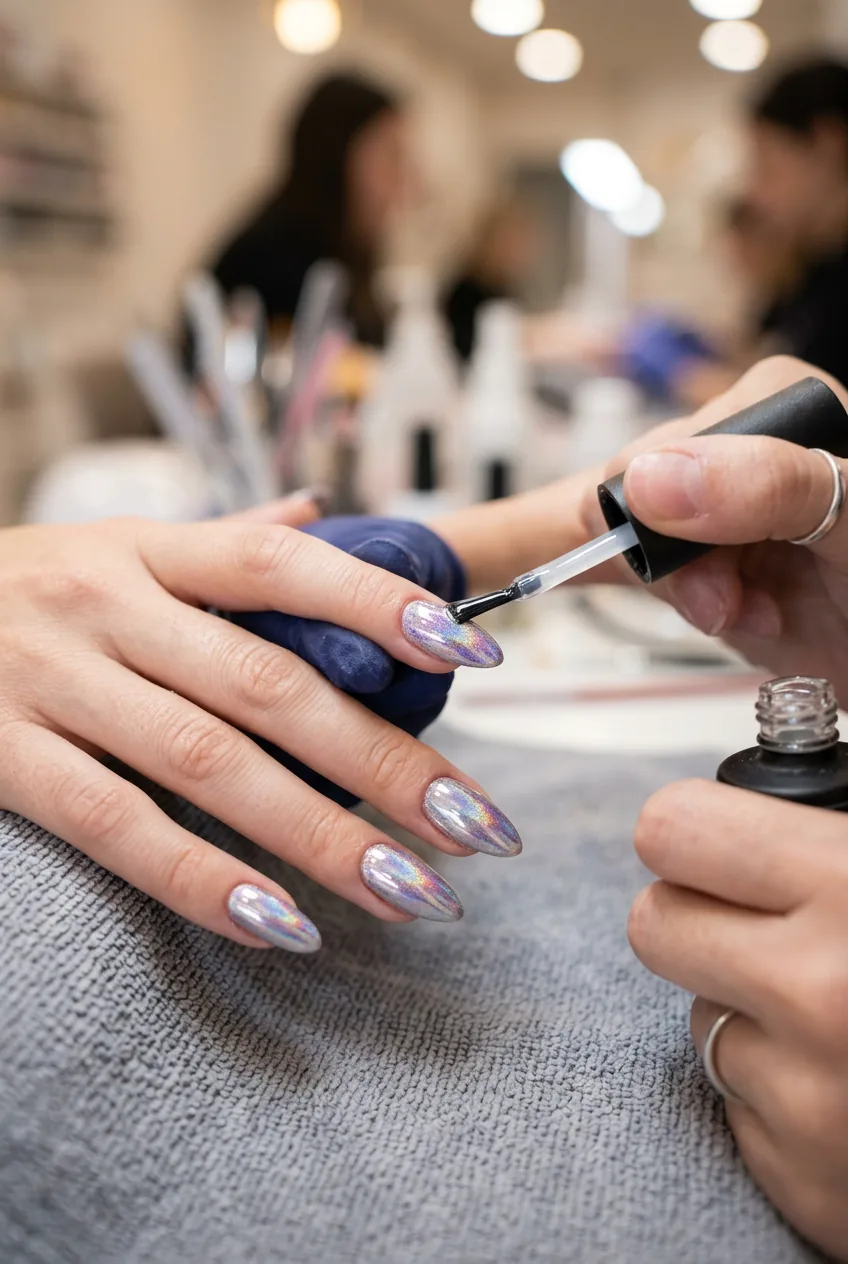
I do two thin coats of top coat, waiting three minutes between them. The first coat might look a little dull — that’s normal. The second coat is where you get that glass-like finish that makes elegant nails really shine.
For extra durability, I seal the edges by running the brush along the tip of each nail. This prevents water from getting underneath and causing lifting. Professional nail care always emphasizes sealing those edges properly.
Step 5: The Common Mistakes That Ruin Everything
Let me save you from the failures I had to learn from. The biggest mistake? Trying to do all ten nails at once. The adhesive state changes too quickly, and by the time you get to your last nail, the base coat is too dry.
Work in batches of three nails maximum. Apply base coat to three nails, let them reach that tacky state, then do your foil transfers. Move to the next three nails. It takes longer, but the results are so much more consistent.
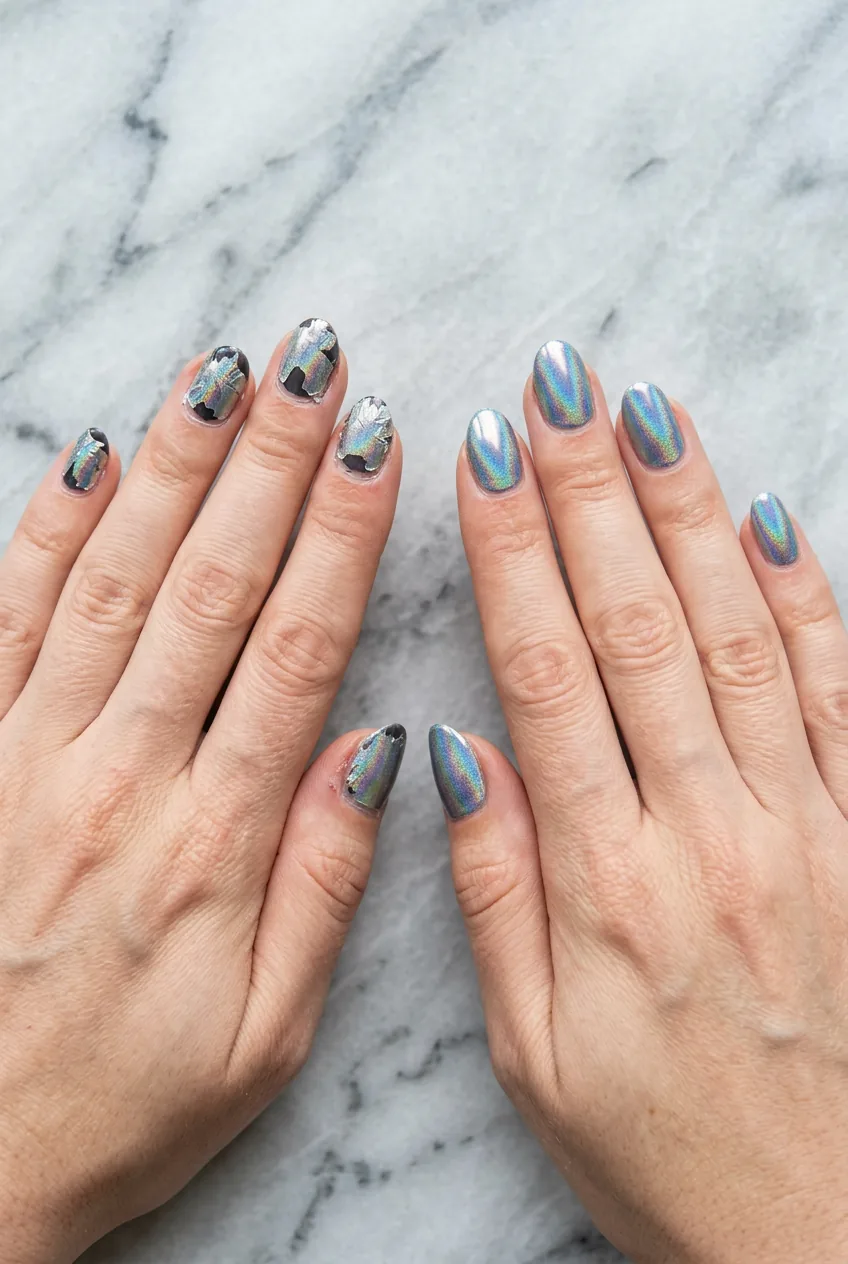
Another thing that ruined my early attempts: using too much base coat. A thin, even layer gives better adhesion than a thick goopy one. And never, ever try to “fix” a patchy transfer by adding more foil on top. Remove it all with acetone and start over.
Temperature matters more than I expected. Cold nails don’t transfer well. If your hands are cold, run them under warm water and dry them completely before starting. Room temperature makes such a difference in how smoothly the foil adheres.
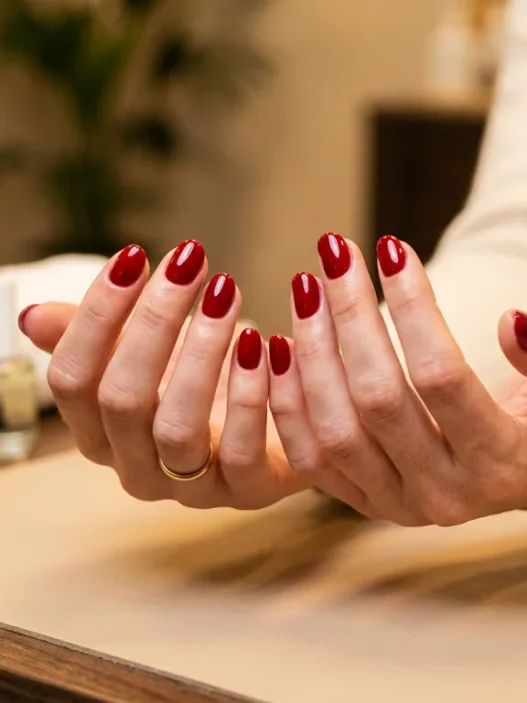
This technique completely changed my relationship with foil nails. Instead of those frustrating patchy attempts, I now get smooth, mirror-like transfers that last over a week. The key really is in that tackiness timing and working in small batches. My autumn nails last season were all foil transfers using this exact method, and I still get compliments on them in photos.
Quick Answers for Foil Transfer Beginners
Can I use regular nail polish instead of special foil adhesive?
Technically yes, but the results won’t be as crisp. Regular polish doesn’t stay tacky long enough for clean transfers. I’ve tried it with base coat and gotten okay results, but foil adhesive is worth the investment for consistent elegant nails.
Why does my foil keep tearing during application?
You’re either pressing too hard or the foil is too small for your nail. Cut slightly larger pieces and use steady, medium pressure rather than pressing down hard. Cheap foil also tears more easily than quality sheets.
How long do foil transfer nails typically last?
With proper sealing, about 7-10 days before you see significant wear. The edges usually lift first, so pay extra attention to sealing them during the top coat step.
Can I do foil transfers over gel polish?
Absolutely, but skip the base coat step. Apply foil directly to uncured gel polish, then cure everything together. The timing is more forgiving since gel stays workable until you cure it.