






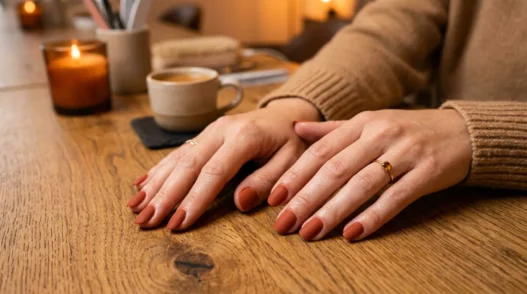
Every September I find myself standing in front of my nail polish shelf thinking the exact same thing: I don’t need a new manicure. I just need the same one, but colder. That’s genuinely how this whole framework started — I had a quiet French tip design I loved in August and I was not ready to abandon it the moment the leaves turned. So I started adapting. Tweaking the palette, changing the finish, adjusting my prep routine for the fact that the air had gone completely dry. And now? I have a reliable system for turning any base design into a proper fall manicure — and it works every single year.
Your Autumn Nail Adaptation Roadmap
- Why I Keep Reworking the Same Manicure Every Autumn
- What You’ll Need
- What Changes With the Weather
- Step 1: Prep Your Nails for Autumn Air
- Step 2: Colour Swaps That Make It Seasonal
- Step 3: Texture and Finish Shifts
- Step 4: The Nail Art Layer — Leaves, Lines, or Nothing
- Step 5: Seal and Protect Against the Elements
- The Same Design, Four Seasons
- Questions I Get About This
Why I Keep Reworking the Same Manicure Every Autumn
I used to treat seasonal nail changes like a full wardrobe overhaul. New season = completely new design, new colour family, new everything. And it was exhausting. More importantly, it meant I kept abandoning designs I actually loved just because the calendar flipped.
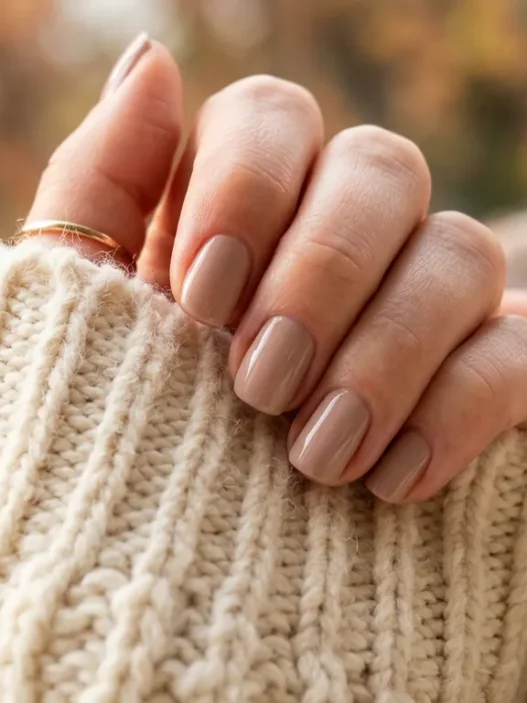
What I’ve landed on instead is the idea that most manicures are just a few tweaks away from feeling entirely seasonal. A sheer peachy-pink that screams July becomes something rich and moody when you deepen the shade by two tones and swap the glossy topcoat for a satin finish. Same bones. Completely different vibe. And honestly? The autumn version is almost always my favourite. There’s something about the way a deep, slightly muted palette looks against a cosy knit sleeve that gets me every time.
If you’re someone who browses fall nails every September looking for inspiration, this guide is going to shift how you think about the whole process. We’re not starting from scratch. We’re refining what already works.
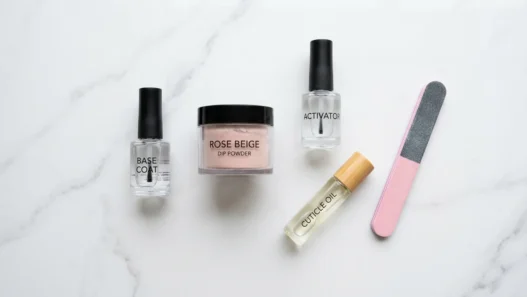
What You’ll Need
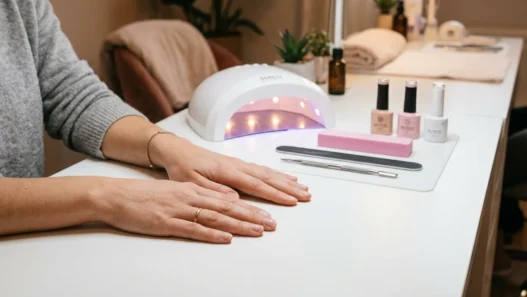
Nothing here requires a trip to a specialist supply shop. Most of it you probably own already — you just need to pull the right things out.
- Your current base design polish (the one you’re adapting)
- Two or three deeper seasonal shades in the same colour family — think amber, burnt sienna, mushroom, brick, deep plum
- A matte or satin topcoat (this is non-negotiable for fall vibes)
- A glossy topcoat for layering and protective sealing
- Cuticle oil — a rich one, not your summer lightweight formula
- A nourishing hand cream with added moisture barrier (something with shea or ceramides)
- Nail file and buffer block
- A fine nail art brush or detailing pen if you want to add any seasonal motif
- Base coat — especially important in autumn when nails tend to get brittle
- Acetone and cotton pads for clean-up
- Optional: a leaf or abstract stamping plate if you want a quick art shortcut
What Changes With the Weather
Before we even touch polish, let’s talk about what autumn actually does to nails. Because if you skip this part, every adaptation you make is going to fight against your own biology.
The drop in temperature and humidity — especially indoors with central heating cranked up — strips moisture from both the nail plate and the skin around it. My cuticles go from totally fine in September to genuinely cracked and painful by November if I don’t adjust my routine. And dry, dehydrated nails chip faster, peel at the edges, and just don’t hold colour as well. That satin topcoat you’re about to use? It lasts half as long on a nail plate that hasn’t been properly hydrated.
There’s also the practical side. Gloves, jumper sleeves, jacket cuffs — your hands are going in and out of things constantly in autumn. That creates more friction and more opportunities for tip chips. So your application technique and your sealing process both need to account for that.
And then there’s the aesthetic side, which is the fun part. Our eyes literally want darker, warmer, more textured things in autumn. It’s not just a trend — it’s genuinely a psychological response to the season. How our eyes shift toward warmer tones in cooler months is a real phenomenon, and your design choices should lean into it rather than fight it.
Step 1: Prep Your Nails for Autumn Air
This is where the whole thing lives or dies. I used to rush prep. I would swipe on a base coat and call it ready. In summer, that’s mostly fine. In autumn? You’ll have peeling edges and lifted polish within four days. Not worth it.
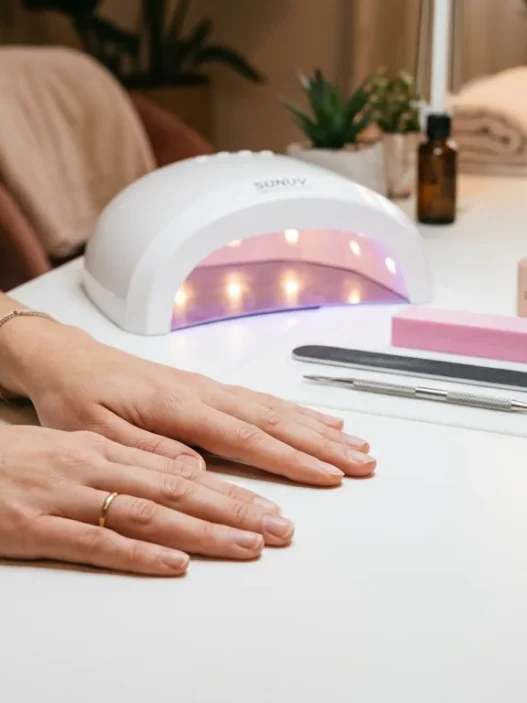
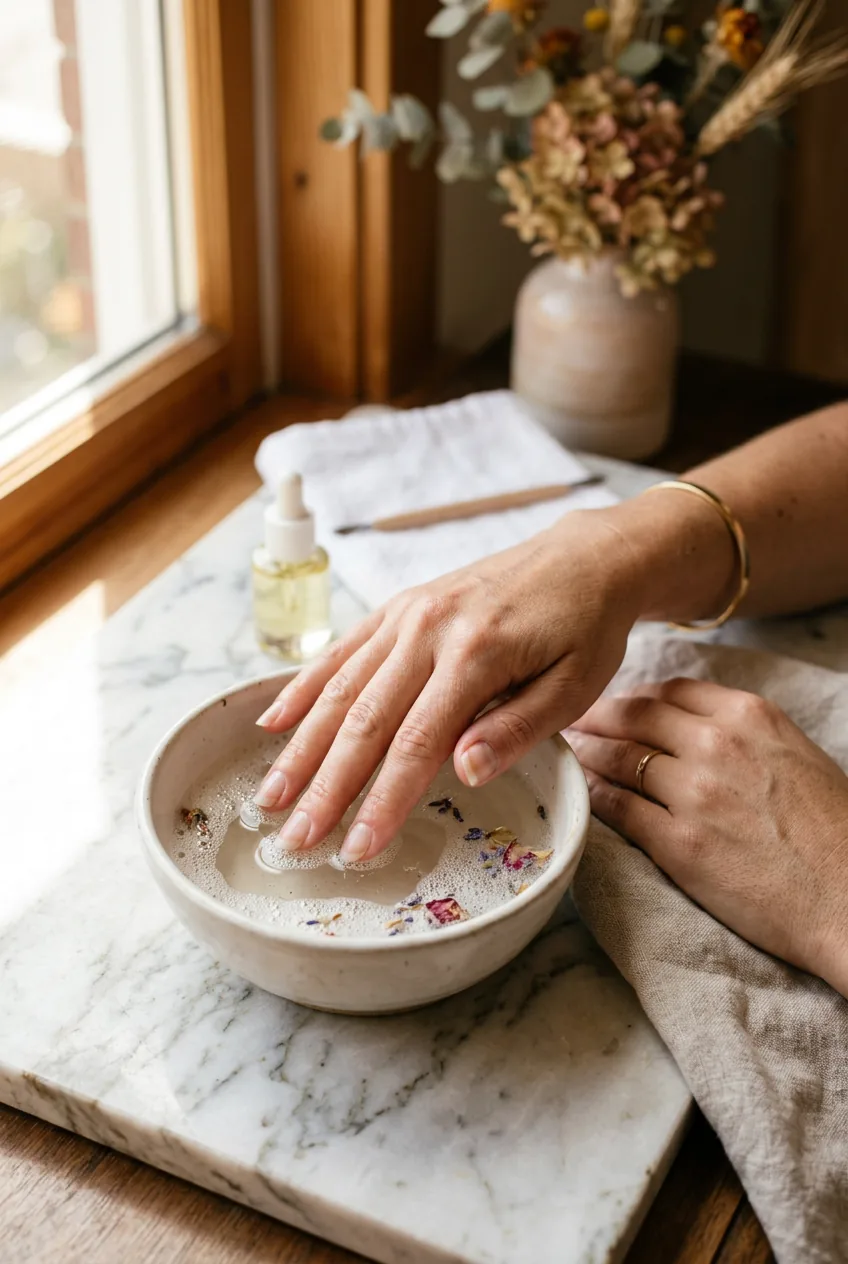
Start by soaking your fingertips in warm (not hot) water for about three minutes to soften the cuticle area. Then gently push cuticles back — don’t cut unless you really know what you’re doing — and buff the nail surface lightly to remove any residual oils or shine. The key word there is lightly. Overbuffing in autumn is a real problem because you’re already dealing with a drier nail plate.
After you’ve buffed, wipe each nail with a lint-free pad dampened with a little acetone to remove all the dust and oil. Then — and this is the step I skipped for years — apply a thin coat of a strengthening or hydrating base coat rather than just a standard clear one. Your nails are going to need that extra structural support over the next few months. Strengthening base coat makes a noticeable difference in how long the whole look holds up.
Mistake I made: I once did a full autumn manicure — deep terracotta, beautiful matte finish, tiny leaf detail — without adequately prepping my very dry nail edges. By day three, the tips were lifting at the corners and the whole thing looked shabby. The colour wasn’t the problem. The prep was. Now I spend at minimum ten minutes on this step before a single drop of colour touches my nails.
Step 2: Colour Swaps That Make It Seasonal
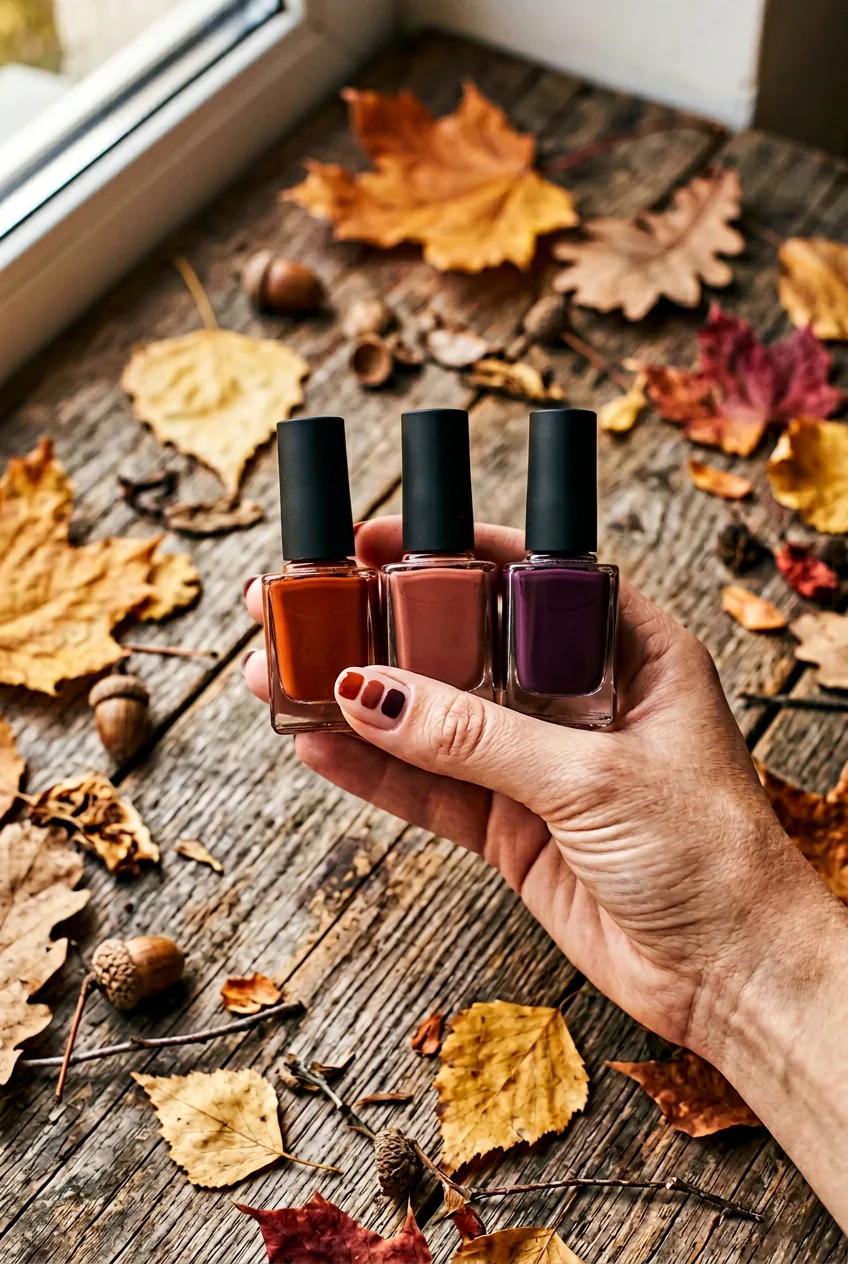
Here’s the actual adaptation — taking whatever your summer or base design was and shifting the palette into autumn territory. And this is more nuanced than just “go darker.” Darker is one route. But muted, earthy, and warm are equally valid directions.
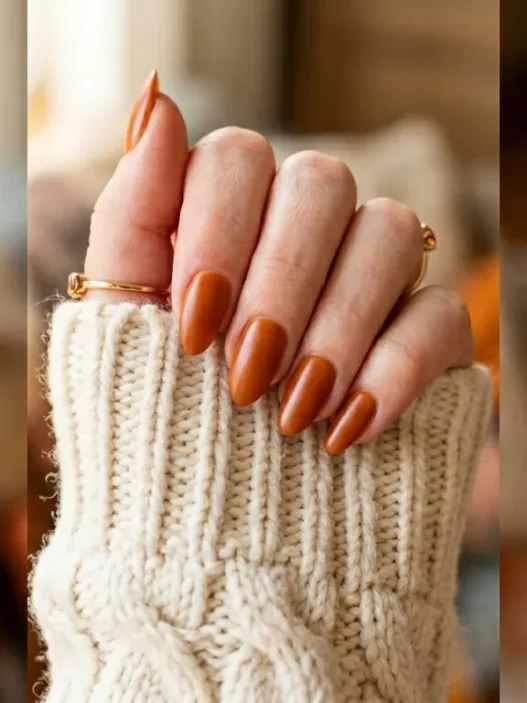
Let me give you a few real examples. If your base design was a sheer pink French tip, the autumn version might be a terracotta or deep nude tip with a slightly warmer base coat. If you were wearing a coral shimmer, you might swap that shimmer for a burnished copper with a slightly more opaque formula. If you had a pale lavender, the autumnal twin is a dusty mauve or a dried-rose tone that reads warmer but still soft.
The colour families that feel most authentically fall are the ones that reference the actual landscape — rust, amber, deep forest green, fig, warm brown, burgundy, burnt orange. But the real trick is muddying them slightly. Pure bright orange doesn’t feel like autumn. A slightly dusty, greyed-down terracotta absolutely does. When I’m picking a seasonal swap, I’m always asking: does this colour look like it belongs outside right now? If yes, we’re on the right track.
There’s a whole history to how these palettes have evolved — I wrote about how my own autumn colour choices have shifted over the years in a piece on the autumn nails manicures of my 20s, 30s, and beyond. My 20s self would not recognise the colours I reach for now and honestly, the current palette wins.
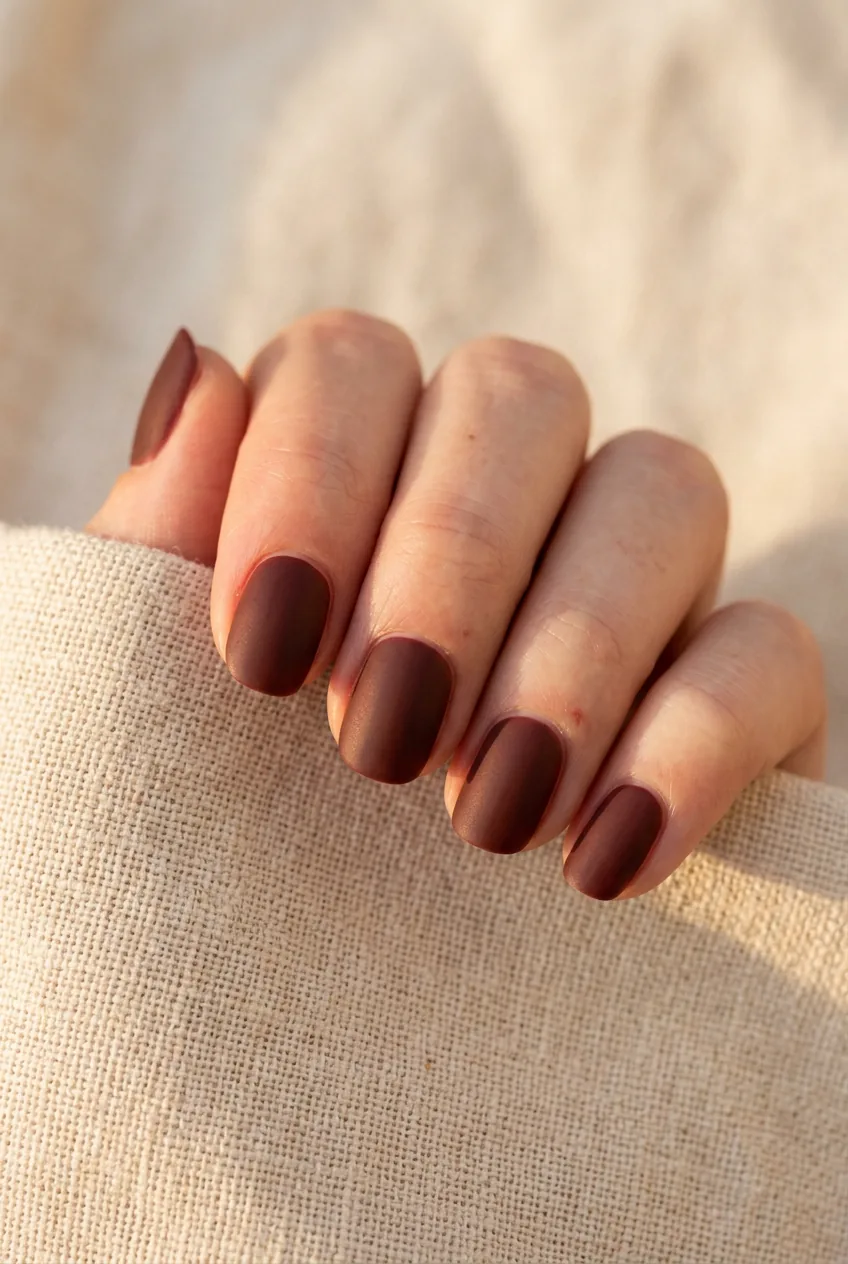
Apply your chosen autumn colour in two thin coats rather than one thick one. Thin coats dry faster, they’re less prone to bubbling, and they give you cleaner edges. Cap the free edge (swipe the brush across the very tip of your nail) at each coat to seal the tip — this alone adds days to your wear time.
Step 3: Texture and Finish Shifts
This is my single favourite part of autumn nail adaptation, and honestly the one most people skip. Finish does more work than colour. A glossy burgundy and a matte burgundy are not the same design — they are two completely different moods wearing the same dress.
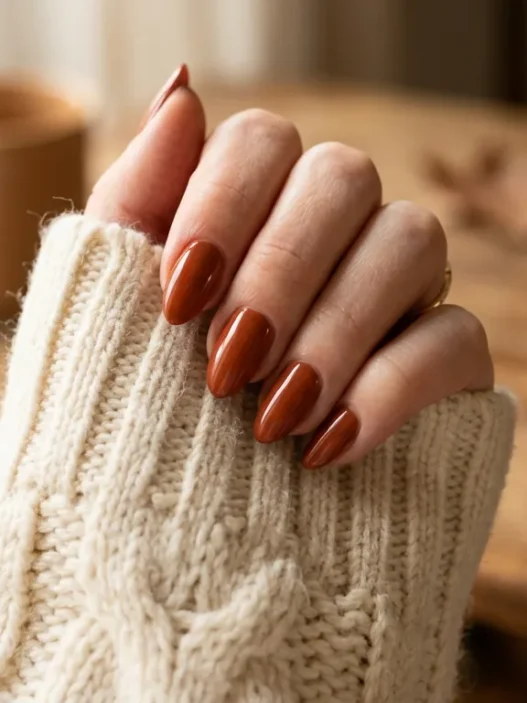
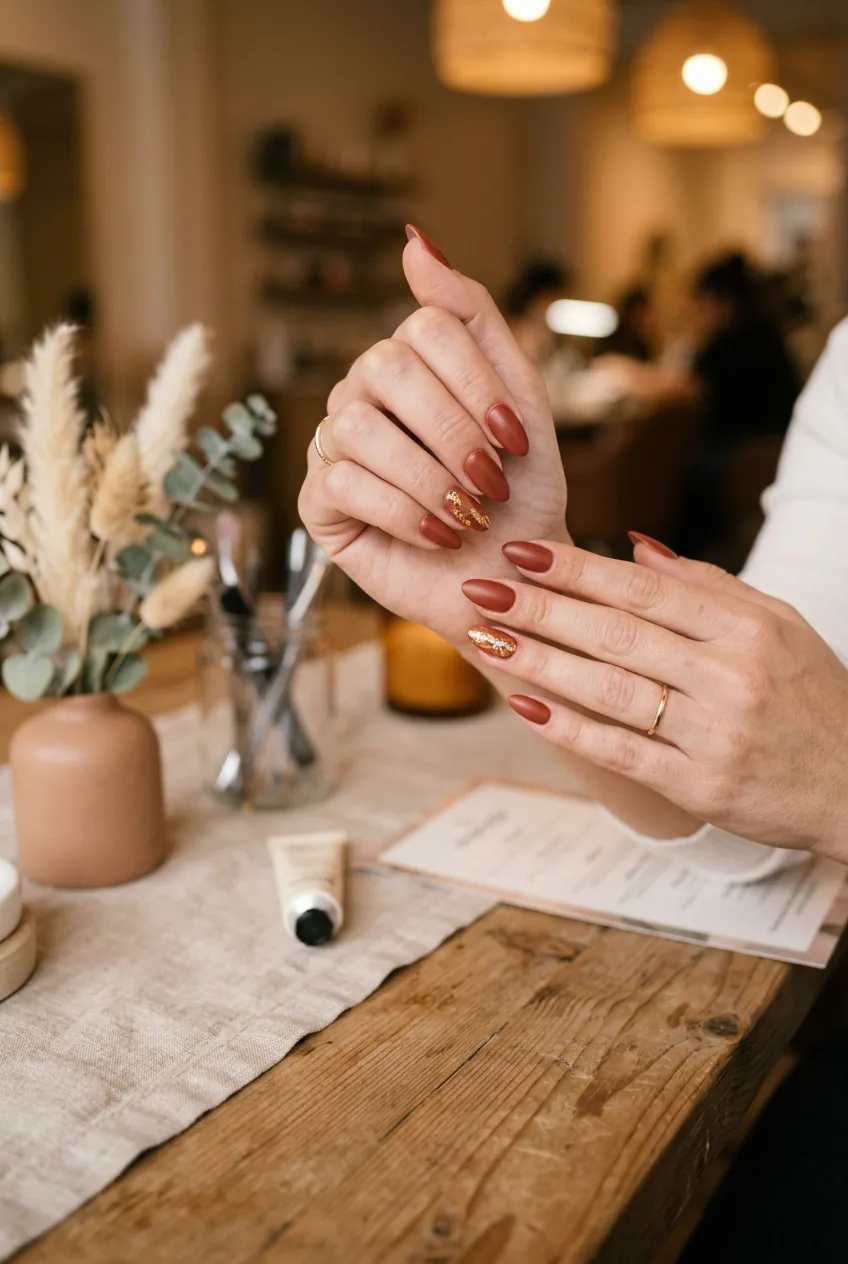
Autumn calls for matte. Or at minimum, satin. There’s something about a high-gloss finish that feels inherently summery — bright, reflective, almost tropical. Whereas a matte or satin finish has that dry, velvety quality that perfectly matches fallen leaves and cashmere. When I made my first intentional autumn matte manicure — a satin brick-red over oval nails — I genuinely could not stop looking at my hands. It just worked in a way that the same colour in gloss never quite had.
Once your colour coats are fully dry (and I mean fully — not just surface dry), apply one coat of a quality matte or satin topcoat. Work quickly because matte topcoats can drag if you go over them too many times. One smooth pass per nail, and don’t touch it again. If you want a slightly more dimensional effect, leave the centre of each nail glossy and only matte the edges — it’s a subtle thing but it adds depth that reads really well under low autumn light.
A Matte Finish Technique Worth Watching
Step 4: The Nail Art Layer — Leaves, Lines, or Nothing
Now we get to the optional (but deeply satisfying) part. Whether you add any nail art on top depends entirely on what your base design called for and how much time you have. But here’s my honest opinion: for autumn, less is often more.
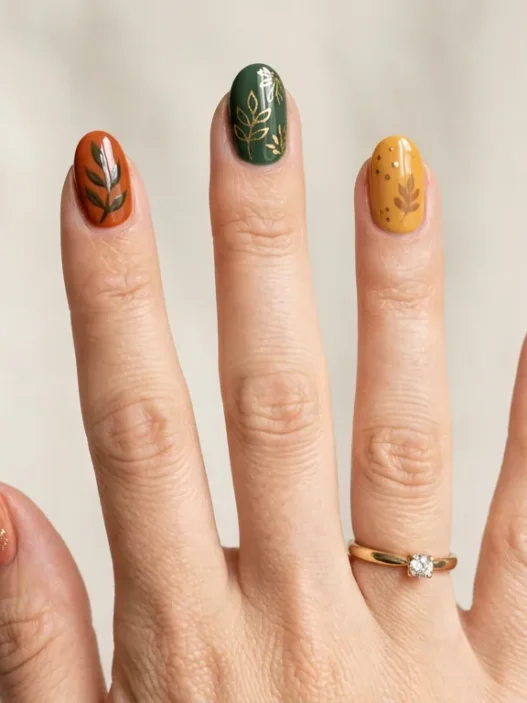
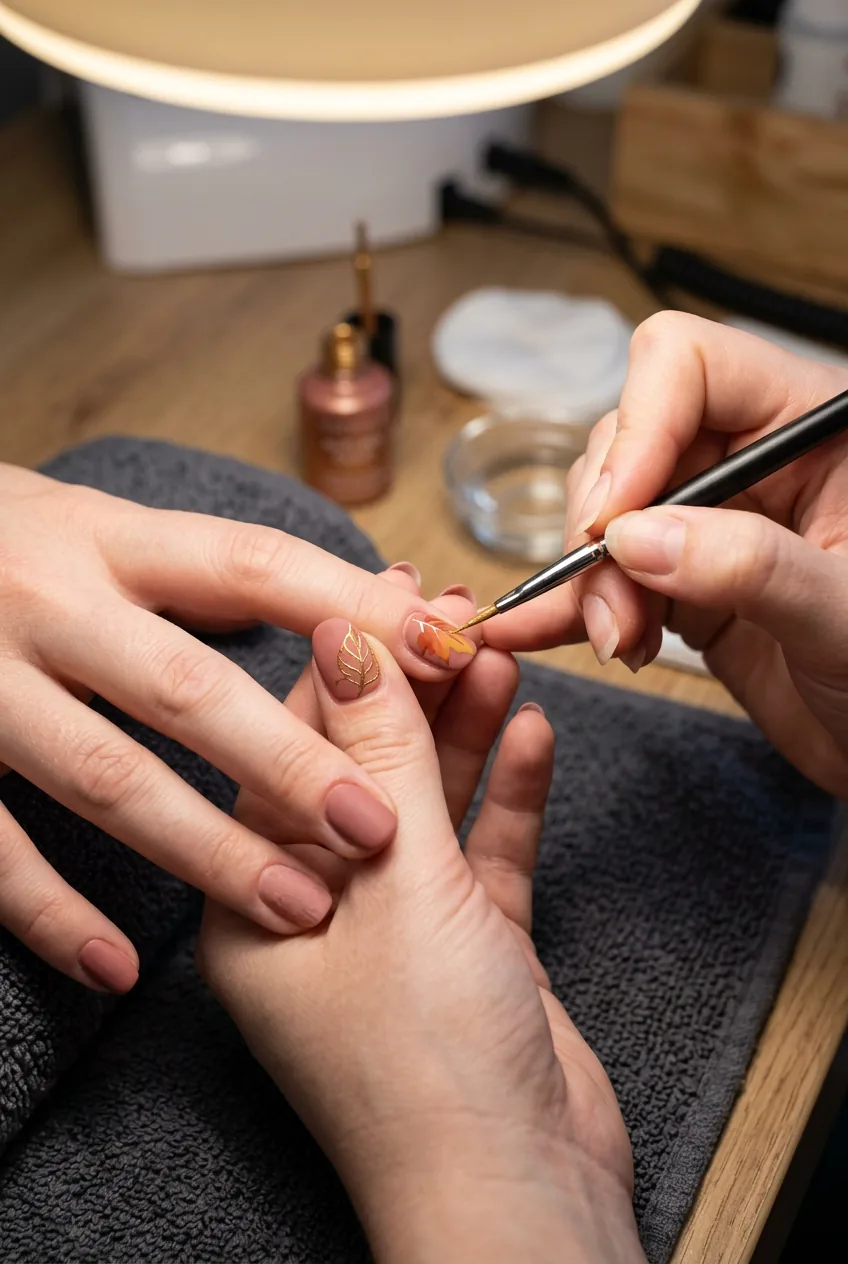
The richness of an autumn colour palette tends to carry a design on its own. You don’t need a stamped autumn leaf on every nail to make it feel seasonal — the palette does that. What nail art can do is add a moment of detail that elevates the whole look without overwhelming it. One or two accent nails with a simple leaf outline in a contrasting shade, or a fine gold line detail on the ring finger, is usually plenty.
If you want something more detailed — botanical motifs, abstract branch patterns, or even a little pressed-leaf look — I’d point you toward the incredible roundup of 12 gorgeous fall nail designs to send straight to your nail tech. Save one of those to your phone and reference it for the detail work.
For the DIY version: use a fine-tipped nail art brush and a slightly lighter or more contrasting shade from your autumn palette. A single curved stroke that suggests a leaf vein, or a few tiny dots clustered at the base of one nail, is all you need. Apply it over your already-dry colour coats but before your topcoat so the detail gets properly sealed in.
Not feeling confident about freehand? A stamping plate with a simple leaf or botanical pattern pressed in a darker shade over a lighter base is a genuinely underrated shortcut. And if you need to match this to a specific event or occasion, there are some brilliant ideas in the fall nails ideas for every big-day event guide — useful if you’re adapting for a wedding, a work event, or a dinner that requires a slightly more polished result.
Step 5: Seal and Protect Against the Elements
The final step is where your autumn manicure either lasts ten days or chips out in three. And it all comes down to how you seal it — and how you maintain it in the days after.
Once your art layer is fully dry (give it a good twenty minutes — seriously, don’t rush this), apply a thin layer of a high-quality glossy topcoat over everything, even if you’re going for a matte finish. This glossy layer adds structural strength and acts as a bonding layer. Then, once that’s dry, apply your matte or satin topcoat on top. You get the visual finish you want with the durability of the glossy base underneath. This two-topcoat method changed my manicure longevity significantly.
Cap the free edges again at this stage. Then apply your cuticle oil around every nail — don’t skip this in autumn. Use the rich formula you pulled out in the prep stage. Massage it in for a full minute per hand. It sounds excessive. It makes a visible difference within 24 hours.
For ongoing maintenance: reapply cuticle oil morning and evening. Do a flash topcoat reapplication every three days to keep the surface sealed. And please, please wear gloves when washing dishes or using cleaning products. I know. I know. But the combination of hot water, detergent, and cold dry autumn air is the number one killer of a great autumn manicure. It’s worth the thirty seconds it takes to put gloves on.
Another mistake I made: I skipped the glossy underlayer and went straight to matte topcoat over my colour, thinking it would save time. The matte finish looked incredible for about forty-eight hours and then started peeling off in tiny flakes — the matte topcoat had nothing to properly bond to. The two-topcoat method isn’t optional if you want this to last.
The Same Design, Four Seasons
Here’s the bigger picture I want to leave you with, because I think it’s genuinely useful. The steps above are specifically tuned for autumn — the palette shift, the matte finish, the intensified prep routine. But this whole adaptive framework works year-round. It’s just the variables that change.
In summer, that same base design runs lighter and sheerer. The finish goes glossy or even jelly. Prep is lighter because humidity is actually your friend for once. In spring, you’re reaching for something in the same colour family but with more brightness — a fresh version of the same idea. In winter, the palette goes darker still, the finish often picks up metallic or satin shimmer, and the prep routine becomes almost clinical because your cuticles are fighting for their lives against central heating.
The single base design — in my case, usually either a clean solid colour or a subtle French variation — just rotates through these seasonal modes. It means I never feel completely lost at the start of a new season, because I always know where to start. If you’re new to thinking about nails this way, the breakdown of fall nails sorted by difficulty from beginner to pro is a great place to find your starting point before you start adapting.
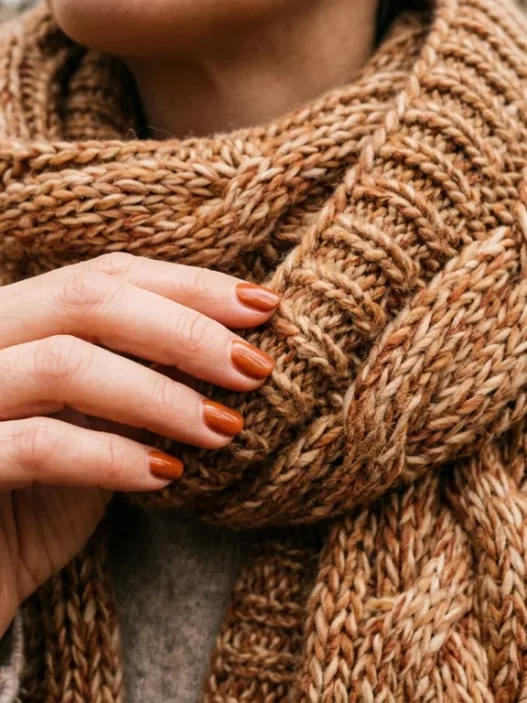
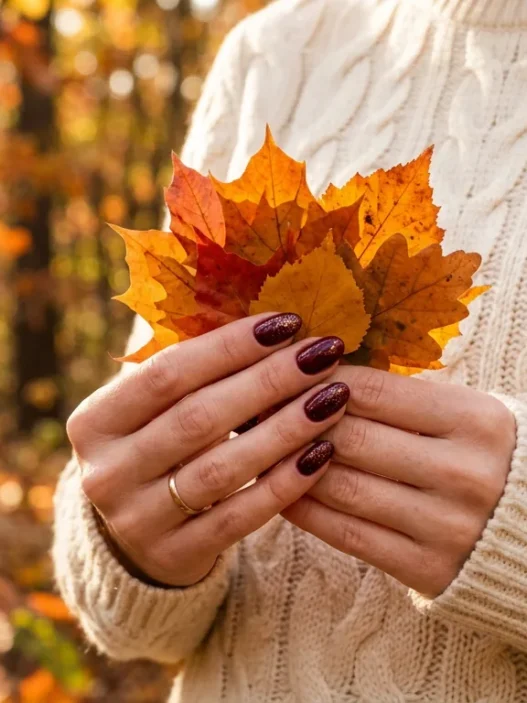
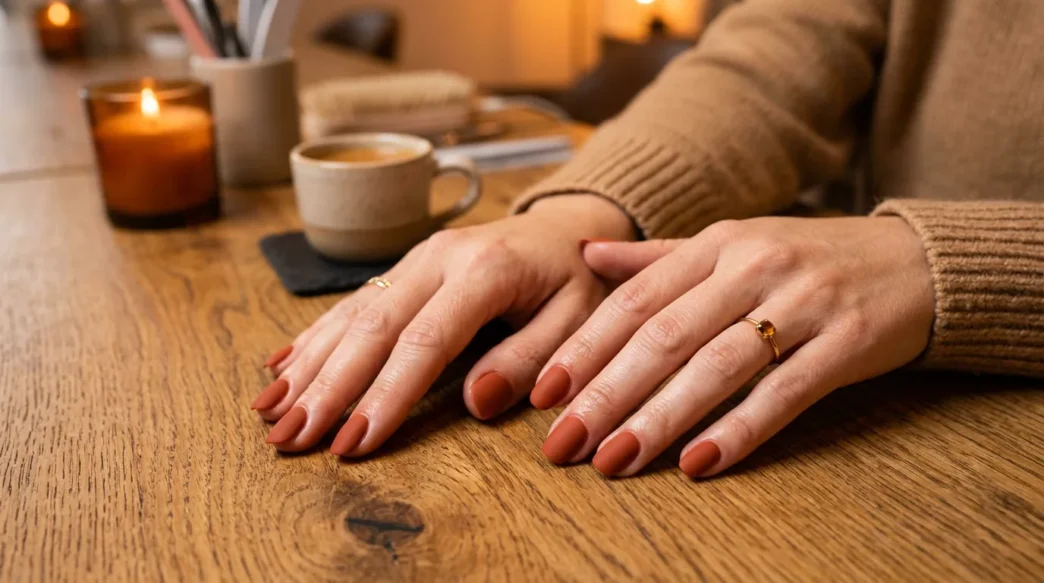
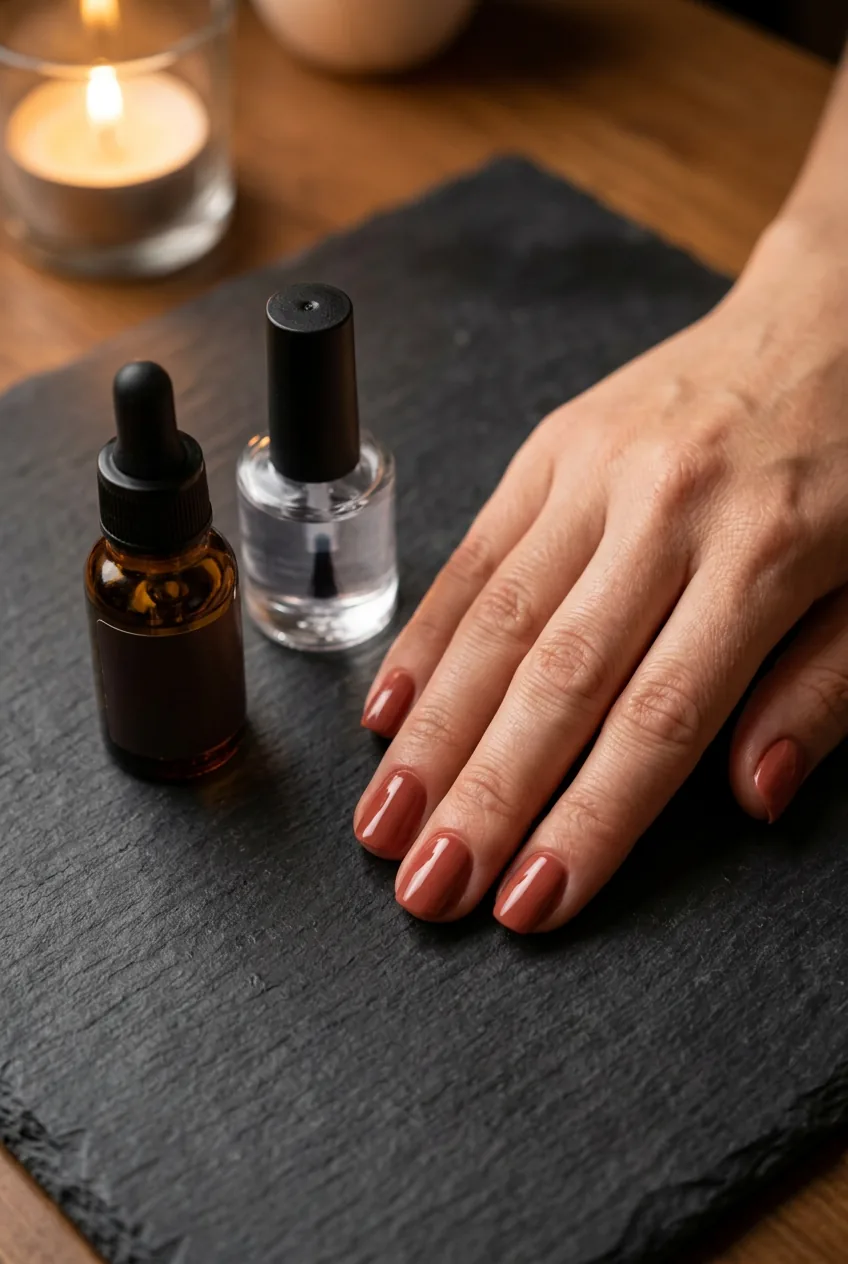
And look at her hands in this shot — that’s the exact feeling I’m chasing every autumn. The satisfaction of a design that just fits the season completely, from the depth of the colour to the way the finish catches the light.
Questions I Get About This
Can I use a matte topcoat over gel polish?
Yes, absolutely — but make sure the topcoat is specifically formulated for gel if you want the best result. A regular matte topcoat applied over gel will work in a pinch and usually looks fine, but it won’t last as long as a gel-compatible matte finish. If you’re doing this at a salon, just ask your nail tech to finish with a gel matte topcoat instead of the standard high-shine one.
What’s the best autumn colour if I can only pick one?
If you’re forcing me to choose: a warm, slightly muted terracotta. It works on every skin tone, it translates across nail lengths, and it genuinely looks expensive in a satin finish. It’s the colour I reach for every single October without fail. Think more clay pot than Halloween pumpkin — that slightly dusty, earthy quality is key.
How often should I reapply cuticle oil in autumn?
At minimum, twice a day — morning and evening. If your hands are particularly dry or you spend a lot of time in heated indoor environments, three times isn’t excessive. I keep a small cuticle oil pen in my bag specifically for the September-to-March window so I can do a midday application without thinking about it. Nourishing cuticle oils tend to perform better in cold months than lighter summer formulas — look for ones with jojoba or marula oil.
Do I need to do all five steps or can I skip some?
Technically you can skip the nail art step (Step 4) — it’s the only truly optional one. The others build on each other in a way that matters for longevity and seasonal effect. If you skip the prep (Step 1), everything after it suffers. If you skip the finish shift (Step 3), the design loses its seasonal quality. The two-topcoat seal in Step 5 is non-negotiable if you want more than three days of wear. Basically: do the full process at least once, then decide what works for your lifestyle.
The first time I did this properly — full prep, a deep muted amber, satin finish, a single gold line detail on one accent nail, sealed with the two-topcoat method — I got a solid nine days of wear before I even needed to think about a refresh. For regular nail polish, at-home, in autumn, that genuinely surprised me. The design still looked put-together at day seven. That’s the whole point of doing this right. Not just a pretty fall manicure, but one that actually sticks around long enough to be worth the effort.