





I used to rush my nails on a Sunday night, hunched over the coffee table with a podcast on, and wonder why they always looked a little off. Streaky. Thin. Done. When I finally gave myself a full Saturday afternoon — no plans, no guilt — everything changed. I wanted that particular shade of pale, icy blue I kept seeing and couldn’t stop thinking about, and I wanted it to actually look like I’d paid someone to do it. This guide is exactly what I followed to get there, and honestly, it turned into one of my favorite rituals of the whole year.
Your Afternoon, Step by Step
- What You’ll Need
- Step 1: Start With a Proper Soak
- Step 2: Take Your Time With the Shape
- Step 3: Cuticle Care Done Slowly
- Step 4: The Dehydration and Base Ritual
- Step 5: The Layer-By-Layer Build
- Step 6: The Finishing Touches That Make the Hour Worth It
- Step 7: The Dry-Down and Photograph Moment
- Questions I Get About This
What You’ll Need
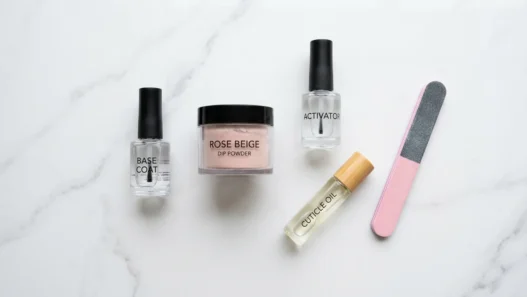
Nothing exotic here. I deliberately kept the supply list to things that are easy to find and genuinely make a difference — no gadget rabbit holes, I promise.
- A wide, shallow bowl for soaking
- Mild soap or a drop of olive oil for the soak water
- A glass nail file (a revelation, honestly — they don’t shred the nail edge)
- A 180-grit buffer block
- Cuticle pusher (rubber-tipped is the gentlest)
- Cuticle nippers — only for the truly dead skin, not for going wild
- Cuticle oil (I use one with jojoba and vitamin E)
- Nail dehydrator
- A good ridge-filling base coat
- Your baby blue nail polish — I love a crème finish in a true pale blue, not too grey, not too lilac
- A glossy top coat (the thick, high-shine kind)
- Cleanup brush and acetone in a small dish
- A cozy drink and a good playlist
For a deeper look at getting a truly professional result at home, I always recommend reading up on the professional-grade blue nails manicure you can do yourself — it has some brilliant prep notes that changed how I approach the whole thing. And if you want to see where this colour sits in the wider world of cool-toned shades, the best blue nails of 2026 countdown is genuinely inspiring.
Step 1: Start With a Proper Soak
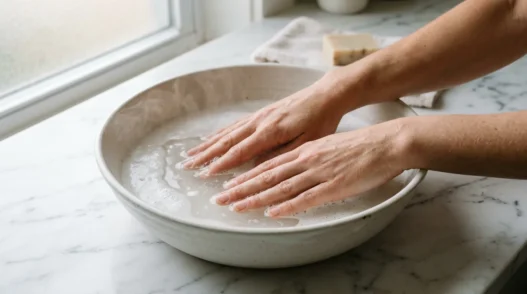
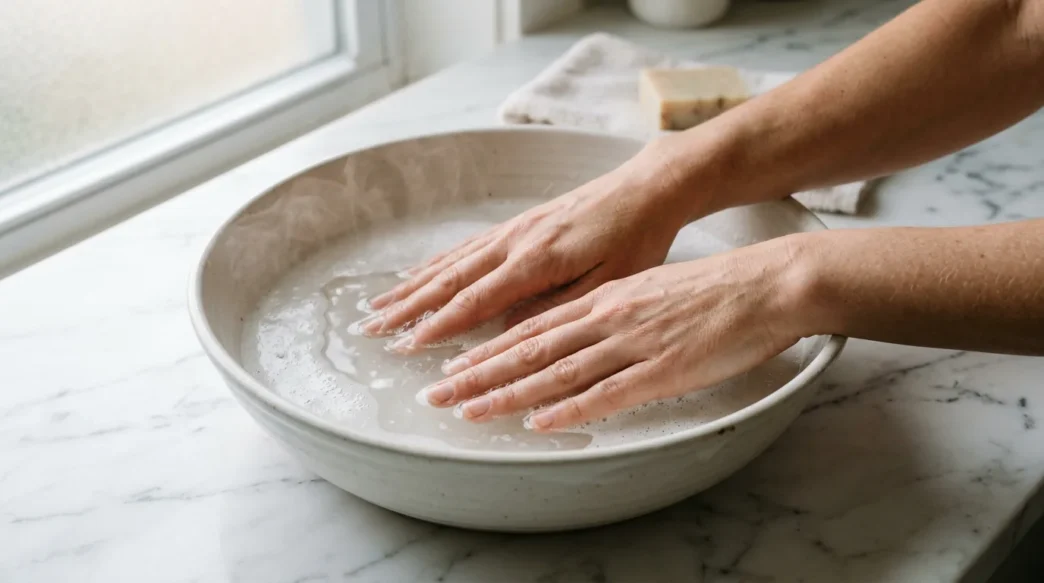
This is the part I used to skip entirely, and it was costing me the whole manicure without me even knowing it. Fill your bowl with warm — not hot — water, add a tiny drop of soap or a teaspoon of olive oil, and soak your hands for five full minutes. Set a timer. Actually wait.
The warmth softens the cuticles naturally, makes the skin around the nails pliable, and just… slows you down. That’s the point. This is a Saturday. You have nowhere to be. Light your candle, put on something good, and let your hands rest in that warm water. It’s a completely different headspace than scrambling for the polish bottle.
Pat your hands dry gently with a soft towel. Don’t rub. You want them dry but not stripped. Now you’re ready to actually begin.
Step 2: Take Your Time With the Shape
Baby blue is a colour that rewards a clean, intentional shape. It’s soft and airy, and a jagged or uneven edge will distract from everything. This is not the step to rush.
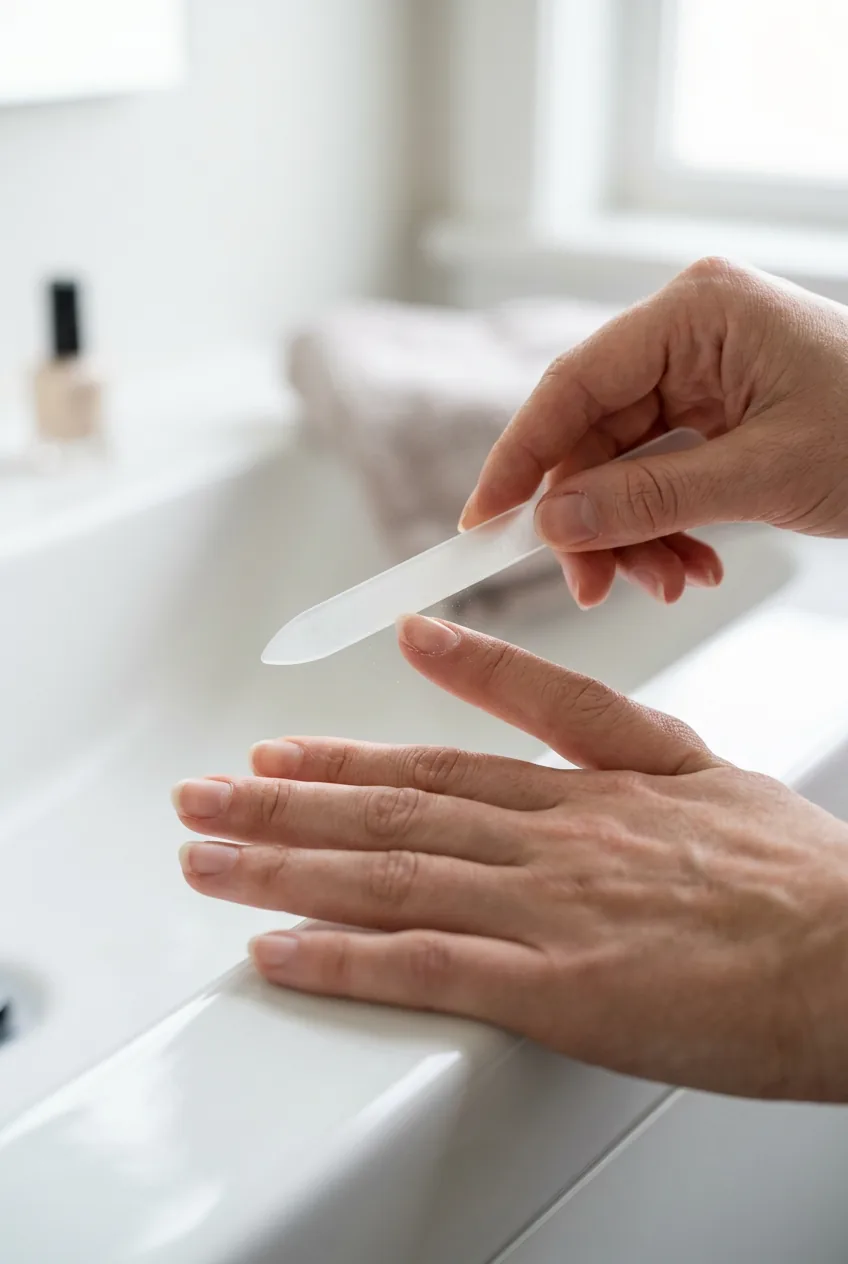
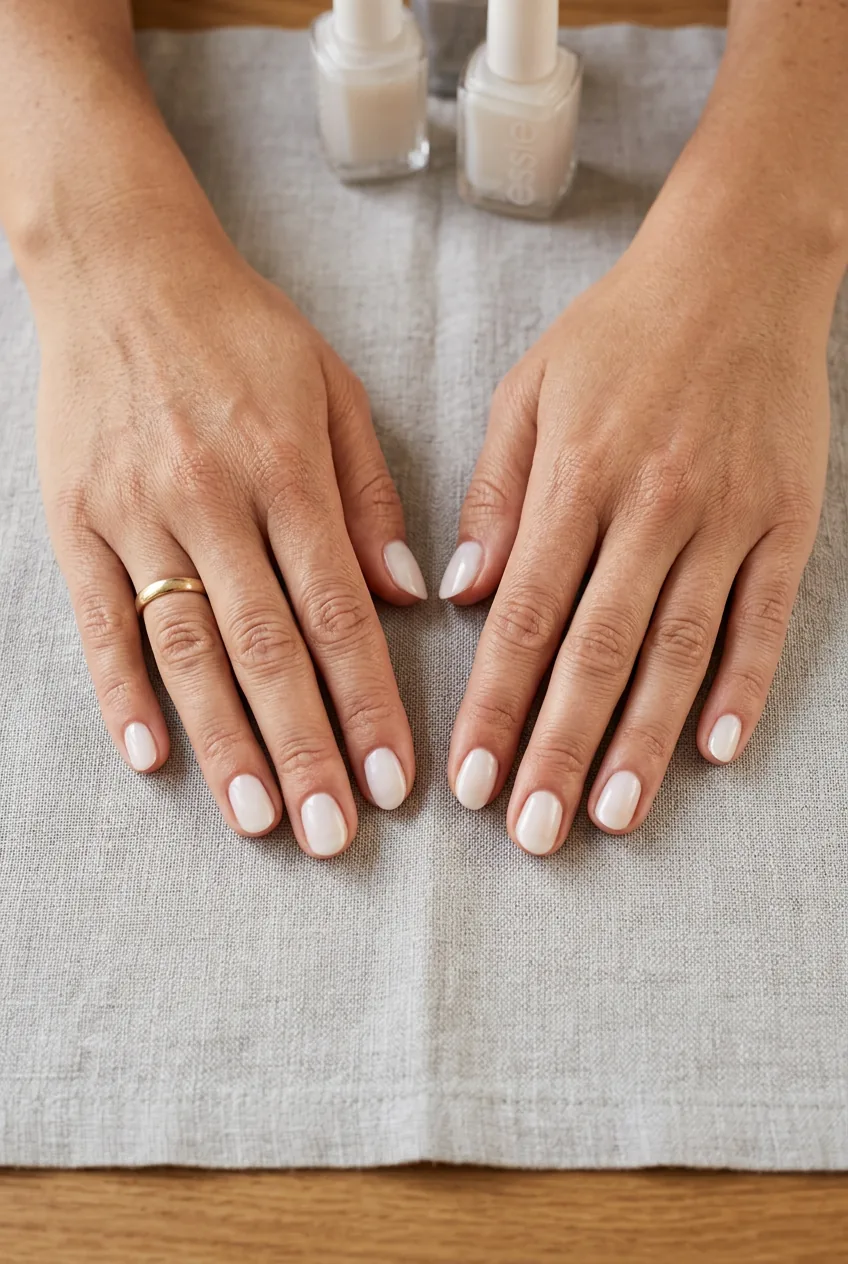
I file in one direction only — always. Sawing back and forth creates micro-tears in the nail that you won’t see until the polish chips three days later. Start from the outer edge and sweep toward the centre. For a pale blue, I personally love an oval or soft squoval shape — it keeps the look feminine and rounded rather than harsh. Filing into an oval is something worth reading once if you’ve always been a square-nail person, because the difference in how colour reads on a shaped nail is significant.
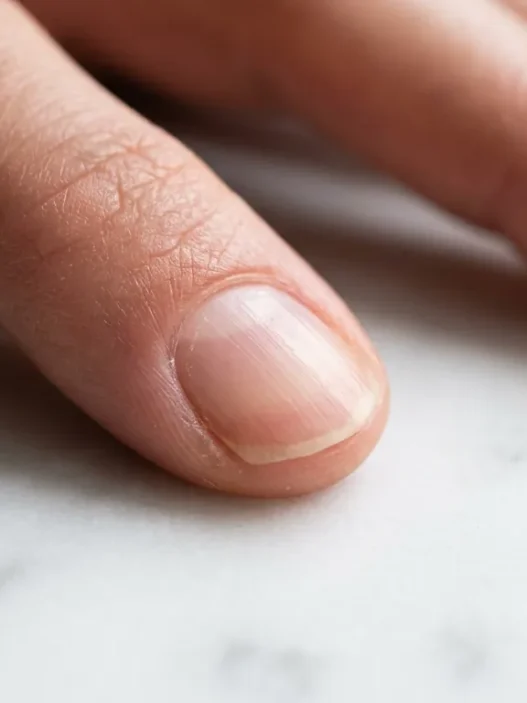
Once the shape feels right on all ten nails — and check with your hand flat on a table, not held up in the air, because that’s how you’ll actually see them — do a light pass with the buffer block. Just once over. You’re smoothing ridges, not thinning the nail.
A mistake I made: I over-buffed for years. I thought more buffing meant a smoother canvas. What it actually meant was thin, bendy nails that dented under the polish. One gentle pass is all you need — the base coat does the ridge-filling work, not you.
Step 3: Cuticle Care Done Slowly
This is my favorite step of the whole ritual, which is not something I ever expected to say about cuticle work. But there’s something meditative about doing it carefully, nail by nail, with a good pusher and a little cuticle oil.
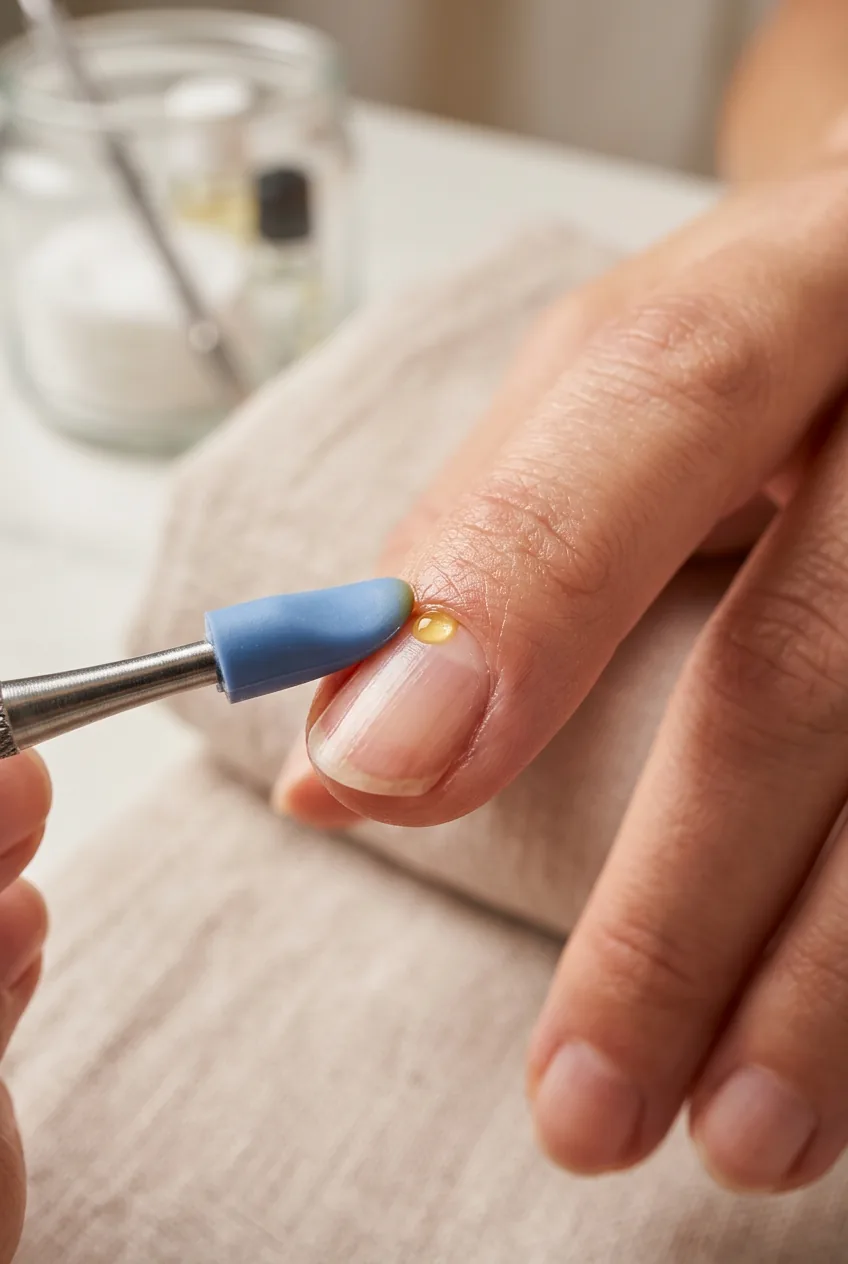
Apply a small drop of cuticle oil to each nail and let it sit for thirty seconds. Then, using your rubber-tipped pusher, gently press the cuticle back in small circular motions. You’re not cutting — you’re just revealing the nail plate. The difference this makes to how polish sits and how long it lasts is enormous. Proper cuticle care makes such a measurable difference to your final result that I genuinely think it deserves more airtime in most nail tutorials.
If there’s any truly dead, lifted cuticle skin — the dry, white-ish bits — you can use your nippers very sparingly. One snip, not three. And only on the dead part. Put the nippers down after that. Seriously.
Wipe away any excess oil with a dry lint-free pad. The oil has done its job. Now we move into the part that actually keeps your polish on.
Step 4: The Dehydration and Base Ritual
This is the step where everything either goes right or wrong, and most home manicures skip it completely. The nail plate still has natural oils on it even after cleaning — and polish does not adhere to oil. End of story.
Swipe a nail dehydrator across every nail. It evaporates fast — within about thirty seconds — and you’ll notice the nail surface goes from slightly shiny to matte and chalky-looking. That matte look is what you want. That’s a dehydrated nail plate that is genuinely ready to hold polish.
Now apply your base coat. I use a ridge-filler formula because even after buffing, I have some natural texture on my nails, and on a pale colour like baby blue, any ridge will telegraph through. Paint one thin coat, cap the free edge (that just means running the brush along the very tip of the nail), and let it dry fully. Completely. I give mine four minutes minimum. Make more tea. Look out the window. This is the ritual.
Step 5: The Layer-By-Layer Build
Now we get to the blue. And this is where patience pays off in a way that feels almost unfair — because three thin coats look so infinitely better than two thick ones that it’s almost annoying.
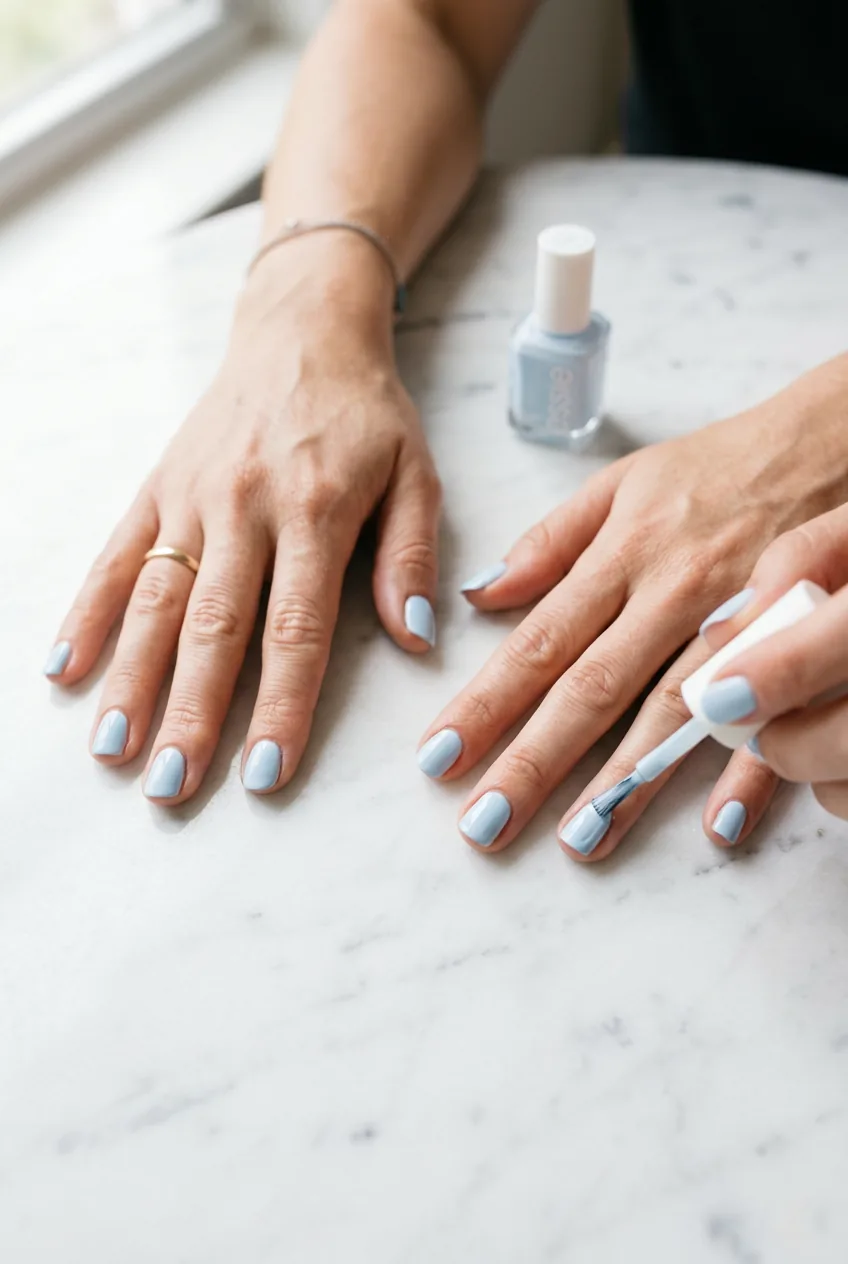
For a pale, powdery baby blue, the colour is inherently sheer. That’s part of its charm — that delicate, milky quality. But it means you need to build it. Open the bottle, wipe one side of the brush on the neck of the bottle (not both sides — you want enough product), and start from the cuticle area. Leave a tiny gap — maybe a millimetre — between the brush and your cuticle line. The polish will flow forward slightly as you press, and this gap prevents flooding.
Three strokes per nail: centre first, then one stroke on each side. Cap the tip. Move on. Don’t go back over wet polish. Don’t try to fix it. Let each coat dry for at least three minutes before applying the next.
By the third coat, the colour is fully opaque and that beautiful cool, icy blue has come alive. It almost glows in daylight — especially if your base did a good job of smoothing the surface underneath. This is the moment I always take a pause and just appreciate what’s happening. I’d been chasing this exact shade for ages before landing on the right formula, and looking through the best blue nails of 2026 really helped me identify what I actually wanted — that true, soft sky tone rather than anything greyed out or chalky.
A mistake I made: On my first attempt at this colour, I applied two thick coats because I was impatient. The polish looked bubbly in the light, and it took over two hours to fully cure even though it felt dry. Thin layers dry faster AND look better. It’s counterintuitive but completely true.
See the Thin-Coat Technique Up Close
Step 6: The Finishing Touches That Make the Hour Worth It
Top coat is not optional. I know that sounds obvious, but I went through a phase of thinking my polish was “good enough” without it and just… no. Top coat is what separates a nice manicure from a great one. It seals everything, adds that glassy depth, and extends wear by days.
Apply one generous but not thick coat of your glossy top coat. Cap the tip again — this is the most chipping-prone area and double-sealing it makes a real difference. If you want an ultra-glassy result, apply a second coat of top coat two hours later. I do this almost every time now. The difference in shine is visible from across the room.
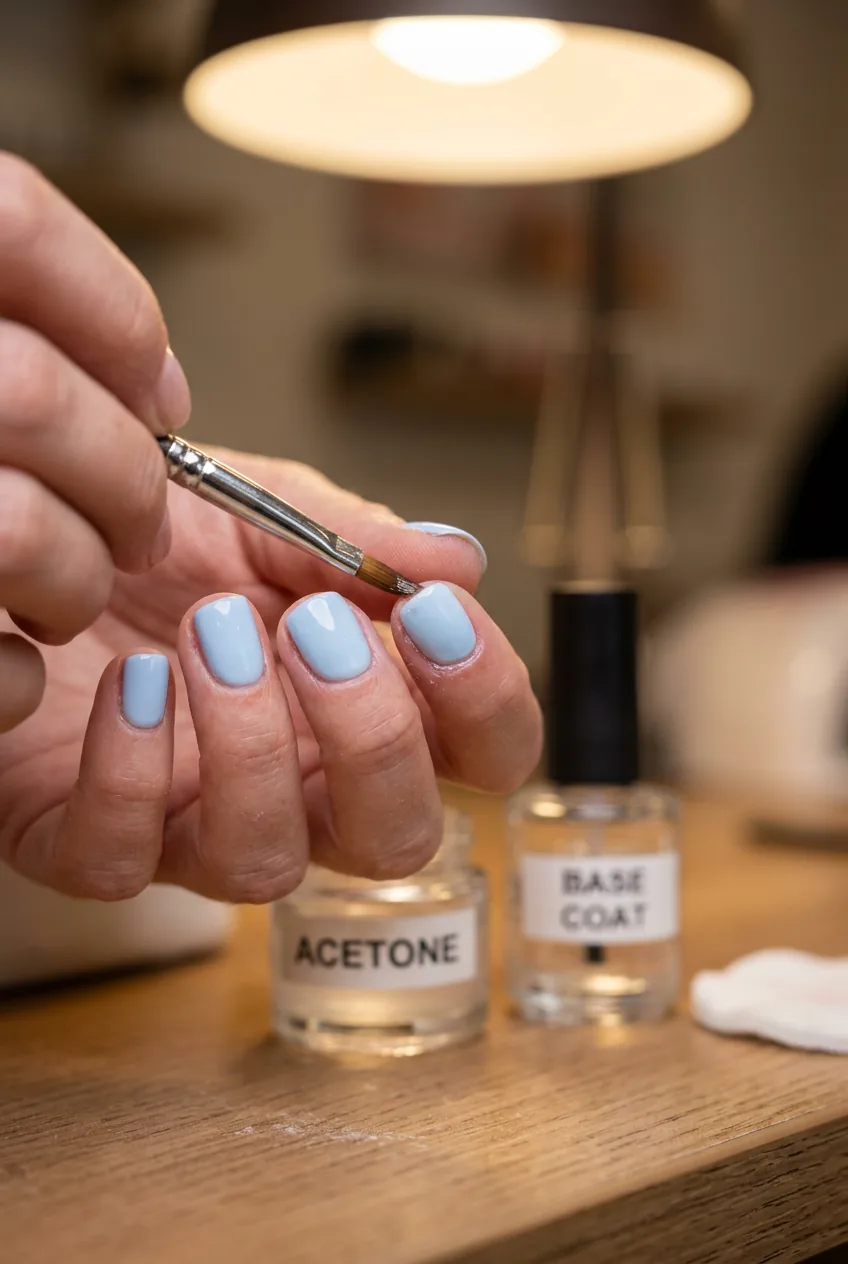
While the top coat is still slightly tacky (roughly thirty seconds in), take your cleanup brush dipped in acetone and clean up any polish that’s crept onto the skin. Go slowly, follow the curve of your cuticle, and the result is that crisp, salon-edge line that makes the whole manicure look intentional. She’s got exactly that edge in the photo below — notice how clean the skin is right up against the nail? That’s not luck. That’s the cleanup brush.
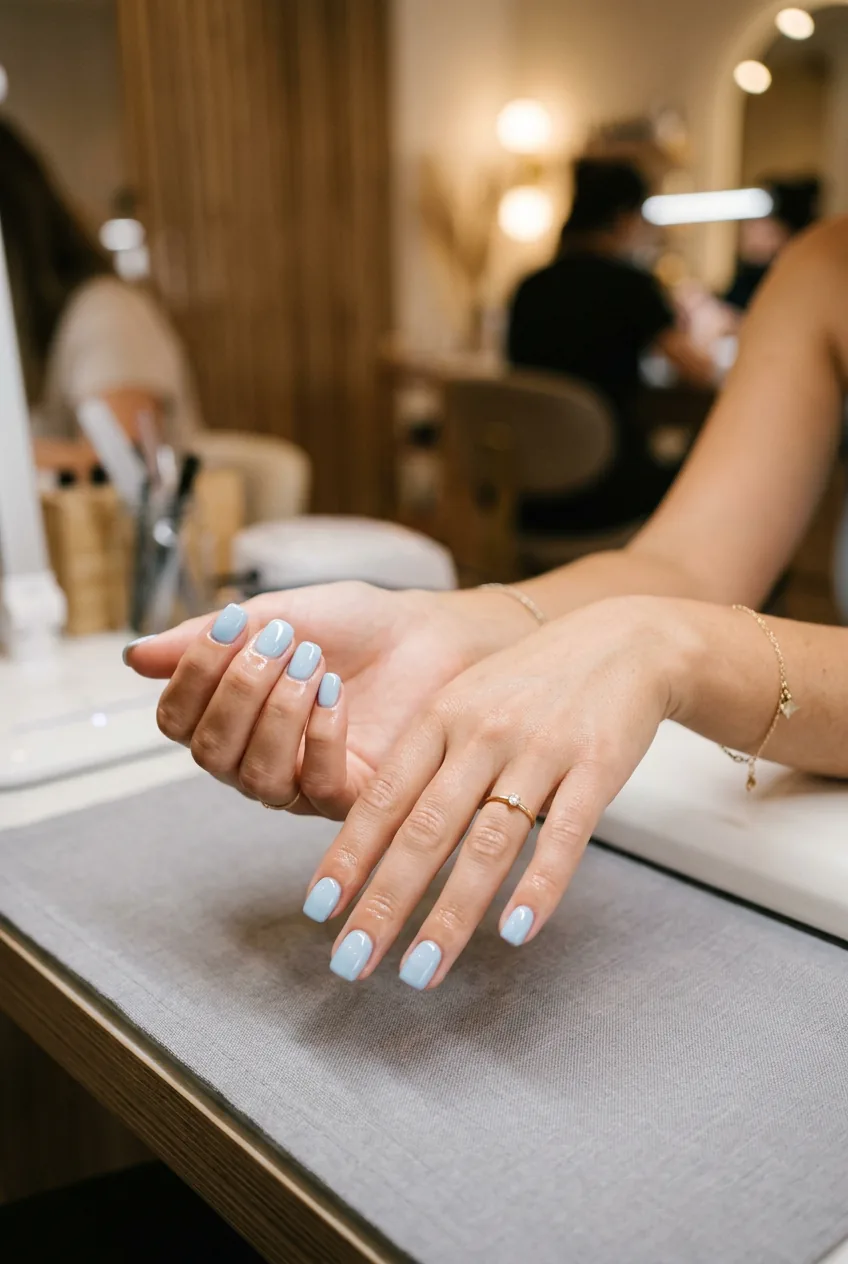
Baby blue is a colour that works beautifully year-round — it’s breezy for summer nails and unexpectedly lovely as a cool, crisp tone for winter nails too. I’ve worn this exact shade in January and felt like I was carrying a little piece of sky around with me. If you want to experiment with deeper blue tones to complement a baby blue manicure on accent nails, the DIY navy blue nails colour-mixing tutorial is a brilliant place to start.
Step 7: The Dry-Down and Photograph Moment
Don’t touch anything for twenty minutes. I mean it. This is the step that seems passive but is genuinely part of the process. Nail polish may feel dry to the touch in five minutes, but the layers beneath are still curing and settling. A dent made now — from a bag zip, a keyboard, anything — is permanent.
So sit. Read. Watch something. Let the light catch your nails and enjoy the fact that you gave yourself two hours today just for this.
After twenty minutes, go to your best light source — a window in natural daylight is my favourite — and fan your fingers out on a flat surface. This is the reveal. Look at them properly. That glossy, pale blue. That clean cuticle line. That smooth, ridge-free surface. Photographing them in good light does genuinely elevate the whole experience of appreciating your own work. I take a photo almost every time, not for anyone else necessarily, but because I want to remember what I made.
See how she’s holding her hands in the photo — fingers slightly fanned, resting naturally, not forced or stiff. That’s the pose that shows every nail at once and catches the light across the gloss. That’s exactly the moment I love most about this whole ritual. The finished thing, sitting there, looking exactly like what you wanted.
Questions I Get About This
Why does my baby blue nail polish look streaky on the first coat?
Pale colours — especially baby blue — are almost always sheer in the first coat and will look streaky. That’s completely normal and not a sign of a bad formula. The streaks disappear by the second and third coat, which is why building thin layers is so important with this shade family. Don’t panic and go in with more polish — let it dry and keep layering.
How long will this manicure actually last?
With the dehydration step, a good base coat, three thin colour coats, and a quality top coat, I consistently get seven to nine days before any real tip wear appears. Applying a thin refresh coat of top coat every two to three days extends this even further. The prep steps — especially the dehydrator — make the biggest difference to longevity.
Is baby blue a good colour for short nails?
Honestly, it’s one of the best. Pale, soft blues have a visual-lengthening quality on short nails — they’re airy rather than heavy, which means they don’t make a short nail look stubby the way a very dark colour can. An oval or round shape on a short nail with this colour is a genuinely beautiful combination.
Can I skip the cuticle oil if I don’t have any?
You can use a tiny drop of olive oil or coconut oil in a pinch — both work reasonably well for softening the cuticle before pushing. What you shouldn’t do is skip the cuticle step entirely, because pushing the cuticle back before painting gives you that extra sliver of nail plate to work with and keeps the finished edge looking intentional rather than buried.
What if I don’t have a cleanup brush?
A thin, flat eyeshadow brush dipped in acetone works surprisingly well. You can also use a cotton bud very carefully, though the tip is harder to control around curves. The cleanup step is worth improvising for — it’s what makes the whole manicure look finished rather than homemade.
The first time I did this full ritual — the soak, the shaping, the slow coats, the whole two hours — I sat in my kitchen afterward with a cup of tea and just looked at my hands. Pale, glossy, icy blue. Perfect edges. I’d made that. On a Saturday. No appointment, no waiting, no tipping. Just time and a little intention. That’s what this method gave me, and I genuinely hope it does the same for you.