


I used to spend hours on my nails and still end up with messy results. Then I discovered the power of timing myself through each step. This summer, I’ve perfected a 45-minute routine that consistently gives me those adorable cute nails I see all over Instagram. The secret? Breaking it down into timed segments so you never rush or spend too long on any one step.
What You’ll Need
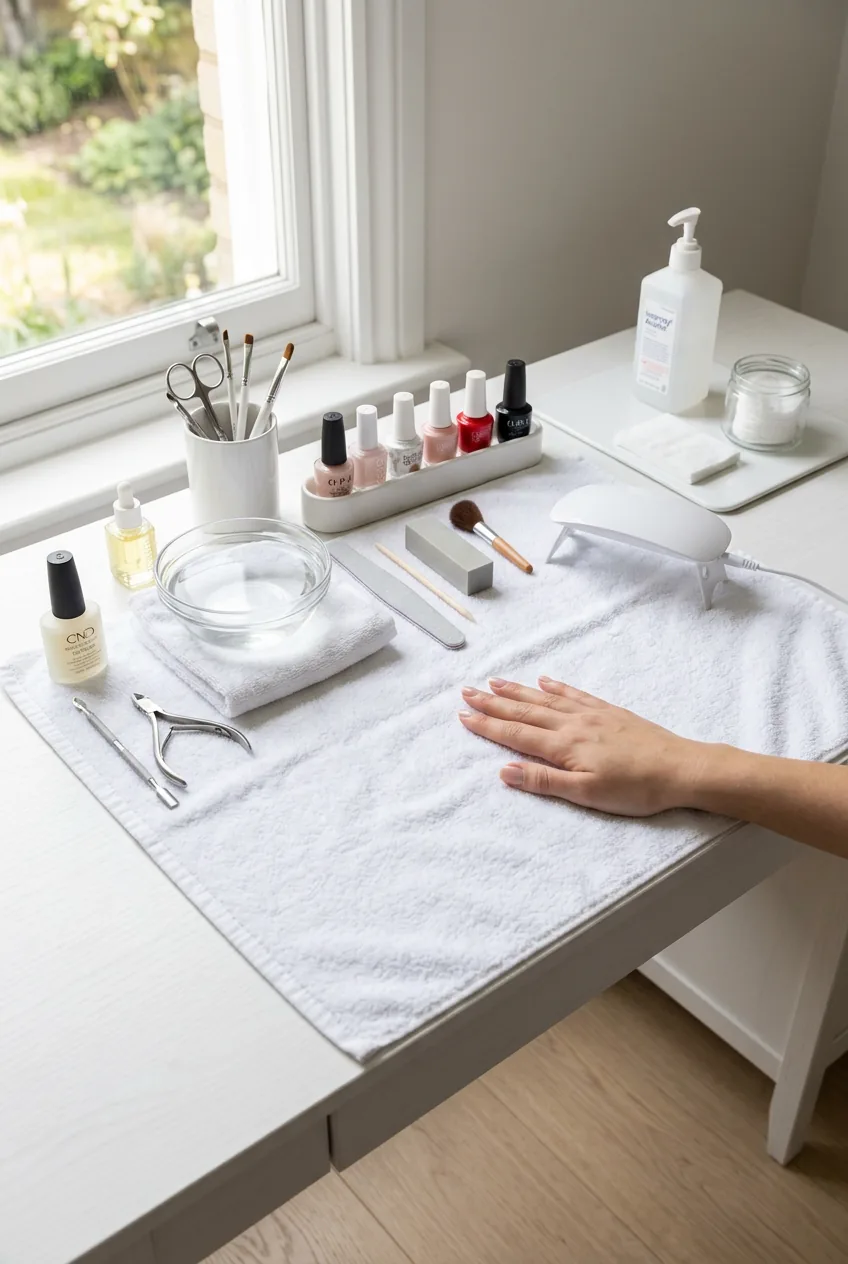
Before we start the timer, gather everything. Trust me on this — having it all within arm’s reach makes the difference between a smooth manicure and a frantic one.
- Nail file and buffer
- Cuticle pusher and nippers
- Base coat (I swear by gel base for longevity)
- Two complementary summer shades (coral and cream are my go-to)
- Small detail brush or dotting tool
- Fast-dry top coat
- Cuticle oil
- Cotton swabs and acetone for cleanup
- Hand cream
0:00 — Setting Up Your Workspace
Start your timer now. The first five minutes are all about creating the perfect setup. I learned this the hard way after knocking over polish bottles too many times.
Find a well-lit spot — natural light is best, but a good desk lamp works too. Lay out a towel to protect your surface and arrange your tools in order of use. Open all your polish bottles now so the caps aren’t stuck tight when you need them mid-manicure.
I always keep a small glass of water nearby for the brushes and make sure my phone is charged. Nothing ruins cute nails like having to answer texts with wet polish!
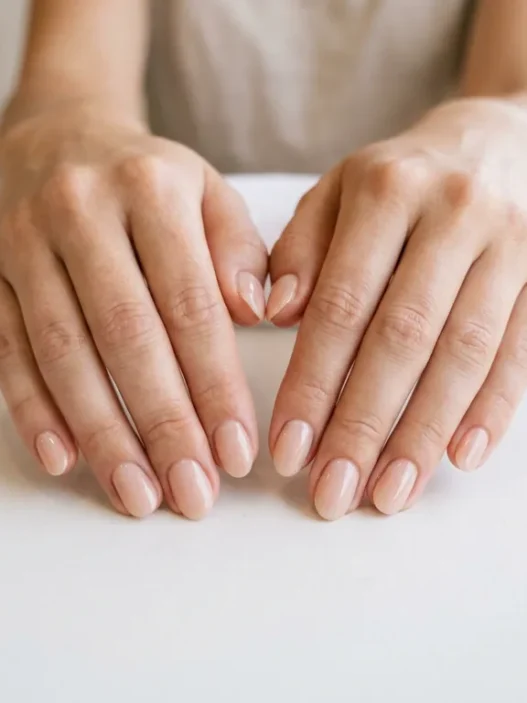
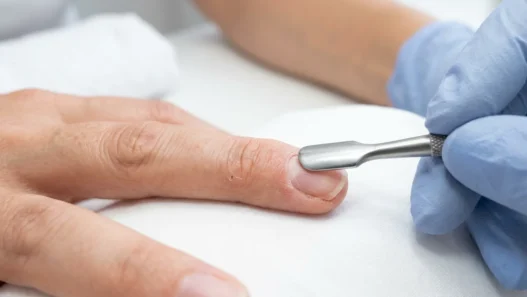
0:05 — Cuticle Care and Nail Prep
This ten-minute window is where good manicures are born. I used to skip proper prep and wonder why my polish chipped in two days.
Start by removing any old polish completely. Then shape your nails — for summer cute nails, I prefer a slightly rounded square. It’s practical but still feminine. File in one direction only; back-and-forth sawing weakens the nail.
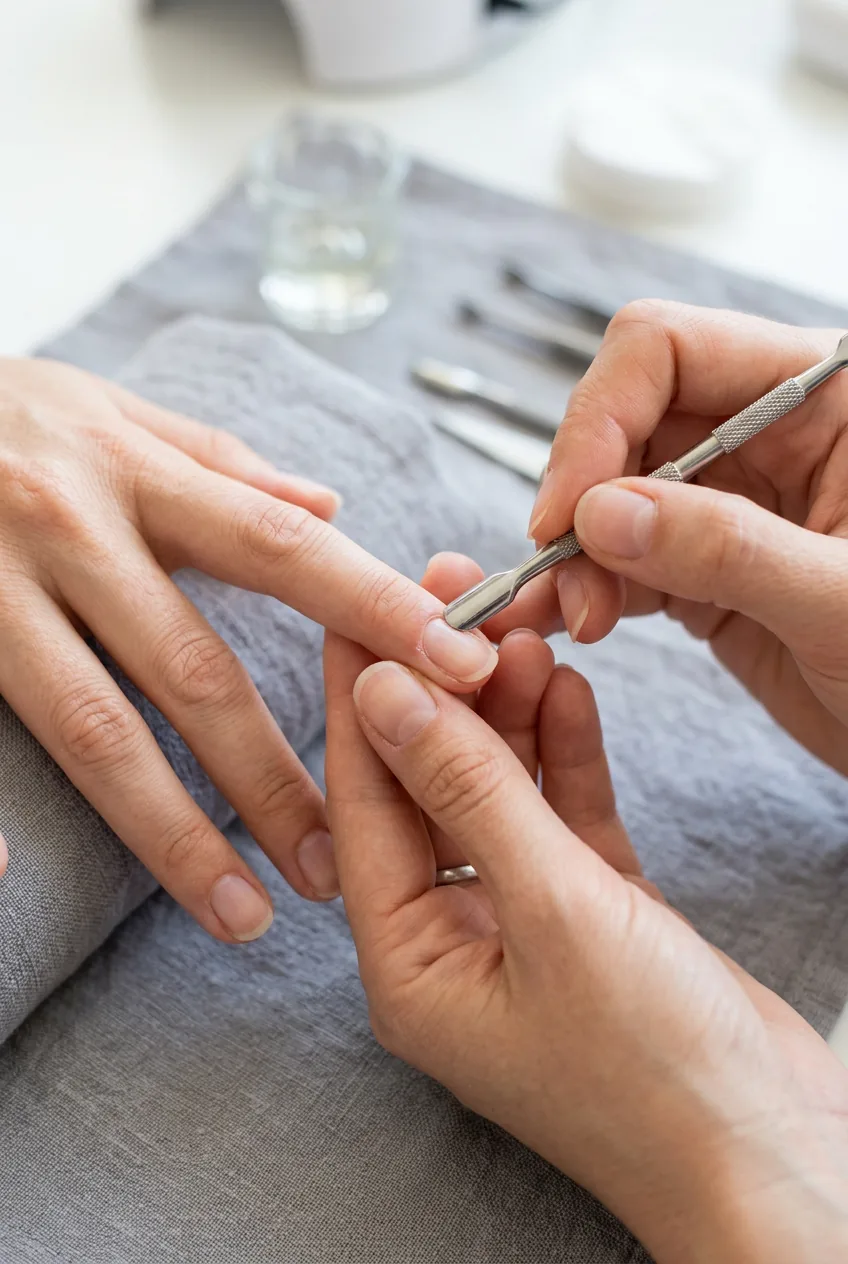
Push back your cuticles gently with the pusher. If you see any hangnails, carefully trim them with nippers. But don’t go overboard — I once got carried away and ended up with sore, bleeding cuticles that took a week to heal.
The mistake I always made: rushing through the buffing step. Those little ridges and rough spots will show through your polish, especially with lighter summer shades. Take the full minute to smooth everything out.
Finish this stage by wiping each nail with acetone on a cotton pad. This removes oils that prevent polish adhesion. Your nails should look matte and clean.
0:15 — Base Coat Application
Time check: you’re 15 minutes in and about to apply the foundation of your cute summer nails. This step determines how long your manicure will last.
Apply base coat to all ten nails in one smooth sweep. Start with your non-dominant hand — it’s trickier, so do it while you’re fresh. Brush from cuticle to tip in three strokes: center, left side, right side.
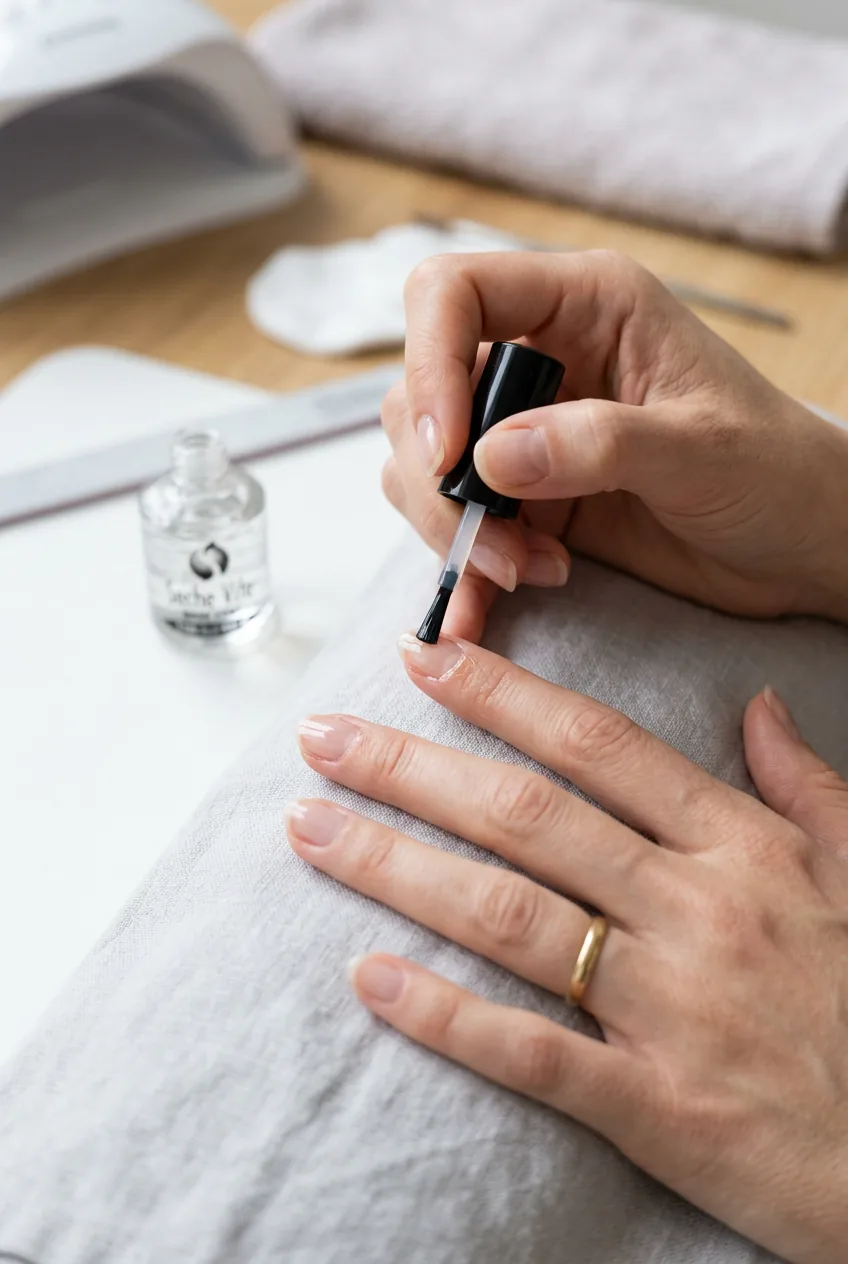
The key is thin, even coats. Thick base coat takes forever to dry and creates that horrible bubbly texture. I learned to wipe the brush on the bottle rim before each nail.
Let this dry for the full ten minutes. I know it’s tempting to rush, but trust me — wet base coat will cause your color to drag and streak. Use this time to clean up your workspace or prep your design ideas.
0:25 — Color Application Technique
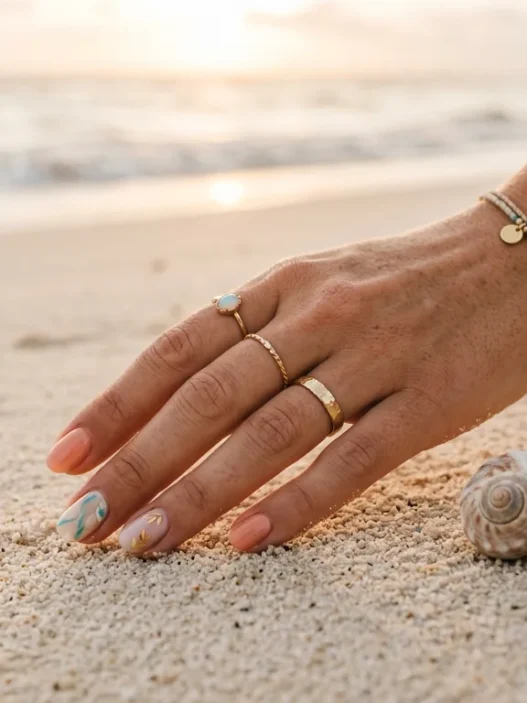
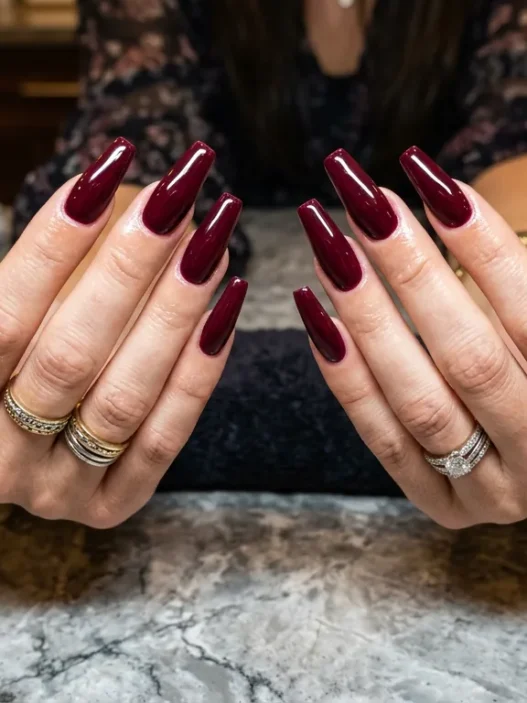
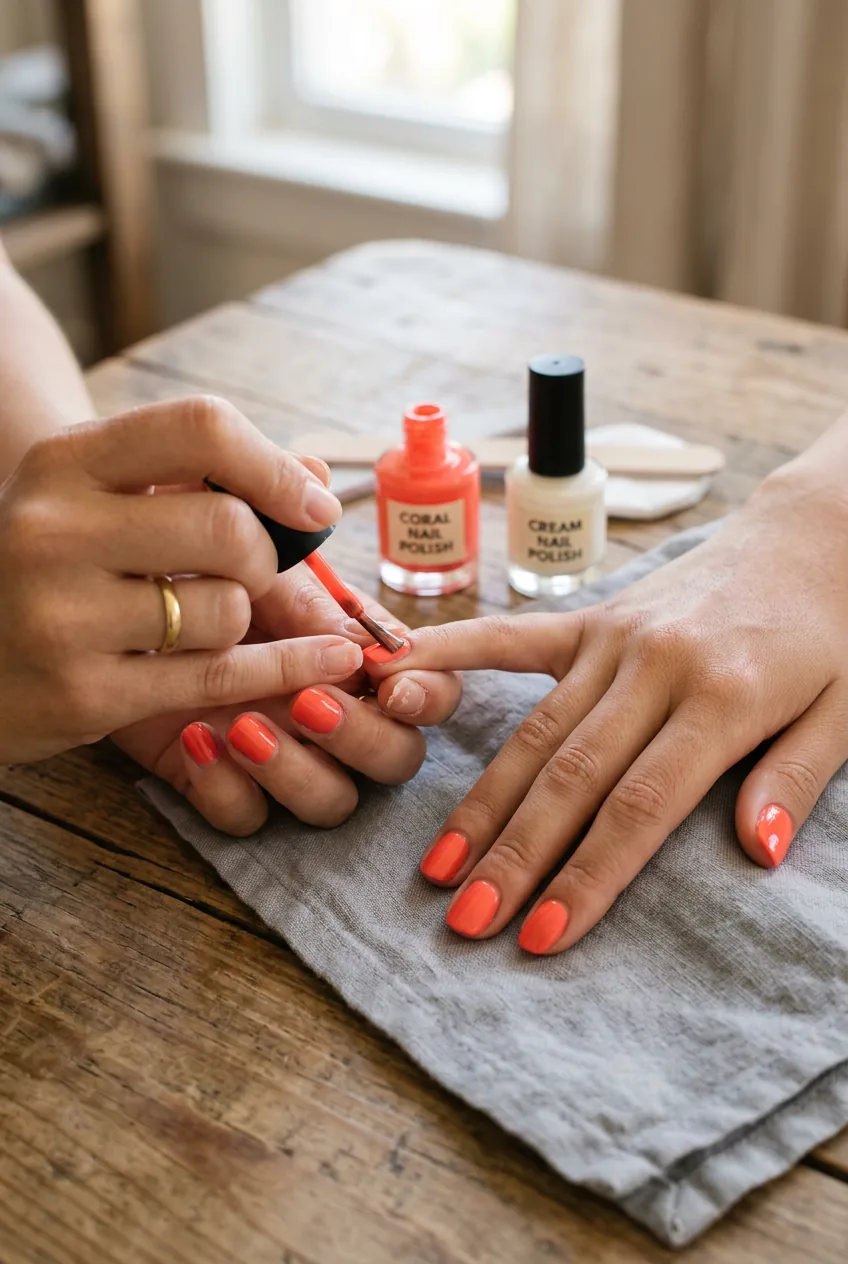
This is where your summer cute nails really start to come alive. I’m obsessed with coral and cream combinations right now — they’re fresh without being too bold for everyday wear.
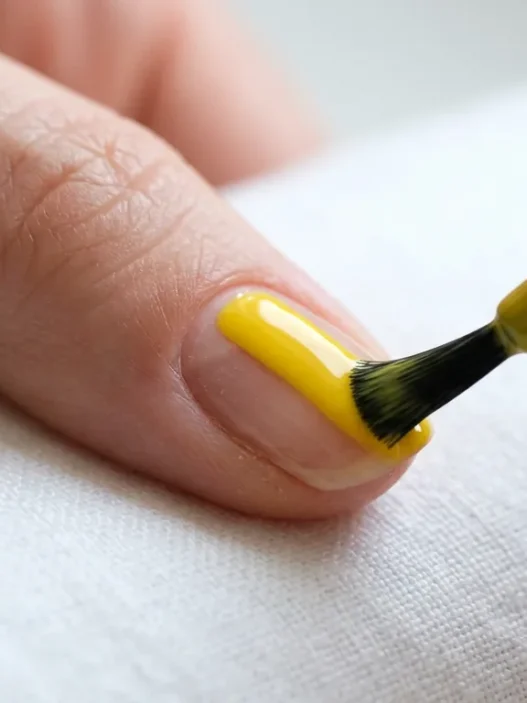
Apply your main color (I use coral) to eight nails, leaving your ring fingers for the accent shade. The secret to smooth color? Don’t overload the brush, and work quickly but steadily. Each nail gets two thin coats rather than one thick one.
Between coats, I like to do a quick summer nails edit check — are the colors working together? Sometimes what looks perfect in the bottle clashes on your actual nails.
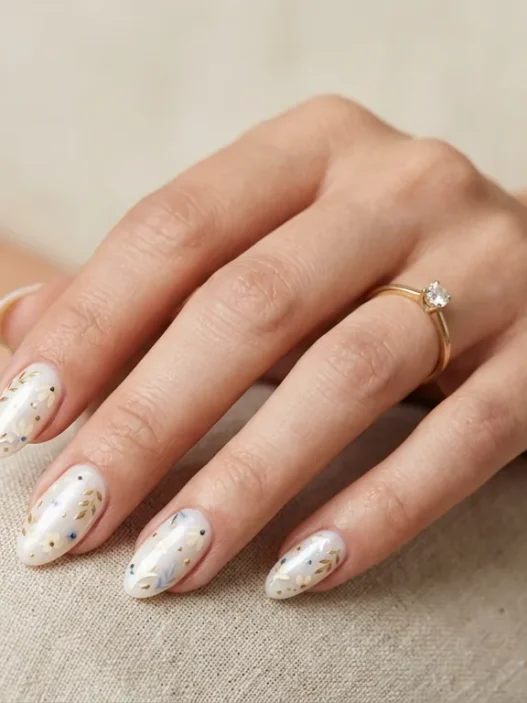
For the accent nails (ring fingers), apply your cream shade using the same technique. The contrast doesn’t have to be dramatic — subtle differences create the most elegant summer cute nails.
Watch This Technique in Real Time
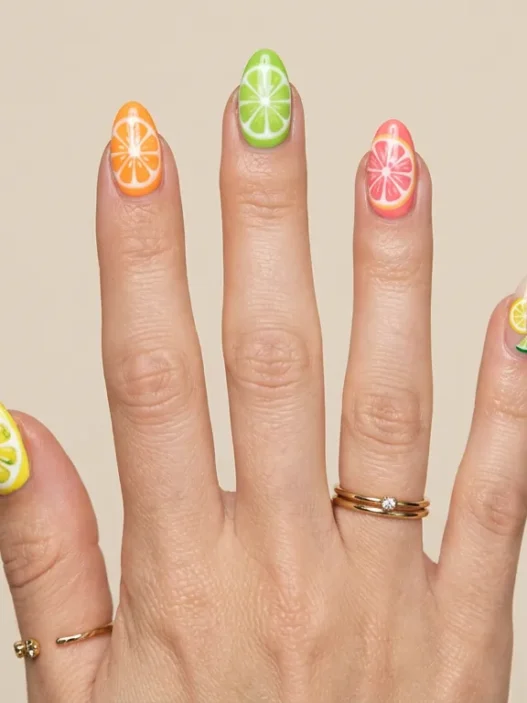
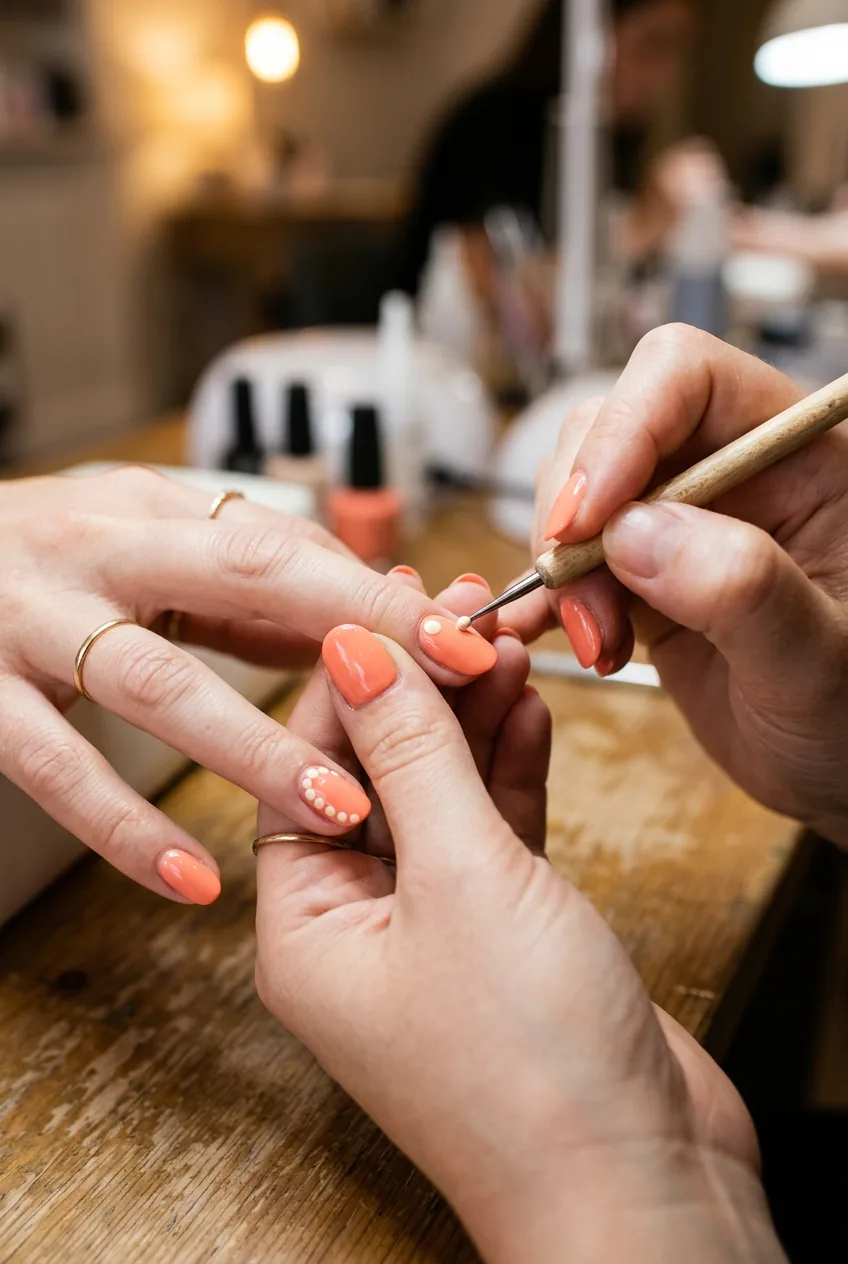
0:35 — Cute Summer Design Details
Here’s where you can get creative, but remember — we only have five minutes for details. Simple is better than rushed and messy.
Using your detail brush or dotting tool, add small accents. I love tiny dots in the accent color on the main nails, or a simple stripe down one side. Nail art techniques can elevate even the simplest color combinations.
The trick is working on one hand completely before starting the other. Your dominant hand will be steadier at the beginning, so use it to create details on your non-dominant hand first.
If you mess up a detail, don’t panic. A cotton swab dipped in acetone can clean up small mistakes without ruining the base color. This is definitely something that captures the current summer nails nail mood perfectly.

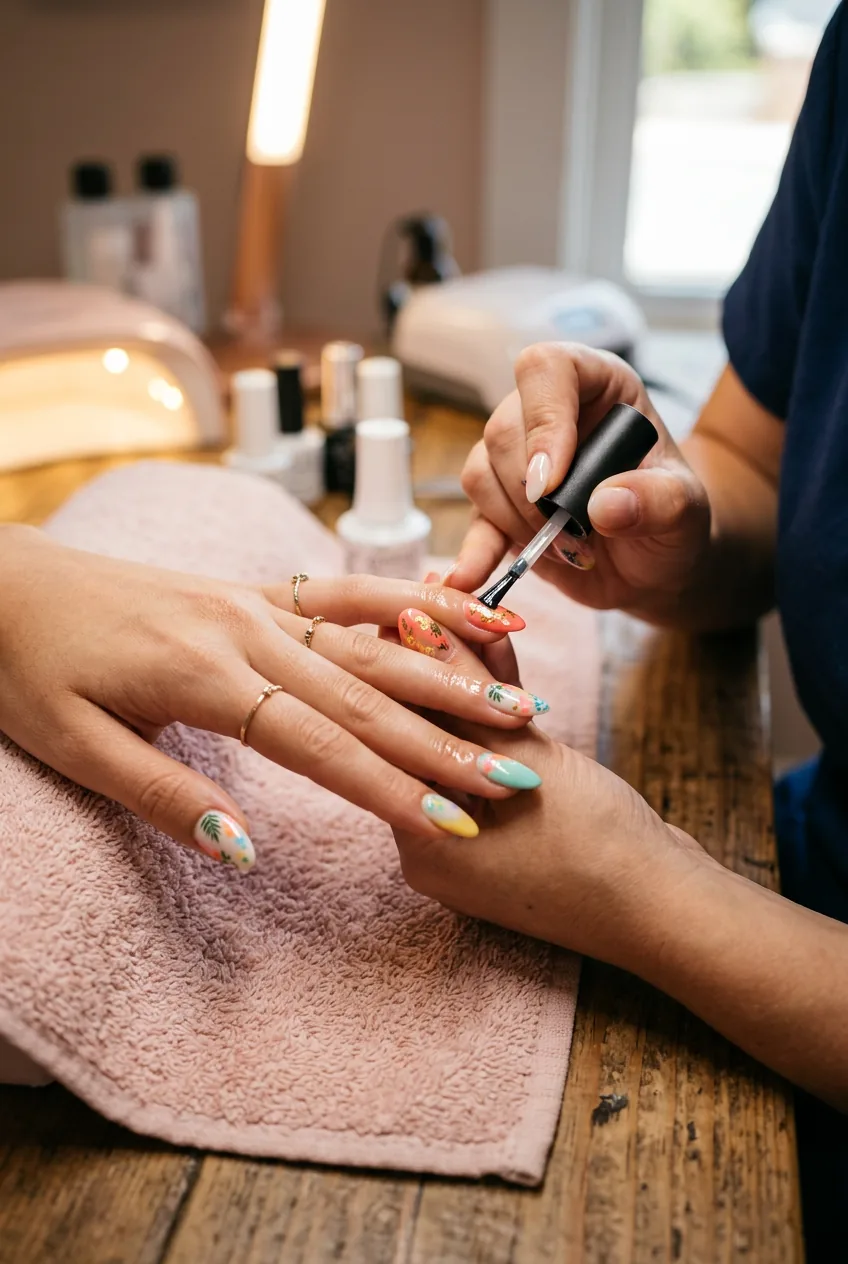
0:40 — Top Coat and Cleanup
Final stretch! Your summer cute nails are almost ready to show off.
Apply top coat to all nails using the same three-stroke method as the base coat. Fast-dry formulas are worth the extra cost — they cut drying time in half and add incredible shine.
While the top coat sets, use a small brush dipped in acetone to clean up any polish that got on your skin. Work carefully around the cuticles — this cleanup is what separates amateur manicures from professional-looking ones.
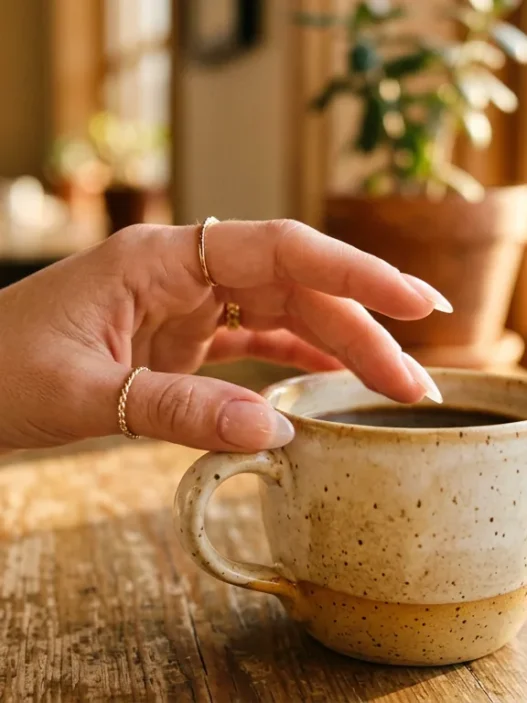
Finish with cuticle oil massaged into each nail bed, then hand cream for the perfect final touch.
Quick Answers About This Routine
Can I extend this routine for more complex designs?
Absolutely, but add time in five-minute increments. The key is still timing each phase so you don’t spend too long on any one step and risk smudging earlier work.
What if my polish isn’t dry after the allotted time?
Don’t rush to the next step. Add five minutes and use a fan or cool air from a hair dryer to speed things up. Wet polish will ruin everything that comes after.
How long do these cute summer nails typically last?
With proper prep and quality products, expect 5-7 days before minor chipping. The gel base coat really extends wear time compared to regular base coats.
Should I do this routine on natural or fake nails?
This works beautifully on both! Natural nails might need an extra minute for shaping, while acrylics or press-ons skip most of the prep time.
The finished result? Perfect summer cute nails that actually last. I get compliments every time I wear this coral and cream combination, and the best part is knowing I can recreate it consistently in under an hour. The timing method has completely changed my at-home manicure game — no more three-hour marathons that end in frustration!