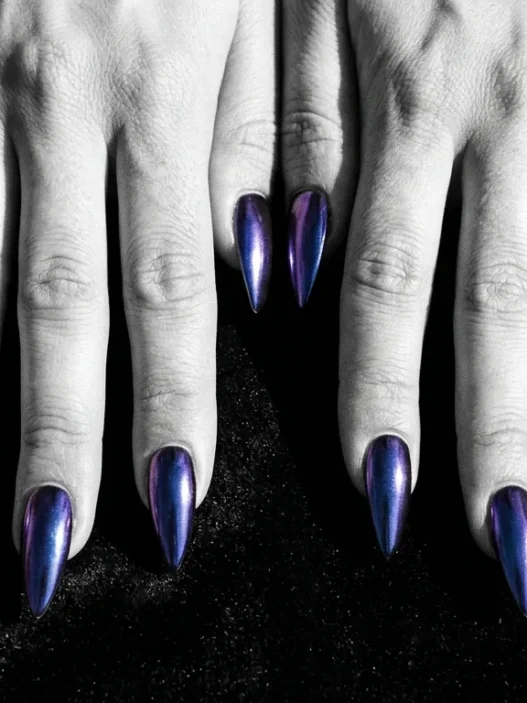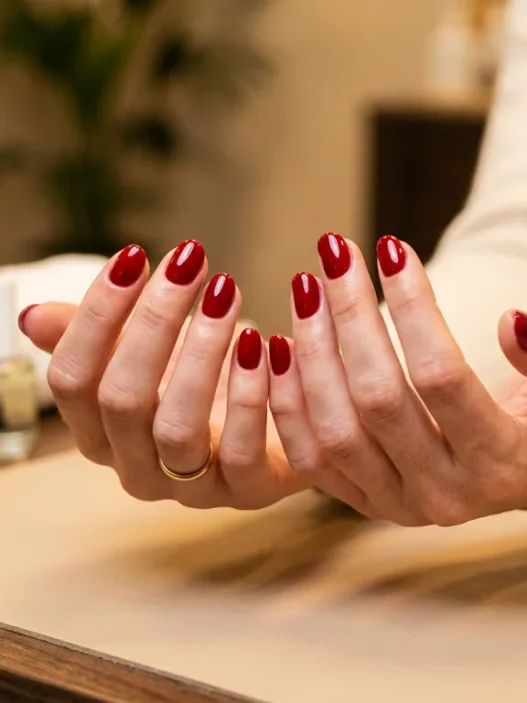







I spent a solid three months attempting stilettos on my own nails and every single time ending up with something that looked more like a slightly aggressive oval. The sides were lopsided, the tip was blunt instead of sharp, and one nail always curved left like it had its own agenda. I genuinely thought my nail beds were just the wrong shape for this. Spoiler: they weren’t. The problem was my technique — specifically, the order and angle I was filing. Once I reworked the whole process, everything clicked.
Your Roadmap to Actually Sharp Stilettos
- What Was Going Wrong With My Stiletto Shape
- The Root Cause Most People Miss
- What You’ll Need Before You Start
- Step 1: Prep and Assess Your Natural Nail
- Step 2: Mark Your Center Line
- Step 3: File the First Side Wall
- Step 4: File the Second Side Wall
- Step 5: Refine the Tip Into a True Point
- Step 6: Buff and Seal the Edges
- Step 7: Apply Your Polish to Lock in the Shape
- Making It Last Without Breaking the Point
- Questions I Get About This
What Was Going Wrong With My Stiletto Shape
Here’s what my process used to look like: I’d grab a 180-grit file, start sawing at the tip from left to right in a random arc, keep checking it, saw a bit more, and eventually give up when both sides refused to meet in the middle. Day three of wearing them and the tip would chip — not cleanly, but in that jagged way that catches on everything. It was maddening.
The problem wasn’t just the chipping. It was that the shape was never symmetrical from the start. One side would have a steeper angle, the other would be barely tapered, so the nail looked twisted. And when the point finally broke (usually by day four), I’d look at the cross-section and realize there was barely any nail material meeting at the apex — I’d basically filed away most of what was holding it together.
The Root Cause Most People Miss
Every stiletto tutorial I found online told me what to do — file at an angle, keep it symmetrical — but none of them told me why it kept going wrong. So I did some digging, watched about forty nail tech videos, and finally found the answer: most of us file both sides at once in an alternating, back-and-forth motion. It feels efficient. It is actually chaos.
When you alternate sides without completing one side first, you lose reference. You can’t gauge whether side A is correct because you keep modifying side B before A is done. Your brain tries to compensate for asymmetry in real time and overcompensates, and suddenly you’re filing in circles — literally. The fix is treating each side as a completely separate task. Finish one, assess it, then mirror it on the other side. That single change transformed my results.
There’s also a grit issue. Using too coarse a file on the side walls means you remove material faster than you can track. I switched to a 240-grit file for the majority of the shaping work, and the process became almost meditative rather than a frantic race against accidental breakage. You can also read up on nail shaping techniques to understand why grit selection matters so much depending on the shape you’re going for.
What You’ll Need Before You Start
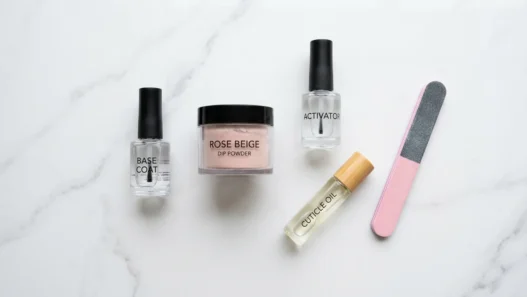
Keep this stuff within arm’s reach before you start. Getting up to grab something mid-filing is how you end up with one nail filed into a different shape than the other nine.
- 240-grit nail file — for shaping the side walls. Finer than most people use, but so much more controllable.
- 180-grit nail file — only for knocking down serious length at the very beginning.
- Fine-grit buffer block (around 400 grit) — for smoothing the edges after shaping.
- White eyeliner pencil or nail marking pen — for the center-line step (game changer).
- Cuticle oil — applied before and after to keep the nail flexible.
- Nail hardener or base coat — a structural base coat is non-negotiable for stilettos.
- A good clean white towel — rest your hand on this so you can actually see the nail dust and check your shape clearly.
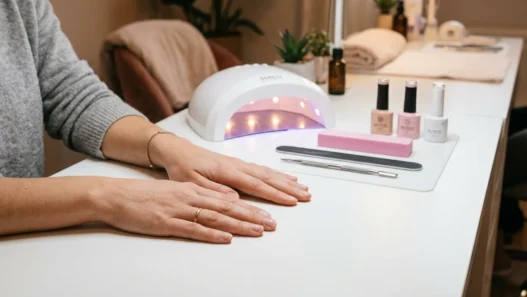
- Your polish of choice — gel holds best for this shape, but a good top coat over regular polish works if that’s what you’ve got.
Natural nails can absolutely be filed into stilettos. You just need length — ideally at least 5–6mm of free edge. If you’re working with shorter natural nails, this guide still applies; just manage your expectations on the angle of the taper. For something like a French tip nails manicure, shorter lengths work beautifully, but stilettos reward length more than any other shape.
Step 1: Prep and Assess Your Natural Nail
Before you pick up the file, remove any old polish completely and apply a thin layer of cuticle oil to each nail. This sounds backwards — why moisturize before you file? — but it makes the nail slightly more pliable, which dramatically reduces the chance of snapping the tip during shaping. Let the oil absorb for about two minutes, then wipe the nail plate clean with a dry cloth. You want the surface oil off but the structural hydration in.
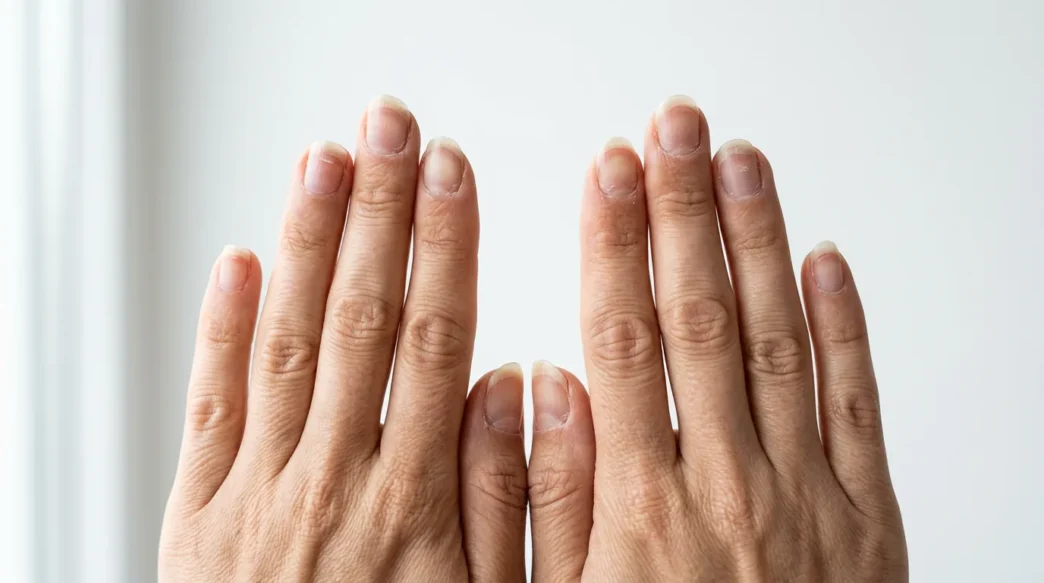
Now assess each nail individually. Hold your hand up at eye level and look at the natural growth angle of the free edge. Some nails curve slightly left, some slightly right, some curve upward like a ski jump. You need to know this before you start filing because you’ll compensate for it in the next step. If you ignore it, your points will all splay in different directions and the hand will look messy even if each individual nail is technically correct.
Step 2: Mark Your Center Line
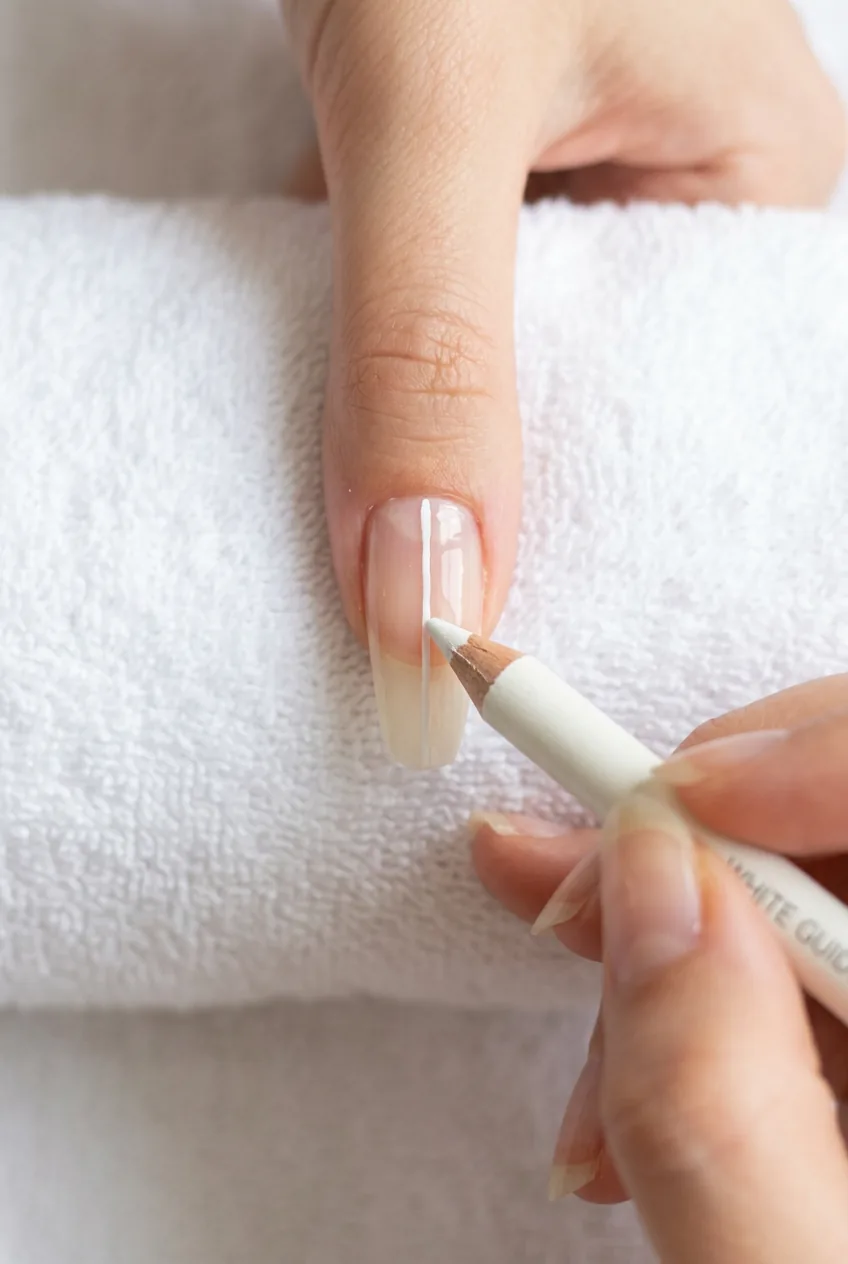
This is the step nobody talks about in a basic stiletto nails tutorial, and it’s the most important one. Take your white eyeliner pencil or nail pen and draw a single vertical line from the base of your nail to the tip — right down the middle of the nail plate. This is your symmetry guide. Everything you file has to taper toward this line.
For nails with a natural curve, adjust this line slightly. If the nail curves right, draw your center line a hair to the left of the actual visual center — this compensates so your finished point appears centered to the eye even though the nail itself isn’t. It sounds fussy, but it takes about ten seconds per nail and the difference in the final look is significant.
Mistake I made: I skipped the center line step for ages because it felt unnecessary and time-consuming. My stilettos always looked slightly off and I couldn’t figure out why until I tried the marking method. Turns out three of my nails have a natural right-curve and I was compensating for nothing on the others. The line exposed all of it immediately.
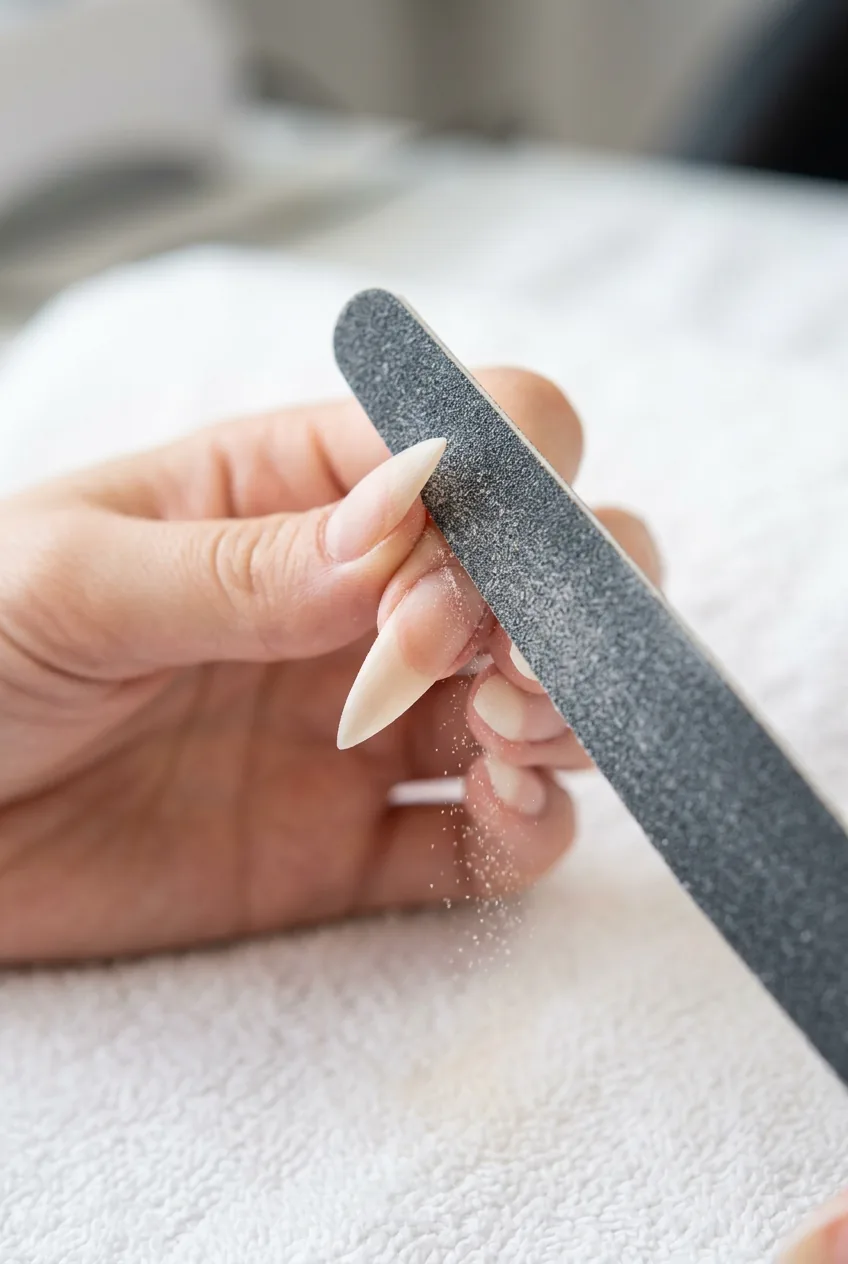
Step 3: File the First Side Wall
Pick one side — let’s say the left side of the nail. Place your 240-grit file against the side wall at roughly a 45-degree angle to the nail surface. You’re not filing straight across. You’re angling the file so you’re drawing material from the side wall toward the center line. Think of it like carving a slope, not cutting a notch.
File in one direction only — from the side wall toward the tip. No back-and-forth sawing. Every stroke goes one way. This matters because sawing creates micro-tears in the nail edge that weaken the point before you’ve even finished making it. Ten to fifteen deliberate, controlled strokes, then stop. Rest your hand flat on your towel and look at the nail from above. The left side should now taper inward toward your center line. Don’t worry about the right side yet. Don’t even look at it. You’re only judging whether the left taper looks clean and follows your marked center line.
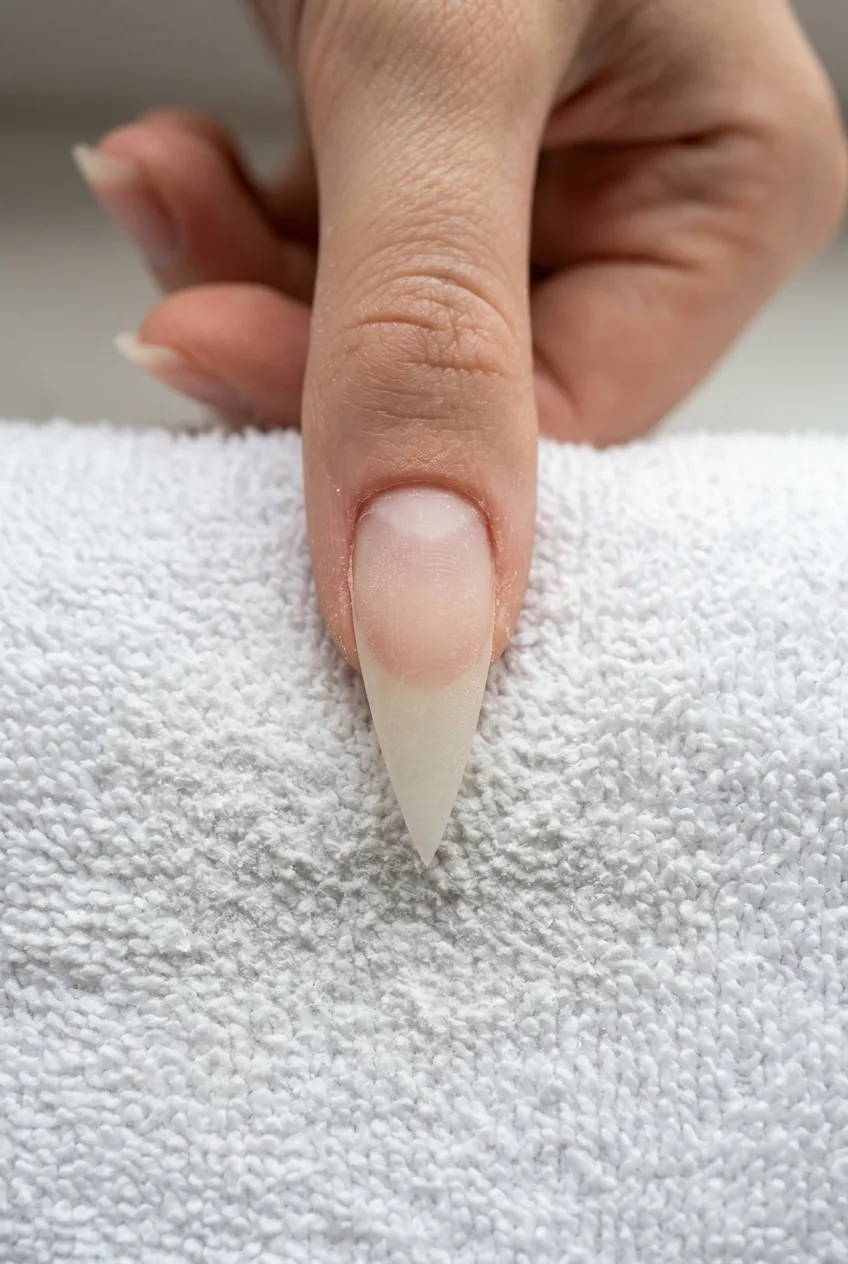
Step 4: File the Second Side Wall
Now — and only now — move to the right side. Mirror exactly what you did on the left. Same angle, same number of strokes, same directional filing toward the tip. The goal is to match the taper you already established on the left, meeting at the center line you drew in Step 2.
After your initial strokes, hold your hand up at eye level and sight down the length of the nail like you’re looking down a very tiny runway. Both side walls should slope inward at equal angles toward a central meeting point. If one side looks steeper, add a few more strokes to the shallower side only — never touch the side that’s already correct. This is why finishing one side completely before starting the other is so important. You have a reference now. You’re matching, not guessing.
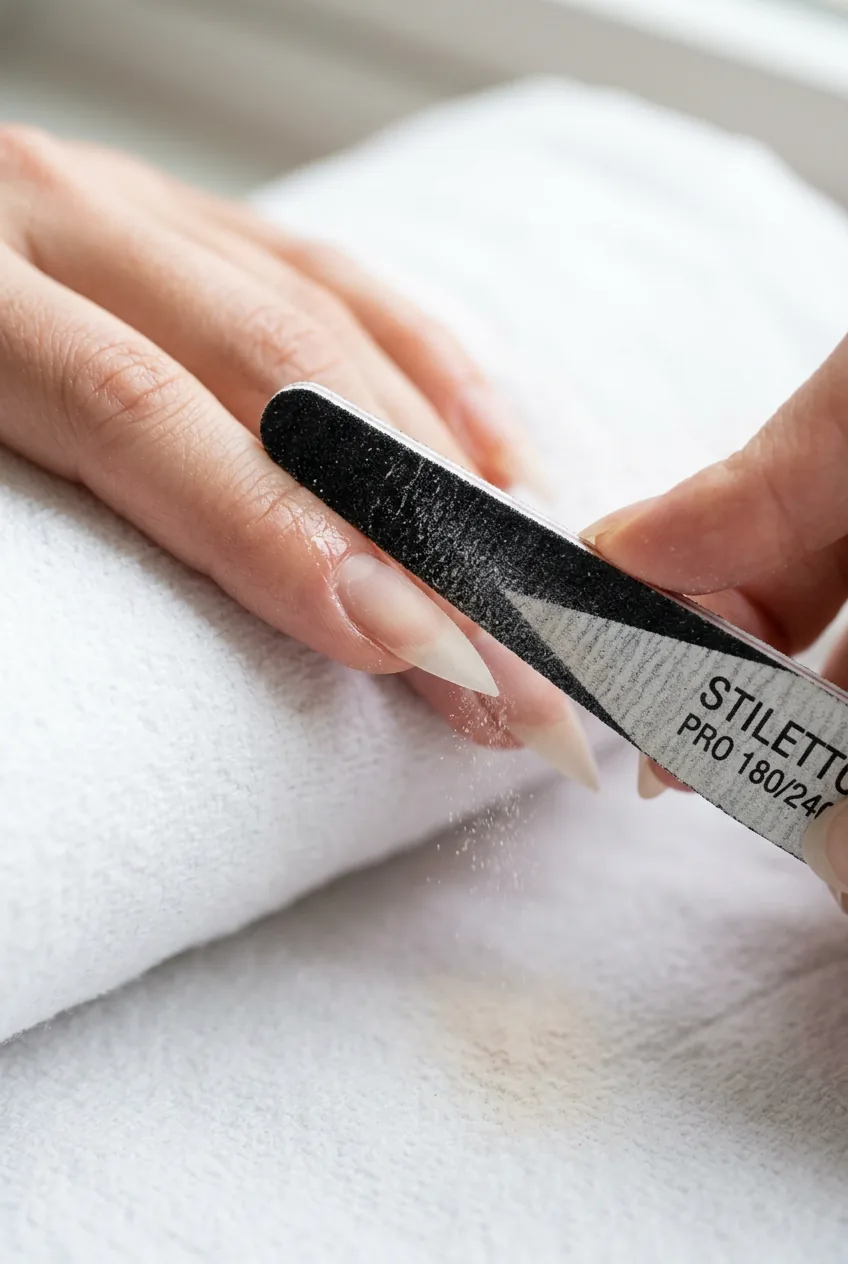
Step 5: Refine the Tip Into a True Point
This is where most tutorials stop and call it done, but it’s actually where the real work happens. Your two tapered side walls have created a rough apex — but it’s probably a small flat edge rather than a true point. You need to address this directly.
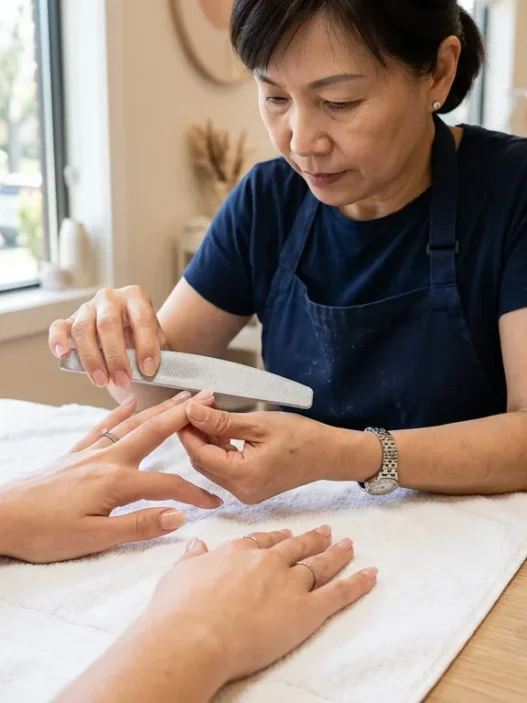
Hold your file nearly parallel to the nail, barely angled, and gently work the very tip of the nail from each side toward center. You’re not removing significant material here — just meeting the two slopes cleanly at a single apex. Watch the nail dust closely as you do this. Look at how she’s refining hers in the photo below — you can see the fine dust falling away from the very tip as the point clarifies. That dust is your visual cue that you’re removing material from exactly the right spot. If the dust is coming from the side walls instead of the apex, you’re filing too far back.
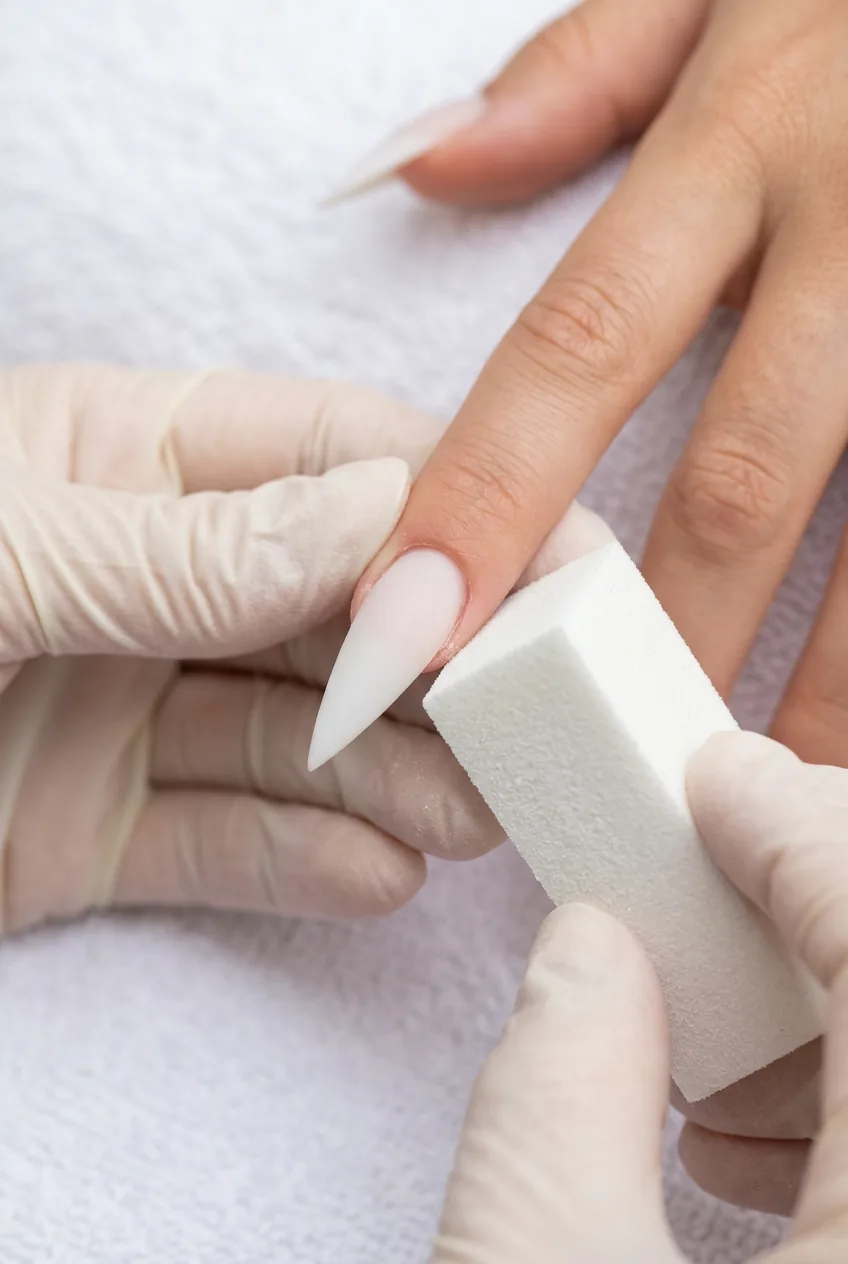
Check the point from multiple angles. From above, from the side, from slightly below. The point should look centered and sharp from every angle. If it looks sharp from above but blunt from the side, your file angle is too flat — increase it slightly. Take your time here. This refinement step is where your stiletto goes from “sort of pointy oval” to “actual stiletto.”
See the Tip Refinement in Real Time
Step 6: Buff and Seal the Edges
Switch to your 400-grit buffer. Run it lightly along each side wall and across the very tip in the same directional strokes you used with the file. You’re not reshaping anything now — you’re smoothing the tiny serrations left by the 240-grit file. These serrations aren’t visible to the naked eye, but they create weak points that become chips. One pass per side is enough.
After buffing, apply cuticle oil again and massage it in. Let it sit for a full minute. Then wipe the nail plate with a lint-free wipe or rubbing alcohol — this is critical for polish adhesion. Any oil left on the surface will prevent your base coat from bonding properly and your manicure will peel within days. This is the same principle covered brilliantly in this honest tutorial for free-hand nail art — prep is genuinely everything.
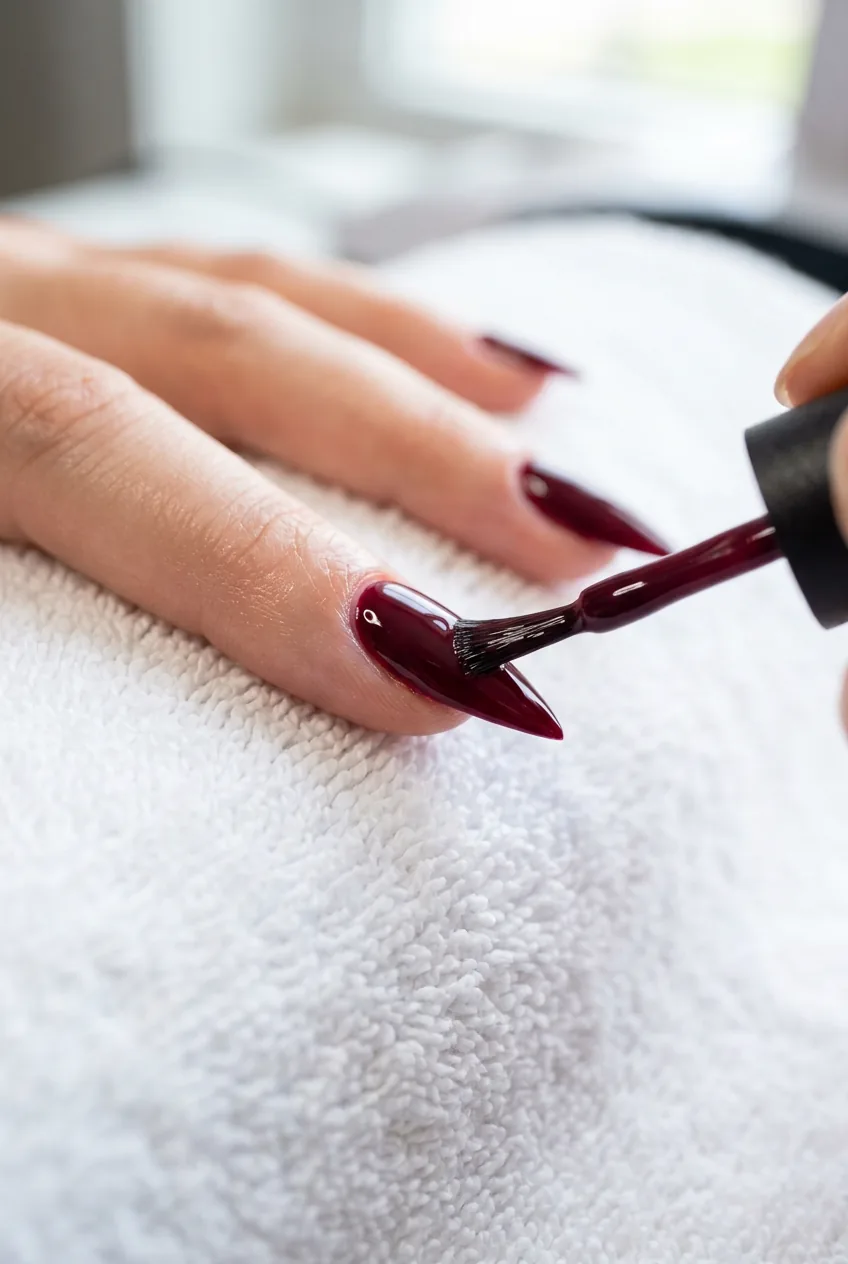
Step 7: Apply Your Polish to Lock in the Shape
Here’s where stilettos demand something different from a regular manicure application. On a flat nail, you apply polish down the center and sweep out to the sides. On a stiletto, you need to address the tip separately. If you drag your brush over a sharp point the same way you’d drag it over a square edge, you’ll leave the apex exposed or create a thick buildup that chips from the tip outward.
Instead, apply your base coat in two passes: the main body of the nail first, then a dedicated wrap around the tip. For the tip wrap, hold the brush perpendicular to the point and press gently at the very apex — this seals the edge. Let the base coat cure fully before color. For color, thin coats are non-negotiable on this shape. Two thin coats beat one thick coat every single time.
Finish with a generous top coat, again wrapping the tip deliberately. If you’re using gel, flash-cure between base and color layers. If you want design ideas once the shape is locked in, the beginner’s guide to free-hand nail art is genuinely excellent for getting comfortable with painting on a pointed surface — the angle takes some adjustment but it’s completely doable. There are also brilliant options in the nail art ideas for stiletto shapes category if you want inspiration before committing to a design.
Making It Last Without Breaking the Point
Stilettos are structurally more vulnerable than any other shape. The point concentrates impact force into a tiny area. But “more vulnerable” doesn’t mean “destined to break.” It just means you have to be intentional about a few things.
First: reapply top coat every two days. Just the tip — literally just the pointed end. Takes thirty seconds. This rebuilds the protective layer before it wears through to the polish beneath. Second: apply cuticle oil daily. A hydrated nail is a flexible nail. A flexible nail absorbs minor impacts without snapping; a dry brittle one doesn’t. Third: change how you use your hands. Use the pad of your finger to type, not the nail tip. Open pull-tabs with a flat object. These sound like small things but they genuinely add up to days of extra wear.
If you find that stilettos are too high-maintenance for your lifestyle right now, the same step-by-step filing technique in this guide translates almost directly to almond and coffin shapes. Even something as detailed as a Christmas nails tutorial gets easier when your nail shape is filed cleanly and consistently — the art has a better surface to sit on. And if you want to try color-mixing on a longer shape, the nail polish colour mixing process is genuinely satisfying once the shape underneath is already solid.
Questions I Get About This
Can I do this stiletto shaping on natural nails, or do I need extensions?
Natural nails absolutely work — I do mine naturally. You just need enough free edge to taper without filing into the nail bed, so at least 5mm is ideal. If your nails are shorter, the taper will be more subtle and you’ll get a sharper almond than a true stiletto, but the technique is identical.
My stiletto tip keeps breaking at day three — what am I doing wrong?
Almost always it’s one of two things: either the apex is too thin because you over-filed the tip in Step 5, or you’re skipping the every-other-day top coat reapplication. Both leave the point structurally exposed. Try leaving slightly more material at the very apex — it should feel slightly rounded to the touch even though it looks sharp visually.
How is stiletto different from almond shape? I always mix them up.
The real difference is the taper angle. Almond tapers to a rounded, slightly blunt apex — like an actual almond. Stiletto continues tapering past that point to a true sharp apex with almost no flat area at the tip. Stiletto also tends to require longer length because the taper needs more nail to work with before it reaches a point. If your “stiletto” has a tiny flat top, it’s technically almond — which isn’t a bad thing, just a different shape.
Does this method work for gel or acrylic extensions too?
Yes, and honestly it’s even more important for extensions because the material is less forgiving of asymmetry. The center-line marking in Step 2 is especially useful on gel or acrylic since the material can be slightly opaque and harder to sight-check. Use a slightly coarser file for initial shaping on hard gel, then switch to 240 for the refinement stages.
After I reworked my whole process with these seven steps, I got my first genuinely sharp stilettos on the second attempt — not the fifteenth. My tip lasted eight days before any chipping, which was basically unheard of for me. The center-line trick alone changed everything. If you’ve been grinding through stiletto tutorials and still ending up with lopsided points, the problem really is the sequence — and now you have the actual fix.