






I kept seeing that soft, milky-white nail look everywhere in 2026 and convinced myself it required some kind of professional skill. It does not. I knocked out my first decent attempt on a Tuesday morning before my coffee finished brewing, and I have never gone back to overthinking it.
Grab These First (30 Seconds)
Seriously, line these up before you sit down. Running to the bathroom mid-stroke is how you smudge everything.
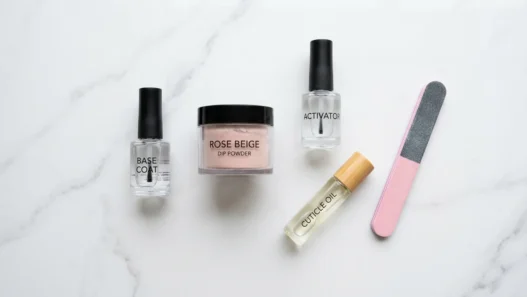
- A sheer milky-white nail polish — I use a formula labeled “sheer white” or “milk” (OPI’s Bubble Bath is a classic, but plenty of drugstore dupes exist)
- A ridge-filling base coat (not optional — this is what gives that glassy finish)
- A high-shine top coat, the glossier the better
- A nail file, fine grit
- Cuticle oil or a cuticle pusher
- A lint-free nail wipe or cotton pad with remover for cleanup
- A small detail brush for edge cleanup (optional but makes a real difference)
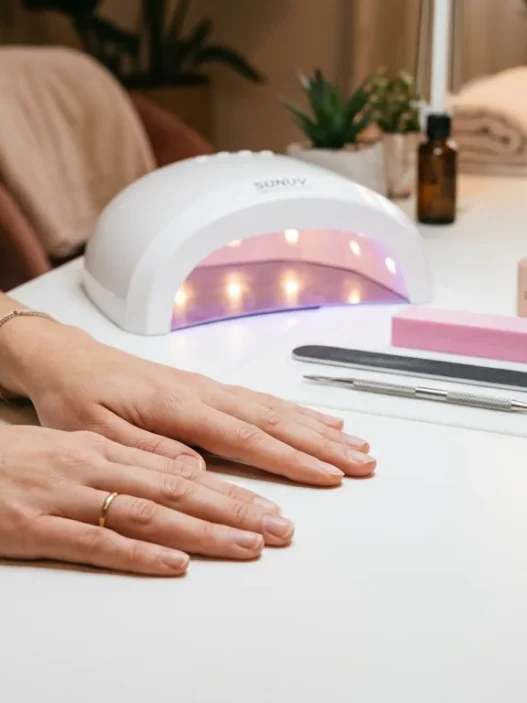
That’s genuinely it. No gel lamp, no special tools, no panic.
Step 1: Prep Your Nails (1 Minute)
Milky polish is sheer. That means every ridge, hangnail, and bit of old polish underneath it will show. So prep matters more here than with a dark opaque shade.
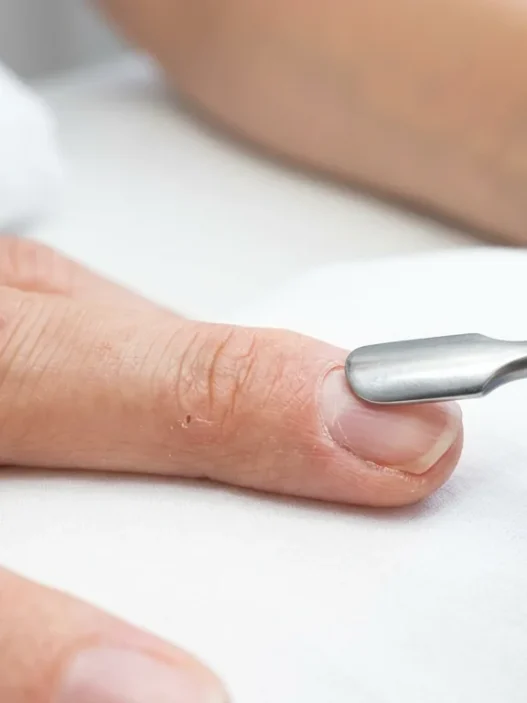
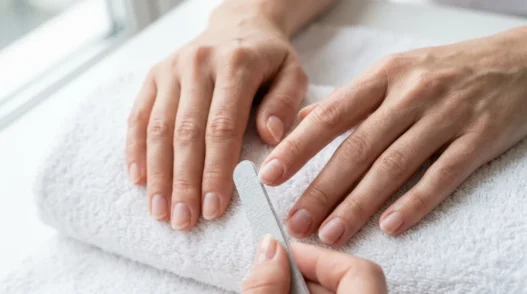
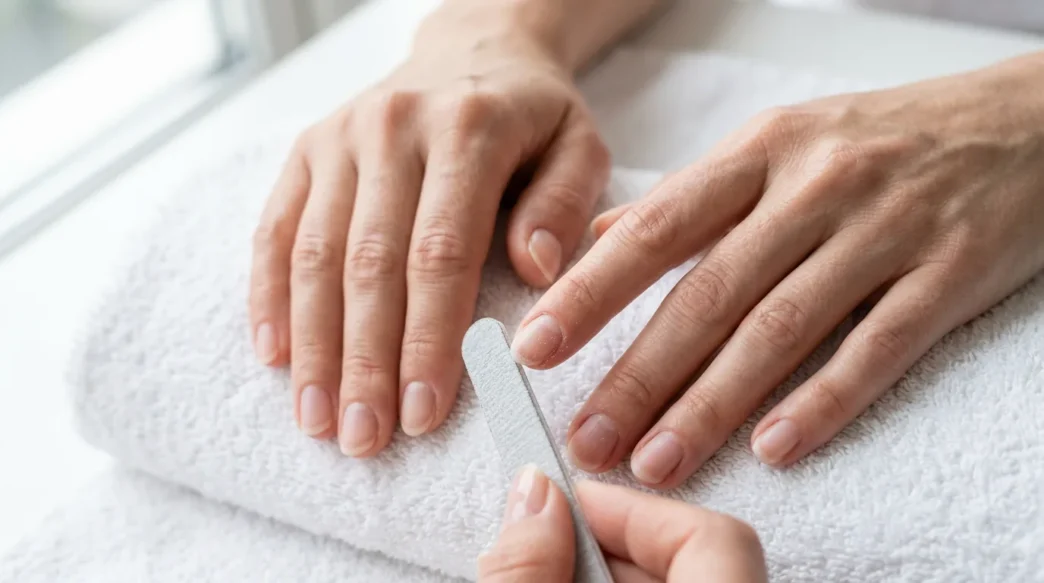
File your nails into your preferred shape — I go oval because it makes the milky look feel more elegant, but any shape works. Push back your cuticles gently with either a cuticle pusher or just your thumbnail after a shower when they’re soft. Wipe each nail with a remover-soaked lint-free pad to remove any oil or residue. Dry hands completely.
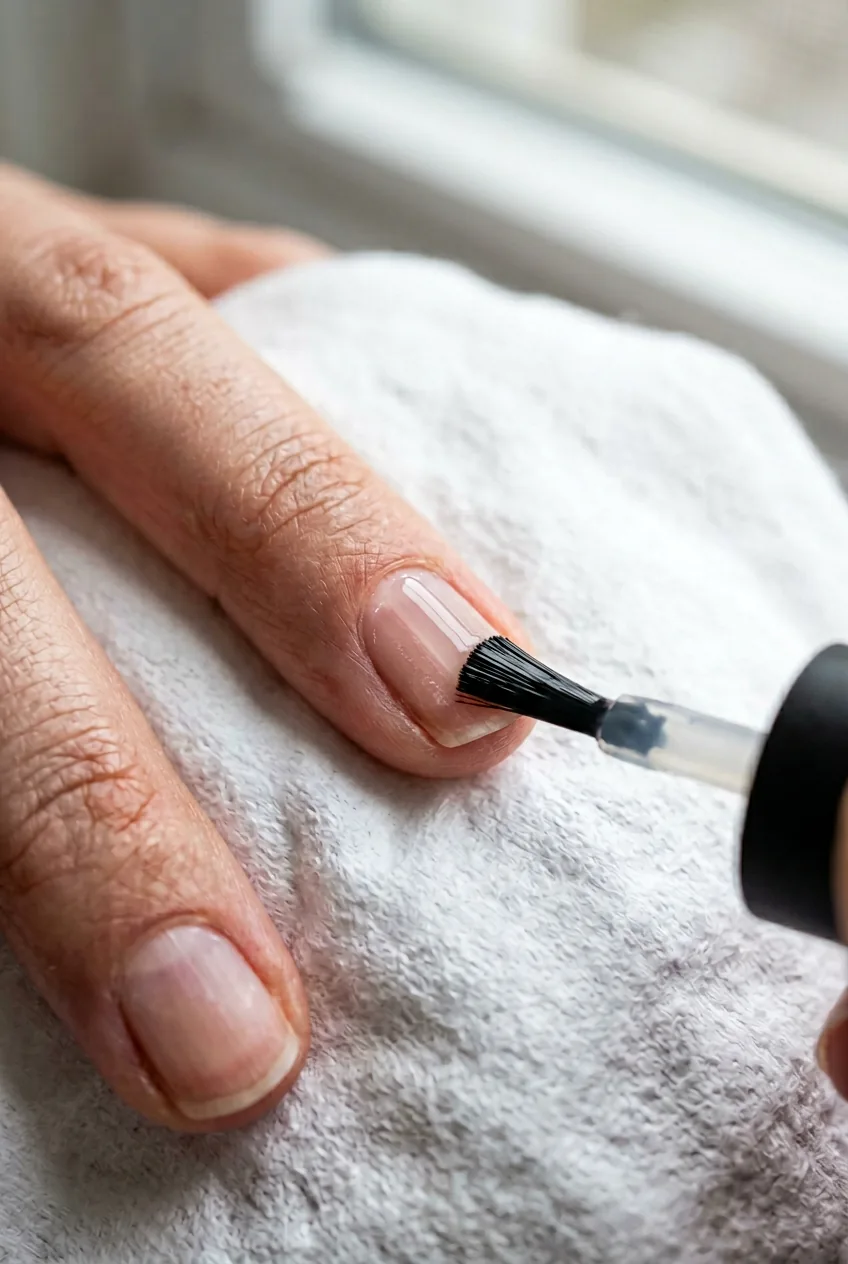
Mistake I made my first time: I skipped the oil-removal wipe because my nails “looked clean.” The polish peeled at the tips within a day. Natural skin oils are invisible and sneaky — always wipe first.
If you want to go deeper on prep and nail health before polishing, I love the advice on milky nails manicure care — it really changed how I think about the whole process.
Step 2: Apply Your Base Coat (30 Seconds)
One thin coat of a ridge-filling base. Down the centre first, then one stroke each side. Don’t glob it on — thin layers are the whole secret to this look.
Wait 60 seconds. Not 10 seconds. Sixty. I set a phone timer because I am impatient and I have learned my lesson.
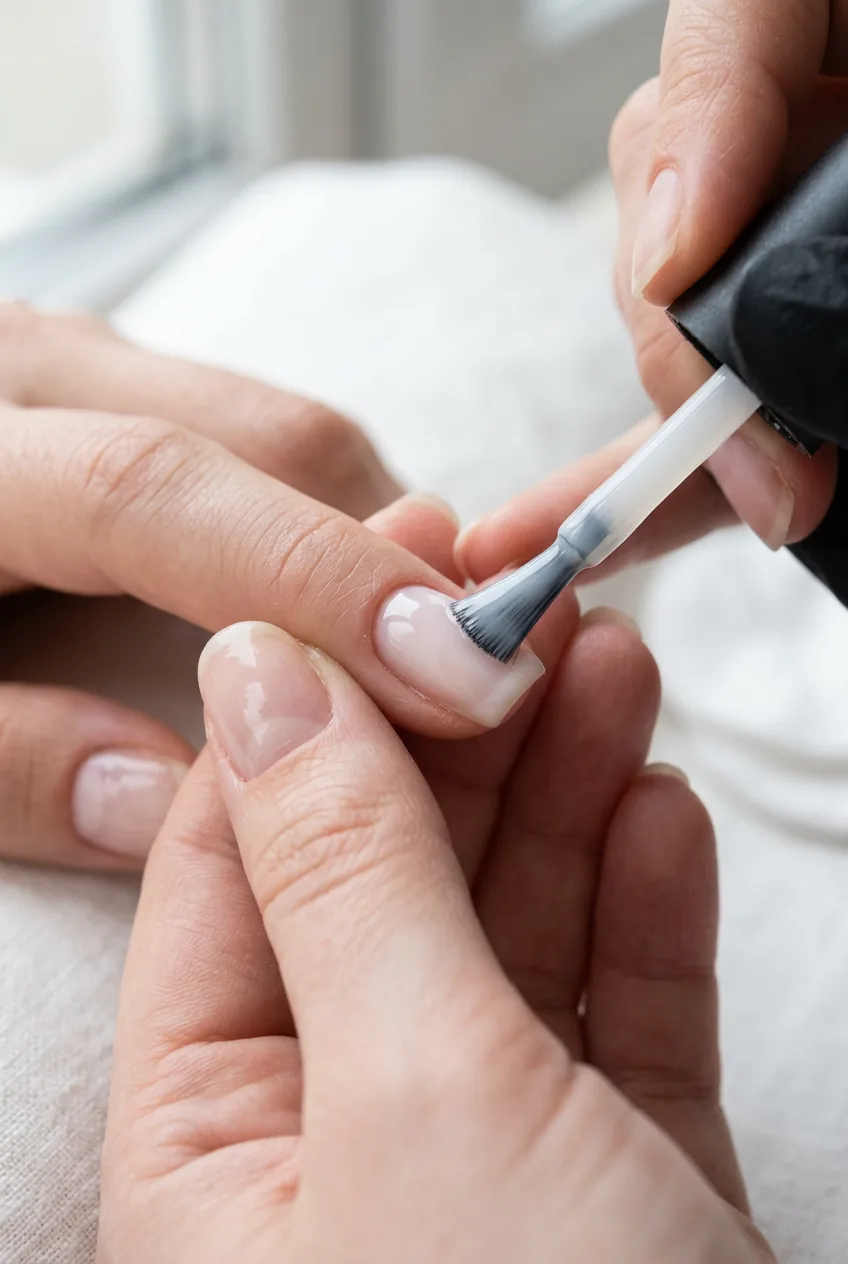
The base coat is doing two things here: sealing the nail surface so the sheer polish has something smooth to cling to, and protecting against the faint yellowing that even the palest polishes can cause over time. For proper nail prep, this step is everything.
Step 3: The Only Polish Move You Need (2 Minutes)
This is the whole tutorial right here. Milky polish needs two thin coats, applied the same way both times. One thick coat gives you streaks and that awful dragged look. Two thin coats give you that dreamy, skin-enhancing sheerness.
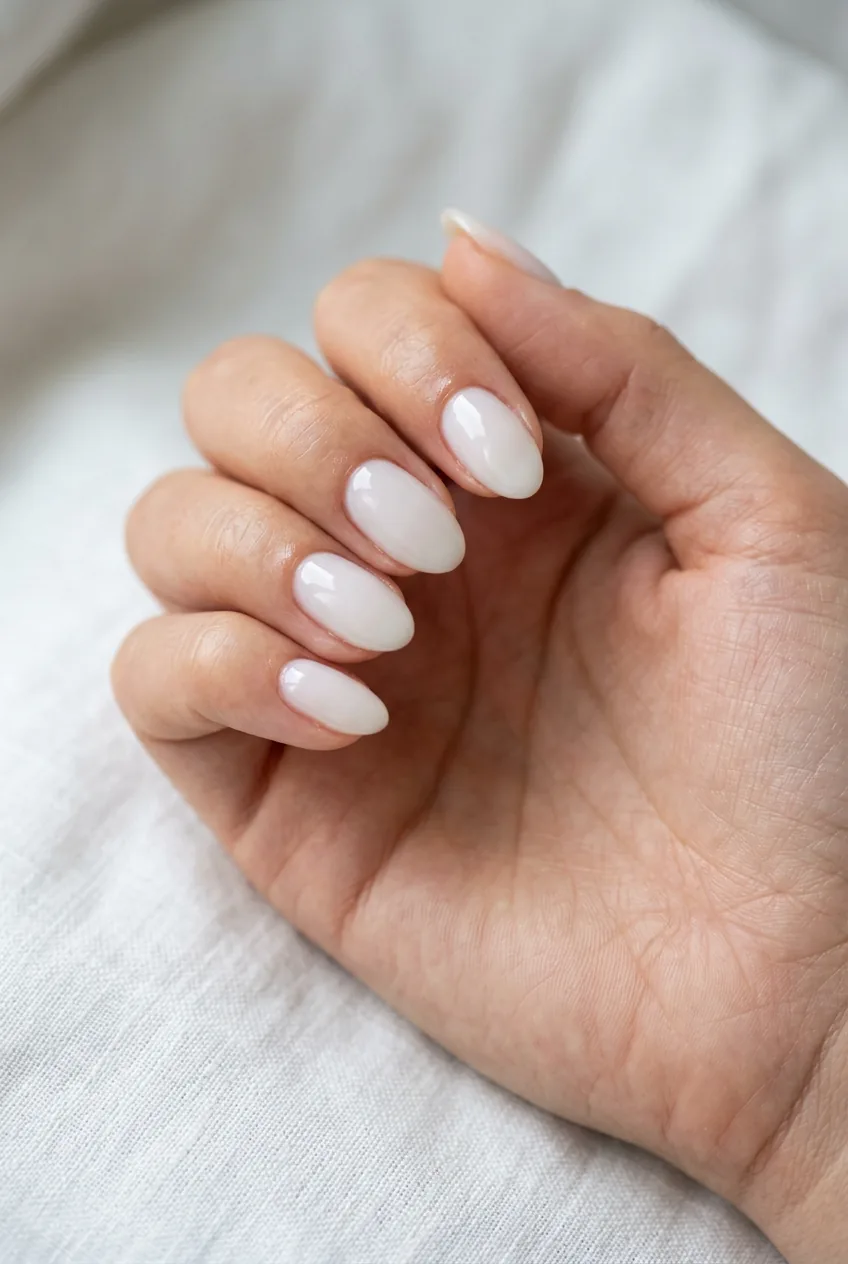
Wipe one side of the brush on the bottle neck to reduce product. Start at the base of the nail, about 1mm from the cuticle — not touching it. One stroke down the centre. One stroke down the left. One stroke down the right. That’s it. Three strokes per nail, every time. Look at her nails in the photo below — see how that single ribbon of polish sits clean down the middle before the side strokes go on? That’s exactly the placement you’re going for.
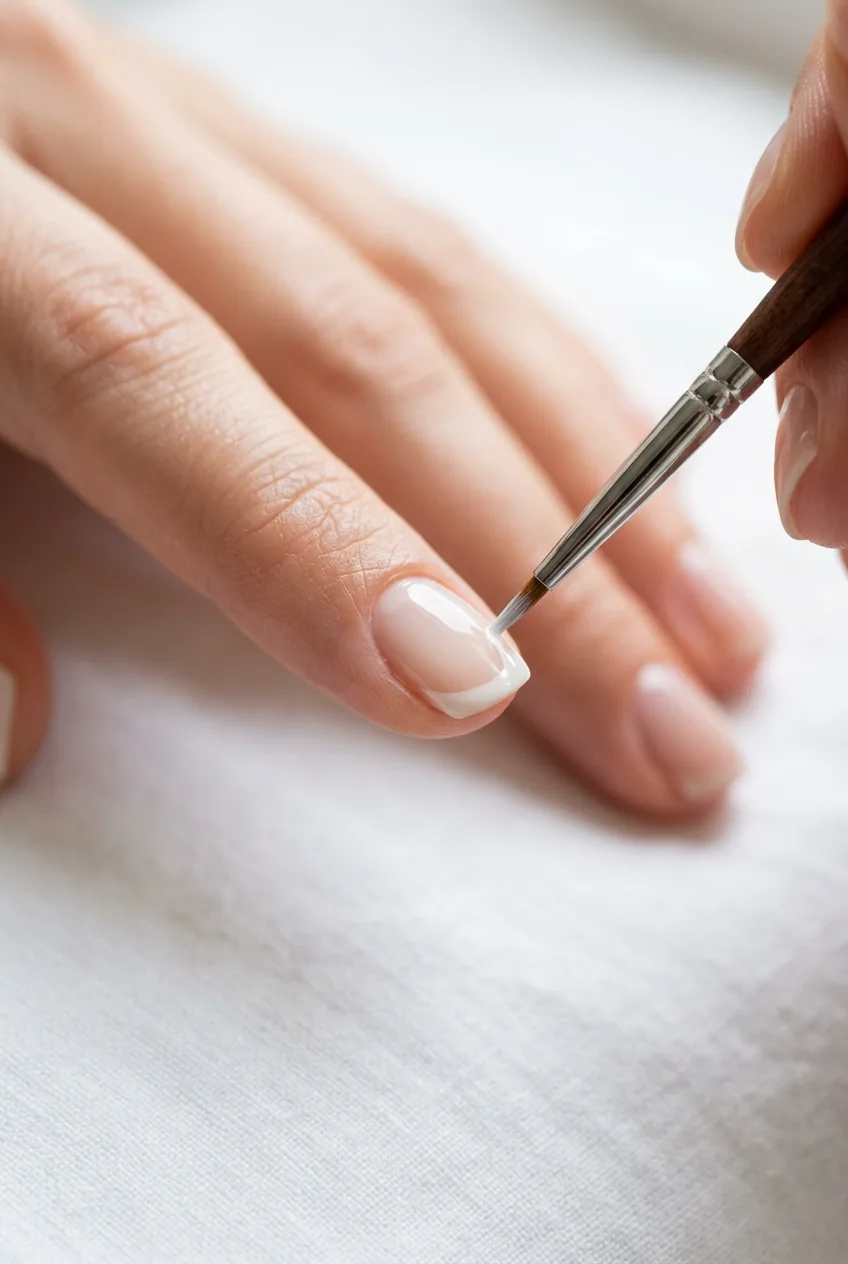
Wait 90 seconds between coats. Repeat the same three-stroke method for coat two. The opacity will build just enough to look intentional without losing the milky translucency that makes this look so good. For more on freehand polish application technique, the honest freehand nail art tutorial on this site is worth bookmarking.
See the Three-Stroke Method in Action
Step 4: Add the Detail Layer (1 Minute)
This step is optional but I genuinely never skip it anymore. It takes 60 seconds and it’s what separates a nice home manicure from one that looks considered.
Dip your small detail brush into the same milky polish and run it along the free edge of each nail — the tip. Just one thin stroke. This caps the edge, reduces chipping, and adds a subtle bright-white tip effect that looks almost like a French manicure’s quieter cousin. She’s wearing hers with exactly this tip detail in the image below — notice how it catches the light differently from the rest of the nail. That’s what you’re adding.
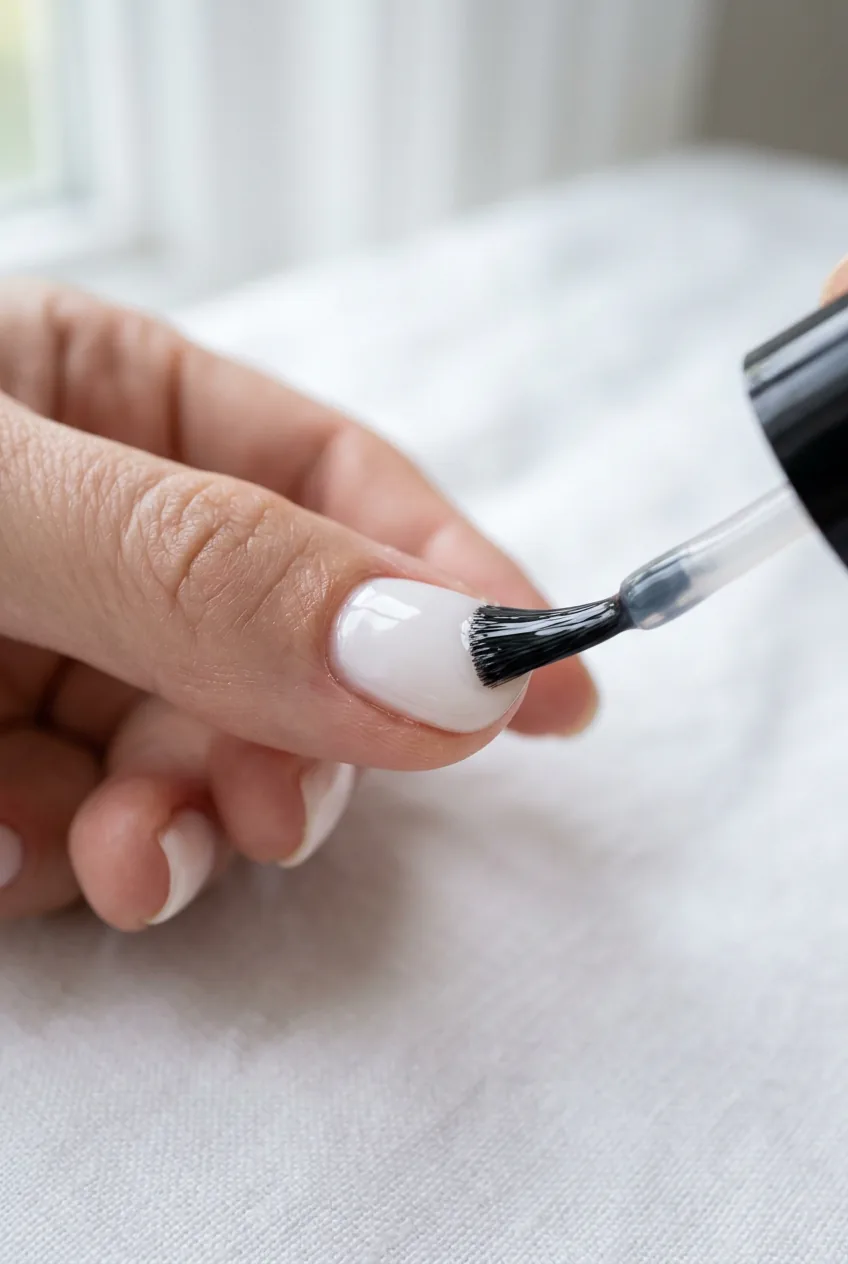
If you’re interested in taking this further into actual nail art territory later, the beginner’s guide to freehand nail art is a genuinely good next step. But for now — cap those tips and move on.
The Final Seal (1 Minute)
Top coat. One coat. High-shine, quick-dry formula if you have it.
Same three-stroke method as the polish. Centre, left side, right side. And then — critically — wrap the tip by dragging the brush across the free edge. This is what locks in that detail layer and keeps the whole manicure from peeling from the tip inward. See the brush angle she’s using in the photo — that slight tilt toward the tip edge is exactly right.
Wait two full minutes before touching anything. I usually do my nails, then go make tea. By the time I’m back, I’m safe. Speeding up dry time without touching them is always the goal.
Done
Total time: under six minutes, including the waits. The result is that glossy, soft, milky-glass finish that I used to think required a salon visit. My nails look longer, my hands look more put-together, and the whole thing cost me nothing extra because I already owned everything on that list.
This sheer look is also genuinely one of the most forgiving finishes to maintain — chips are barely visible, and a quick top coat refresh on day three extends it easily to a week. If you love soft, understated nails the way I do, the butter yellow nails guide uses a similar thin-layering approach and is absolutely worth trying next. And if you want to see what happens when you push the milky look into seasonal territory, the Christmas nails step-by-step tutorial uses it as a base for something really lovely.
Quick Answers Before You Start
How many coats do milky nails actually need?
Two thin coats is the sweet spot. One coat looks unfinished and streaky. Three coats starts to lose the sheer, translucent quality that makes milky nails so pretty in the first place. Stick with two and let the formula do its job.
What polish works best for the milky nail look?
Look for shades labeled “sheer white,” “milk,” “opalescent,” or “opaque white with a sheer finish.” OPI Bubble Bath and Essie Marshmallow are popular go-tos, but most brands have a dupe now. Avoid anything that’s fully opaque white — that reads as French manicure base, not milky nails.
Will milky nails work on short nails?
Absolutely — actually, I think short nails look especially chic in this finish because the sheerness makes them look clean and intentional rather than stubby. The tip-capping step in Step 4 is especially helpful on short nails because it adds a visual length effect.
How long does a milky nail manicure last?
With good prep and a top coat refresh every 2–3 days, I get about 7–8 days before I see any real tip wear. The sheer formula means micro-chips are nearly invisible, so it genuinely wears better day-to-day than a dark polish would.
Can I do this over gel nails?
You can apply regular milky polish over cured gel nails as a temporary color change — it works fine but won’t adhere as long as it would on natural nails. If you want the milky look in gel, look for a sheer white gel polish and follow the same thin-layer principle with your UV lamp.