






I put off trying french tip nails for almost two years. Two years! Every time I’d see someone’s hands looking clean and elegant with that perfect white edge, I’d convince myself it required some professional-level skill I definitely didn’t have. Then one rainy Saturday I just… did it. And honestly? The first attempt wasn’t perfect. But it was good enough that I kept going, and now I do them every few weeks without a second thought. If past-me needed this guide, present-you might too.
Your Beginner’s Roadmap to French Tips
- It’s Okay If You’ve Never Done This Before
- The Only Tools You Actually Need
- Step 1: Prep Your Nails Properly
- Step 2: Apply Your Base Coat
- Step 3: Paint the Pink or Nude Base
- Step 4: Create the White Tip
- Step 5: Clean Up Your Edges
- Step 6: Seal Everything with Top Coat
- Step 7: Let It Cure (Yes, Really Wait)
- Where Beginners Usually Mess Up (And It’s Fine)
- How to Know You’re Doing It Right
- Before You Start — Common Questions
It’s Okay If You’ve Never Done This Before
Seriously. French tip nails have this reputation for being fussy and precise, and while there IS a learning curve, it’s a very gentle one. The tip line doesn’t need to be surgical. Real nails have slight variations. Real hands shake a tiny bit. And you know what? That still looks beautiful.
I’ve seen so many beginners abandon the process after one slightly uneven tip and declare themselves “not artistic enough.” That’s not a skill problem — that’s an expectation problem. What nail science tells us about french tip manicures is actually fascinating — the design is rooted in mimicking the natural nail’s look, which means small imperfections often just read as natural. Give yourself that grace.
This guide assumes you have zero experience. We’re going step by step, we’re going slowly, and we’re celebrating good-enough right alongside perfect. Ready?
The Only Tools You Actually Need
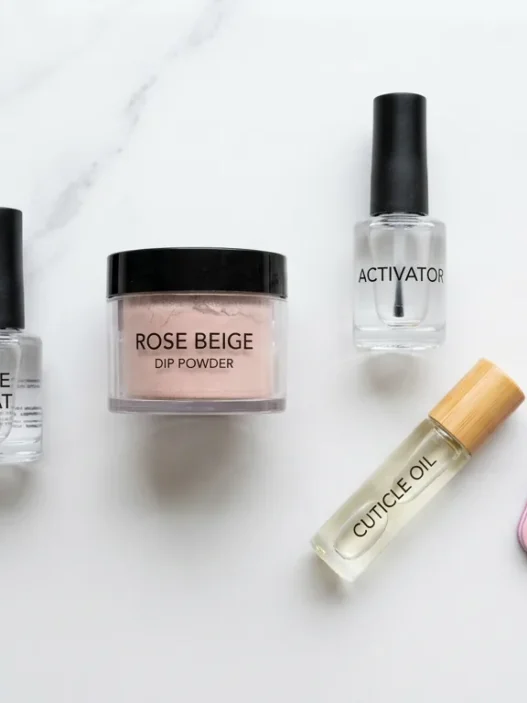
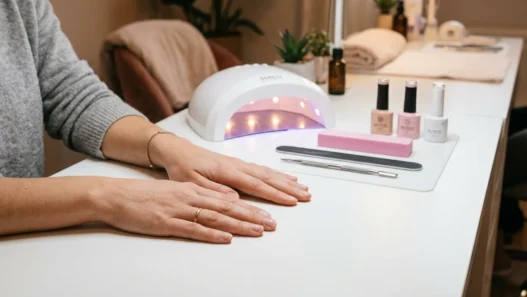
You do not need a professional nail kit. You do not need a UV lamp for a basic polish version (more on gel in a second). Here’s the honest, no-fluff list:
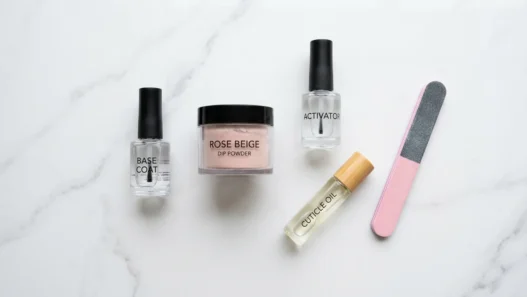
- Nail file and buffer — a basic drugstore set is totally fine
- Cuticle pusher — a wooden orange stick works perfectly
- Base coat — any clear strengthening base coat
- Sheer pink or nude polish — something close to your natural nail tone
- White nail polish — opaque, not sheer (this is key for the tip)
- A thin nail art brush OR french tip guide strips — strips are beginner gold
- Top coat — glossy and fast-drying if possible
- Acetone — for cleanup
- A thin, flat brush or a cotton swab — for cleanup
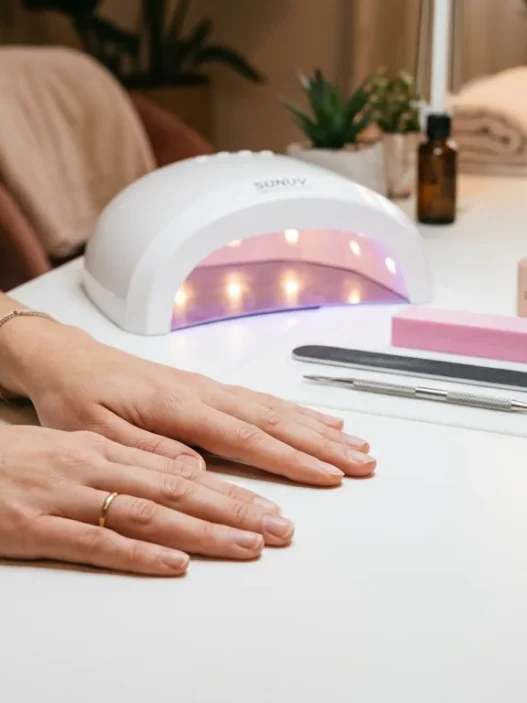
That’s genuinely it. If you want to try the gel manicure version eventually, you’ll need a UV/LED lamp — but for your very first time, regular polish is way more forgiving. You can wipe it off and start over without any commitment. Start there.
Step 1: Prep Your Nails Properly
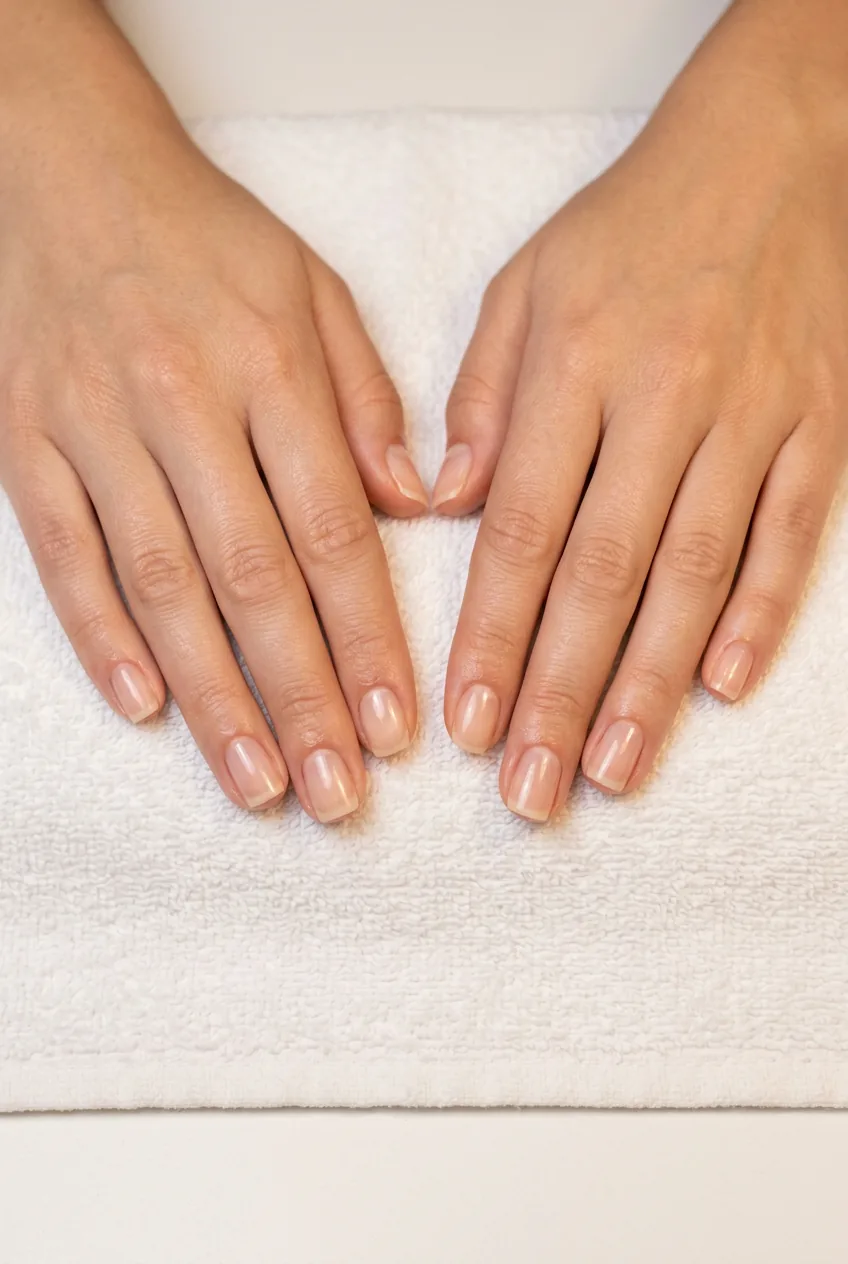
Prep is the step everyone skips and then wonders why their polish peels. Ten minutes here saves you hours of frustration later. Start with completely bare, clean nails — no lotion, no oil, no remnants of old polish.
File your nails into your preferred shape. For a classic french tip, square or squoval (square with soft corners) works beautifully because it gives you a nice straight edge to paint along. Round is also lovely if that’s your preference — just know the tip line will need to follow the curve of the nail. File in one direction to avoid splitting.
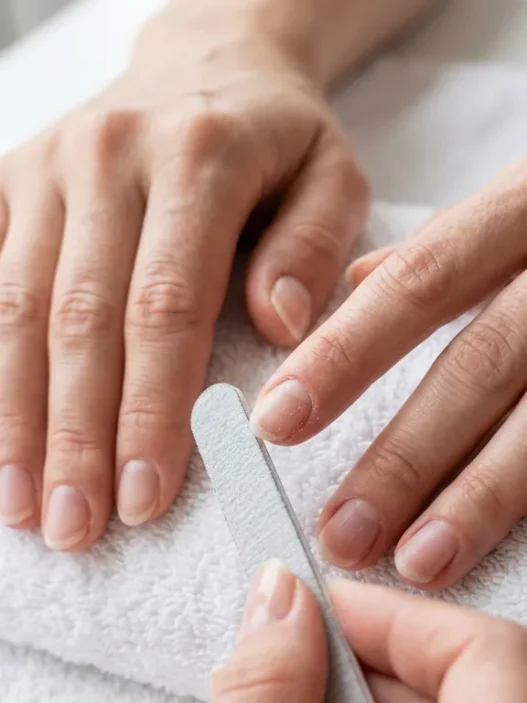
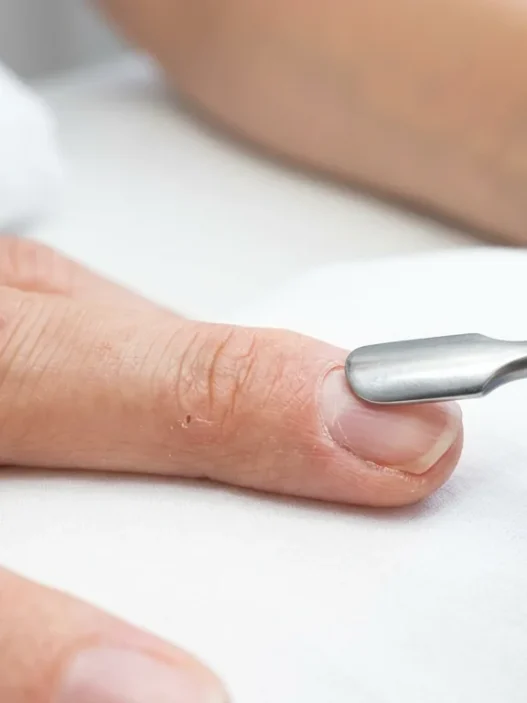
Gently buff the surface of each nail. This creates a slightly matte surface that polish grips onto much better. Then push back your cuticles with a damp orange stick — don’t cut them if you’re a beginner, just ease them back. Wipe everything down with a cotton pad soaked in acetone or nail prep solution. Your nail should feel completely clean and dry before anything goes on it.
Step 2: Apply Your Base Coat
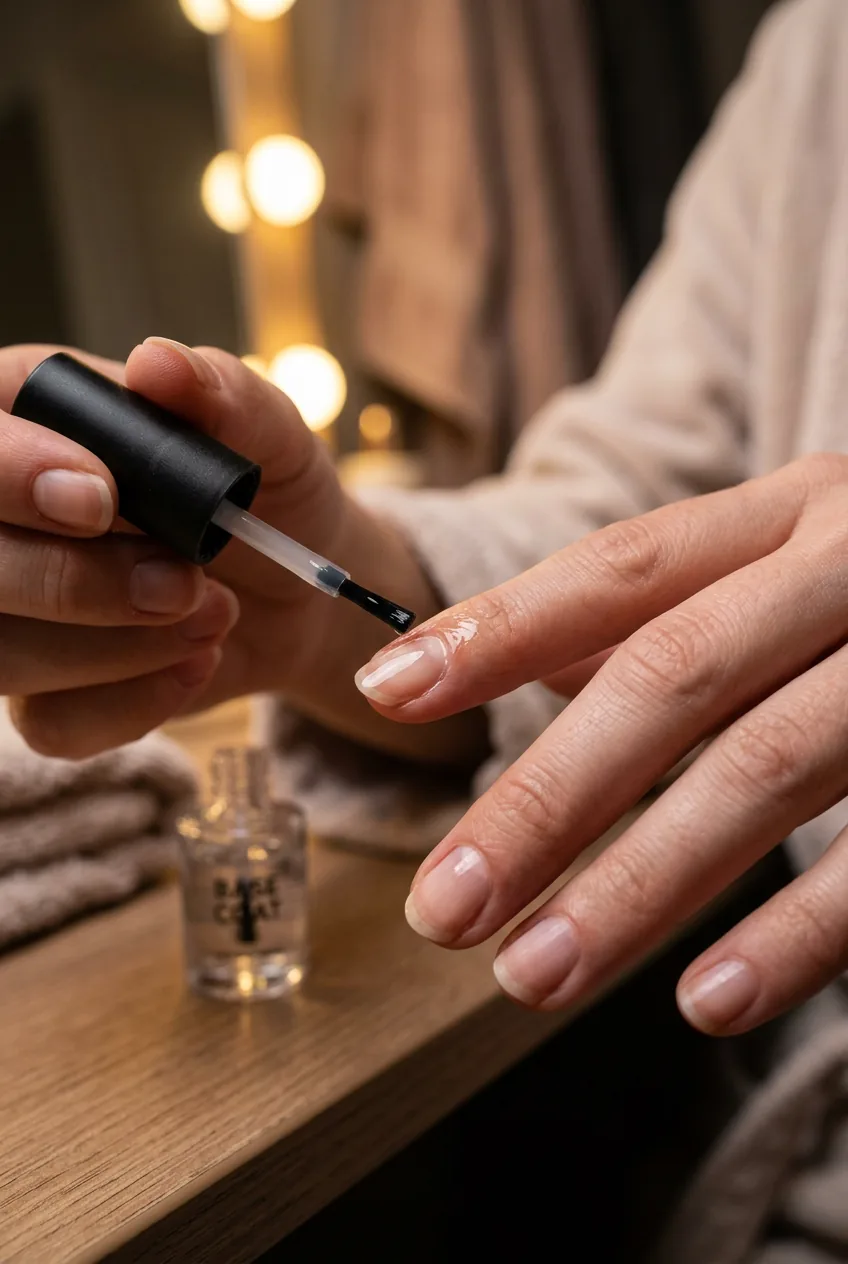
Thin coats. Always thin coats. This is probably the most repeated piece of nail advice on the internet and it’s repeated that often because it’s true.
Apply one thin, even layer of base coat to each nail, sweeping from the base to the tip. Try to cap the tip of your nail — meaning, run the brush lightly across the very edge — because this seals the nail and prevents chipping. Let it dry for a full two minutes. I know that feels like forever. Set a timer if you need to. Tacky base coat underneath your color means everything slides around and you’ll be very unhappy.
Step 3: Paint the Pink or Nude Base
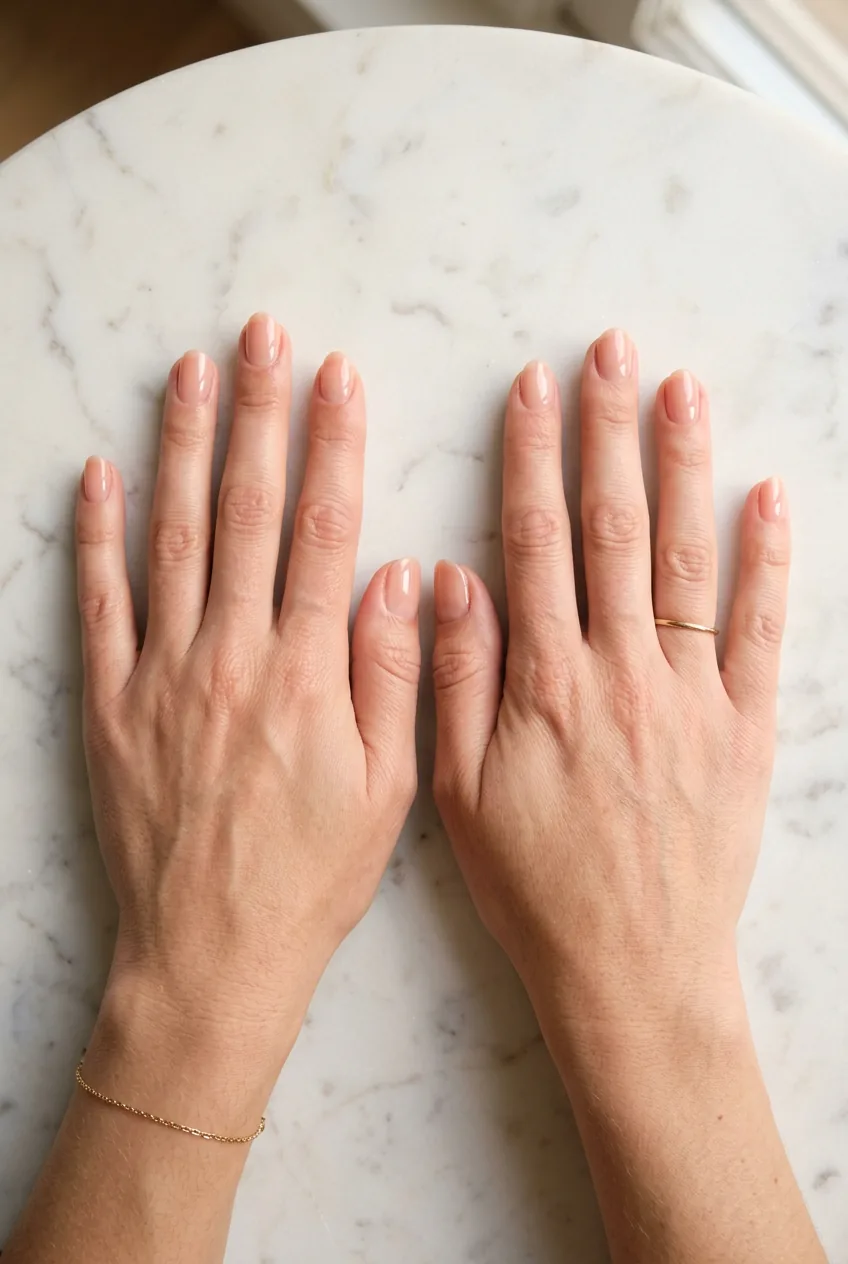
This is the sheer, skin-toned layer that gives french tips their signature “my nails but better” look. Pick a shade that’s close to your natural nail color — it doesn’t need to be exact, just in the same family. Warmer skin tones tend to love peachy pinks; cooler tones usually do well with mauve-nudes or pale rose.
Apply two thin coats, letting each dry for two minutes in between. Don’t panic if the first coat looks streaky or uneven — that’s normal, especially with sheer polishes. The second coat fills everything in. By the time you’ve done both, your nails should look like a polished, even version of your natural nail. Exactly what we want before the tip goes on.
Step 4: Create the White Tip
Here it is. The moment everyone’s nervous about. Take a breath — we’re going to make this manageable.
If you’re using french tip guide strips (which I highly recommend for your first time), peel one strip and press it firmly onto your nail just below where you want the white to start. The strip acts as a stencil — you paint over it and when you peel it off, you get a clean line. Press it down firmly at the edges so no polish sneaks underneath. Then paint white polish over the exposed tip in one or two smooth strokes. Peel the strip while the polish is still slightly wet (about 30 seconds after painting) for the cleanest edge.
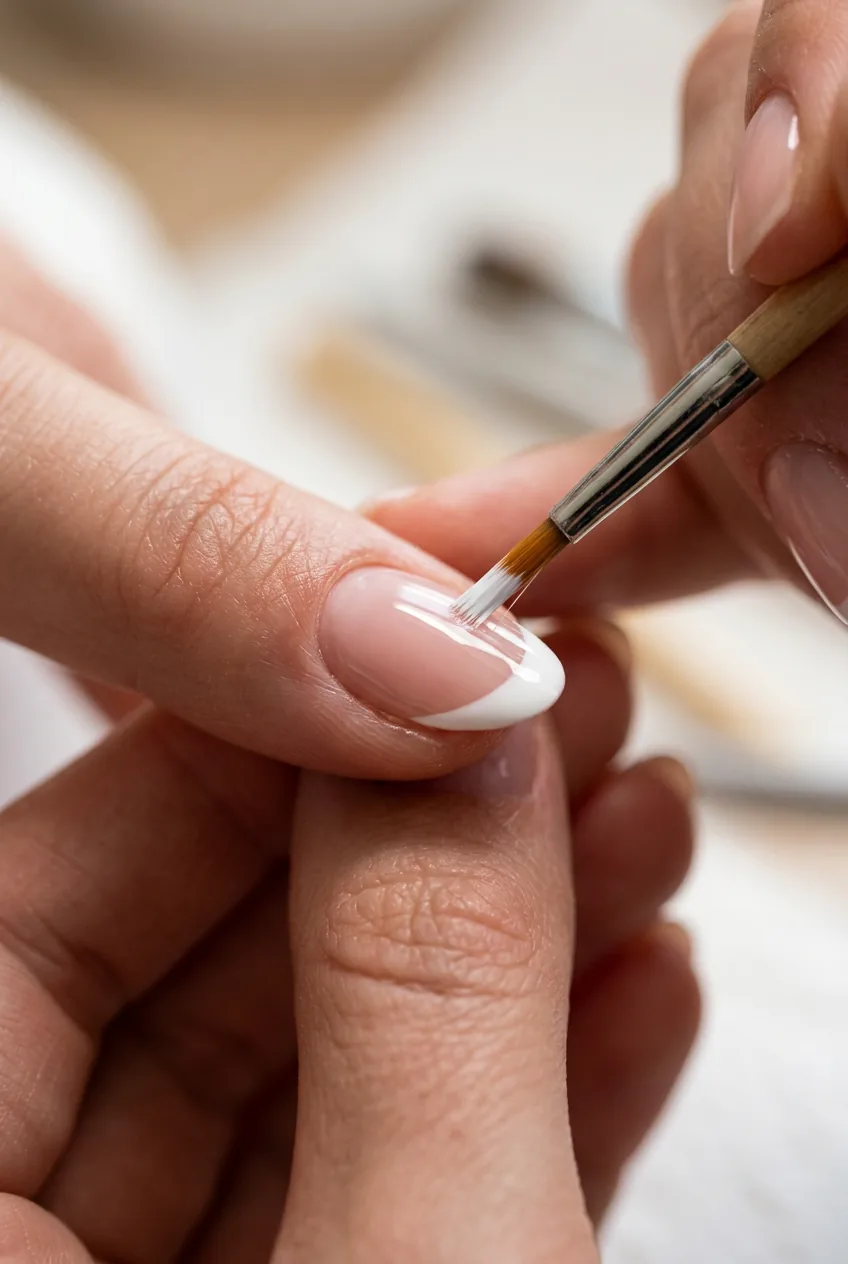
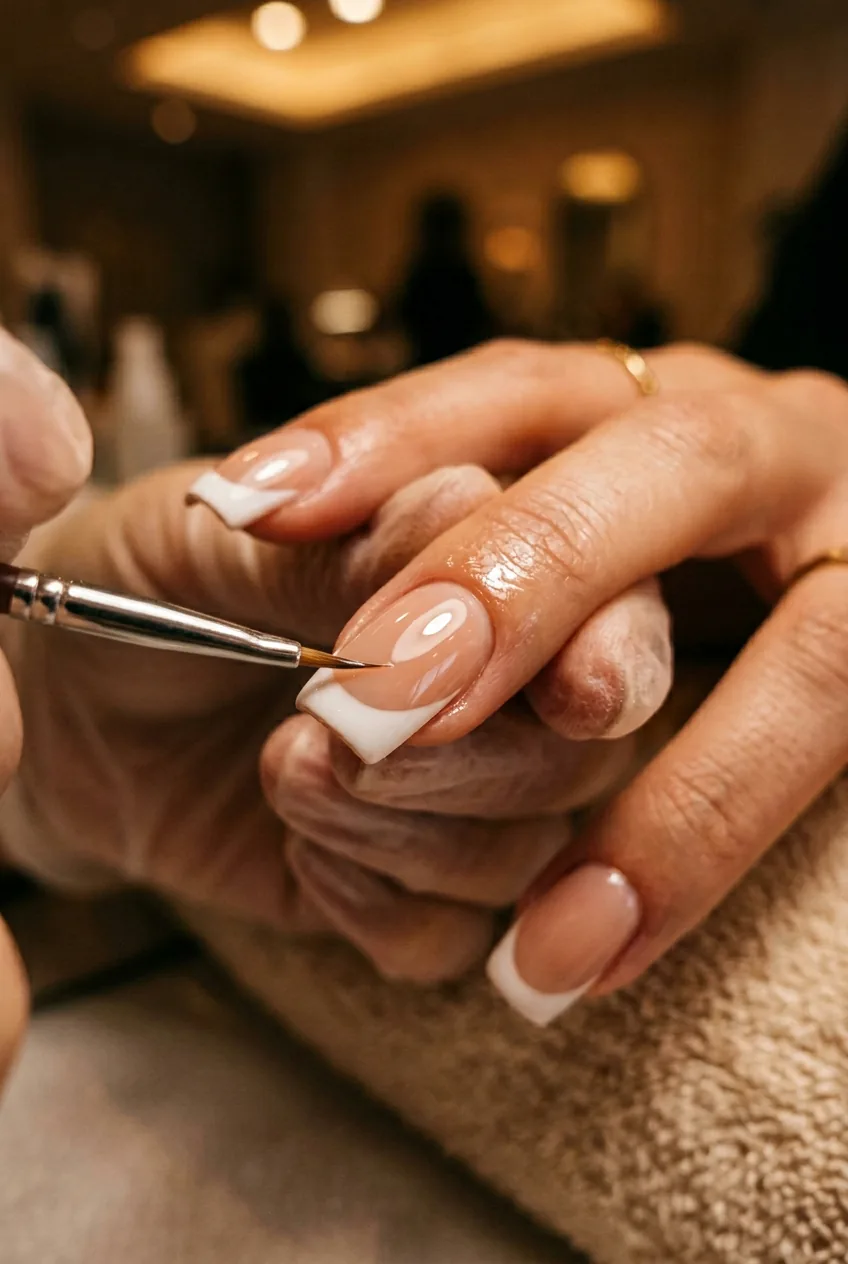
If you’re going freehand, load your thin nail art brush with white polish and paint a gentle curve starting from one side of the nail to the other. Don’t try to do it in one wobbly line — paint from the left edge to the center, then from the right edge to meet it. Two short strokes are easier to control than one long nervous sweep. The line doesn’t need to be perfect on this pass. You’ll refine it in the next step.
Apply a second coat of white for full opacity. One coat of white is almost always sheer. Two coats gives you that bright, clean tip. You can also check out some of the creative variations people are doing with the tip shape over in the nail art designs section if you want to experiment once you’ve got the classic down.
See the Tip Technique in Real Time
Step 5: Clean Up Your Edges
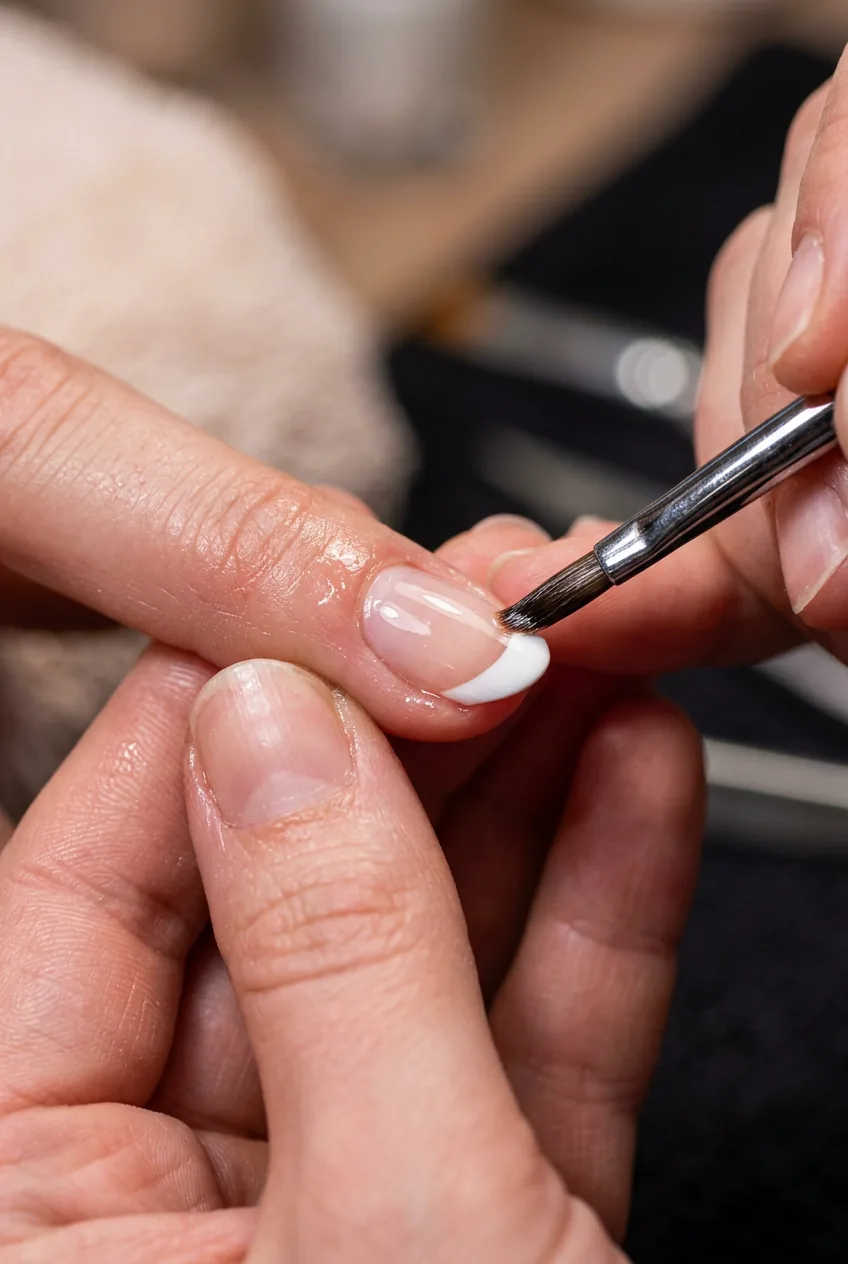
This step is genuinely transformative. Even a messy tip line looks professional after a good cleanup. This is not cheating — this is the actual technique.
Dip a thin flat brush (or the pointed tip of a cotton swab) into pure acetone. Use this to gently erase any white that strayed past the tip line, any polish that got on your skin, and any wobbly edges on the curve. Work slowly, rinsing the brush frequently so you’re not smearing white around rather than removing it.
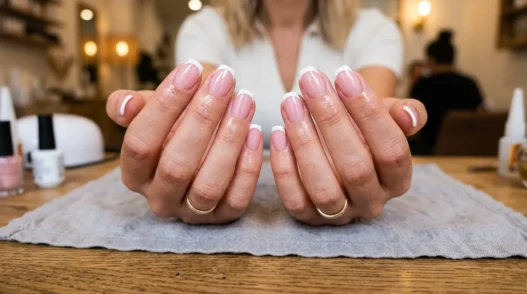
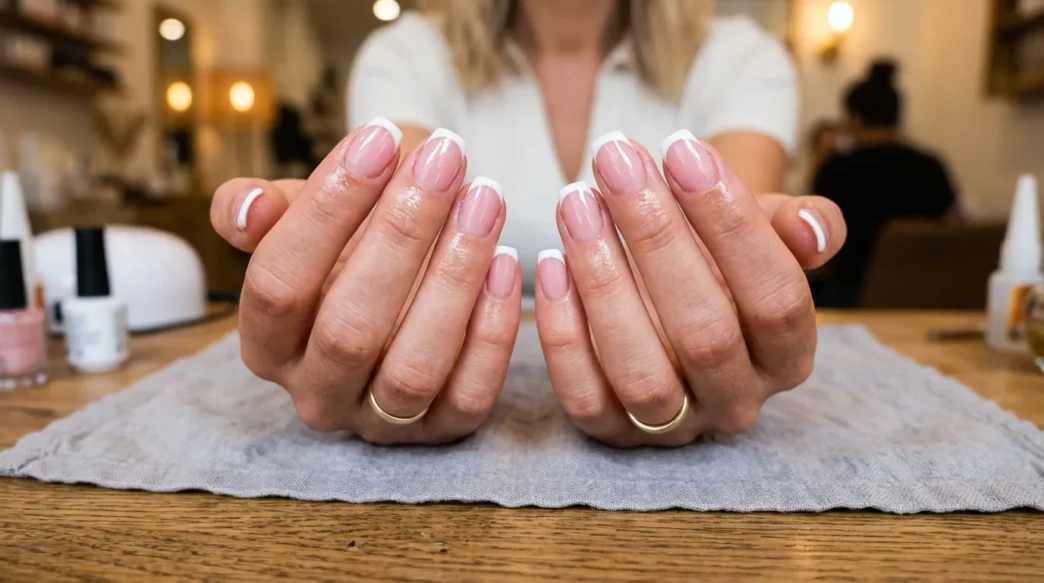
This is cleaning up edges like a pro — a skill that takes maybe two or three practice sessions to feel natural, and then it becomes second nature. Look at her nails in the photo below — the crispness of that tip line comes almost entirely from cleanup work, not from a perfect first stroke.
Step 6: Seal Everything with Top Coat
Top coat is not optional. It’s the thing that turns “decent home manicure” into “did you just get your nails done?” energy. It seals in your design, adds that gorgeous high-gloss shine, and significantly extends how long your manicure lasts.
Apply one generous coat of glossy top coat over the entire nail, and again — cap that tip. The tip of the nail is where chipping starts, and sealing it keeps the whole thing intact longer. Don’t press down too hard with the brush or you’ll drag the white polish. Light, smooth strokes. Let this dry for a full three minutes before you do anything with your hands.
Fast-drying top coats are worth the investment if you find yourself always smudging at this stage — some dry in under 60 seconds and it genuinely changes the experience.
Step 7: Let It Cure (Yes, Really Wait)
Polish “dries” to the touch in about ten minutes, but it doesn’t fully harden for 1–2 hours. This is the part that gets everyone — you feel the surface and it seems fine, so you go type something or open a can and suddenly you have a dent in your beautiful tip.
Give yourself at least 30 minutes of hands-free time after finishing. Watch an episode of something. Read. Just don’t open any zippers or dig in your bag. I like to do my nails in the evening so they cure overnight — zero risk, perfect nails in the morning. It’s the most relaxed approach for beginners because you don’t spend the whole drying window anxiously hovering.
Once cured, apply a tiny drop of cuticle oil around each nail. This step isn’t technically part of the manicure process, but it makes your hands look so much more finished and keeps the skin around your nails healthy. French tips in particular — that clean, graphic look — really sing when the surrounding skin looks hydrated and cared for.
Where Beginners Usually Mess Up (And It’s Fine)
Let me save you from the specific things that got me on my first three attempts, because I made every single one of them.
Mistake I made: I painted the white tip straight across instead of following a slight curve, and ended up with a flat line that looked like a ruler had been involved. The tip of the nail curves — your white line needs to curve with it, slightly higher in the center than at the sides. Think of a soft smile shape, not a dash. Once I learned this, everything looked ten times more natural.
Other common ones:
- Too-thick coats of white — it looks gloopy and takes forever to dry. Thin is always better, even if it means an extra coat.
- Skipping the base coat — polish lifts within a day without it, and you’ll wonder why your technique “doesn’t work.”
- Peeling guide strips too late — if the polish is fully dry when you remove them, the edge chips or tears. Slightly wet is the sweet spot.
- Trying to fix a mistake while wet — you’ll smear everything. Either let it dry and clean up with acetone, or wipe the whole nail and restart. One or the other.
And the big one: comparing your round-one results to someone’s tenth attempt. The internet is full of flawless french tips painted by people who’ve done this hundreds of times. You’re on your first. That comparison isn’t fair to you.
How to Know You’re Doing It Right
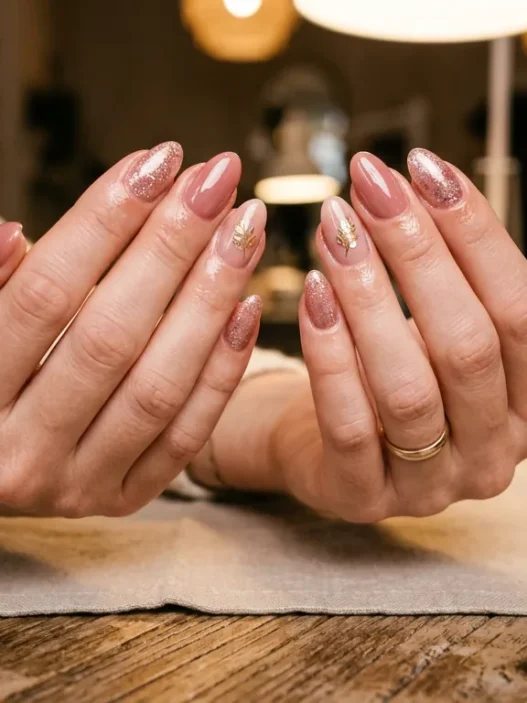
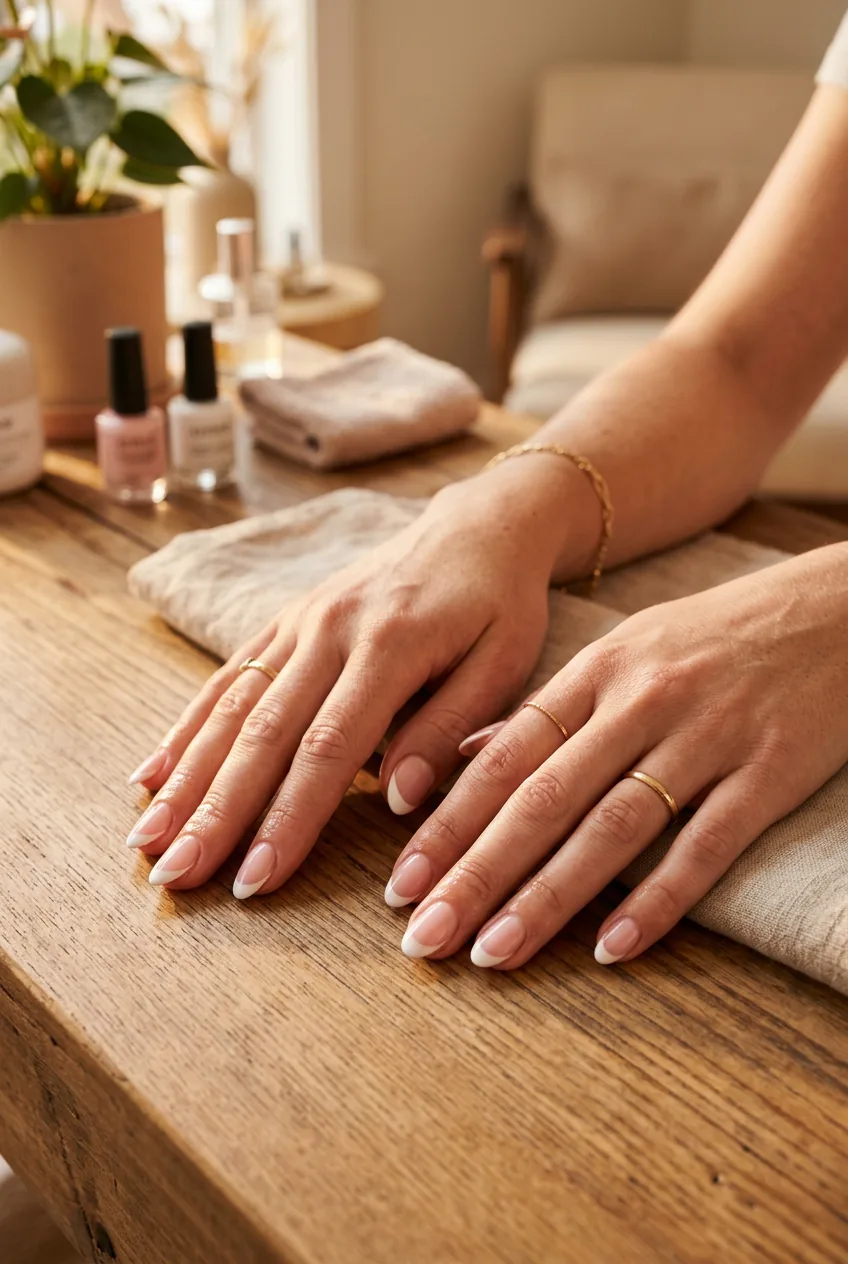
Look at her nails in the photo — the way the white tip sits cleanly above the nude base, and how the whole thing catches the light like one cohesive surface. That’s the goal. Not a hard line that looks painted on. Not a splotchy tip. Just clean, glossy, unified.
Here’s what good-enough looks like for round one: your tips are approximately the same width on all ten nails, the white is opaque (not see-through), there’s no obvious polish on your skin, and the top coat gives you an even shine. That is a successful french manicure. Full stop.
This is what good-enough looks like for round one: Five nails look great, three look very good, two have a slightly wobbly tip that only you will notice. You still get compliments. You still feel proud. You still do it again next week. That is how every skill is built.
French tip nails are one of those looks that’s genuinely timeless — they’ve been showing up on runways and in everyday life for decades. They look fresh whether you’re doing winter nails in a cooler milky white or a warmer nude-and-cream combo for summer. The technique you’re building right now will carry you into every variation and season.
And when you’re ready to get more creative with the design — maybe a colored tip, maybe a double line, maybe some nail art added over the base — you’ll have all this foundation already locked in. The fall nails season is a particularly great time to experiment with warm-toned tip variations if you want to branch out.
Before You Start — Common Questions
Do I need a UV lamp to do french tip nails at home?
Not for regular polish — just a base coat, color, white tip, and top coat, all air-dried. You only need a UV/LED lamp if you’re working with gel products. For a first attempt, I’d absolutely stick to regular polish. It’s more forgiving, easier to correct, and you don’t need any special equipment.
What if my tip line comes out uneven?
Clean it up with a thin brush dipped in acetone — that’s literally what Step 5 is for. Most tip-line imperfections disappear completely during cleanup. And if it’s really bad, wipe the white off that nail and try again. The base coat and nude layer are still there; you’re only redoing the white.
How long will a home french manicure last?
With good prep and a quality top coat, you can realistically get 5–7 days before chipping starts. Refreshing your top coat every two to three days extends this significantly. Gel versions last 2–3 weeks, but that’s a whole other process — worth exploring once you’re comfortable with the basics.
My white polish looks streaky — what am I doing wrong?
Almost always, it’s too few coats or a too-sheer formula. White is notoriously patchy in one coat — always plan for two, sometimes three thin layers. Also, make sure your white polish is specifically opaque white (not a white shimmer or sheer white), because those will never build to full coverage no matter how many coats you apply.
Can I do this on short nails?
Absolutely, and honestly short nails with french tips look incredibly chic right now. The key is keeping the white tip narrow — maybe 1–2mm — so it stays proportional to the nail bed. A tiny, clean white tip on a short square nail is one of my personal favorites. Very clean, very modern.
My first set took me about 45 minutes and had two nails I quietly judged for a week. My third set? I wore it to a dinner and got three separate compliments. Give yourself the same grace I wish I’d given myself, paint those tips, and then do it again. That’s the whole secret.