


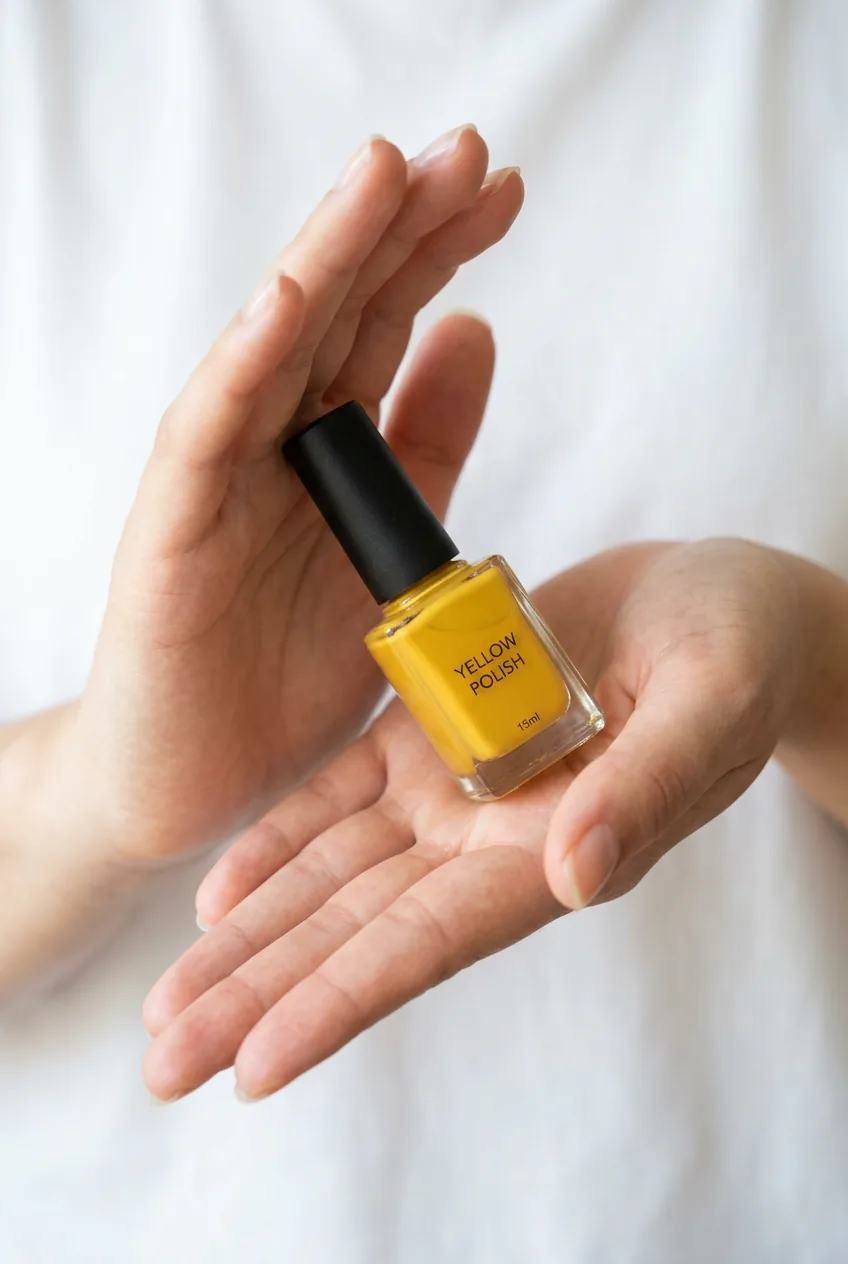
I’ve been obsessed with yellow nails for three summers running, but let me tell you — this shade can be the most temperamental thing in your polish collection. Last month I had a gorgeous buttercup yellow that looked like a toddler’s finger painting disaster, and I was ready to throw the whole bottle away. But yellow polish problems usually have very specific causes, and once you know what to look for, they’re totally fixable.
Before we dive into troubleshooting, here’s what you’ll need to diagnose and fix most yellow polish issues:
- Good lighting (natural daylight works best)
- Base coat (preferably one designed for preventing staining)
- Thin brush or cleanup brush
- Acetone or polish remover
- Cotton swabs
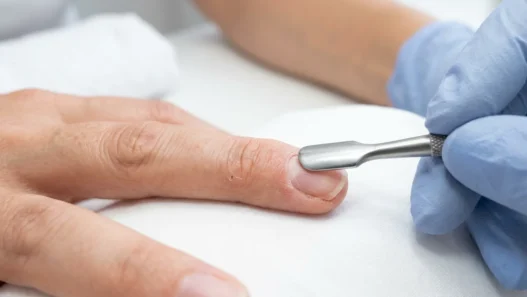
- Cuticle pusher
- Nail file
- Fresh yellow polish (sometimes the formula just goes bad)
If Your Yellow Polish Looks Streaky
This is the most common yellow nail disaster, and honestly, it drove me crazy until I figured out the real culprit. Streaky yellow usually happens for one of three reasons, and each has a different fix.
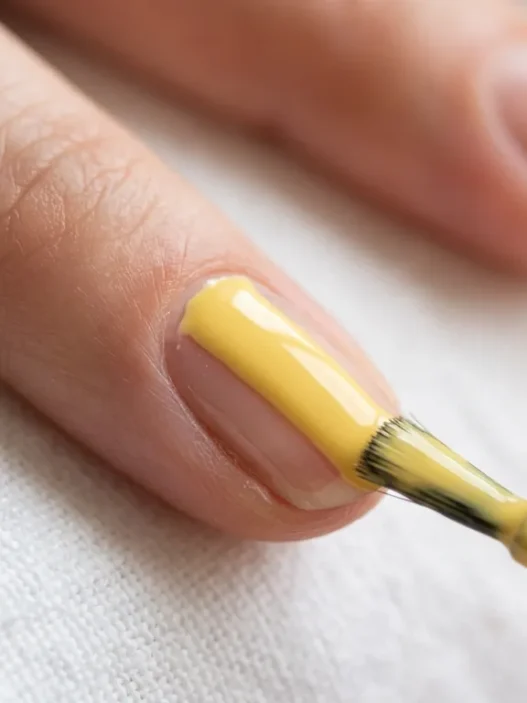
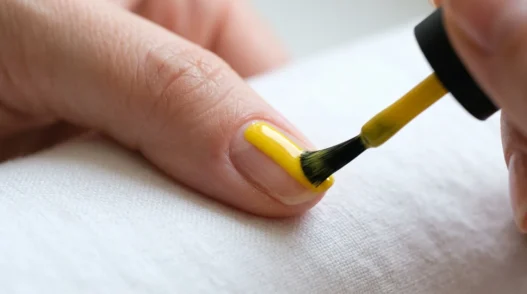
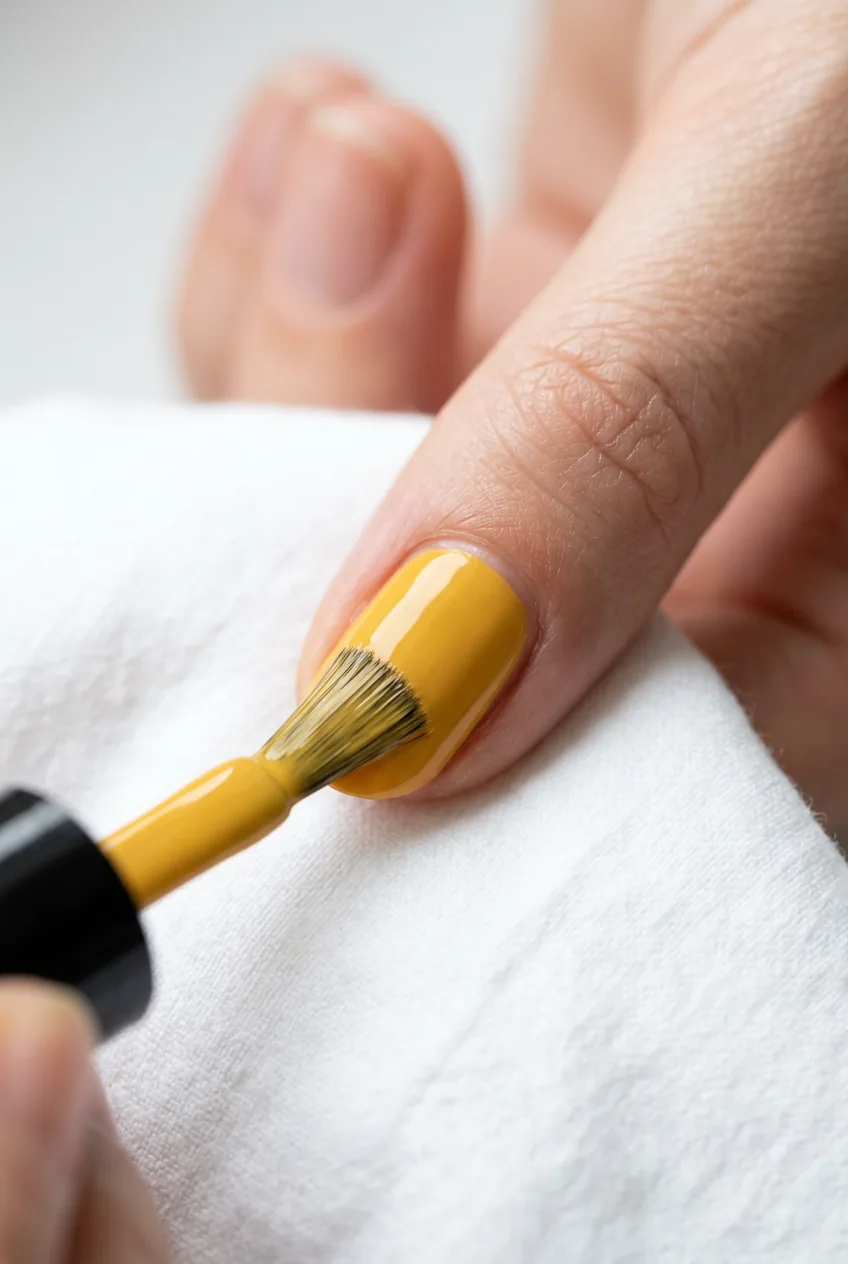
First, check if you’re applying too thick a coat. Yellow pigments are notoriously difficult to formulate smoothly, so they need thin, even layers to look good. If your brush is loaded with polish, you’re setting yourself up for drag marks and uneven coverage.
The fix: Wipe your brush on the bottle neck until you have just enough polish for coverage. Apply in three strokes — down the center, then each side. Don’t go back over it while it’s wet.
Second possibility: your base coat isn’t compatible with your yellow formula. Some base coats stay tacky longer than others, and yellow polish can grab onto that tackiness unevenly.
The fix: Let your base coat cure completely — I wait at least two minutes with quality base coats. If you’re still getting streaks, try a different base formula.
Third: your polish is too old or has been stored badly. Yellow pigments separate faster than other colors, and once they do, you get that awful streaky mess.
The fix: Roll the bottle between your palms for 30 seconds before opening. If it’s still streaky after that, it’s time for a new bottle.
If It’s Bubbling During Application
Bubbles in yellow polish make me want to scream. They show up so much more obviously than in darker colors, and they always seem to appear right after you think you’ve nailed the perfect application.
The most likely cause is shaking the bottle instead of rolling it. I know it seems faster to shake, but you’re creating tiny air bubbles that get trapped in the formula.
I learned this the hard way with a gorgeous lemon yellow that I’d shaken like a margarita. Every single nail had tiny bubbles, and I had to start completely over. Now I roll the bottle gently between my palms — it takes longer but saves so much frustration.
Other bubble causes: applying over polish that’s still wet, using a fan to dry faster (creates surface tension), or storing your polish somewhere too warm.
The fix: Always roll, never shake. Wait for each coat to be touch-dry before adding the next. And let your nails air dry naturally — I know it’s tempting to speed things up, but patience pays off with yellow.
If It Chipped Within 24 Hours
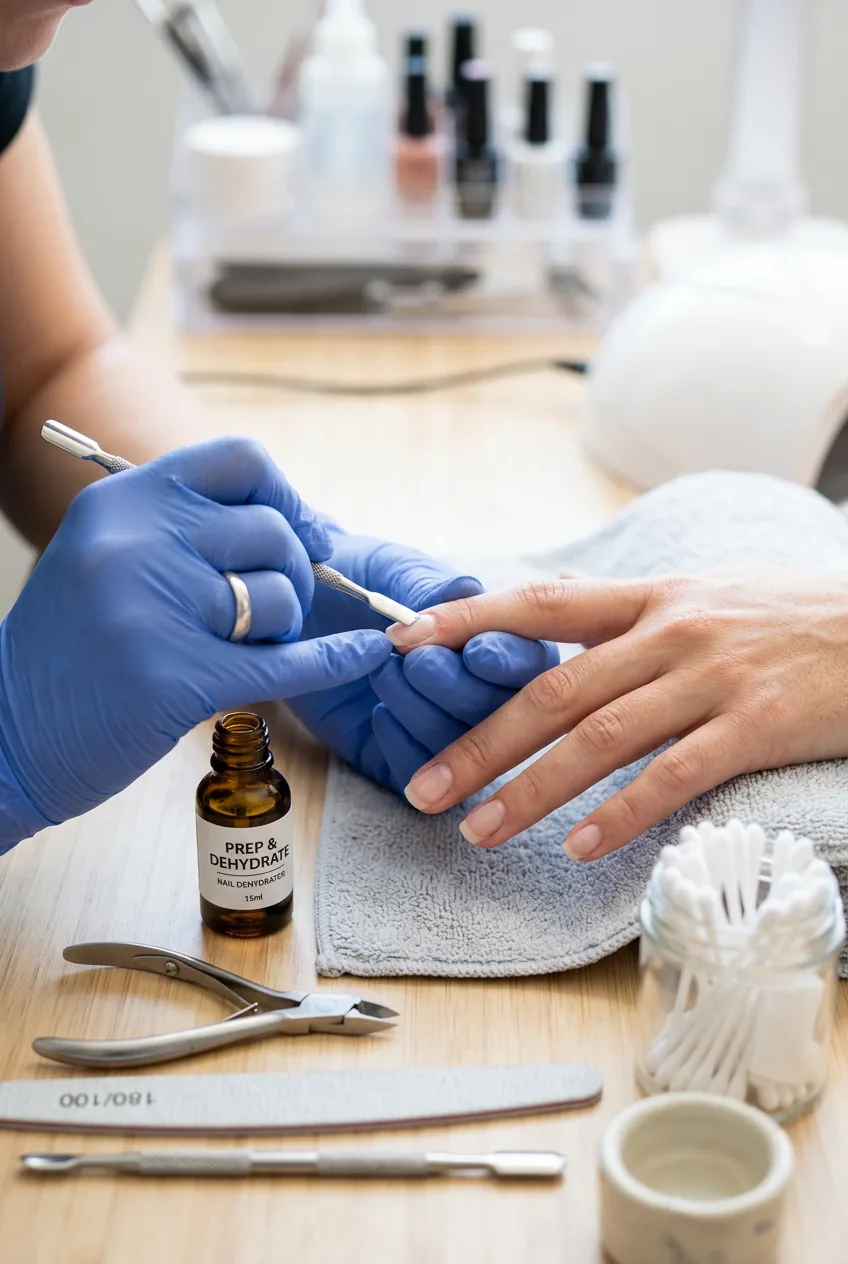
Fast chipping with yellow polish is usually about prep work, not the polish itself. Yellow formulas can be more brittle than others, so they need perfect nail prep to stick properly.
Check your nail surface. Any oils, lotion residue, or old base coat will cause lifting. I use a dehydrating base specifically for yellows because they’re so prone to this.
Also look at where the chips are happening. Tip chipping means you didn’t wrap the tips with base coat and color. Side chipping usually means the polish is too thick or you got it on your cuticles.
The fix: Clean nails with rubbing alcohol before base coat. Apply thin coats. Always wrap the tips. And here’s something I learned from my nail tech — red nails have similar opacity issues, so the same prep tricks work for both.
If the Color Looks Patchy
Patchy yellow coverage makes your manicure look unfinished and amateurish. This almost always comes down to application technique or formula consistency.
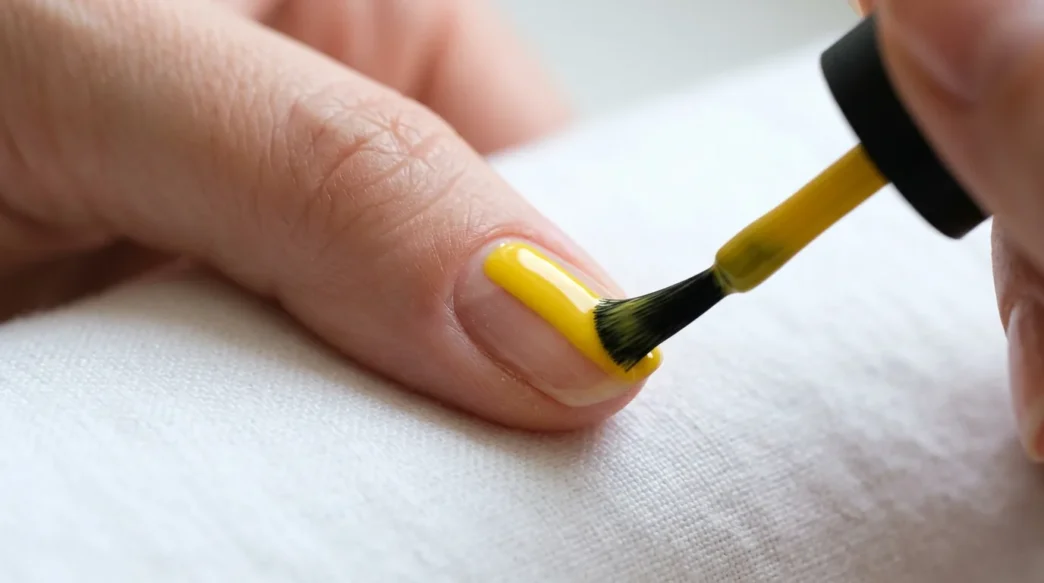
Yellow pigments are naturally transparent, so they need strategic building. Most yellows require at least three thin coats for full coverage, and trying to get there in two thick coats creates patches.
The fix: Plan for three coats minimum. Let each coat dry completely — I mean completely, not just surface dry. Yellow shows brush marks and unevenness more than any other color, so take your time.
If you’re still getting patches after three thin coats, your formula might be too old or the pigmentation is just poor. Some drugstore yellows are notorious for this.
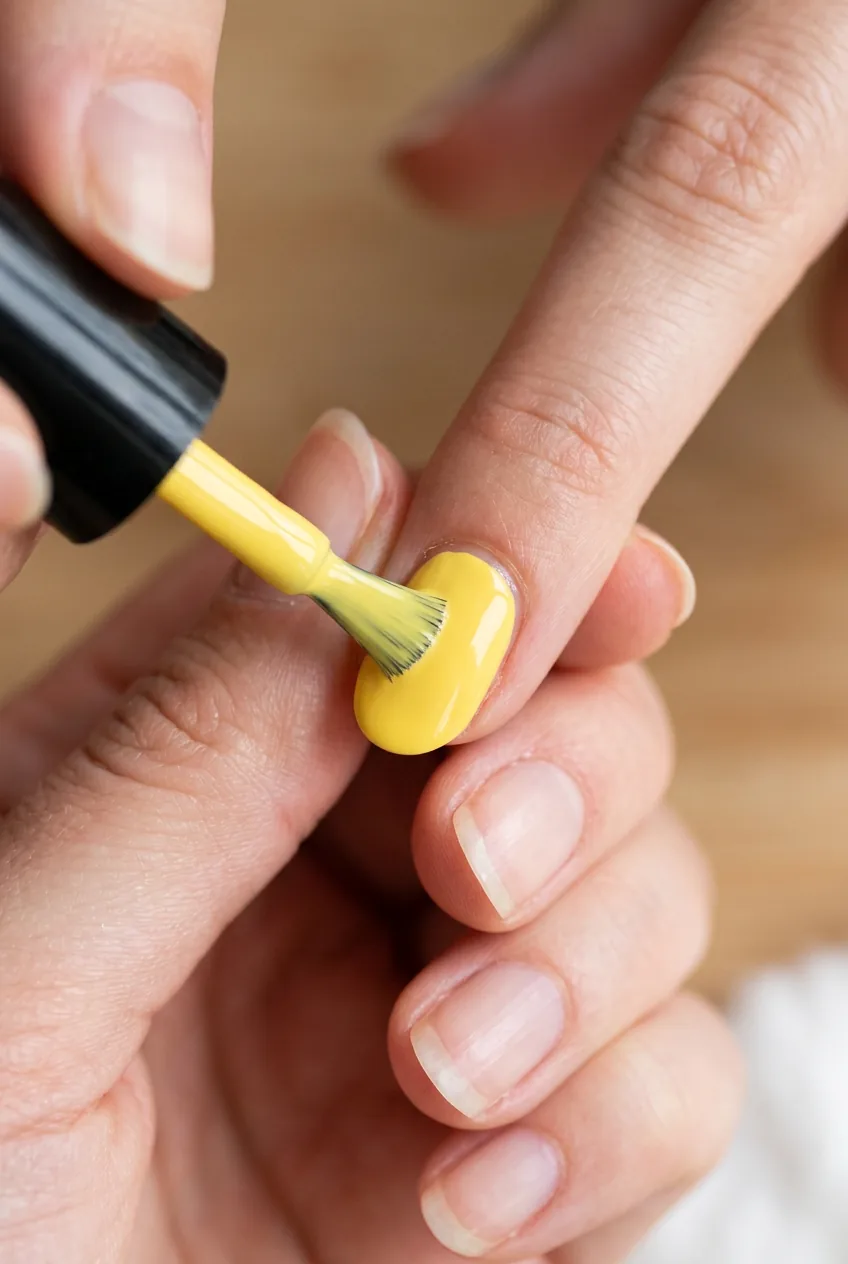
See the Three-Coat Method in Action
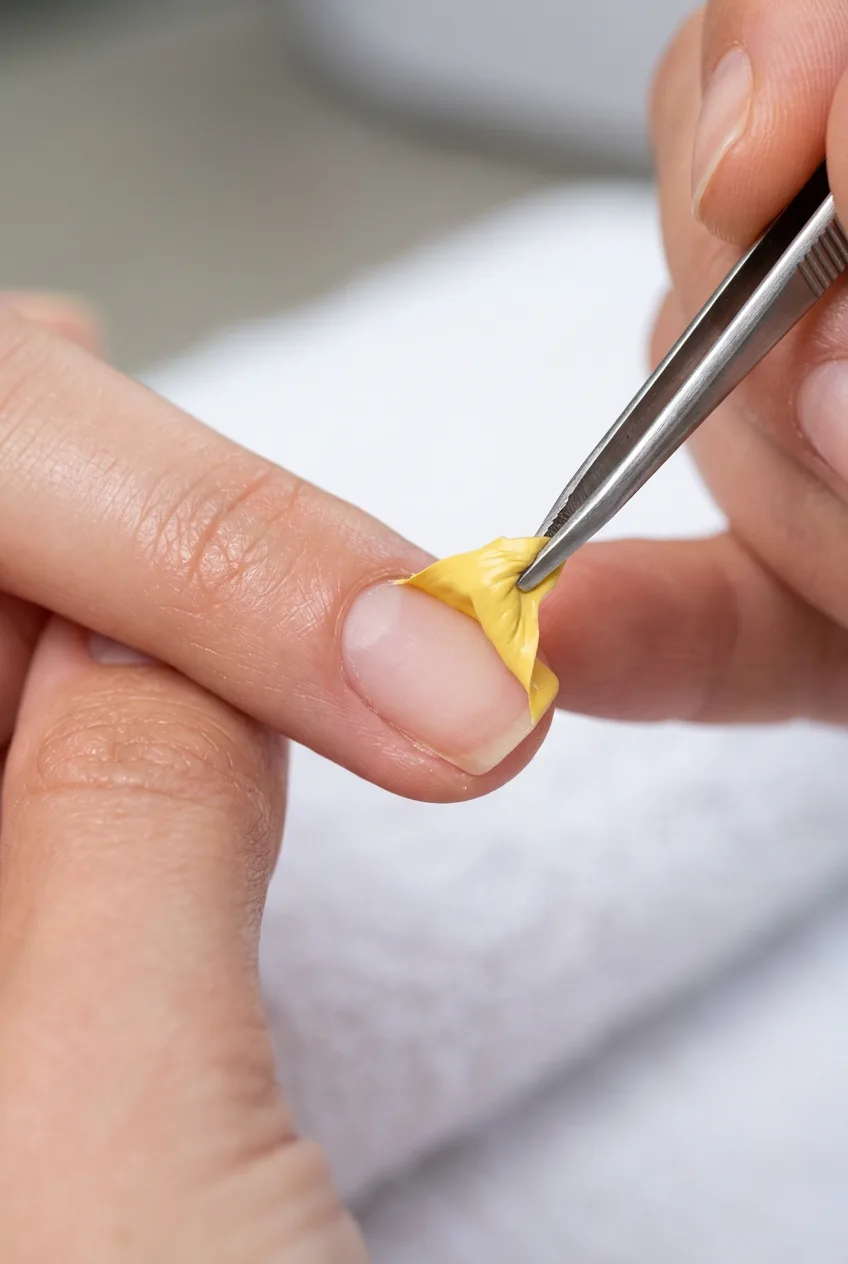
If There’s a Yellow Stain on Your Nails
Yellow staining is the worst part about loving yellow polish. Those bright pigments love to grab onto your natural nails, especially if they’re thin or porous.
Prevention is everything here. I never, ever apply yellow directly to bare nails anymore. A good base coat is non-negotiable, and I prefer ones specifically formulated to prevent staining.
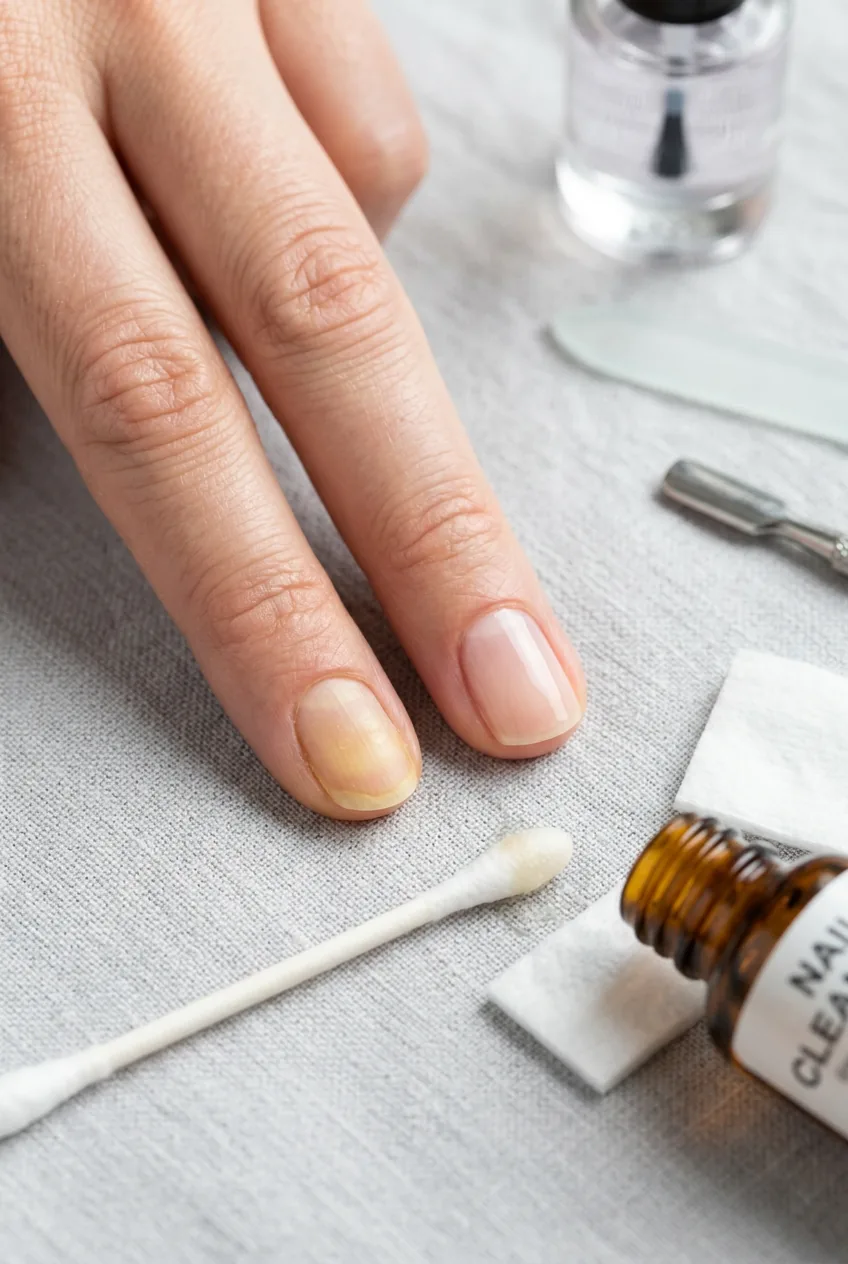
If you already have staining, try a whitening toothpaste scrub or a baking soda paste. For stubborn stains, gentle stain removal techniques work better than harsh scrubbing.
The fix for next time: Base coat always. Two coats if you’re using a particularly pigmented yellow. And remove yellow polish as soon as it starts chipping — leaving it on longer increases staining risk.
If It Peeled Off in Sheets
When yellow polish peels off in big sheets, it’s actually kind of satisfying — but it means something went wrong with adhesion.
Sheet peeling usually happens when there’s a barrier between your nail and the base coat. Cuticle oil, hand cream, or even water can cause this. It can also happen if your base coat is incompatible with your yellow formula.
The fix: Make sure your nails are completely clean and dry before starting. I wash my hands, then use a nail dehydrator or rubbing alcohol. Wait at least 30 minutes after applying hand cream before doing your nails.
If you’re getting sheet peeling even with perfect prep, try a different base coat. Some formulas just don’t play well together.
When to Just Start Over
Sometimes the kindest thing you can do for yourself is remove everything and start fresh. I give myself permission to start over if:
- More than two nails have significant problems
- The base coat was applied poorly (you’ll just get the same problems again)
- The polish is clearly too old or separated
- You’re getting frustrated and starting to rush (this always makes things worse)
There’s no shame in a do-over. I’d rather spend 20 extra minutes and get a manicure I love than struggle with a mediocre one all week.
Here’s my prevention checklist that helps avoid most of these issues from the start:
- Always use a stain-preventing base coat with yellows
- Roll the bottle, never shake
- Plan for three thin coats, not two thick ones
- Clean nails completely before starting
- Let each coat dry fully before adding the next
- Wrap the tips with base coat and color
- Store yellow polish in a cool, dark place
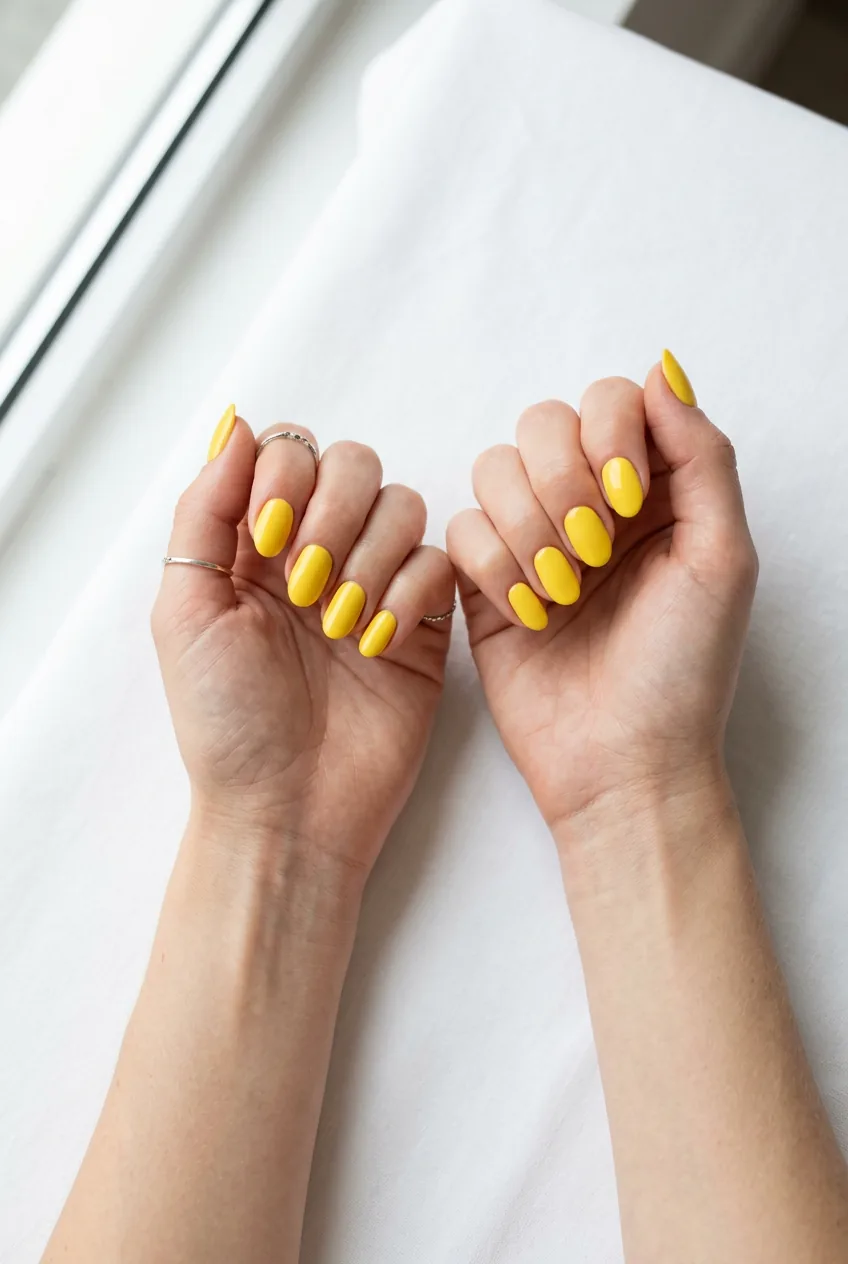
Now when I see that perfect fall nails yellow — you know, that warm mustard shade that looks incredible with autumn outfits — I know exactly how to make it work. The key is respecting that yellow polishes need a little more attention than others, but when you get it right, the results are absolutely worth it.
Quick Answers About Yellow Polish Issues
Why does yellow polish stain more than other colors?
Yellow pigments are naturally more porous and reactive than darker colors. They penetrate the nail plate more easily, especially if your nails are thin or damaged. Always use a quality base coat with yellows.
Can I fix streaky yellow polish without starting over?
Sometimes. If the streaks are minor, you can try adding one very thin coat on top, but make sure the underneath layers are completely dry. For major streakiness, removal and reapplication usually looks better.
How many coats of yellow polish do I actually need?
Most quality yellow polishes need three thin coats for full opacity. Cheaper formulas might need four. It’s always better to do more thin coats than fewer thick ones with yellow.
Why do my yellow nails look different in different lighting?
Yellow reflects light differently than other colors and can appear more green or orange depending on your lighting. This is normal — choose your shade in natural daylight if possible.
Getting yellow polish right takes practice, but once you understand what can go wrong and why, you’ll be able to troubleshoot issues quickly and get back to enjoying this gorgeous, sunny shade. The confidence boost from perfect yellow nails — especially when you know you solved whatever was going wrong — is honestly unbeatable.